

Guide
How the kit works
Start with Punishing Barrage. It hits nearby opponents with AoE damage matching Manekin's Elemental Type, then pulls them back. It has two charges. After using it, Normal, Charged and Plunging Attacks deal the same elemental damage for a time. Other elemental infusions cannot override this effect, and it ends when Manekin leaves the field.
Use Outlander Arts: Vigilant Watch (NA) while that conversion is active. The Normal Attack has up to four strikes; the Charged Attack consumes Stamina for two strikes. The Plunging Attack damages enemies along its path and deals AoE damage on impact.
Use No Entry when you want the Restricted Area. It follows Manekin and deals one instance of elemental damage to nearby enemies when summoned. Enemies entering the area take another instance, with that effect able to trigger once every 0.5 seconds. It does not state that a stationary enemy takes a hit every 0.5 seconds.
When you switch out with the area active, Battlelines Redrawn makes it explode for AoE damage equal to 200% of Manekin's ATK. Combat Readiness restores 2 Energy per second while Manekin is off-field and below 30% Elemental Energy.
Build and why
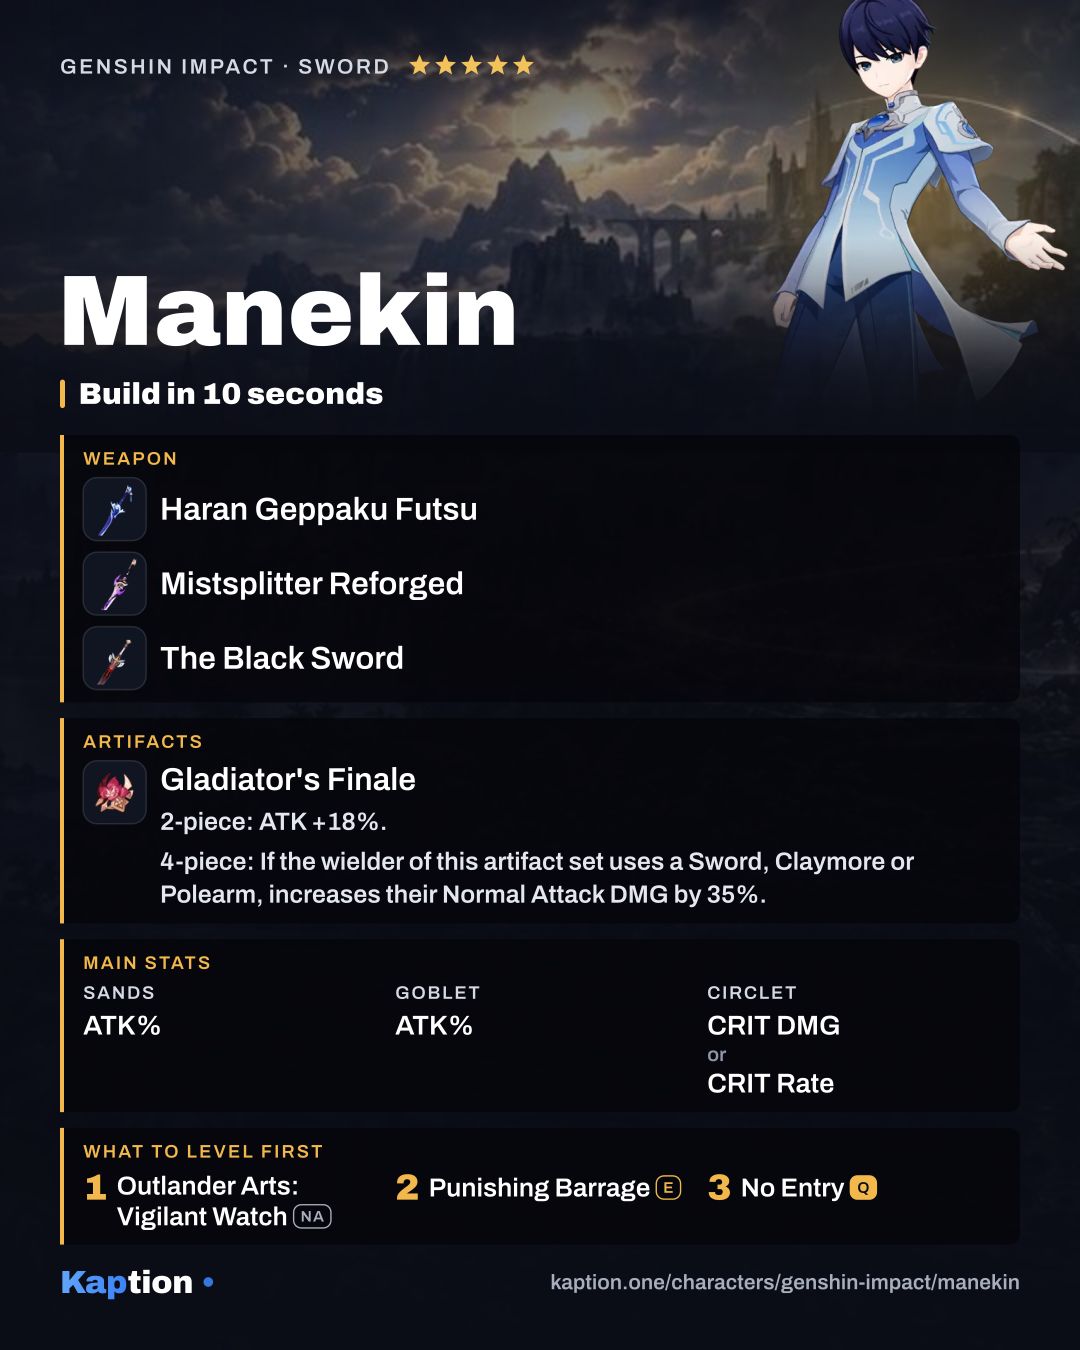
The game's recommended set is four pieces of Gladiator's Finale. Two pieces give 18% ATK, and four increase Normal Attack damage by 35% for a Sword user. That fits the attacks you make after Punishing Barrage.
For main stats, use ATK Percentage on both sands and goblet, with CRIT DMG or CRIT Rate on the circlet. The recommended substat order is CRIT DMG, CRIT Rate, then ATK Percentage. These stats support an attack-focused build; the passive explosion also scales with ATK.
Haran Geppaku Futsu is one weapon option. It gives 12% All Elemental DMG Bonus, and using other party members' Skills builds up to two stacks. Manekin consumes them with their Skill for 20% Normal Attack damage per stack for 8 seconds.
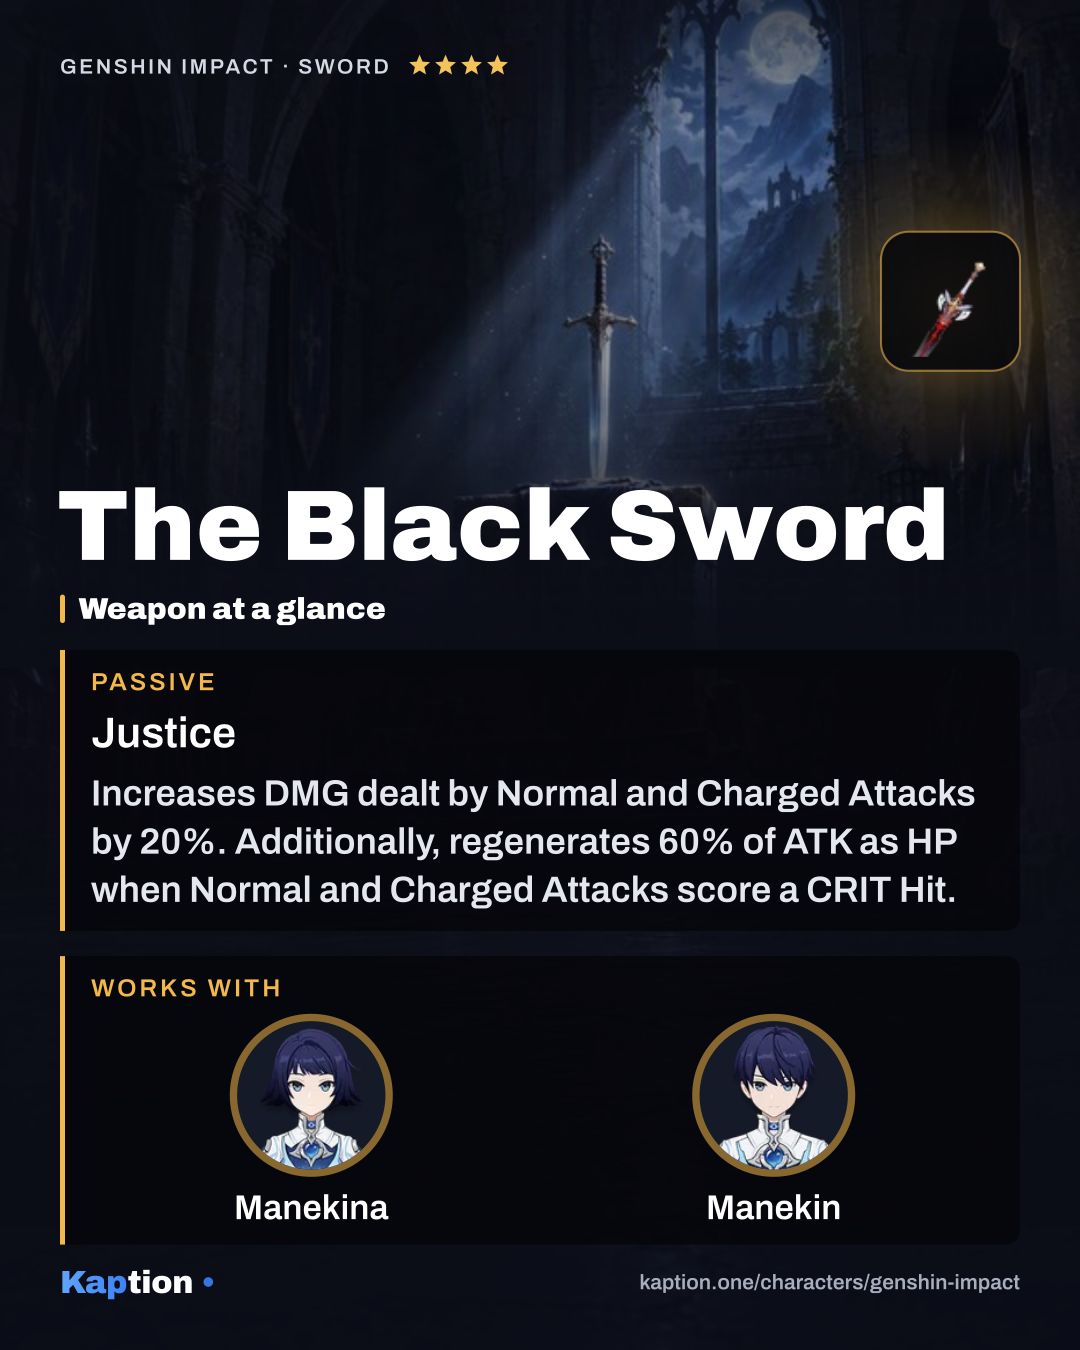
Mistsplitter Reforged is another option for elemental damage. It gives 12% Elemental DMG Bonus and has stacks from an elemental Normal Attack, casting a Burst and having less than full Energy. As a four-star option, The Black Sword increases Normal and Charged Attack damage by 20% and can heal after a CRIT with those attacks.
Leveling priority
A suggested order is Outlander Arts: Vigilant Watch (NA) first, since you can use its Normal Attacks during Manekin's field time. Then level Punishing Barrage, followed by No Entry. Both deal elemental damage, so keep improving them as well.
To take all skills to maximum level, you need 4,957,500 Mora and 3 Crown of Insight. The books are 9 Teachings of Conflict, 63 Guide to Conflict and 114 Philosophies of Conflict. You also need 18 Sentry's Wooden Whistle, 66 Warrior's Metal Whistle, 93 Saurian-Crowned Warrior's Golden Whistle and 18 Eroded Sunfire.
Constellations worth it
The numbered constellation effects are not specified, so there is no reliable order for them and no basis for saying which ones to skip. Use the default kit as your starting point rather than planning around an unlisted upgrade.
The default kit already gives Manekin two Skill charges and the explosion when they leave the field with the Burst active. Neither requires a numbered constellation in the kit described here.
Teams
Manekin wants room to stay on the field after using their Skill. Off-field damage or support is worth considering alongside a healer or shield, so the rest of the team can contribute during that time.
The supplied kit does not specify Manekin's Elemental Type. Choose teammates' elements around the type you are using instead of assuming a particular reaction. Manekin contributes elemental attacks and damage to nearby enemies, rather than a listed team-wide buff.
With Haran Geppaku Futsu, try using other party members' Skills before Manekin's Skill to collect its stacks. Remember that switching Manekin out ends both the attack conversion and the Restricted Area.
Common mistakes
Do not switch out immediately after Punishing Barrage if you want to use its elemental attacks. The conversion ends on leaving the field, and another infusion cannot replace it while it is active.
Do not assume No Entry keeps following another active character or repeatedly hits an enemy who remains inside. Its entry effect has a 0.5-second trigger limit, and switching out removes the area while triggering the passive explosion.
Avoid building only around the Burst and ignoring Normal Attacks if you use Gladiator's Finale: its four-piece bonus applies to Normal Attack damage. Also remember that Combat Readiness restores Energy only off-field and only while Manekin is below 30% Energy.