

Guide
How the kit works
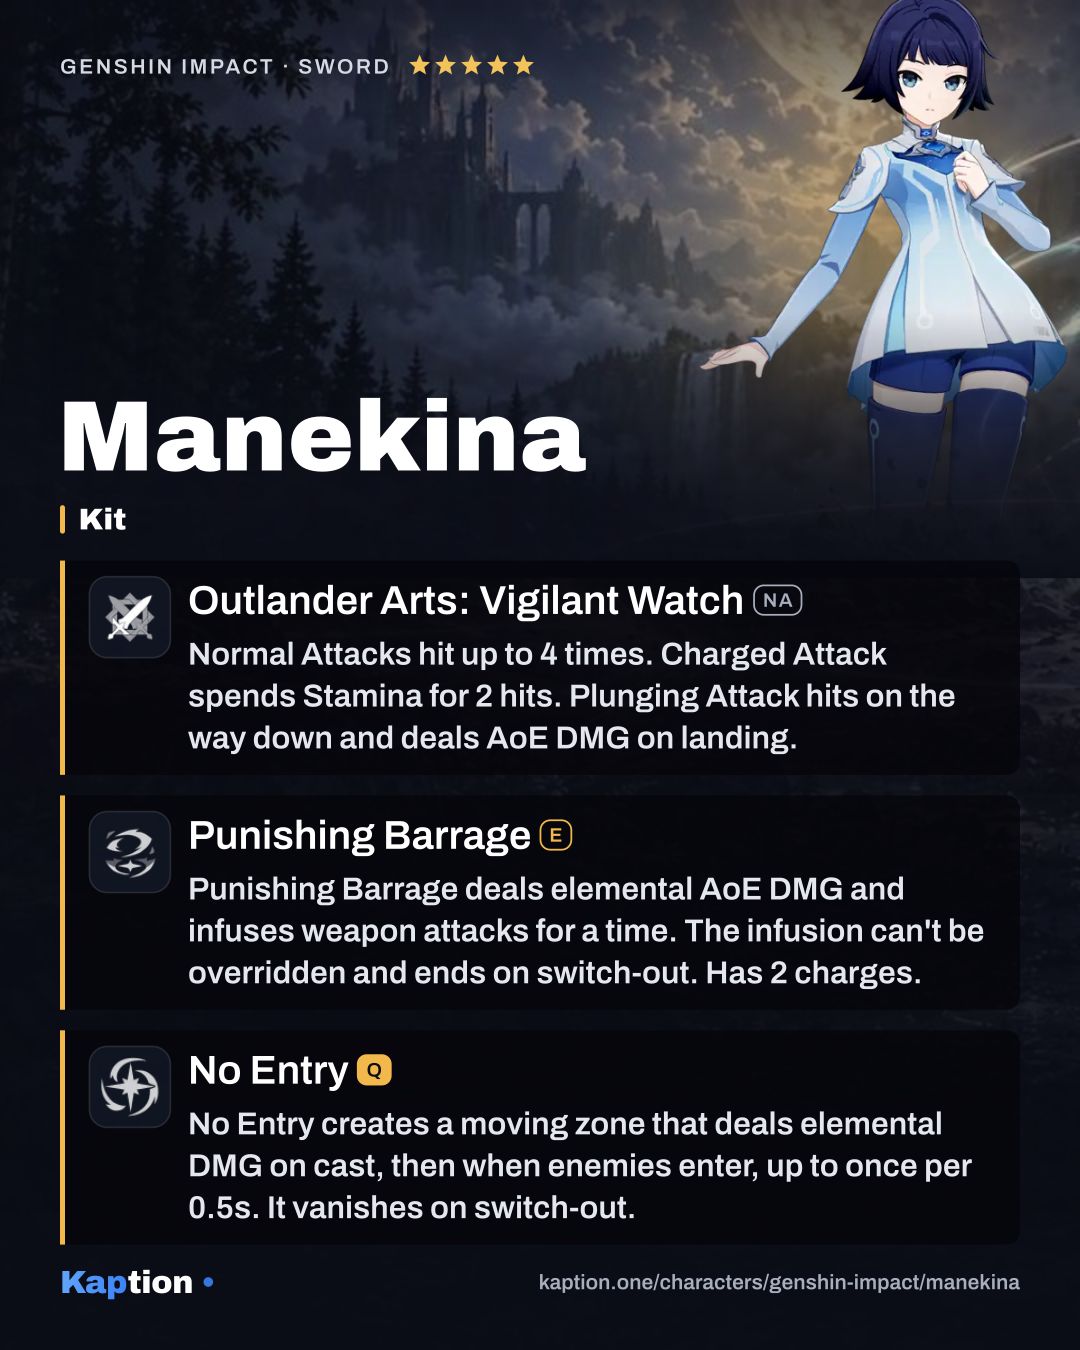
Start with Punishing Barrage. It hits nearby opponents with elemental AoE damage and pulls Manekina back. It also converts her Normal, Charged and Plunging Attacks to her Elemental Type for a time. Other elemental infusions cannot override this conversion. The Skill has two charges, but the conversion disappears as soon as she leaves the field.
Use Outlander Arts: Vigilant Watch (NA) while that conversion is active. Its Normal Attack has up to four strikes. The Charged Attack spends Stamina for two rapid strikes, while the Plunging Attack damages opponents along its path and deals AoE damage on landing.
When available, use No Entry to summon a Restricted Area around Manekina. It follows her and deals one instance of elemental damage to nearby opponents when summoned. Opponents entering it also take one instance of damage, with that effect able to trigger once every 0.5 seconds.
If Manekina leaves while the area is active, Battlelines Redrawn makes it explode for AoE damage equal to 200% of her ATK. Combat Readiness restores 2 Energy per second while she is off-field and below 30% Energy. Using her Skill or Burst also randomly changes her Cosmetic Plan.
Build and why
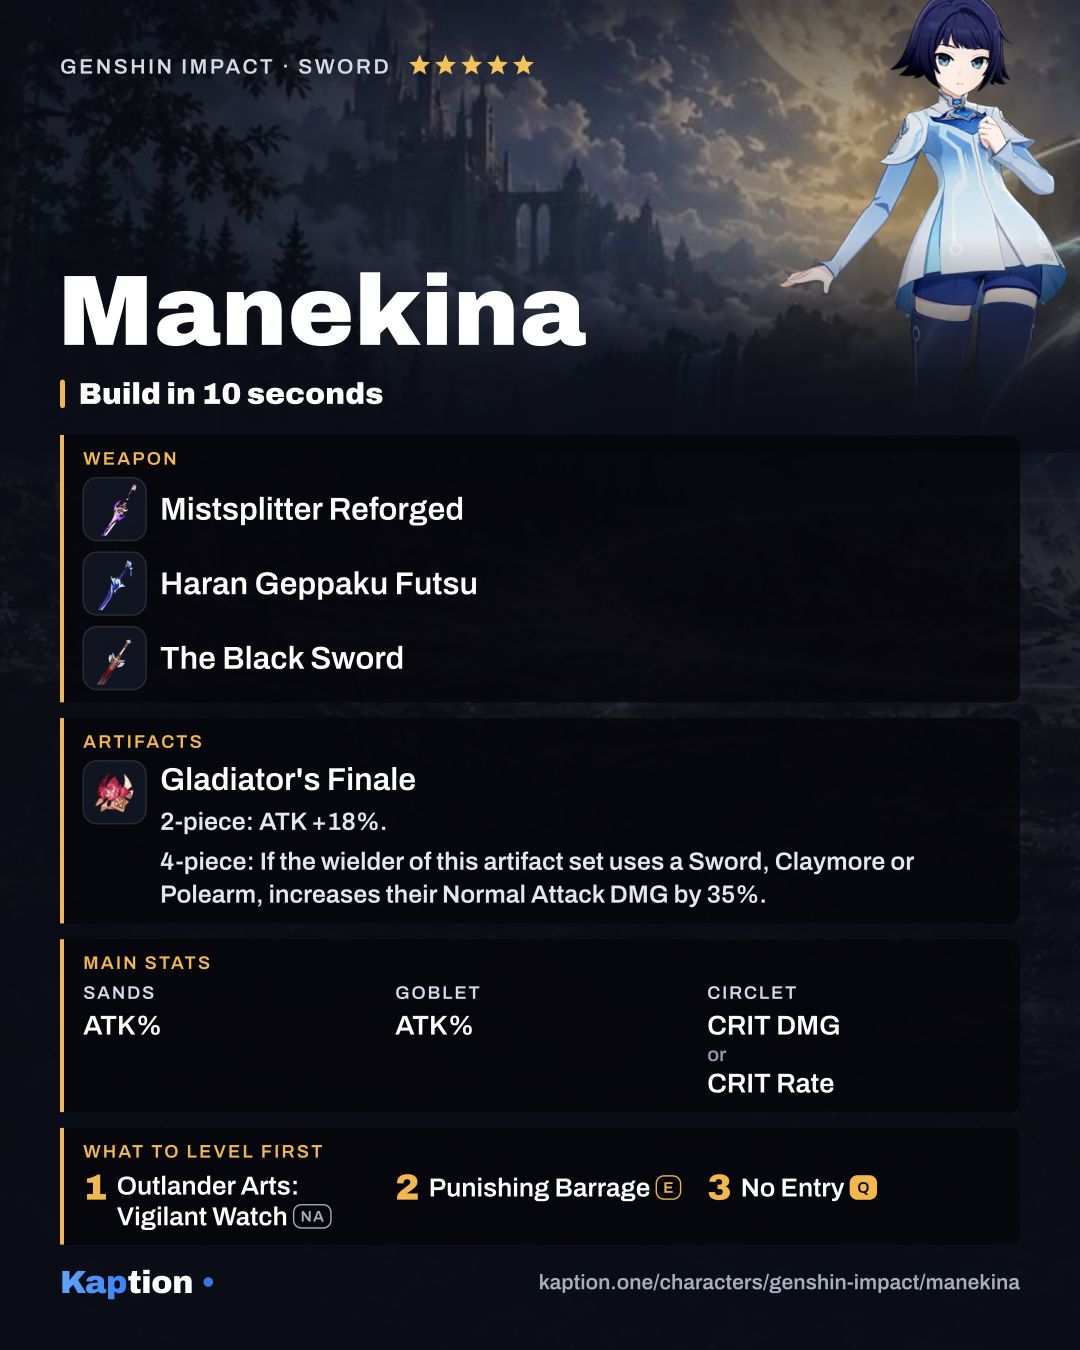
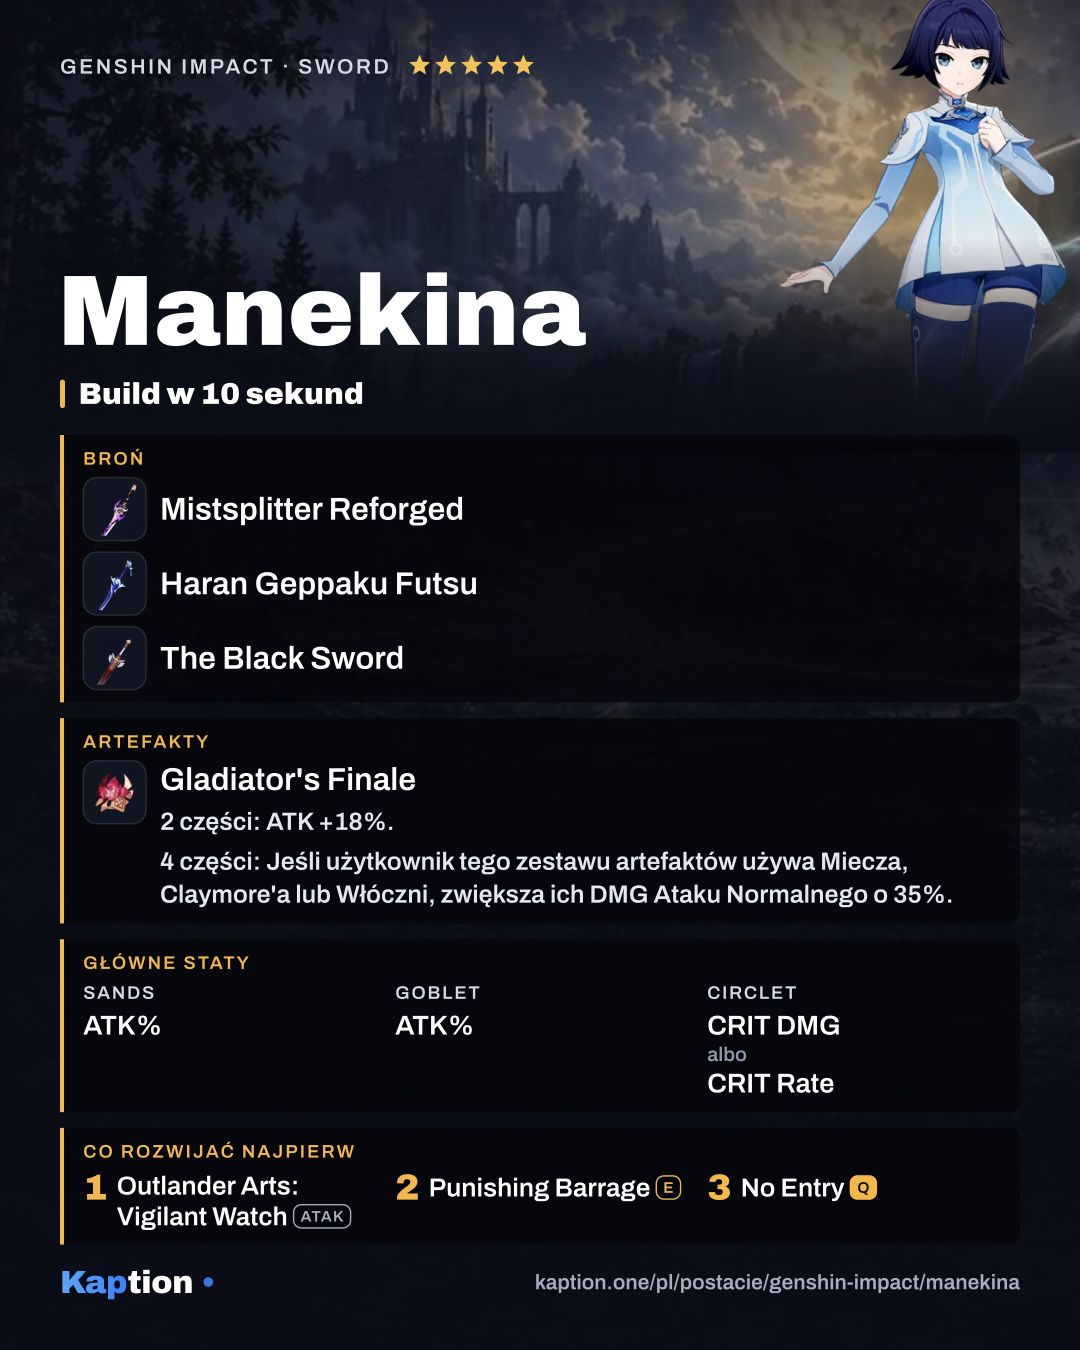
The game's recommended artifact build uses four pieces of Gladiator's Finale. Two pieces give 18% ATK, and the four-piece effect raises Normal Attack damage by 35% for a Sword user. That fits the attacks Manekina can use after her Skill.
Use ATK Percentage on both the sands and goblet, with CRIT DMG or CRIT Rate on the circlet. For substats, the recommendation puts CRIT DMG first, followed by CRIT Rate and ATK Percentage. ATK also contributes to the damage of the Restricted Area's exit explosion.
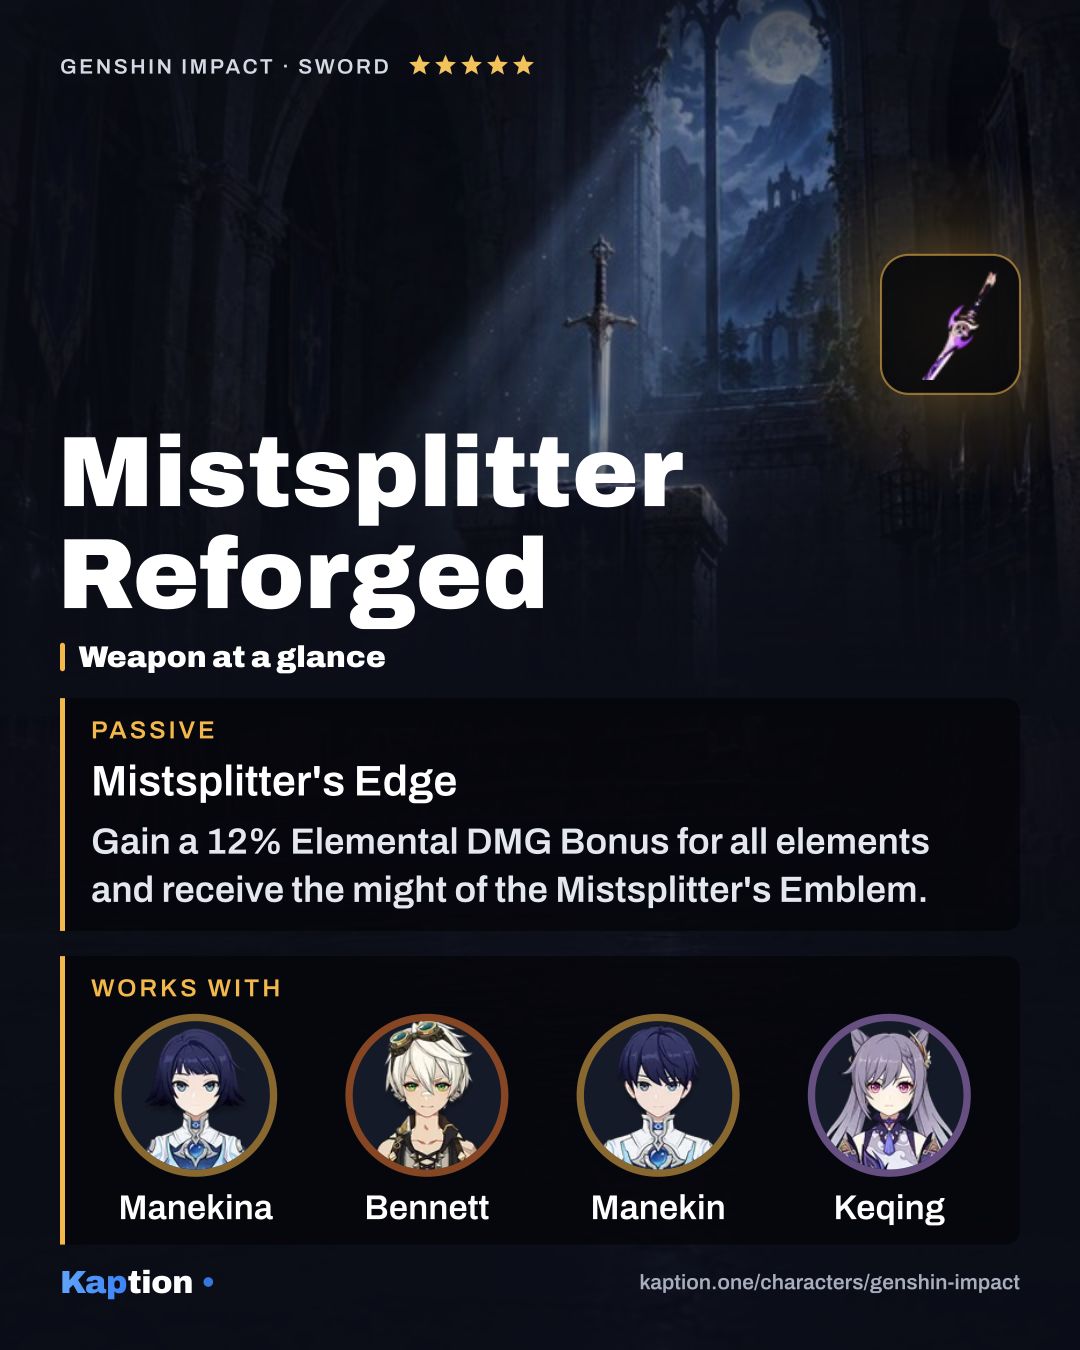
For a weapon, Mistsplitter Reforged is a good option to start with. It gives 12% Elemental DMG Bonus and can gain Emblem stacks from an elemental Normal Attack, using a Burst, and having less than full Energy. Those stacks give further Elemental DMG Bonus.
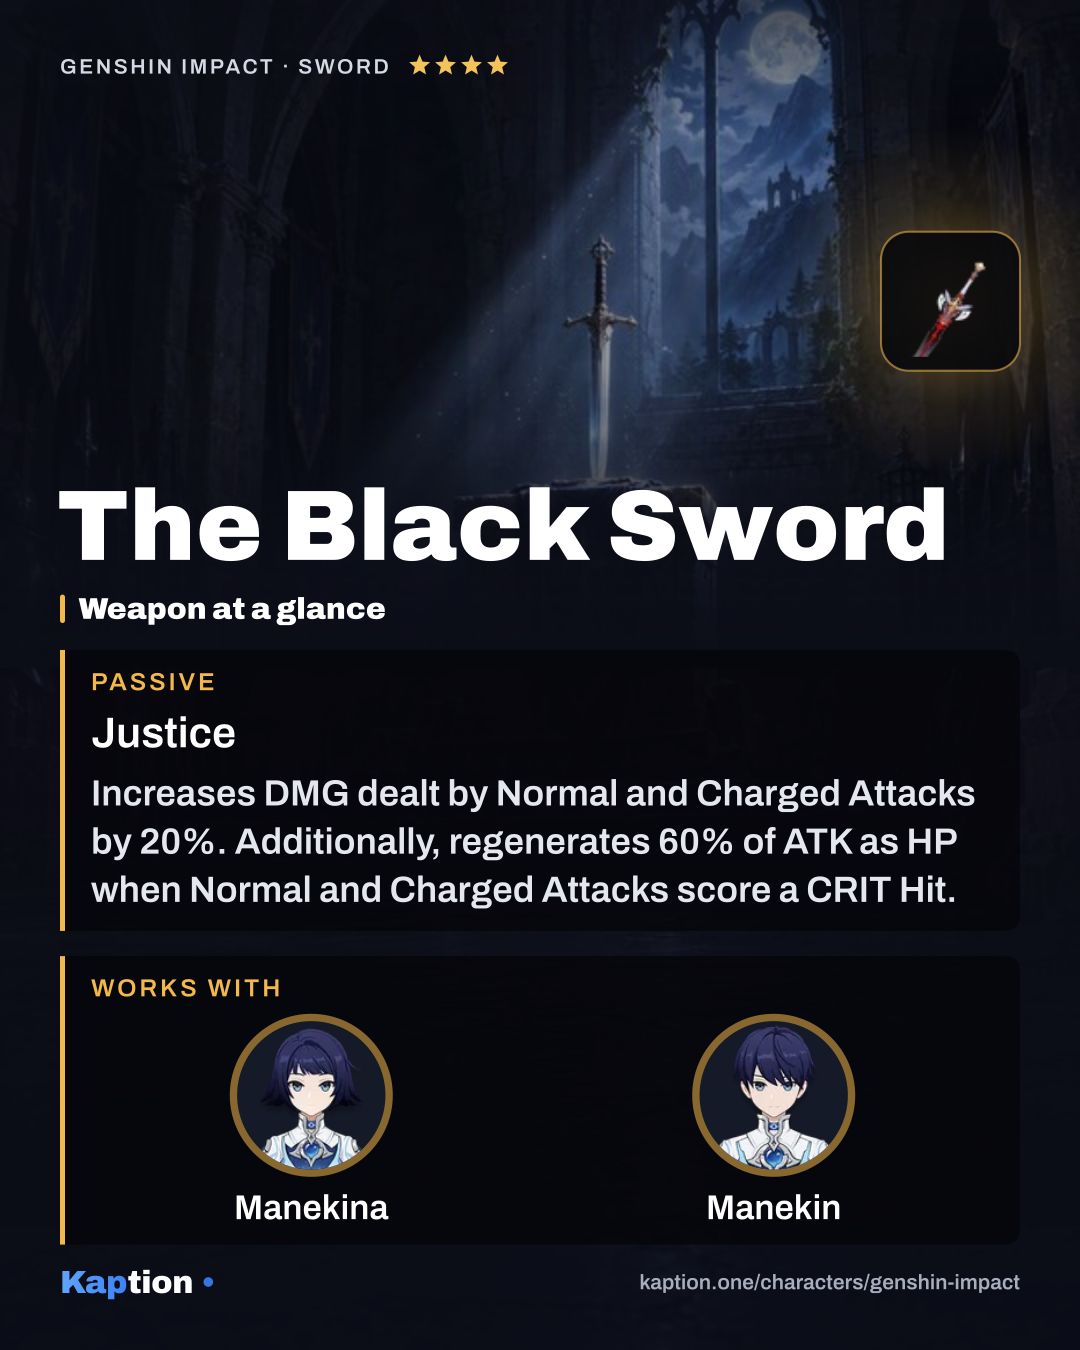
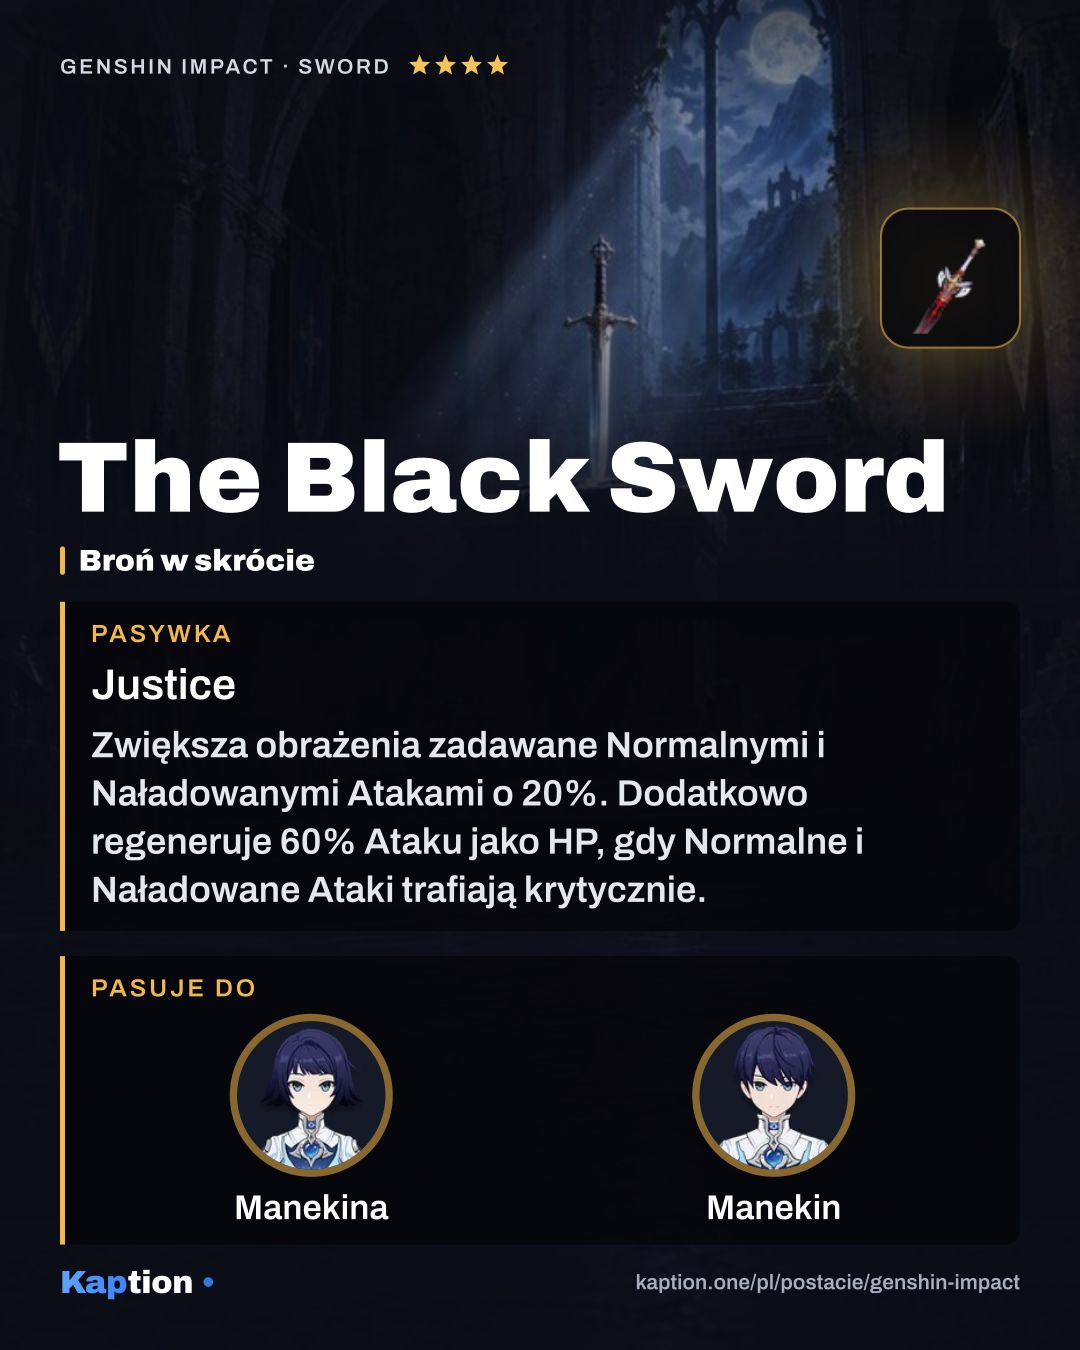
Haran Geppaku Futsu is another option: other nearby party members' Skills can build stacks that Manekina spends with her own Skill to increase Normal Attack damage. For a 4-star option, consider The Black Sword. It increases Normal and Charged Attack damage by 20% and heals on a CRIT from those attacks, once every 5 seconds.
Leveling priority
A reasonable starting order is Outlander Arts: Vigilant Watch (NA), then Punishing Barrage, then No Entry. The Normal Attack talent covers the repeated strikes in this build. Level the Skill and Burst afterward for their own damage. This is a suggested order, not a ranking established by the supplied recommendations.
To raise all talents to their maximum, you need 4,957,500 Mora and 3 Crown of Insight. The books are 9 Teachings of Conflict, 63 Guide to Conflict and 114 Philosophies of Conflict.
You also need 18 Sentry's Wooden Whistle, 66 Warrior's Metal Whistle, 93 Saurian-Crowned Warrior's Golden Whistle and 18 Eroded Sunfire. Those totals cover all talents, so you can work toward them gradually.
Constellations worth it
No constellation effects are listed for Manekina, so there is no basis here for ranking numbered upgrades or recommending which to skip. Her field-time requirements and the exit explosion described above are part of the default kit, not effects that need a constellation.
Teams
Manekina wants time on the field to use her converted attacks and keep her Burst area active. Off-field damage is a useful role to consider beside her, since another character can contribute while Manekina attacks. A healer or shielder is also worth considering for protection during that field time.
Choose offensive support around ATK or Normal Attack damage if you want to reinforce the suggested build. Manekina gives the team her own elemental damage and an AoE hit when she leaves with the Burst area active. Her Elemental Type is not specified here, so pick reaction partners to suit the type available in your game rather than assuming a particular element.
Common mistakes
Do not switch out immediately after using Punishing Barrage if you want to use its attack conversion. It ends when Manekina leaves, so spend some time attacking first. The Skill pulls her back, so check your position before continuing the combo.
Do not expect the Restricted Area from No Entry to stay on the field after a switch. The exit explosion is useful, but it replaces the active area. Also, the extra hit described for the area occurs when an opponent enters it; it is not described as a hit that repeatedly damages every opponent standing inside.
Finally, do not assume a weapon's conditional effect is always active. With Haran Geppaku Futsu, build its stacks using other nearby party members' Skills before Manekina uses hers. With The Black Sword, the healing requires a CRIT from a Normal or Charged Attack.