

Guide
How the kit works
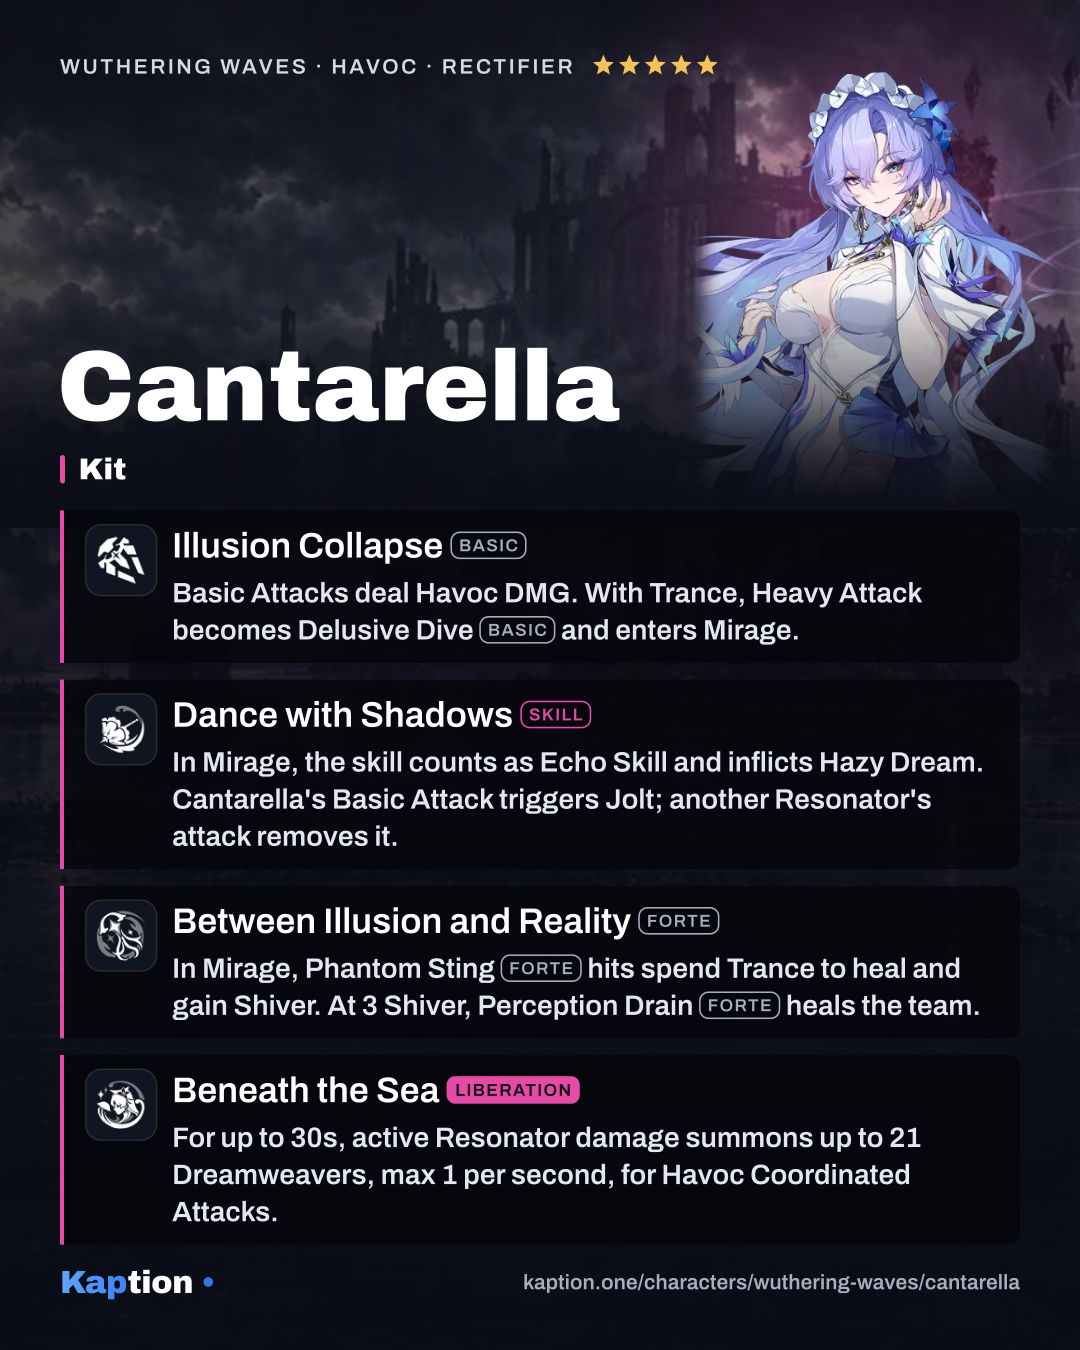
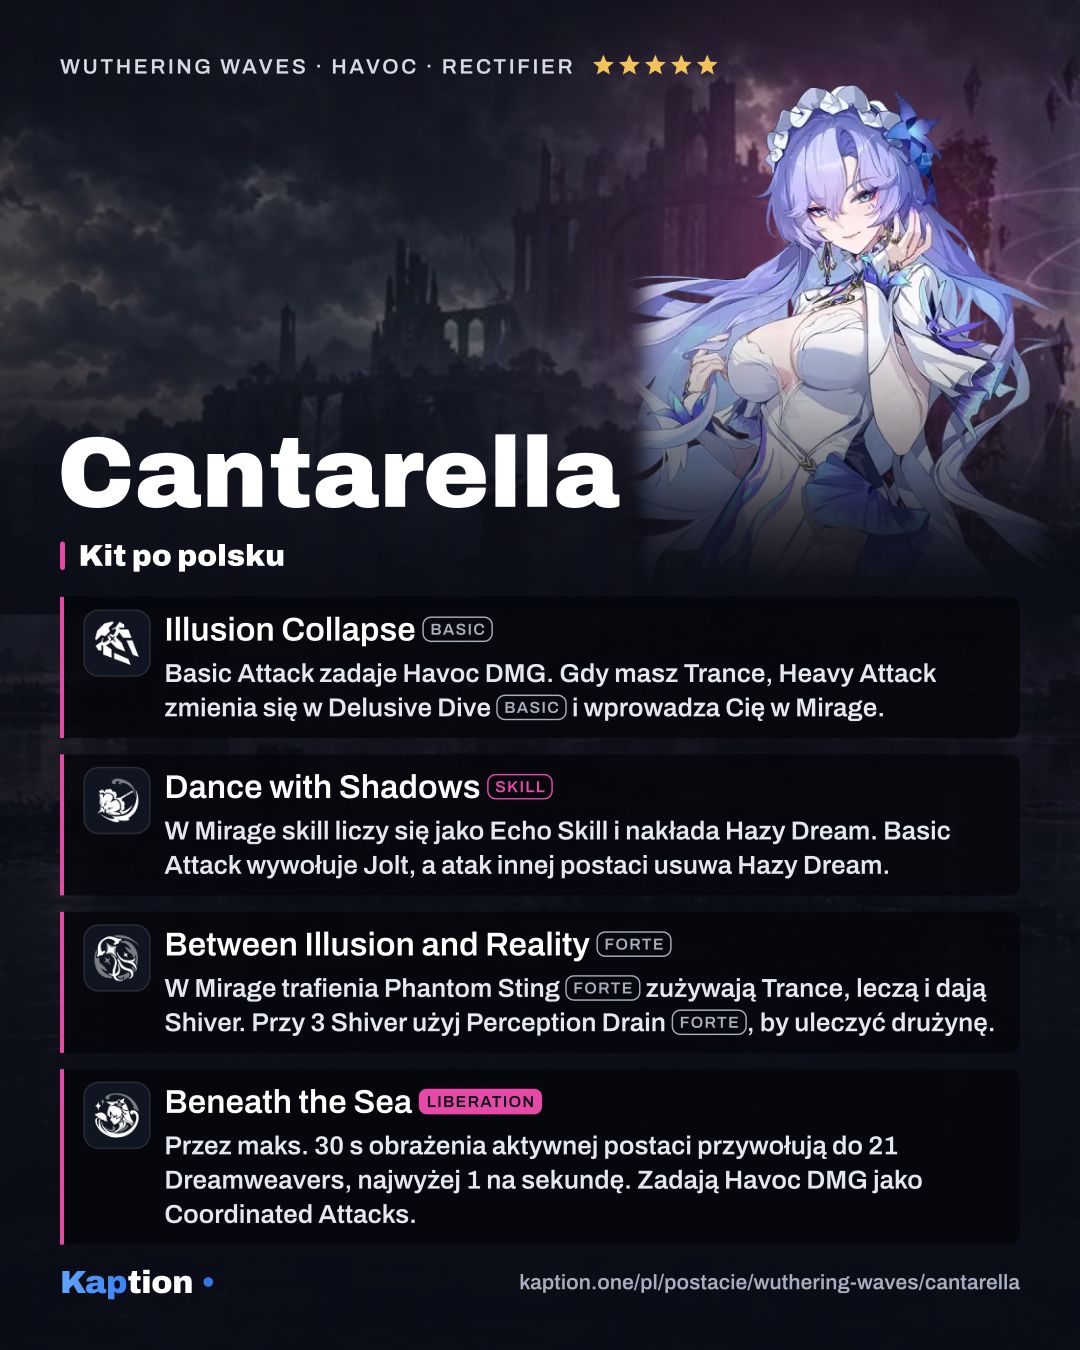
Start with Ripple (Intro), then press Normal Attack shortly afterward to reach the third Basic Attack stage. The Intro and that hit each give one Trance. Graceful Step (Skill) gives another, and Flowing Suffocation (Liberation) gives three. Cantarella can hold five Trance, so any excess is lost.
Use Delusive Dive (Basic), the Heavy Attack available while you have Trance, to enter Mirage. Mirage lasts up to eight seconds and ends if Trance runs out. Phantom Sting (Forte) hits consume Trance, give Shiver and heal nearby teammates. Its third stage also triggers three Coordinated Attacks. The Mirage plunge and Dodge Counter can build Shiver and heal on hit too.
At three Shiver, use Perception Drain (Forte) while still in Mirage. It consumes Shiver, heals the team and applies Hazy Dream. Before three Shiver, Flickering Reverie (Skill) is available in Mirage and also applies Hazy Dream. Both count as Echo Skills.
Hit a target affected by Hazy Dream with Cantarella to trigger Jolt. Another Resonator's attacks remove Hazy Dream without triggering it, and Coordinated Attacks cannot trigger it. After an Intro, up to six differently named Echo Skills used by the team each restore six Concerto Energy to Cantarella within 25 seconds.
Flowing Suffocation also gives the team Diffusion. Damage from the on-field Resonator summons Dreamweavers as Coordinated Attacks, up to one per second and 21 total. Diffusion lasts up to 30 seconds.
Build and why
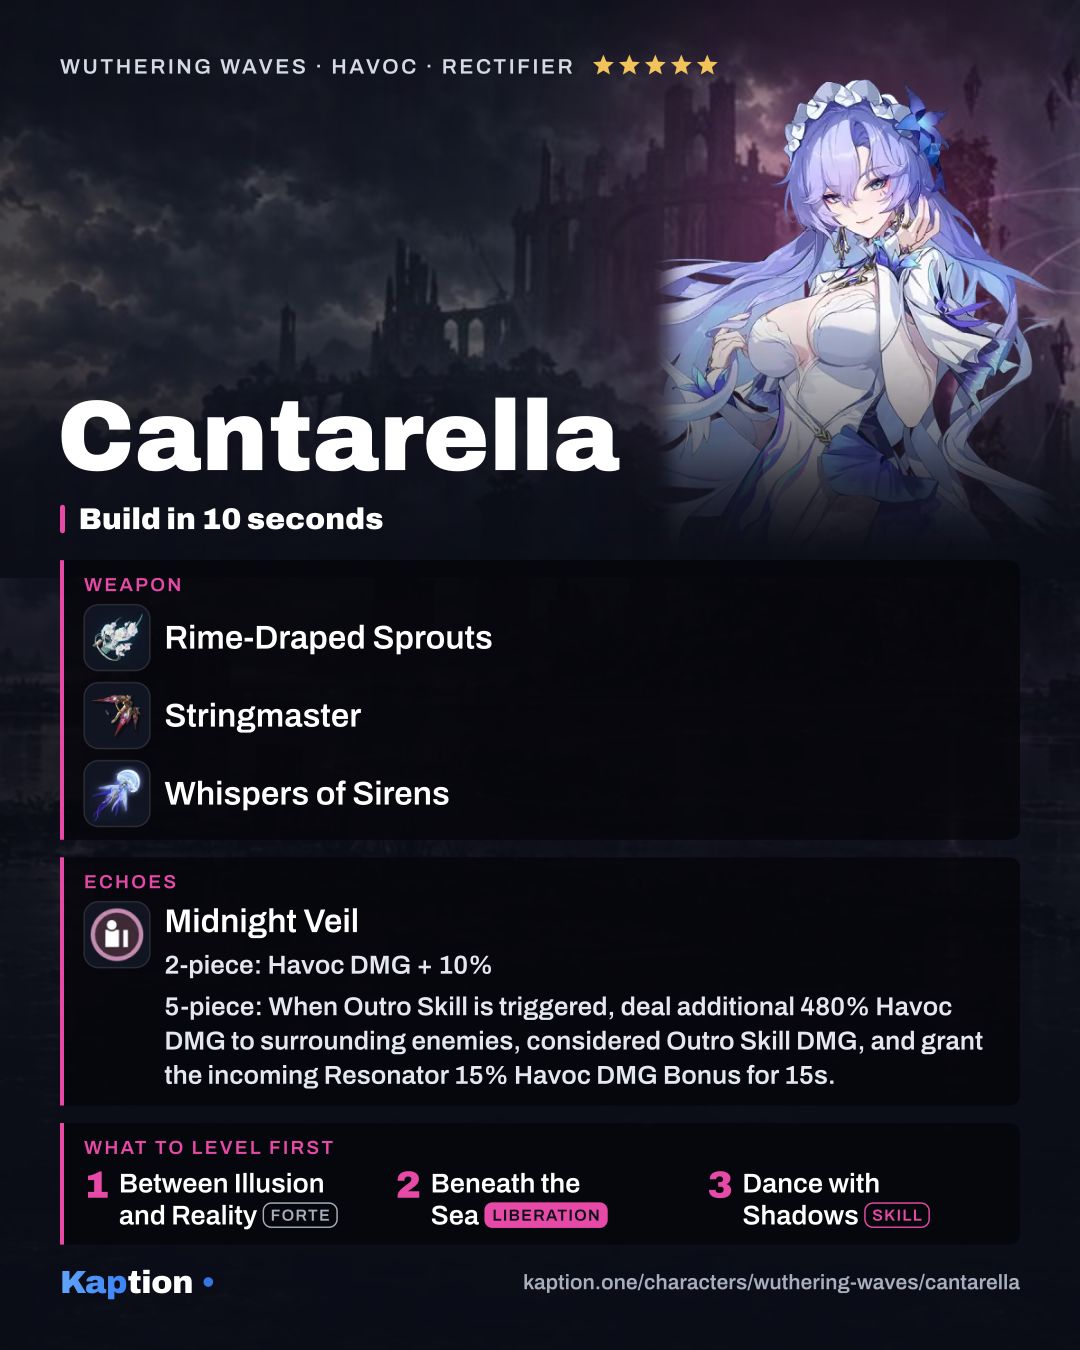
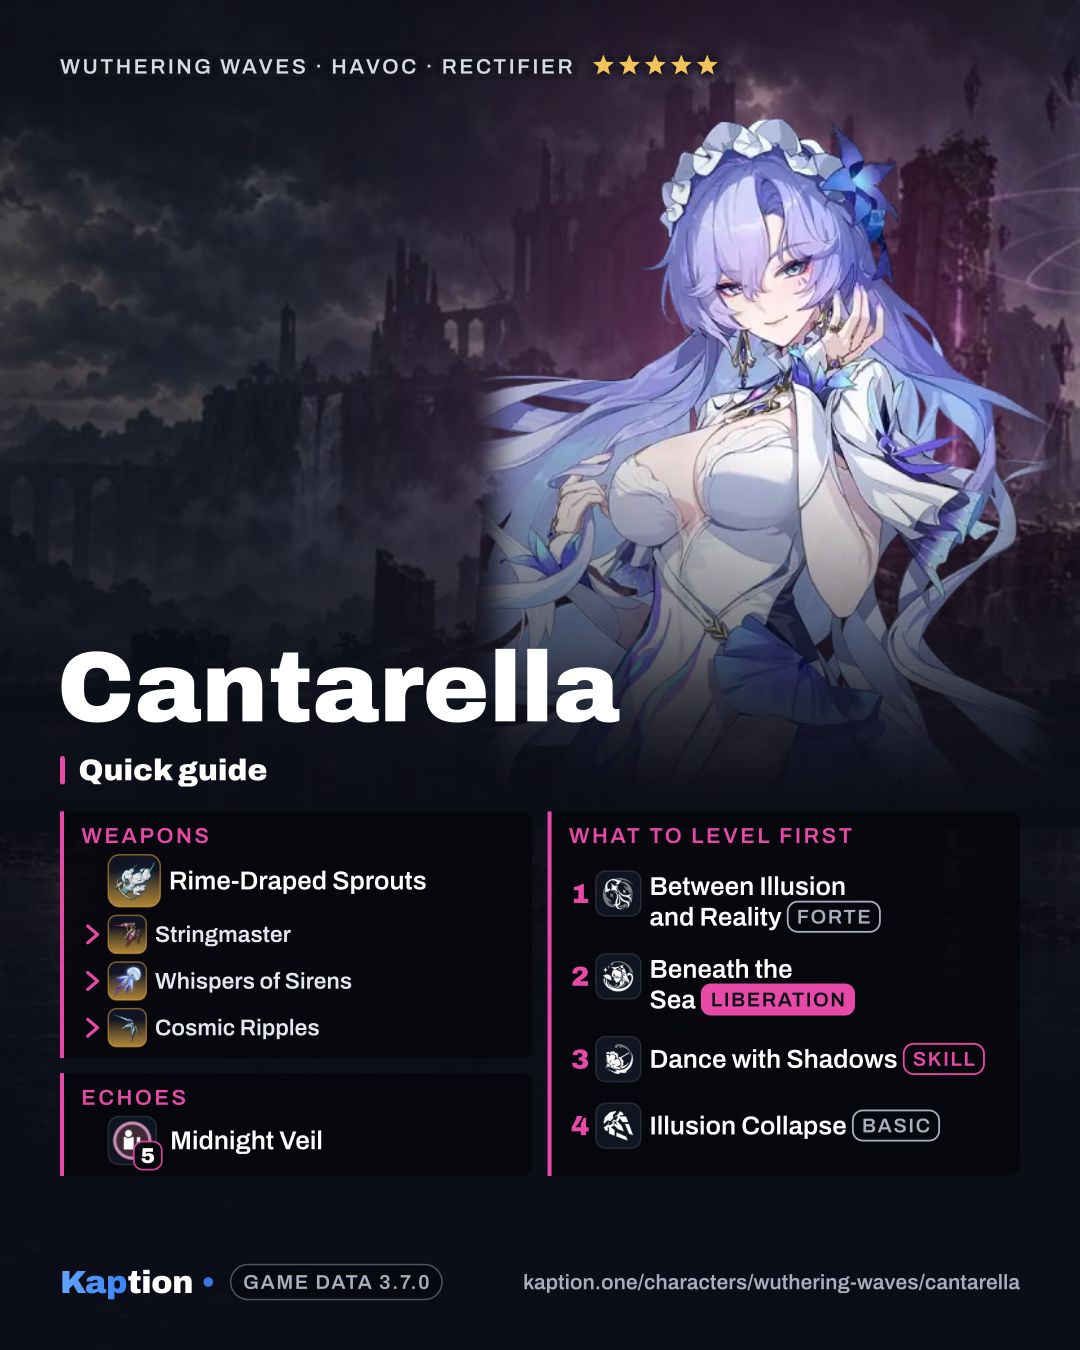
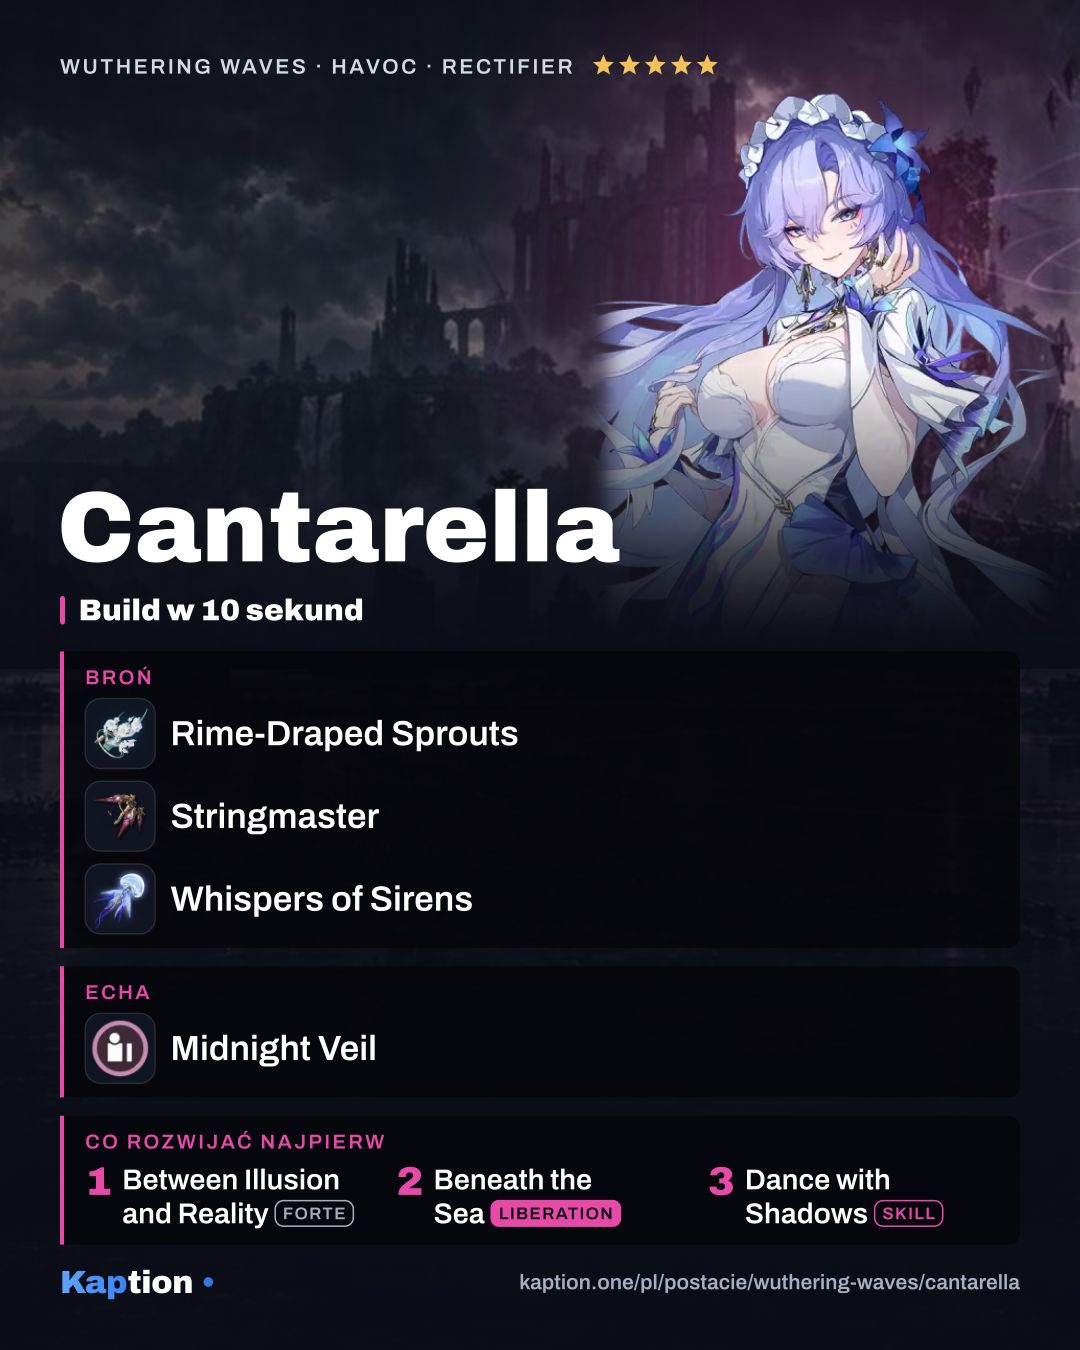
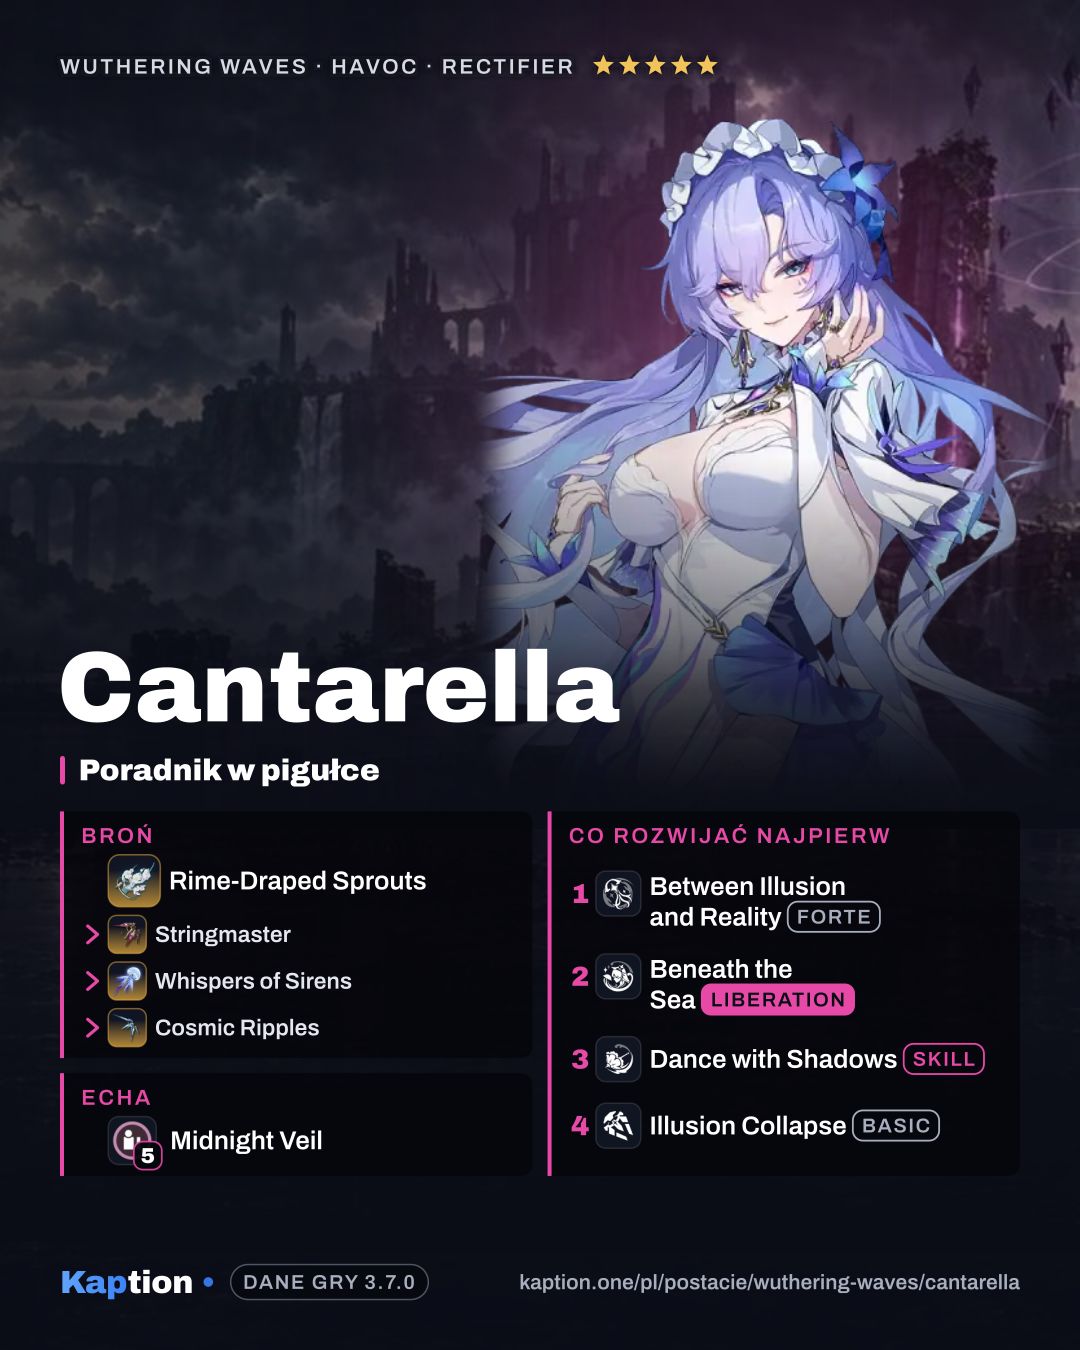
Use five pieces of Midnight Veil. The listed two-piece effect gives 10% Havoc DMG, which fits Cantarella's attacks. The supplied set data does not describe the five-piece effect, so check it in the game when choosing your Echoes.
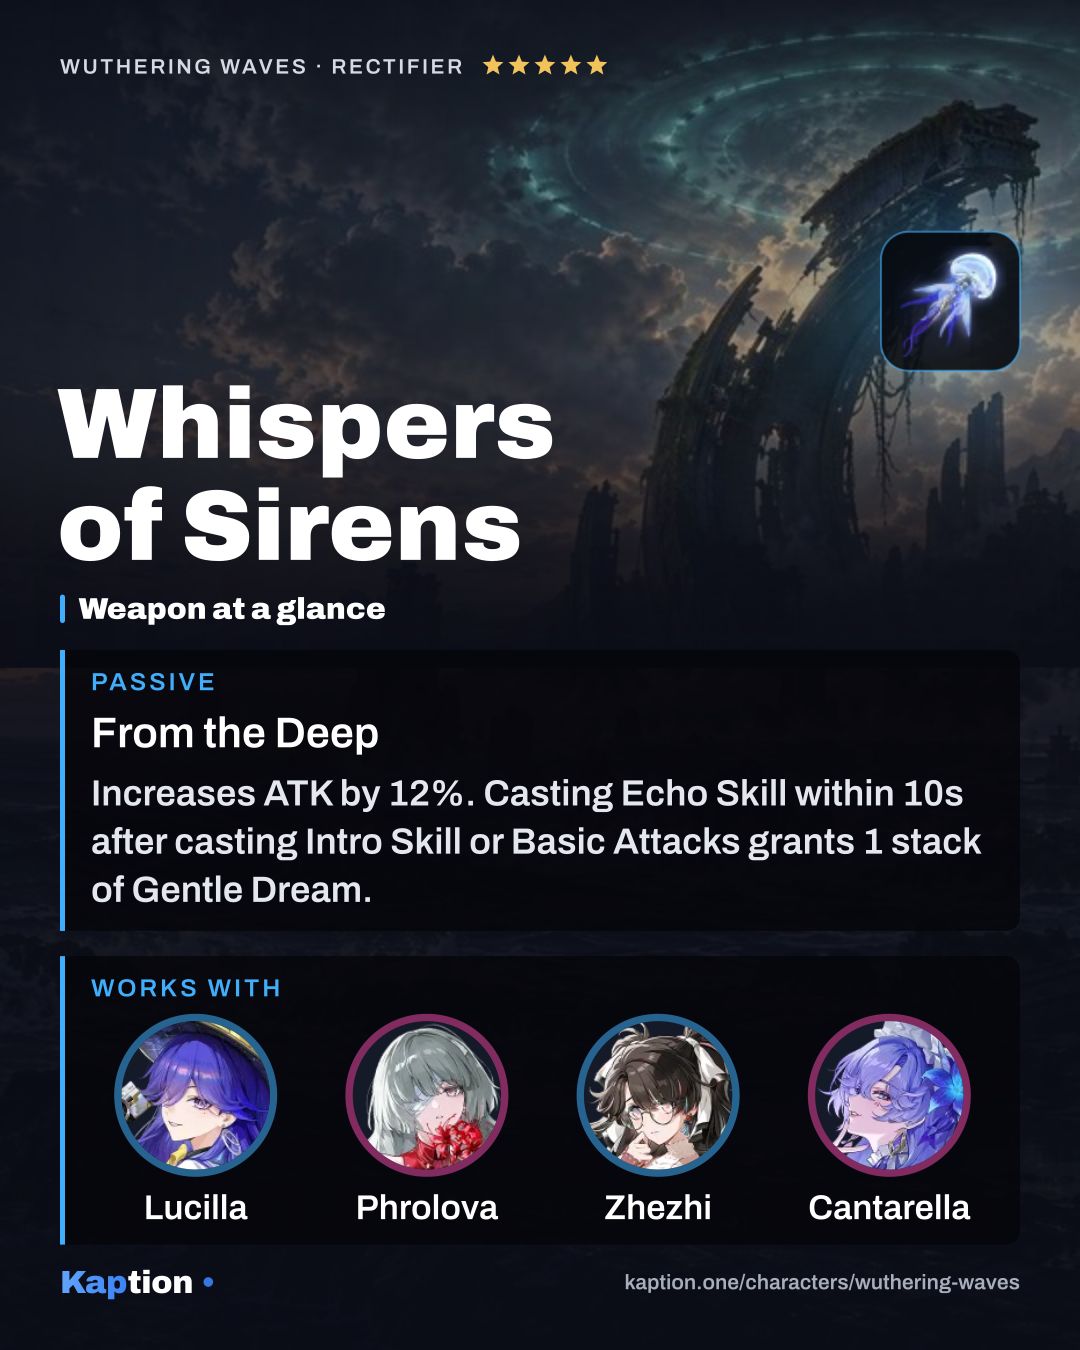
Whispers of Sirens is the first weapon choice. It gives ATK, and one Gentle Dream stack gives 40% Basic Attack DMG Bonus. Cantarella has several attacks that use that damage type. Echo Skills build the stacks, but switching Resonators ends the effect.
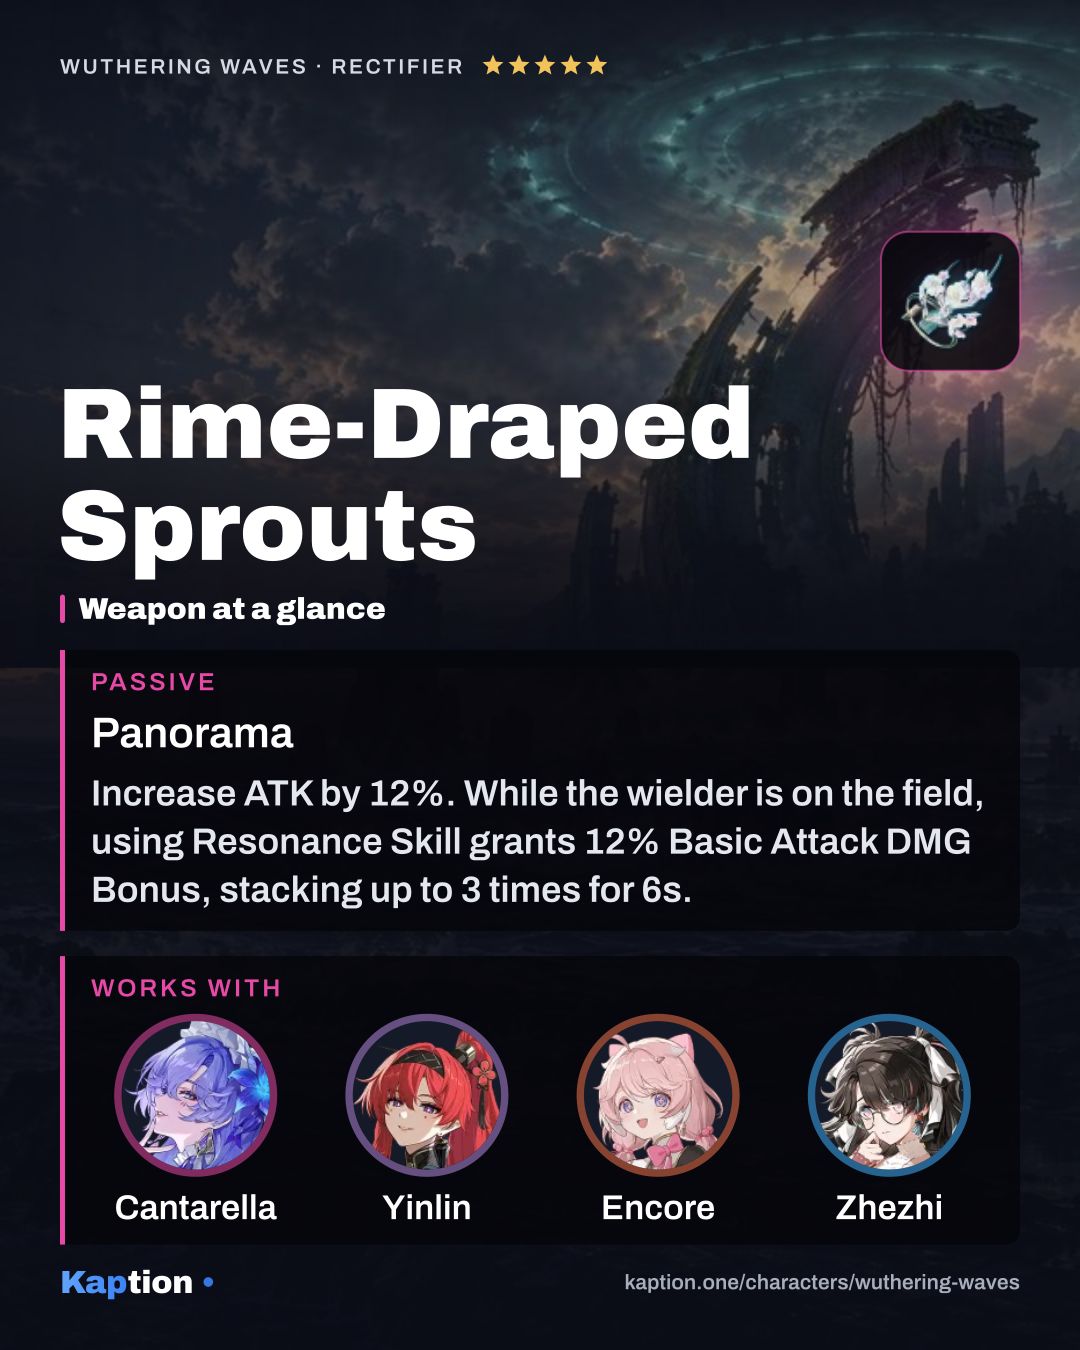
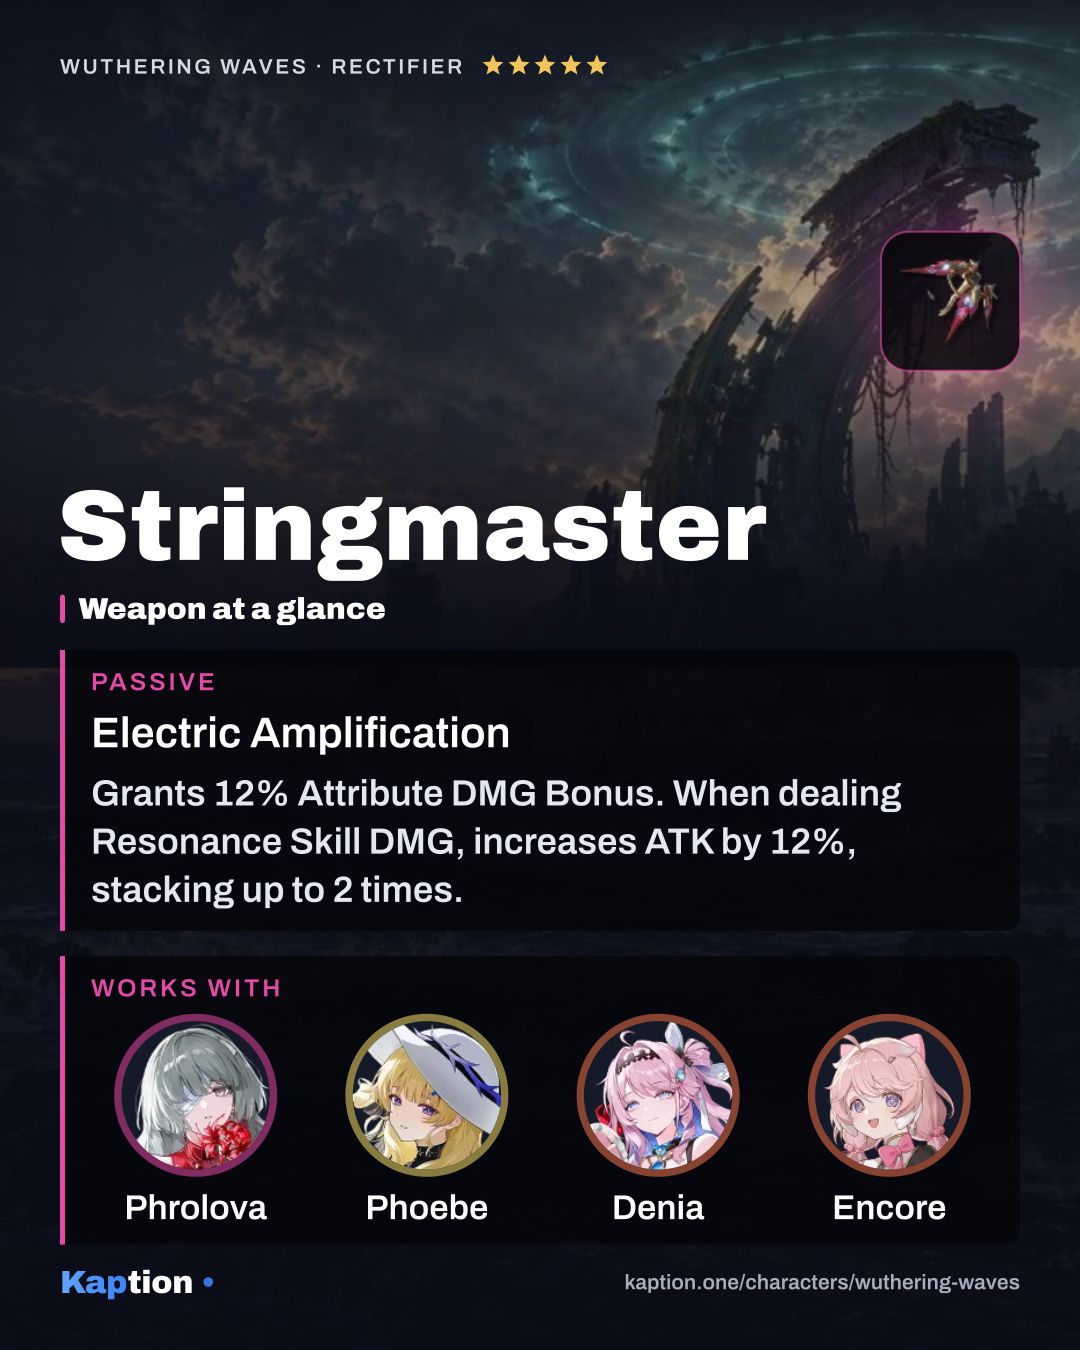
Rime-Draped Sprouts is another option: on-field Resonance Skill use builds Basic Attack DMG Bonus, and at three stacks its Outro effect gives the wielder Basic Attack DMG Bonus while off the field. Stringmaster gives Attribute DMG Bonus and can build ATK through Resonance Skill DMG.
For stats, Havoc DMG Bonus and Basic Attack DMG Bonus are reasonable options for her damage. Consider Energy Regen if you need help using her Liberation; no fixed stat priority is provided here.
Leveling priority
As a suggested order, level Between Illusion and Reality first: it covers her Mirage attacks and Perception Drain. Follow with Beneath the Sea for Flowing Suffocation and its team Coordinated Attacks, then Dance with Shadows. Illusion Collapse and Cruise can come afterward.
For maximum ascension you need 170,000 Shell Credit, 4 LF Polygon Core, 12 MF Polygon Core, 12 HF Polygon Core, 4 FF Polygon Core, 46 Cleansing Conch and 60 Seaside Cendrelis.
For all skills, you need 2,030,000 Shell Credit, 25 LF Polygon Core, 28 MF Polygon Core, 40 HF Polygon Core, 57 FF Polygon Core, 26 When Irises Bloom, 25 Lento Helix, 28 Adagio Helix, 55 Andante Helix and 67 Presto Helix.
Resonance Chain nodes worth it
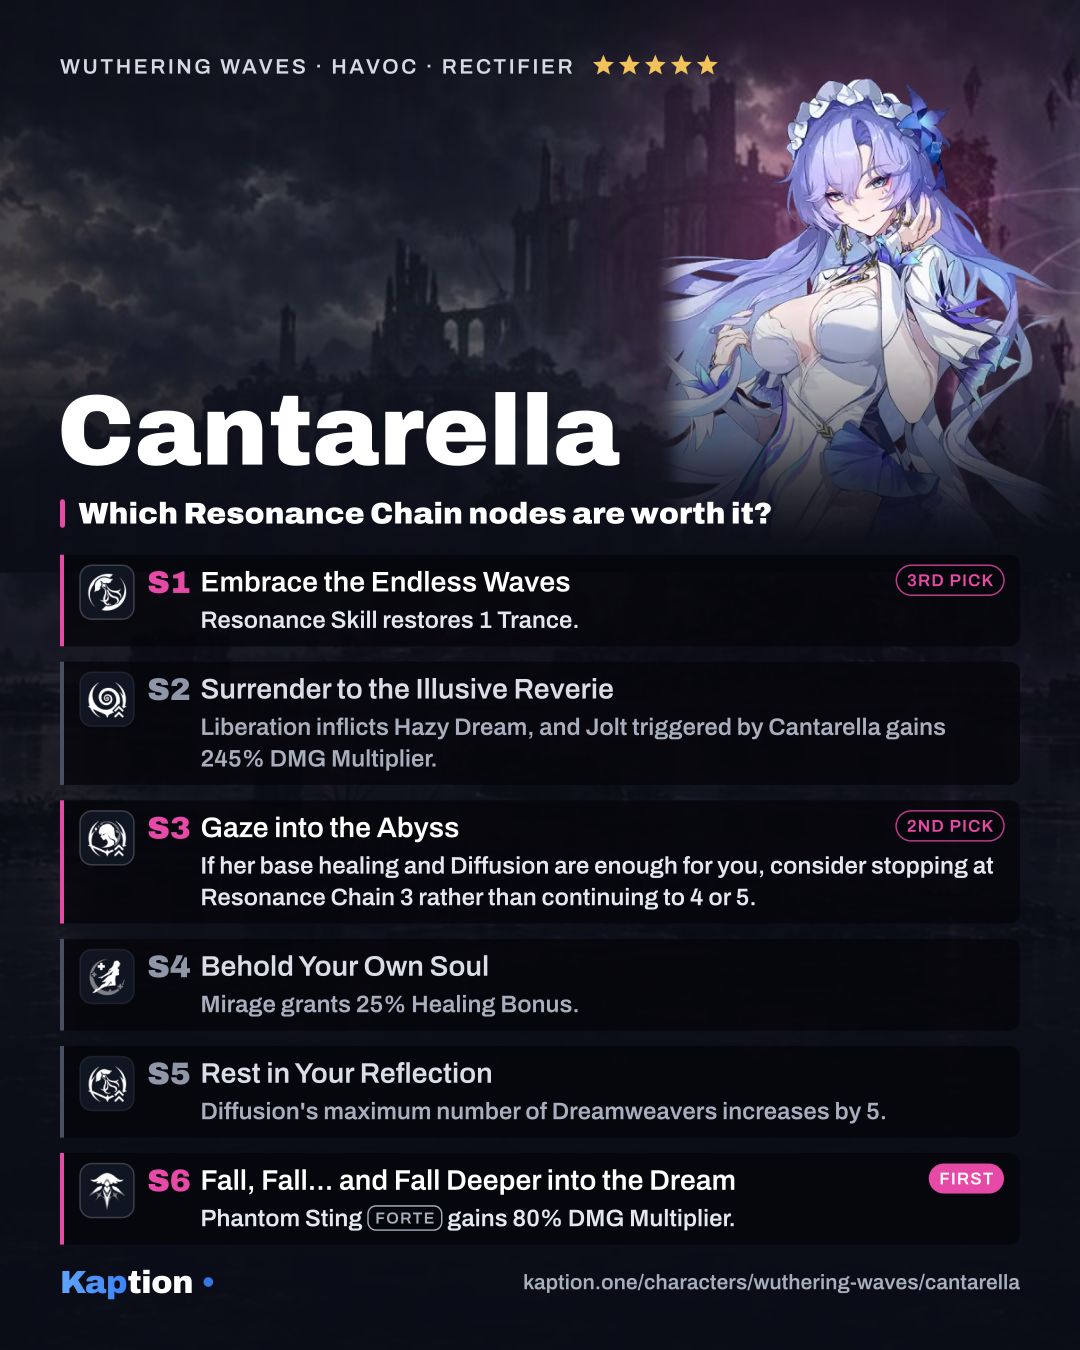
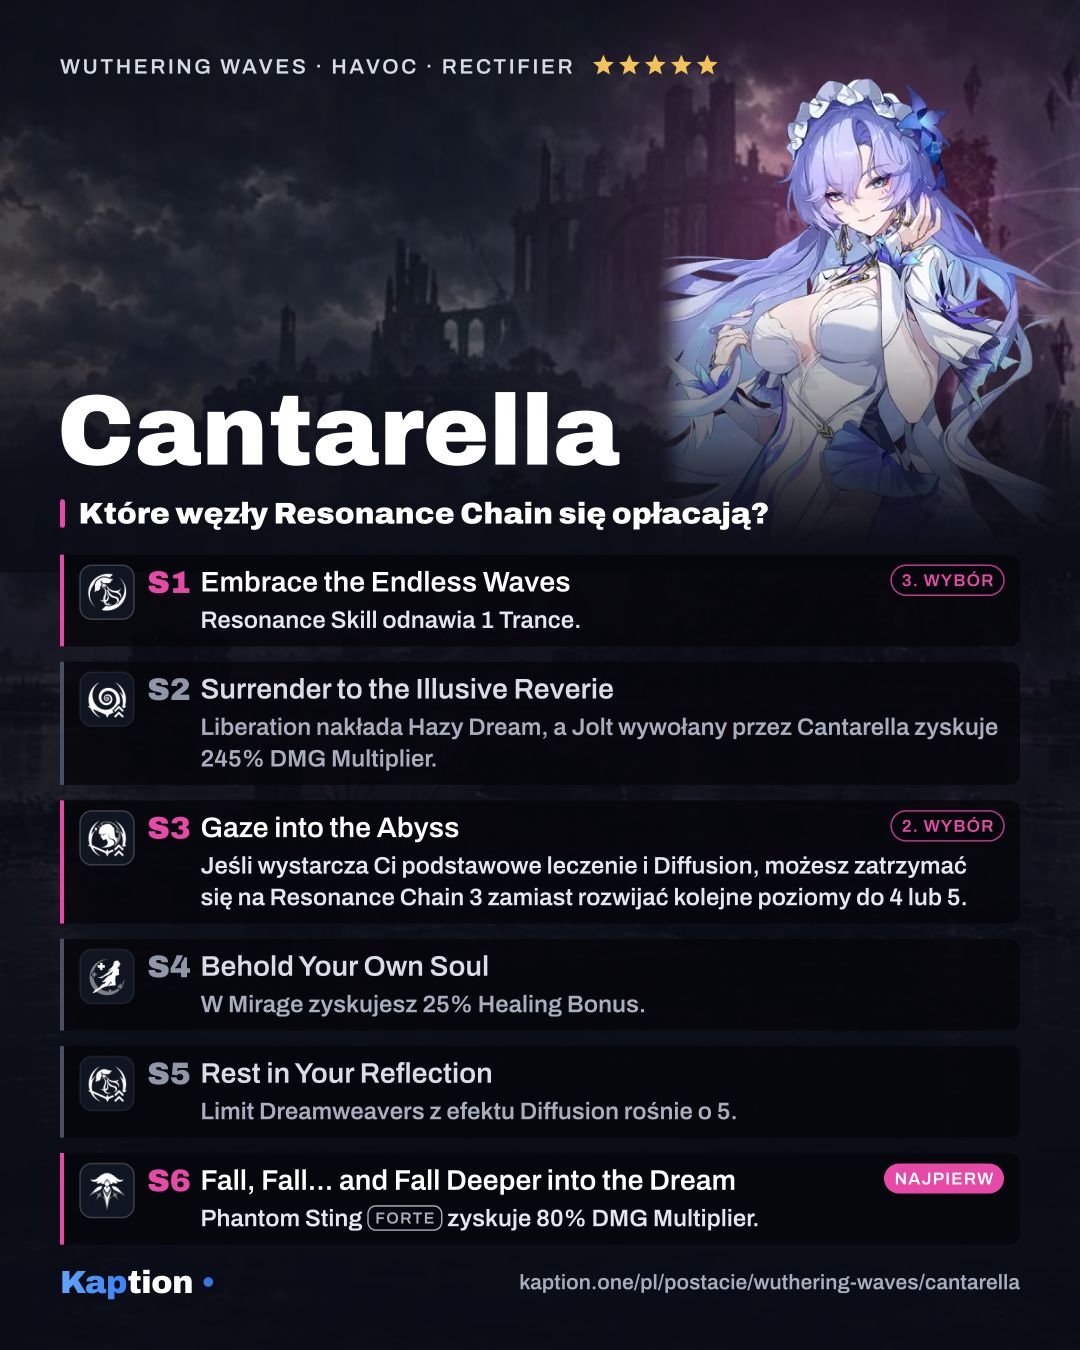
For a damage-focused suggestion, look at Fall, Fall... and Fall Deeper into the Dream (RC6). It raises the Phantom Sting (Forte) DMG Multiplier by 80%. After Flowing Suffocation (Liberation), Cantarella's damage ignores 30% of the target's DEF for 10 seconds.
Gaze into the Abyss (RC3) raises Flowing Suffocation's DMG Multiplier by 370% and puts Cantarella in Mirage after the cast. It does not activate Mirage again if she is already in it. Embrace the Endless Waves (RC1) is an earlier option: Resonance Skill restores one Trance, the multipliers of three named skills increase by 50%, and Perception Drain (Forte) gains interruption immunity.
Resonance Chain 2 is worth considering for Jolt: Flowing Suffocation applies Hazy Dream, and Cantarella's Jolt DMG Multiplier increases by 245%. If her base healing and Diffusion are enough for you, consider stopping at Resonance Chain 3 rather than continuing to 4 or 5. Those nodes improve Healing Bonus in Mirage and the Dreamweaver limit respectively.
Teams
Phrolova is a Havoc teammate named by the guides. Rover: Havoc, Roccia and Camellya are other Havoc options they name. Choose the recipient of Cantarella's Outro with its two buffs in mind: the incoming Resonator gets Havoc DMG and Resonance Skill DMG amplification.
The buff ends when you switch again, so give that teammate time on the field. Cantarella also supplies healing and Diffusion's Coordinated Attacks. A third teammate can use an Echo Skill during her post-Intro Concerto window; different Echo names matter because the same name only triggers the recovery once.
Qiuyuan is another teammate named by a guide. Jinhsi is also named, though her Spectro attribute means the Havoc part of the Outro is not an obvious match.
Common mistakes
Do not enter Mirage with only three Trance if you plan to reach Perception Drain through three Phantom Sting (Forte) hits. Those hits consume all three points and end Mirage. Build more Trance first so you can still use the skill at three Shiver.
Do not switch straight after applying Hazy Dream if you want Jolt. Hit the target with Cantarella first; another Resonator's attack removes the state. Coordinated Attacks and Utilities cannot trigger Jolt.
Do not switch away from the Outro recipient early unless you need to, since that ends the amplification. Also remember that Whispers of Sirens loses its stack effect when Cantarella switches out.