

Guide
How the kit works
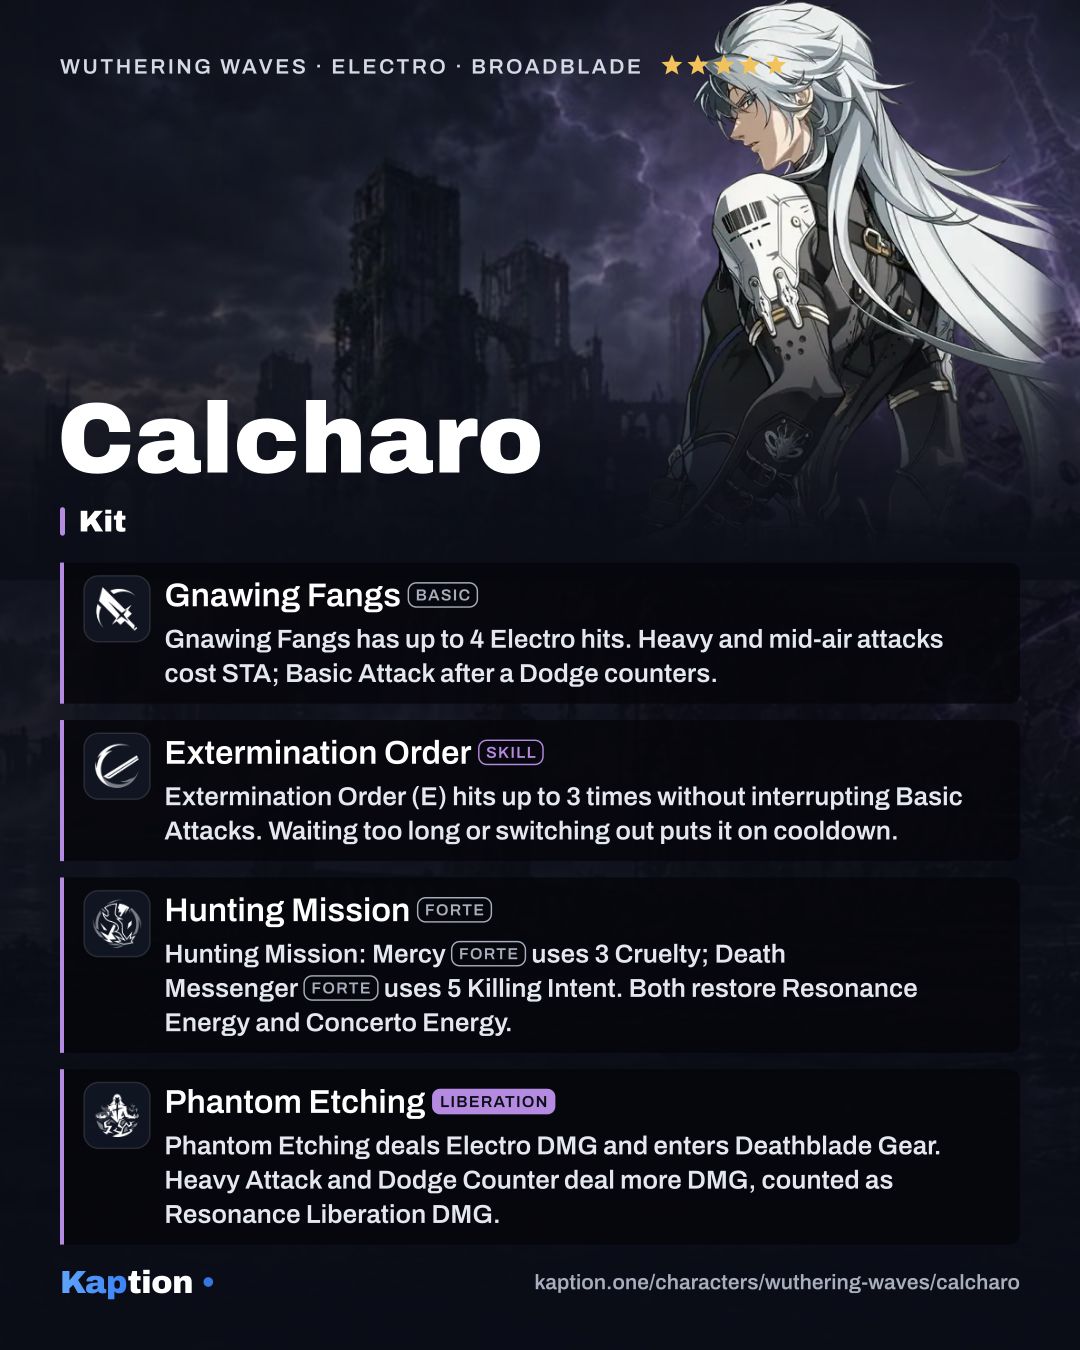
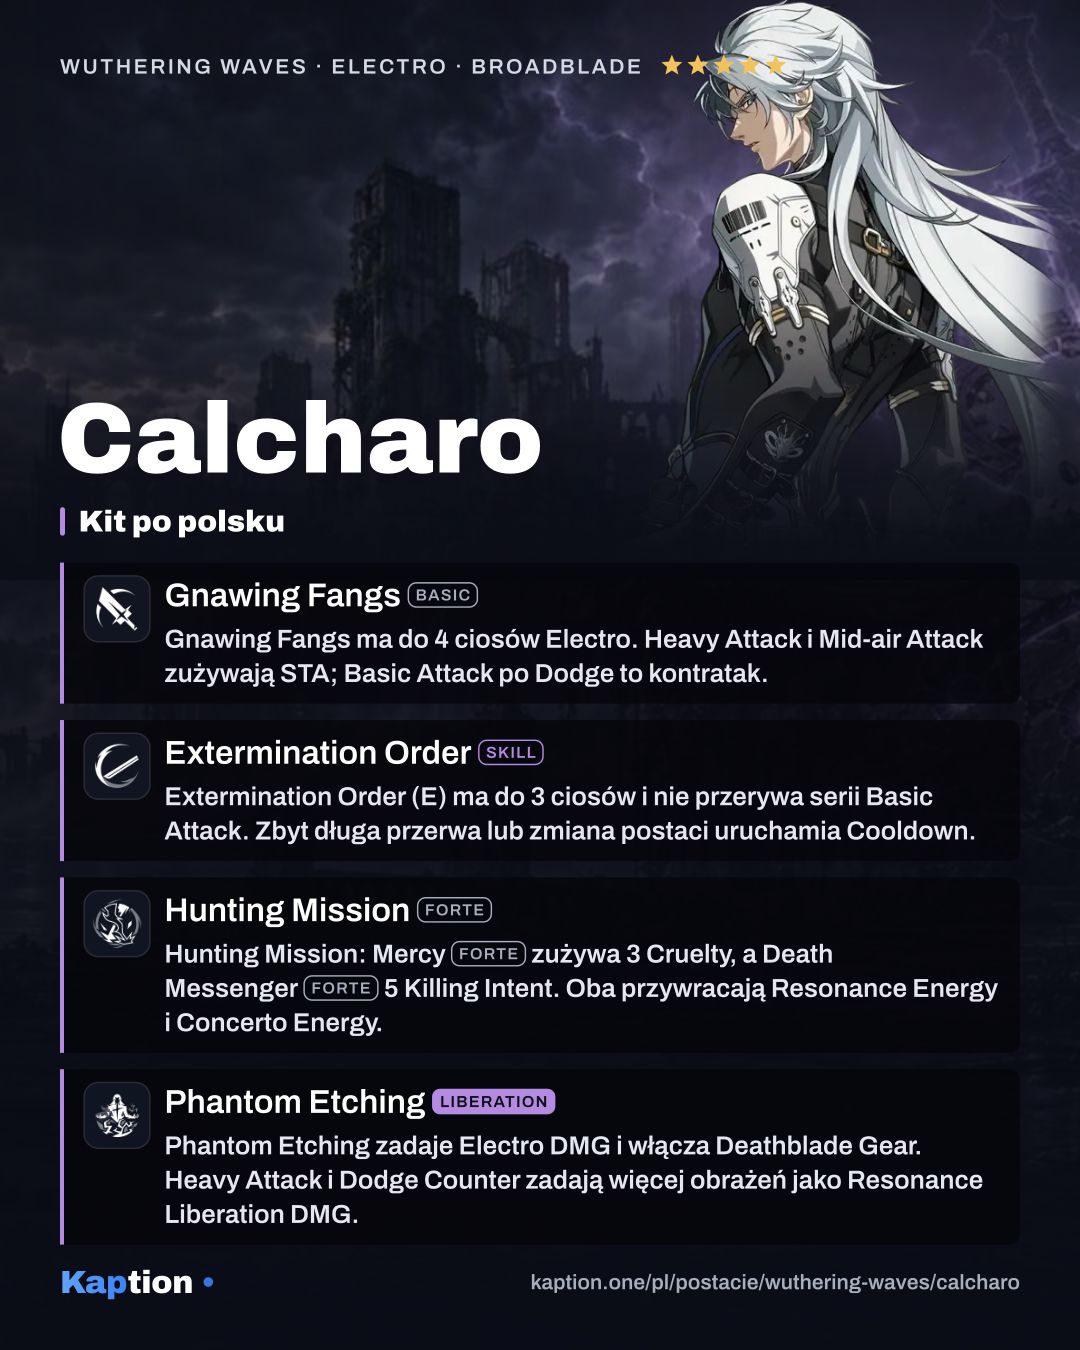
Start with Extermination Order (Resonance Skill). It has up to three consecutive attacks, and each hit grants one Cruelty. You can weave it into Gnawing Fangs (Basic Attack) without interrupting the Basic Attack cycle. Finish the Skill sequence before switching out or waiting too long, since either puts it on cooldown.
At three Cruelty, use Mercy (Heavy Attack) from Hunting Mission (Forte Circuit). It consumes the stacks, deals Heavy Attack DMG and restores Resonance Energy and Concerto Energy. Bloodshed Awaken (Inherent Skill) also grants 10% Resonance Liberation DMG Bonus for 15 seconds after Mercy.
Use Phantom Etching (Resonance Liberation) to enter Deathblade Gear. Basic Attack becomes Hounds Roar (Basic Attack), whose hits build Killing Intent. At five stacks, Basic Attack becomes Death Messenger (Heavy Attack). It consumes the stacks, restores both energy types and deals Resonance Liberation DMG.
During Deathblade Gear, enhanced Heavy Attacks and Dodge Counters also count as Resonance Liberation DMG. A Death Messenger hit reduces damage taken by 15% for 5 seconds through Revenant Rush (Inherent Skill). After the state ends, the next Intro becomes Necessary Means (Intro Skill). Shadowy Raid (Outro Skill) summons a Phantom whose attack scales with Calcharo's ATK.
Build and why
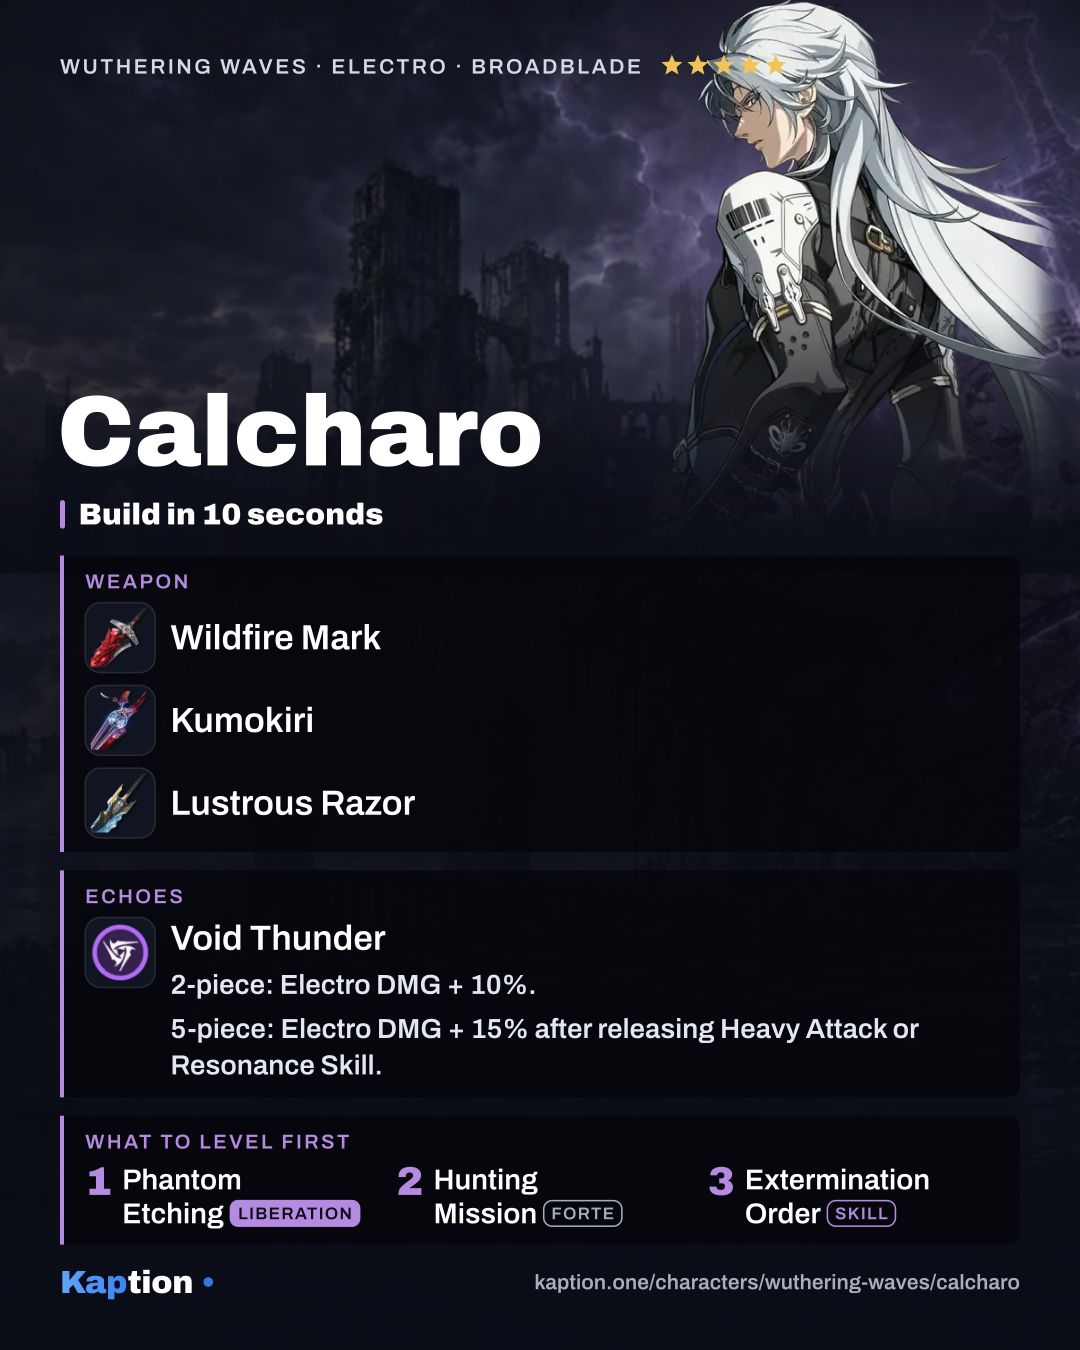
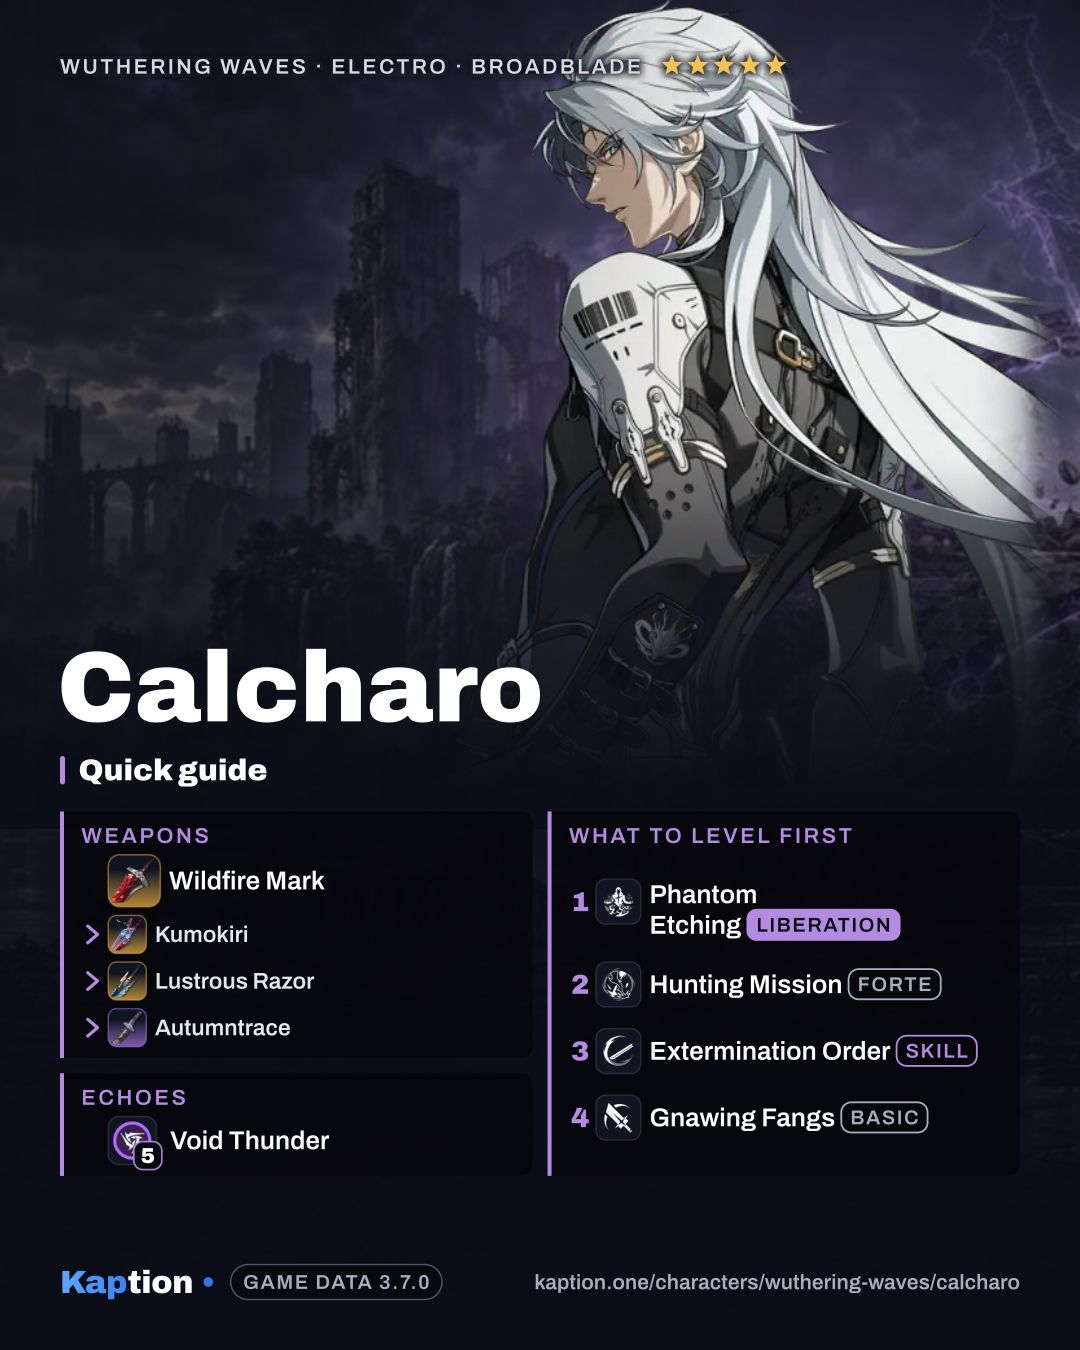
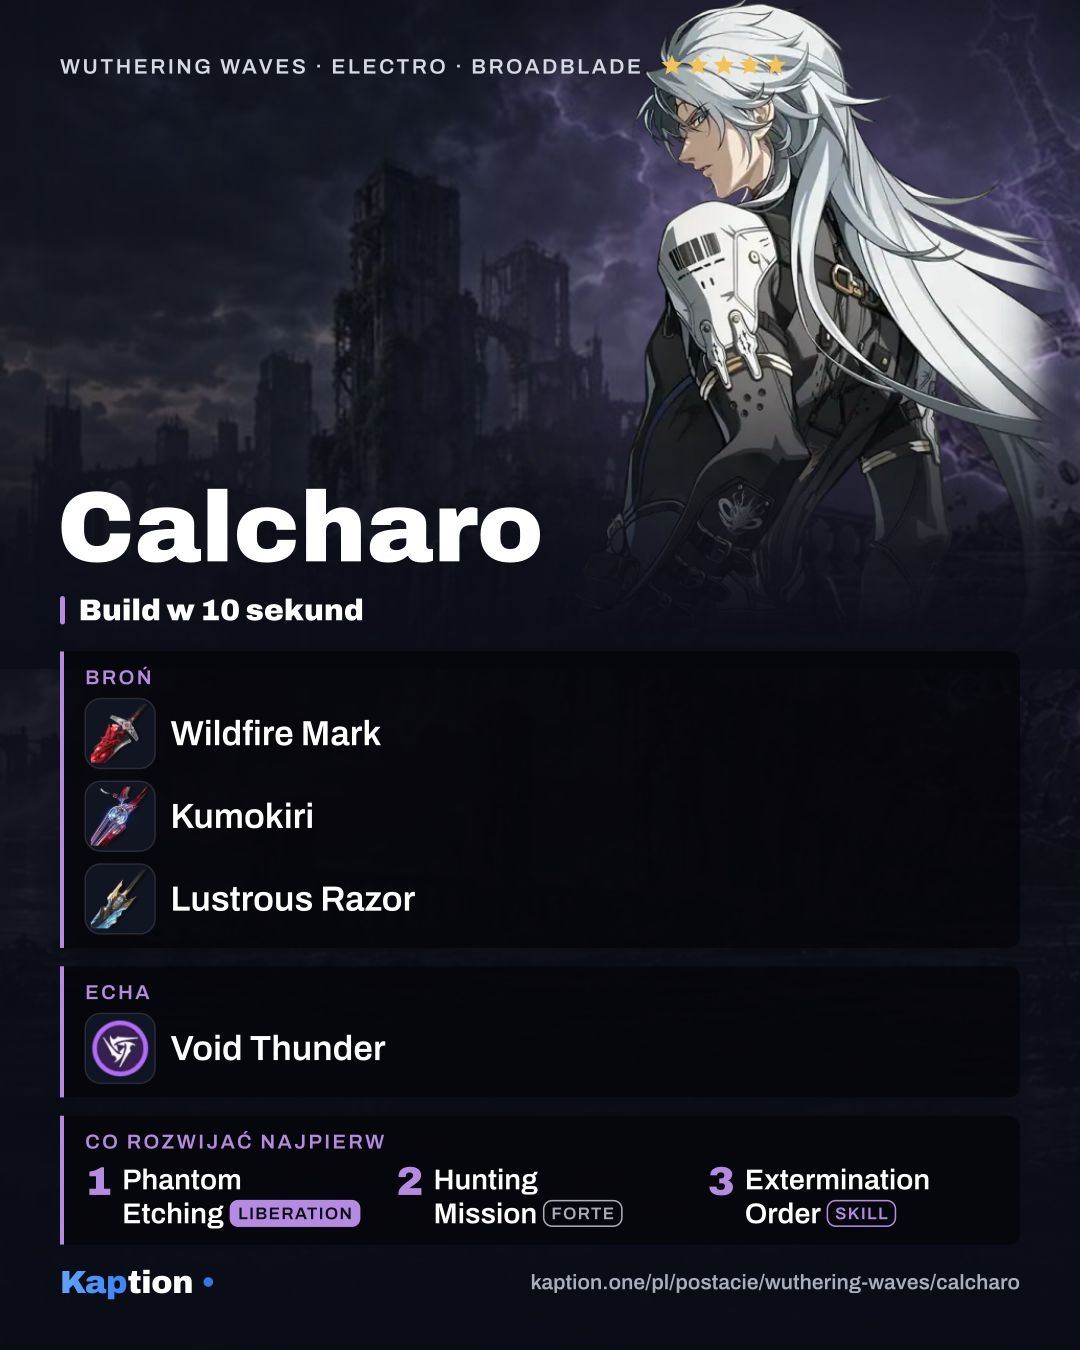
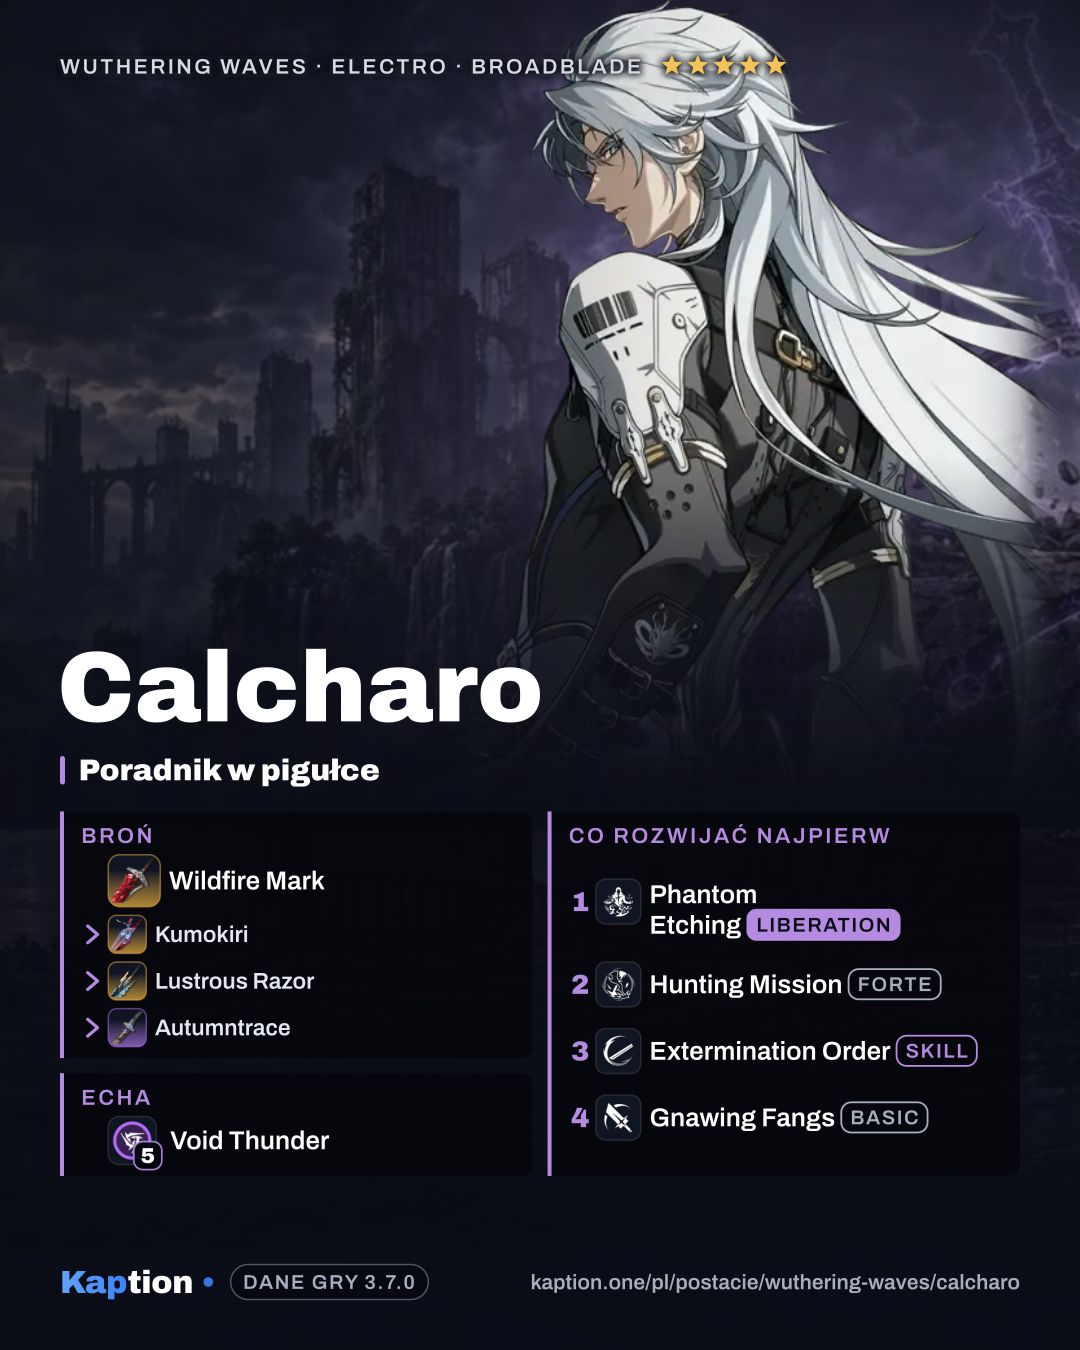
Use five pieces of Void Thunder, the game's recommended set. Its listed two-piece effect gives 10% Electro DMG, which suits Calcharo's attacks. The five-piece effect is not described here, so do not assume what it adds. Lingering Tunes is another option: its two-piece effect gives 10% ATK, useful for damage that scales with ATK.
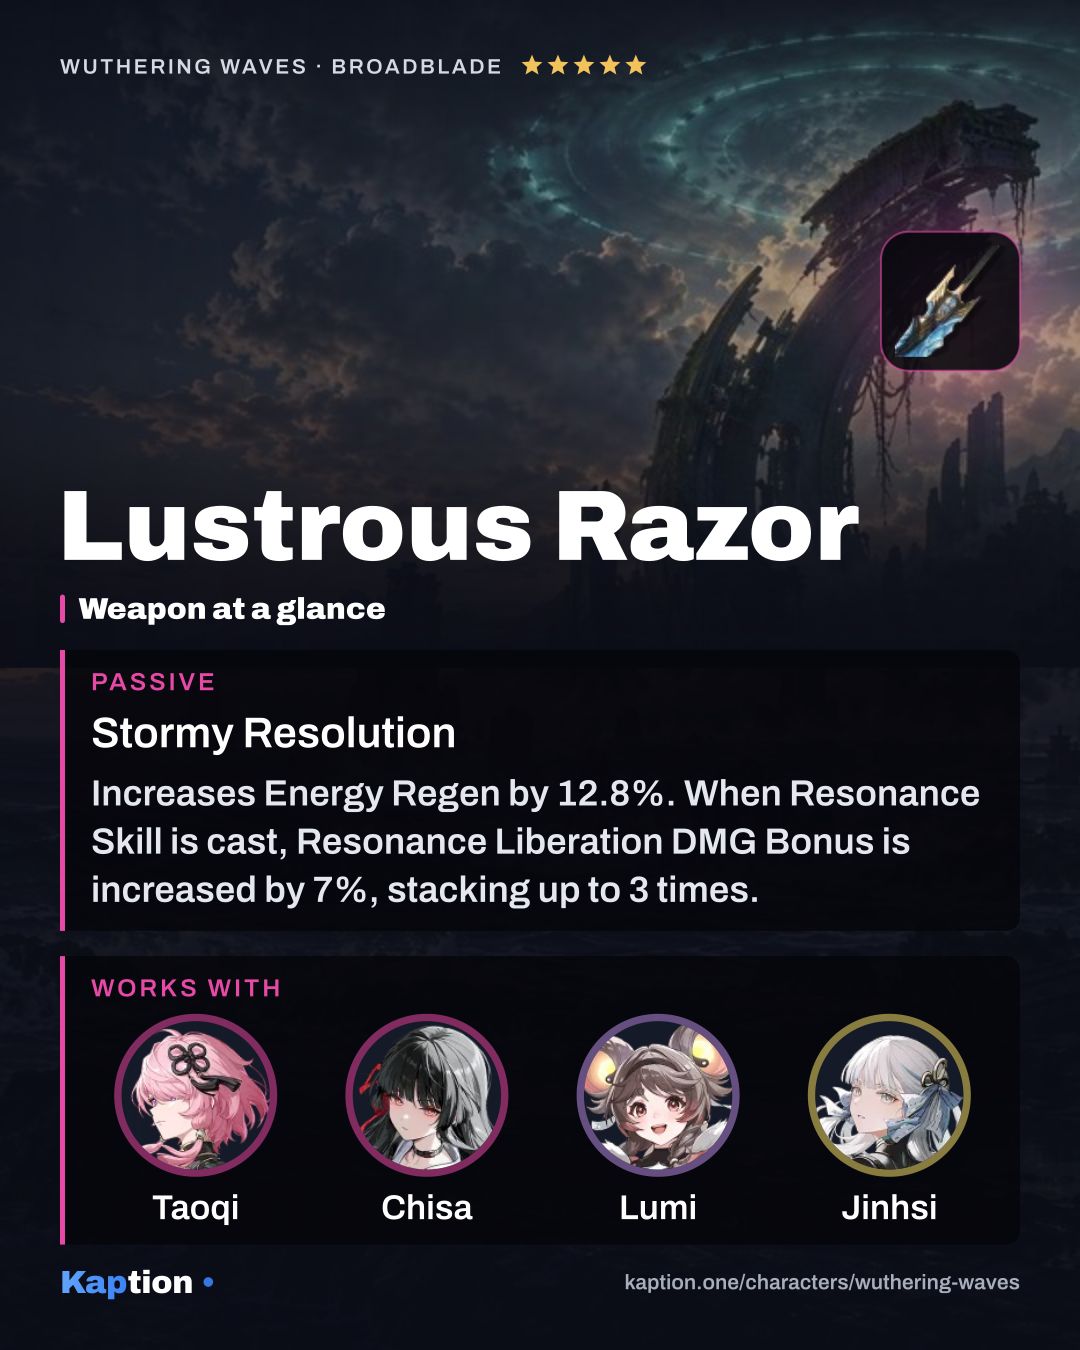
Lustrous Razor is the first weapon to consider. It gives 12.8% Energy Regen, and casting Resonance Skill grants 7% Resonance Liberation DMG Bonus per stack, up to three stacks for 12 seconds. Both effects suit a rotation built around Liberation.
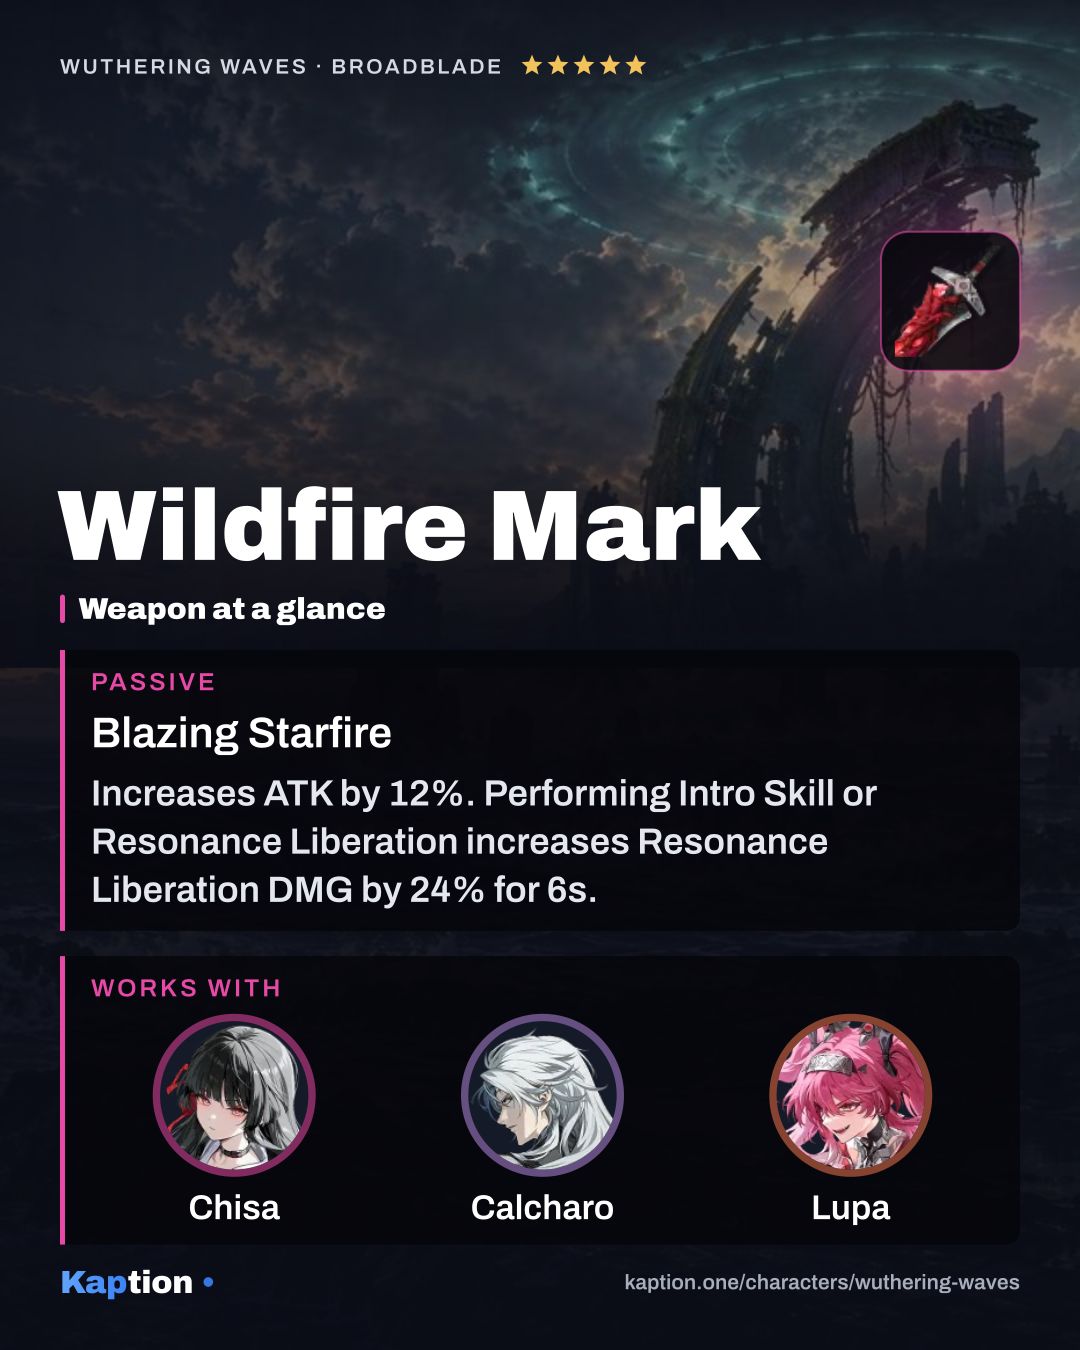
Wildfire Mark is another option. It grants 12% ATK and 24% Resonance Liberation DMG after an Intro Skill or Liberation for 6 seconds. Heavy Attack DMG can extend that effect once by 4 seconds. Its team Fusion DMG Bonus matters when a teammate deals Fusion damage.
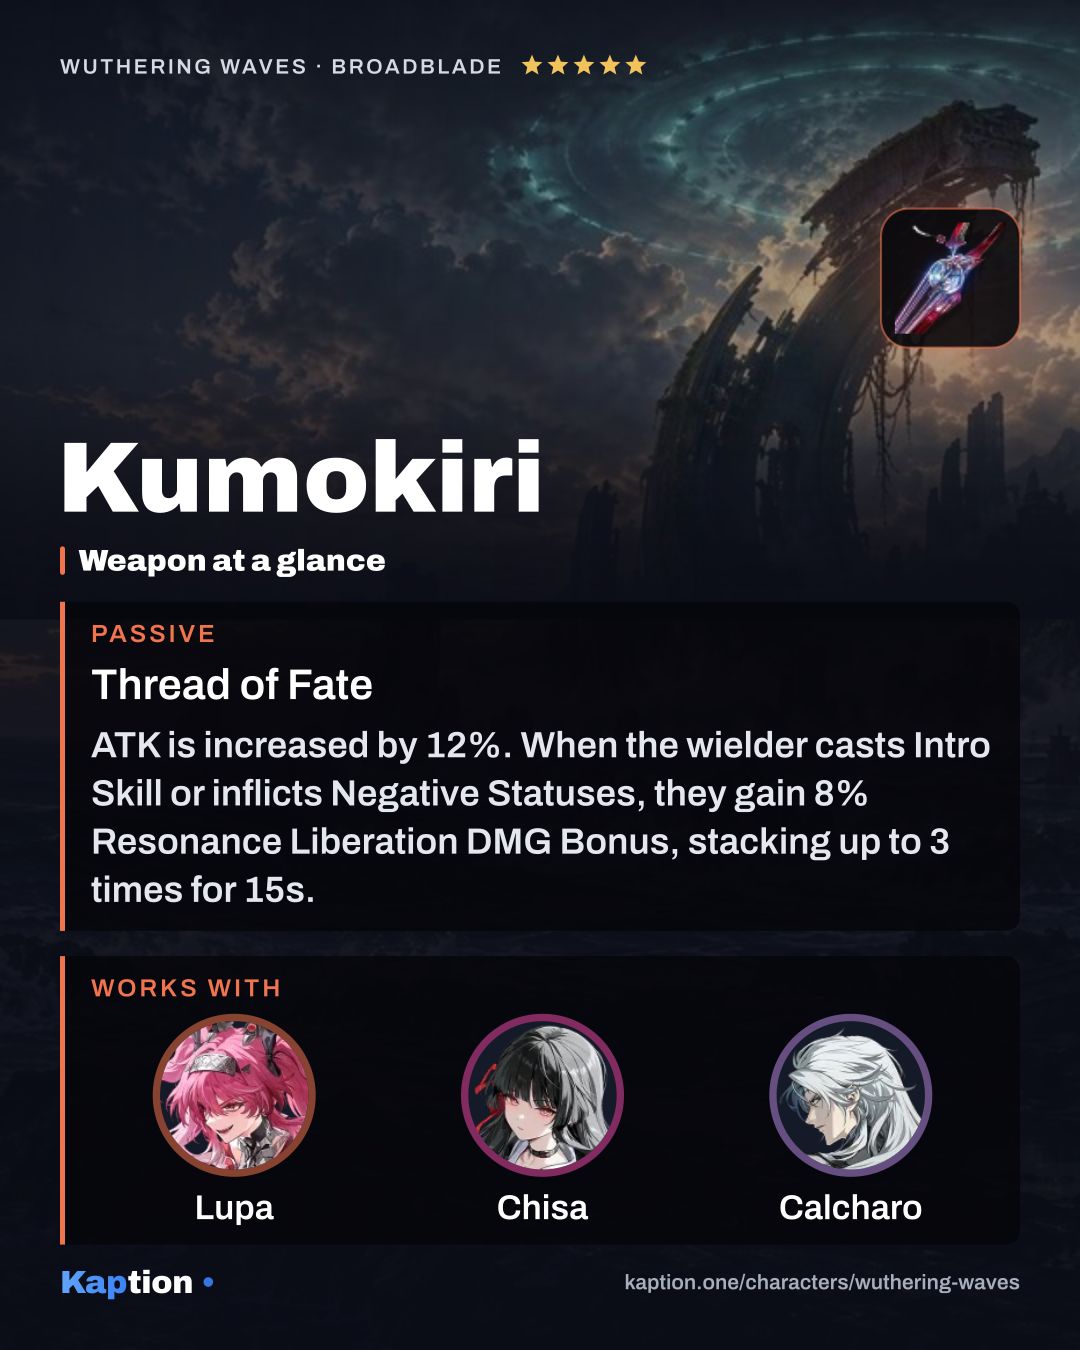
Kumokiri gives 12% ATK and can stack Resonance Liberation DMG Bonus through an Intro Skill or inflicted Negative Statuses. Do not assume Calcharo applies a Negative Status from his listed kit. Autumntrace is a 4-star option that builds ATK stacks through Basic or Heavy Attack DMG. ATK and Energy Regen are useful stats to consider: the former supports ATK-scaling damage, while the latter helps with Liberation access.
Leveling priority
A suggested leveling order is Phantom Etching (Resonance Liberation), Hunting Mission (Forte Circuit), Extermination Order (Resonance Skill), Gnawing Fangs (Basic Attack), then Wanted Outlaw (Intro Skill). Start with Liberation and Forte because the rotation relies on Deathblade Gear and the attacks built through the Forte Gauge. The Skill is used to build Cruelty before Liberation.
To ascend Calcharo to the maximum level, collect 170,000 Shell Credit, 4 Crude Ring, 12 Basic Ring, 12 Improved Ring, 4 Tailored Ring, 46 Thundering Tacet Core and 60 Iris.
For all skills at maximum, you need 2,030,000 Shell Credit, 25 Crude Ring, 28 Basic Ring, 40 Improved Ring, 57 Tailored Ring, 26 Monument Bell, 25 Waveworn Residue 210, 28 Waveworn Residue 226, 55 Waveworn Residue 235 and 67 Waveworn Residue 239.
Resonance Chain nodes worth it
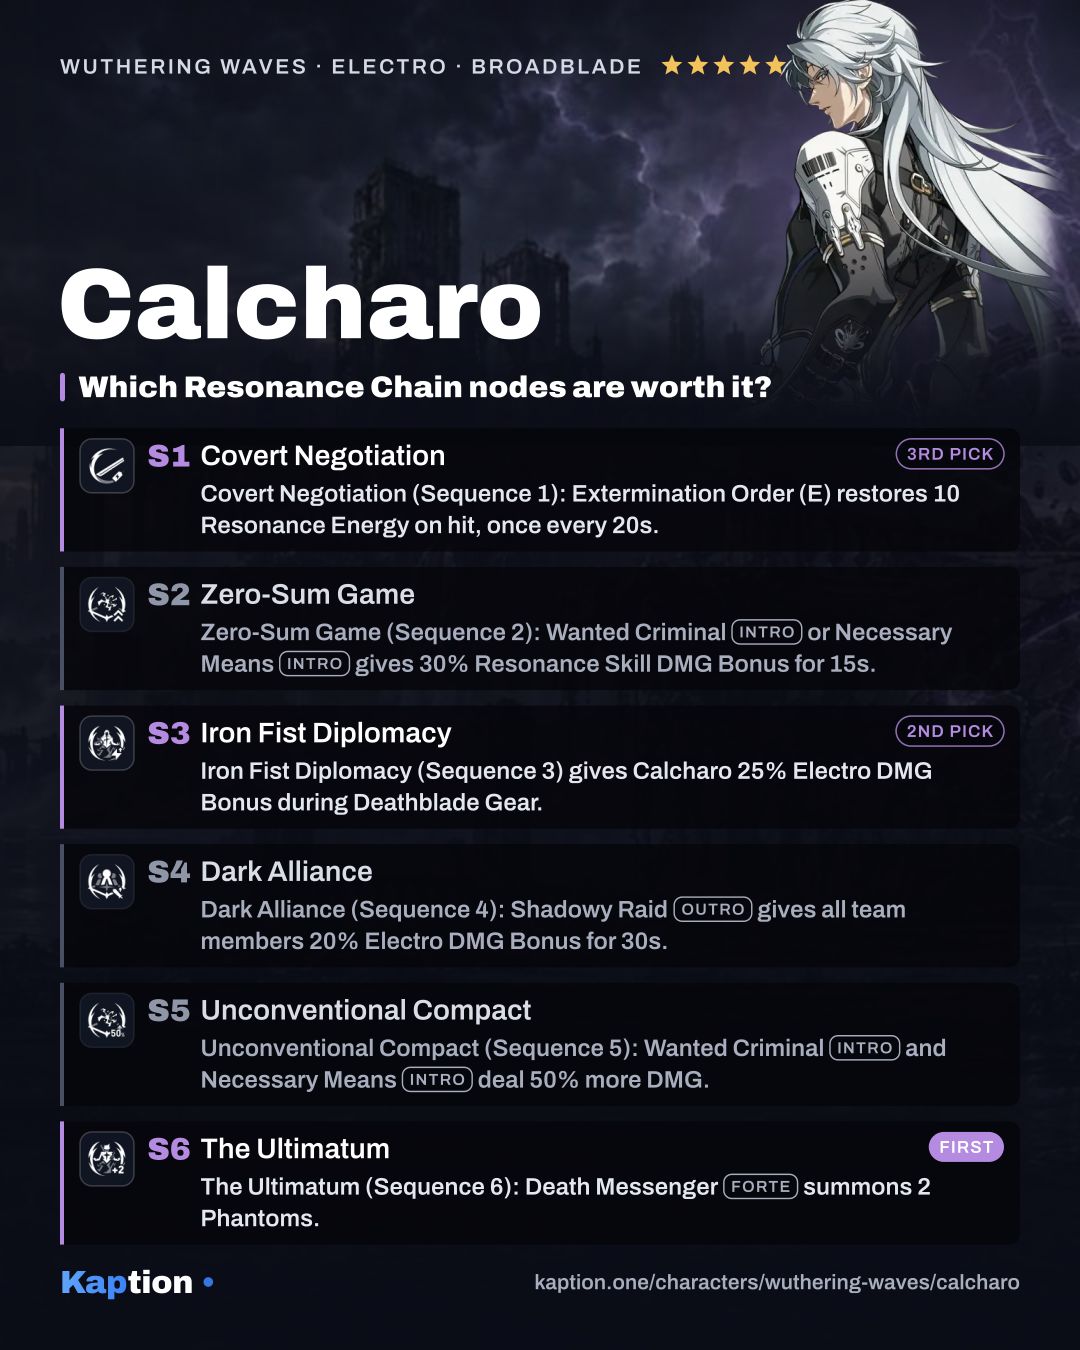
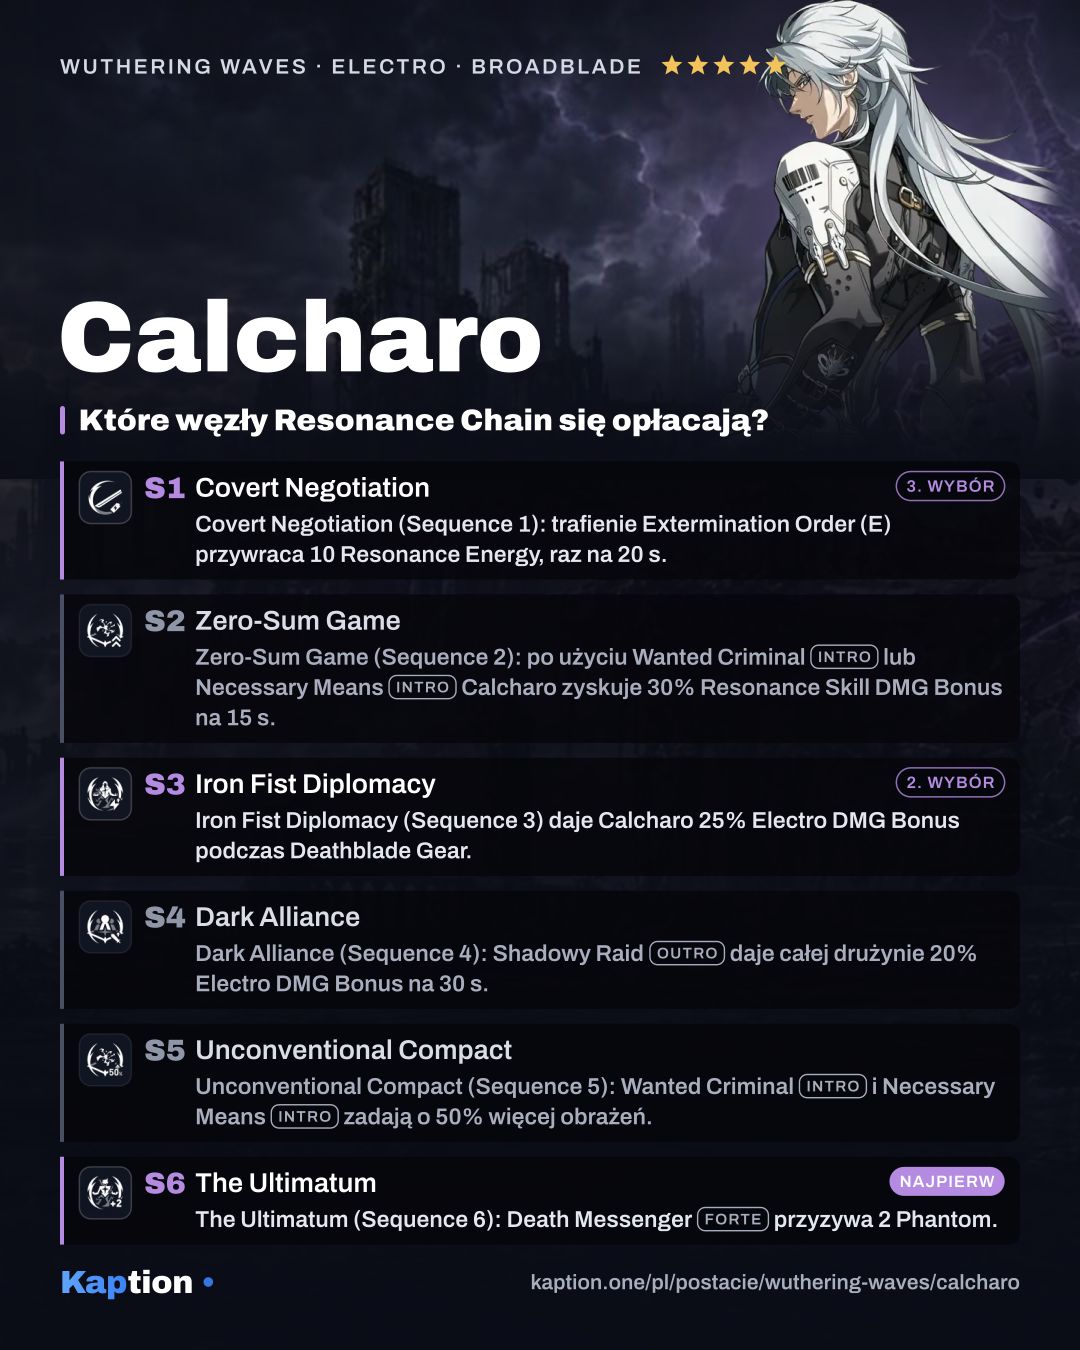
For the largest damage upgrade, consider The Ultimatum (Sequence 6). Each Death Messenger (Heavy Attack) summons two Phantoms for Coordinated Attacks, each dealing Electro DMG equal to 100% of Calcharo's ATK. Their damage counts as Resonance Liberation DMG.
Iron Fist Diplomacy (Sequence 3) is another useful damage increase, giving 25% Electro DMG Bonus during Deathblade Gear. Covert Negotiation (Sequence 1) helps with energy: a Resonance Skill hit restores 10 Resonance Energy, once every 20 seconds.
Teams
Calcharo wants teammates who leave him enough field time to build Killing Intent during Deathblade Gear. Consider a sustain slot if you need help staying alive, and another damage dealer who can use field time after Calcharo switches out.
Calcharo contributes Electro damage while active and sends out Shadowy Raid (Outro Skill) when leaving the field. At Sequence 4, that Outro also gives the team Electro DMG Bonus, making another source of Electro damage more appealing.
Common mistakes
Do not switch out halfway through Extermination Order (Resonance Skill) if you still need Cruelty. Switching out or waiting too long puts the Skill on cooldown. Use Mercy (Heavy Attack) before entering Deathblade Gear when you can, since Cruelty cannot be gained in that state.
Do not treat every heavy-looking hit as Heavy Attack DMG. Death Messenger (Heavy Attack) counts as Resonance Liberation DMG, while Mercy counts as Heavy Attack DMG. That distinction matters when reading weapon effects such as the extension on Wildfire Mark.
Do not assume the five-piece Void Thunder effect or a teammate's buffs from the set and roster names alone. Check those details in game before building around them. Also leave enough time for Hounds Roar (Basic Attack) hits during Liberation instead of switching away as soon as the state starts.