

Guide
How the kit works
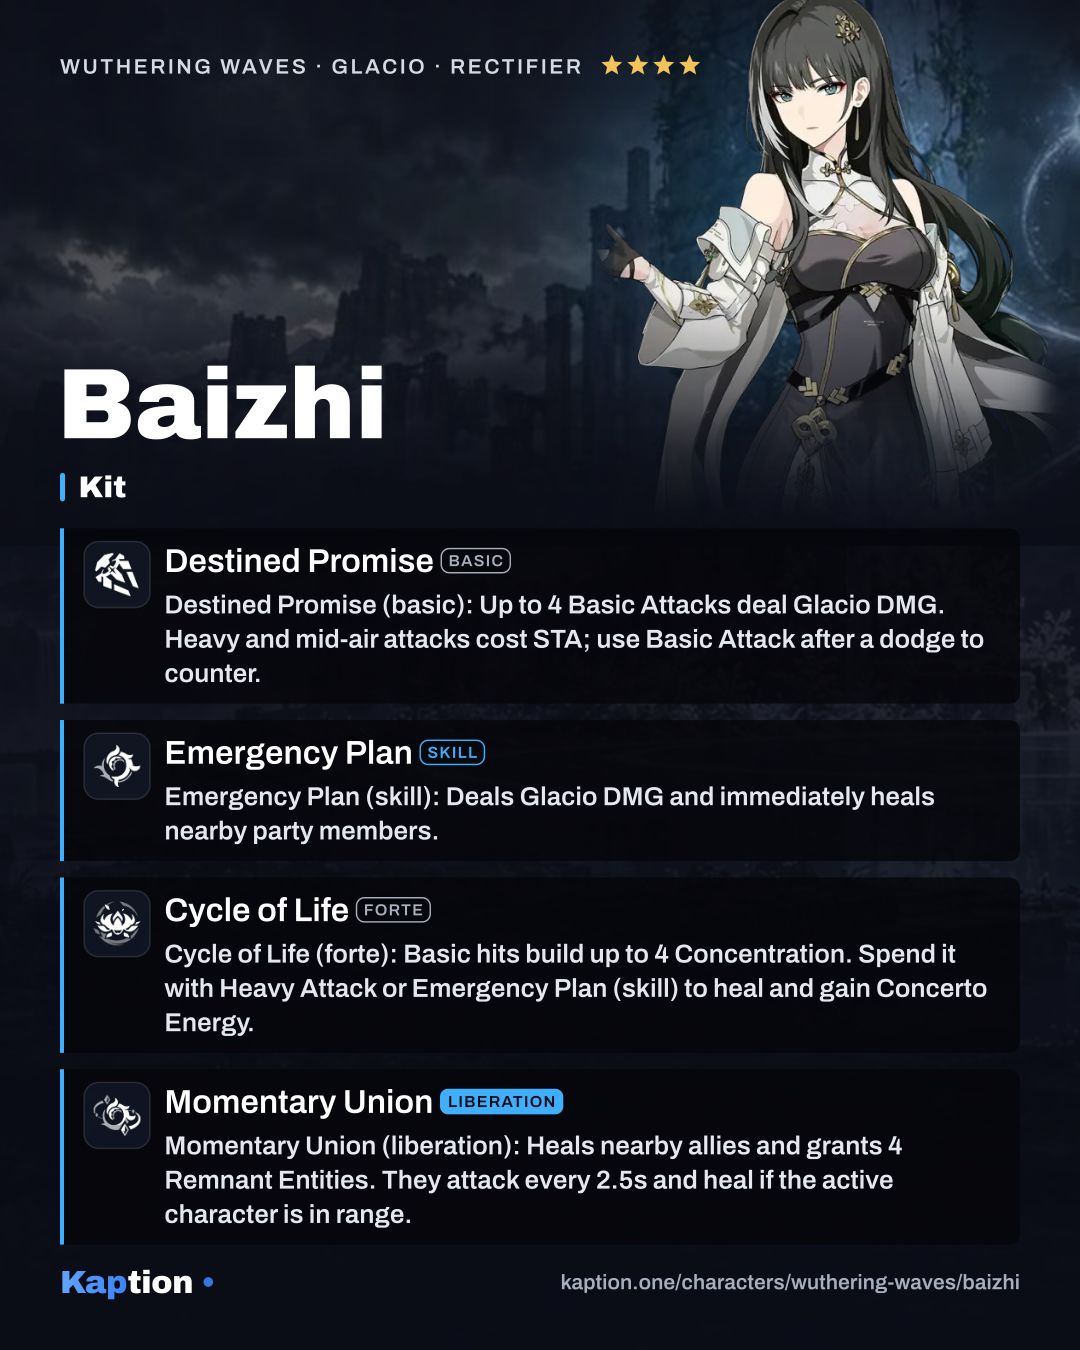
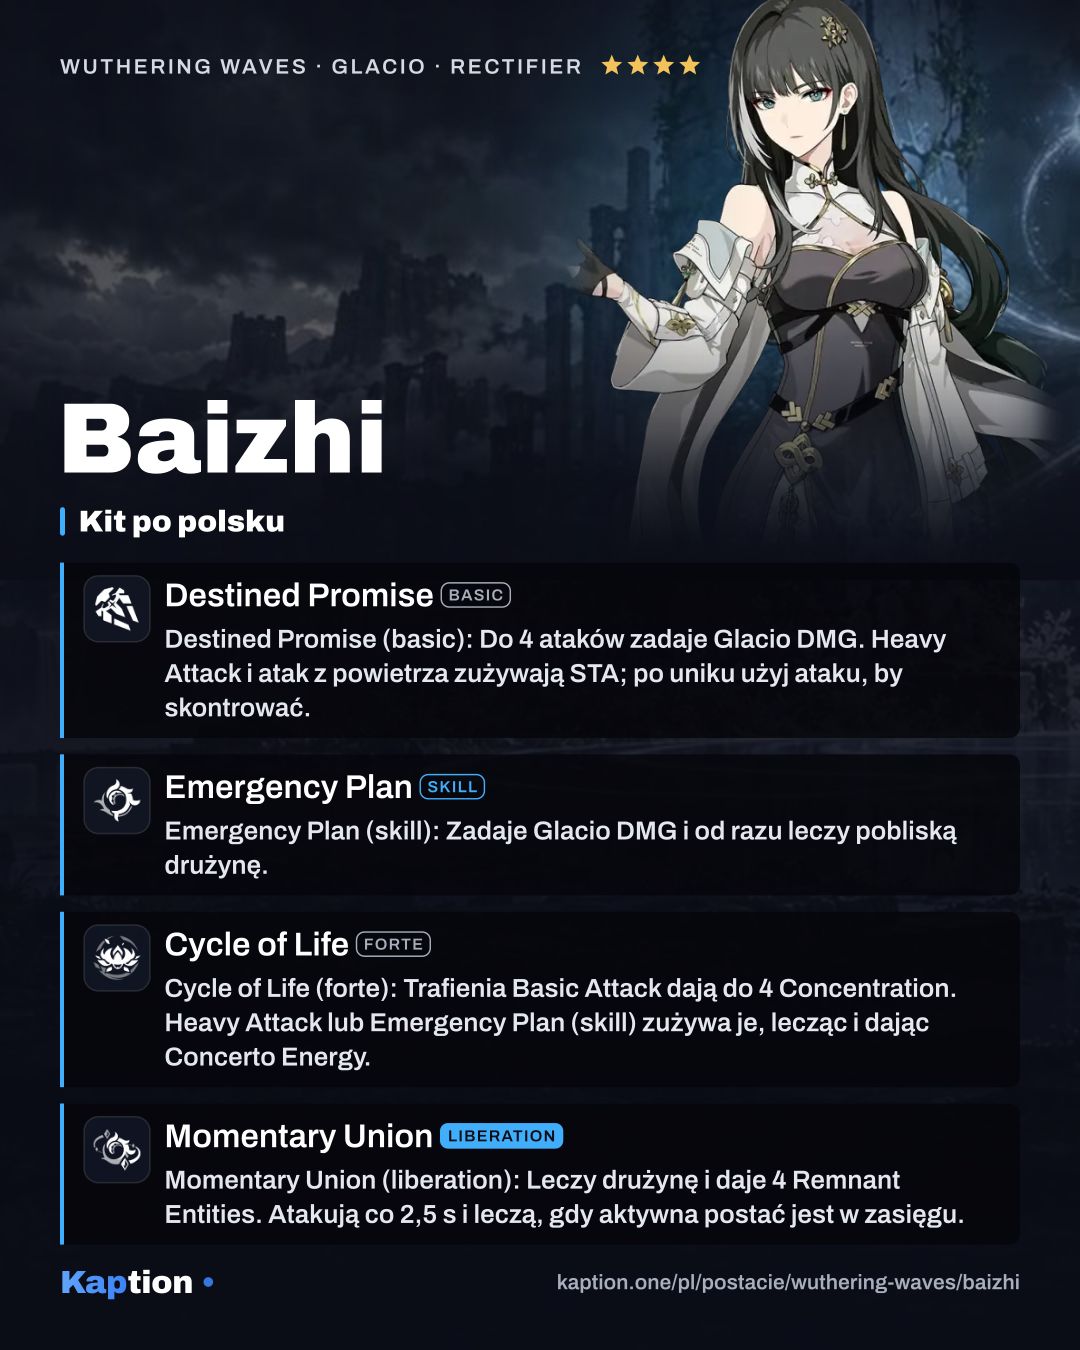
Start by landing Basic Attacks with Destined Promise. Each hit grants 1 Concentration, up to 4. You’tan shares Baizhi’s stats and returns to her when she dodges.
Cycle of Life consumes all Concentration when you use a Heavy Attack or Emergency Plan. Each point spent gives one heal, with heals occurring every 2 seconds. Both options restore Concerto Energy when they consume Concentration; Heavy Attack also restores Resonance Energy. Emergency Plan itself deals Glacio DMG and immediately heals nearby teams.
Casting Emergency Plan also triggers Harmonic Range, leaving Euphonia for 15 seconds. A Resonator who picks it up gains 15% ATK for 20 seconds. Stimulus Feedback gives Heavy Attack another use: on hit, it heals the nearby team member with the lowest HP by 0.25% of Baizhi’s Max HP.
Use Momentary Union to heal nearby teams and create 4 Remnant Entities. They follow the active character and are consumed for Coordinated Attacks every 2.5 seconds, dealing Glacio DMG and healing the team when that character is in range.
Overflowing Frost deals Glacio DMG and heals on entry. Rejuvinating Flow heals the incoming Resonator by 1.54% of Baizhi’s Max HP every 3 seconds for 30 seconds. The healed Resonator gains 15% DMG Amplification for 6 seconds.
Build and why
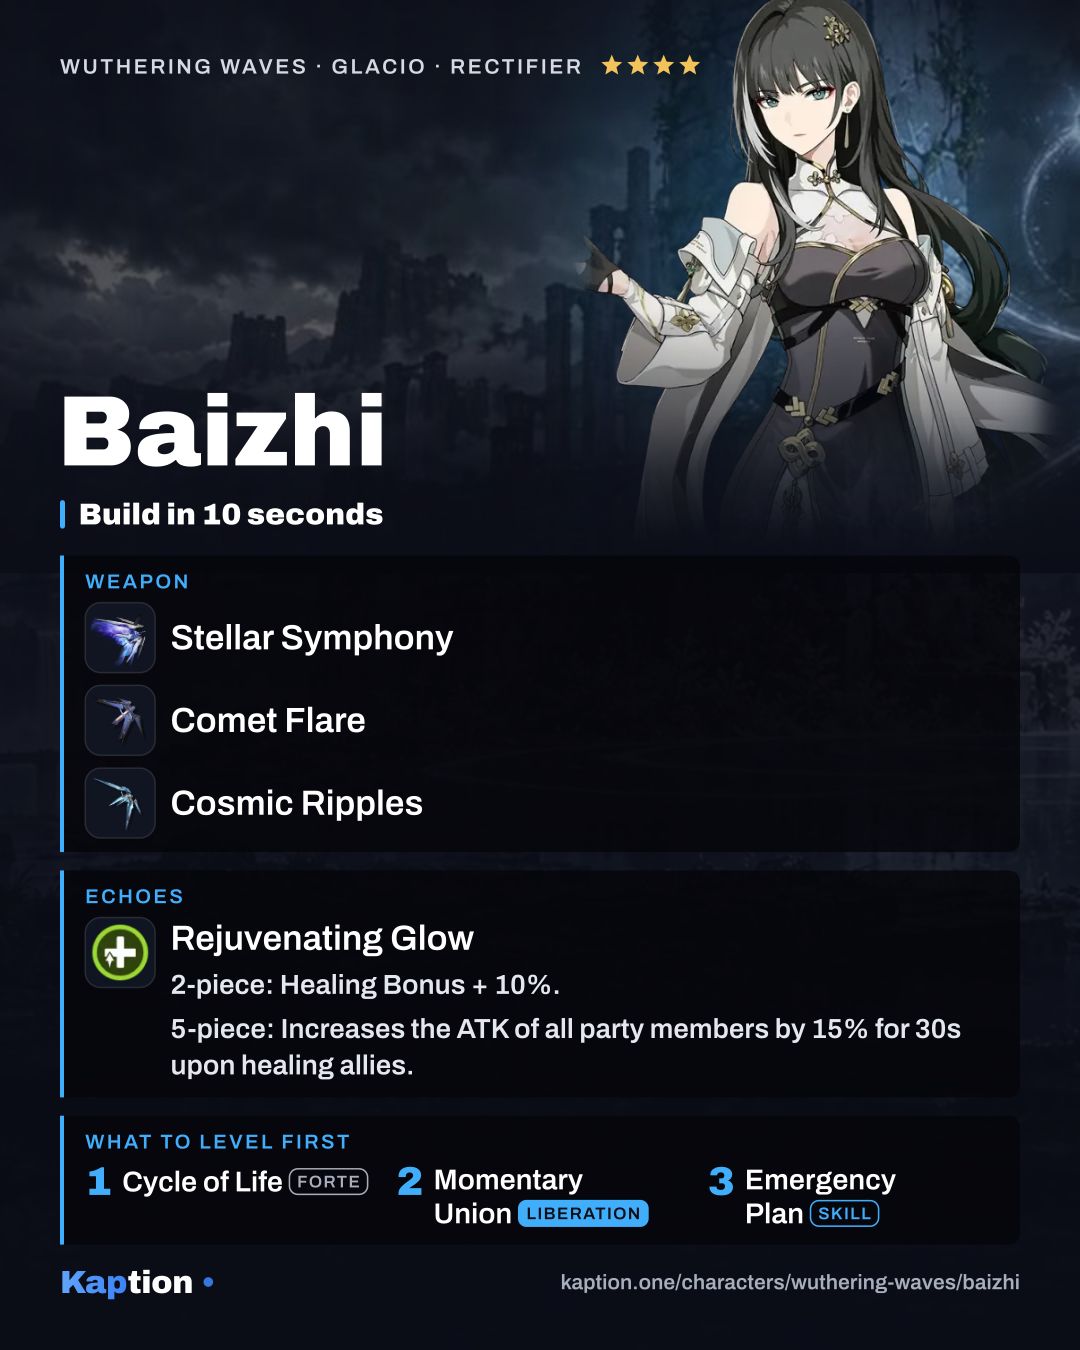
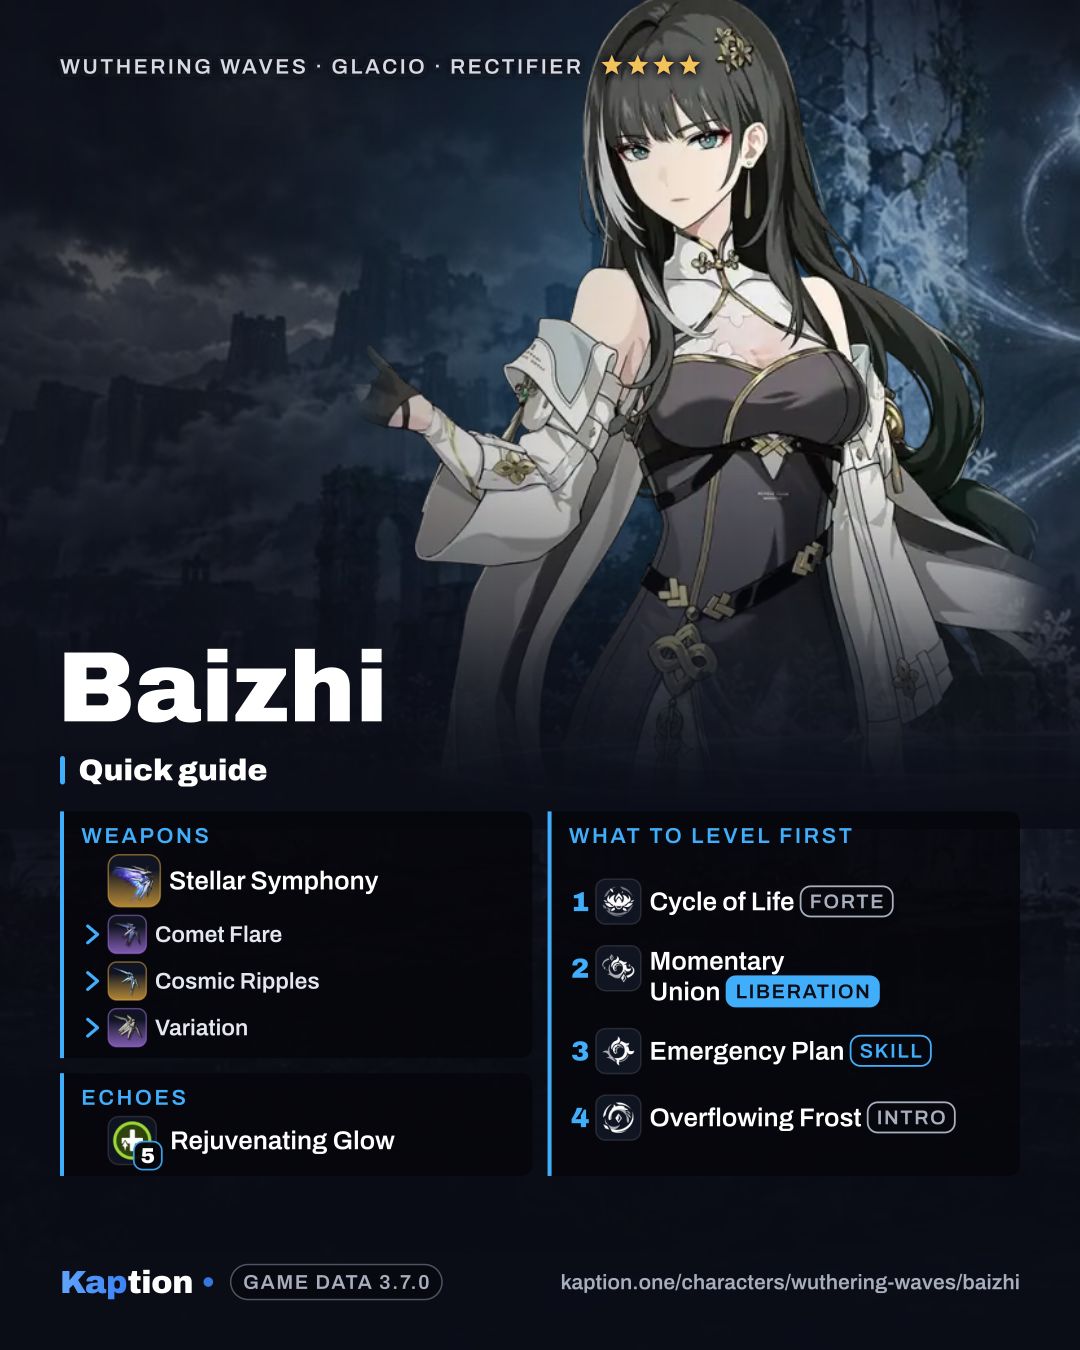
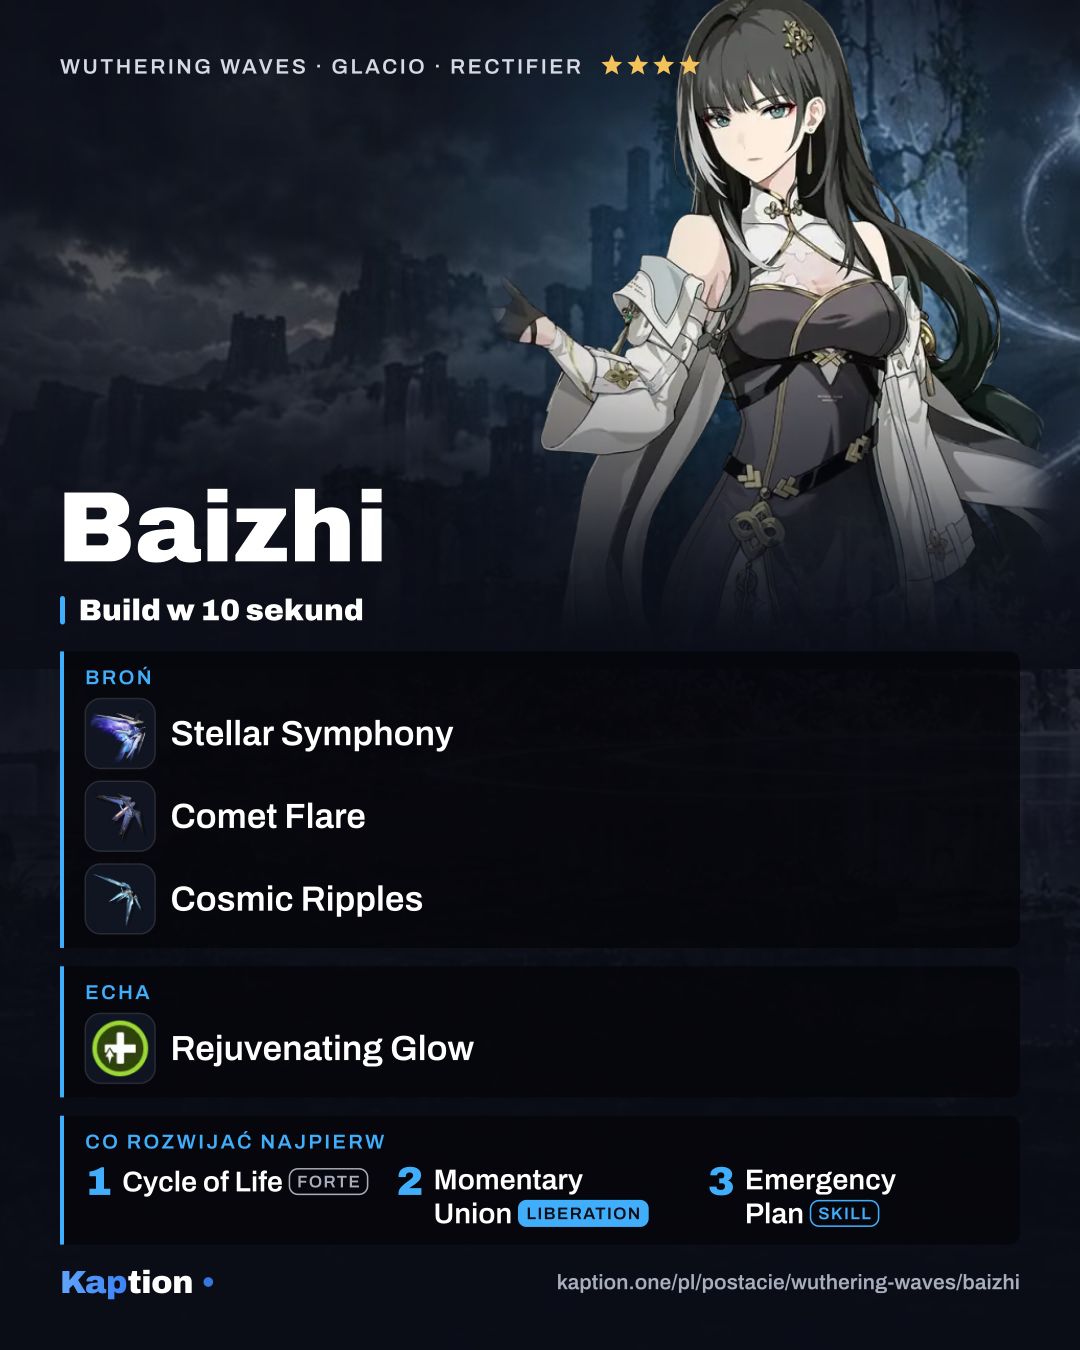
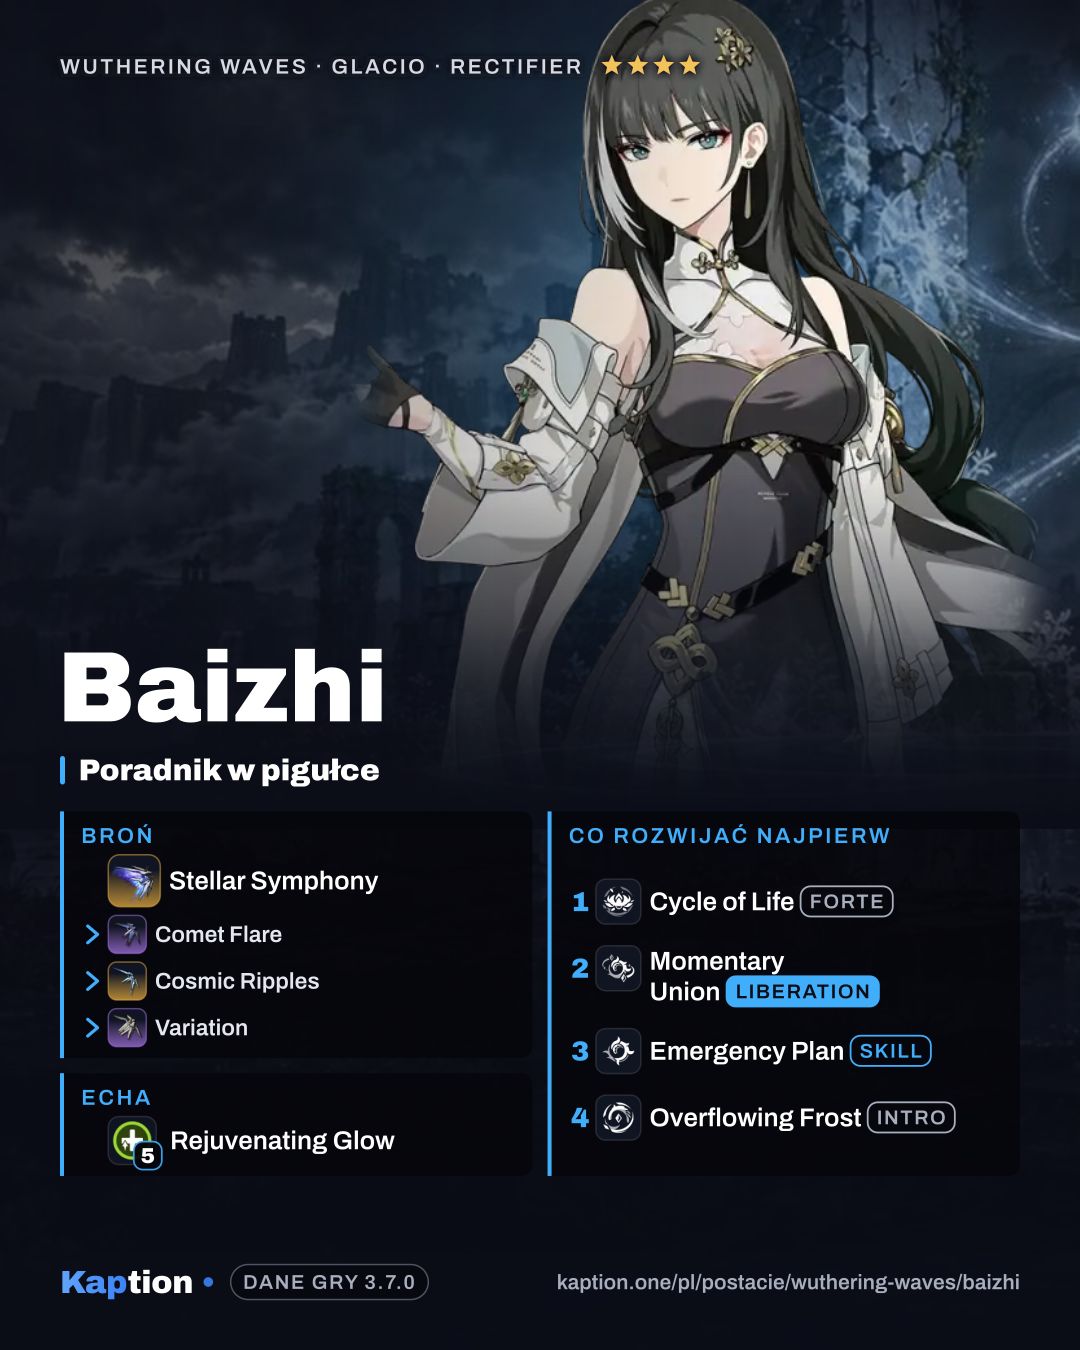
Use the recommended five-piece Rejuvenating Glow set. Its listed two-piece effect gives 10% Healing Bonus, which suits Baizhi’s frequent heals. HP is also worth considering because her Outro and Heavy Attack passive heals scale with her Max HP.
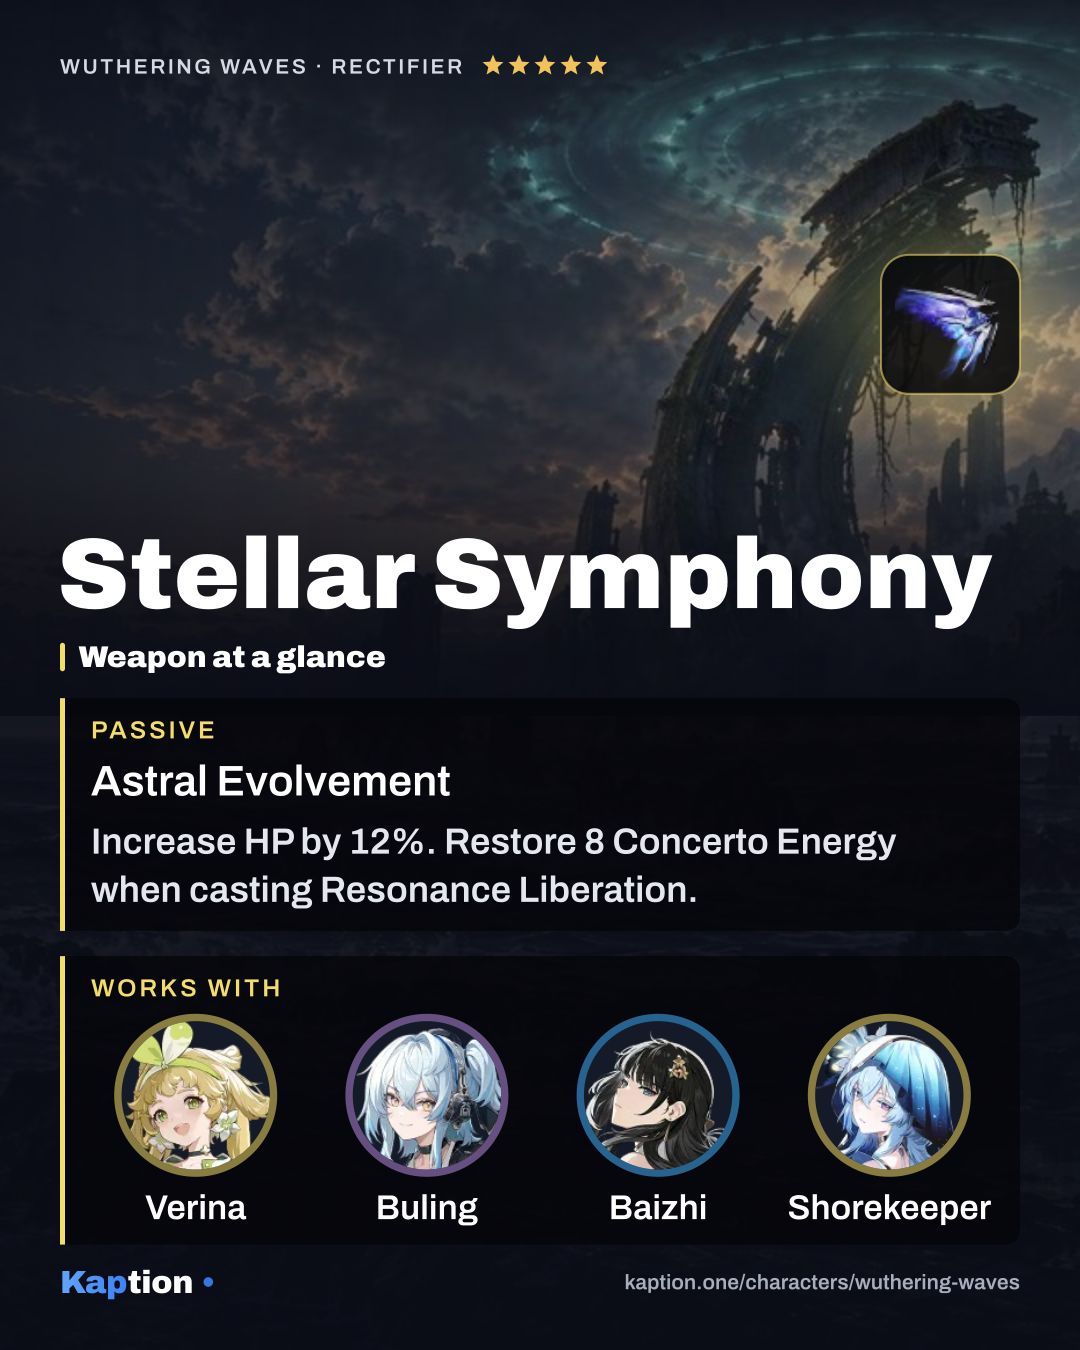
Stellar Symphony is the first weapon choice. It gives 12% HP, restores 8 Concerto Energy when Baizhi casts her Resonance Liberation, and gives nearby teammates 14% ATK for 30 seconds when she casts a healing Resonance Skill. Its Concerto Energy effect can trigger once every 20 seconds, and effects of the same name do not stack.
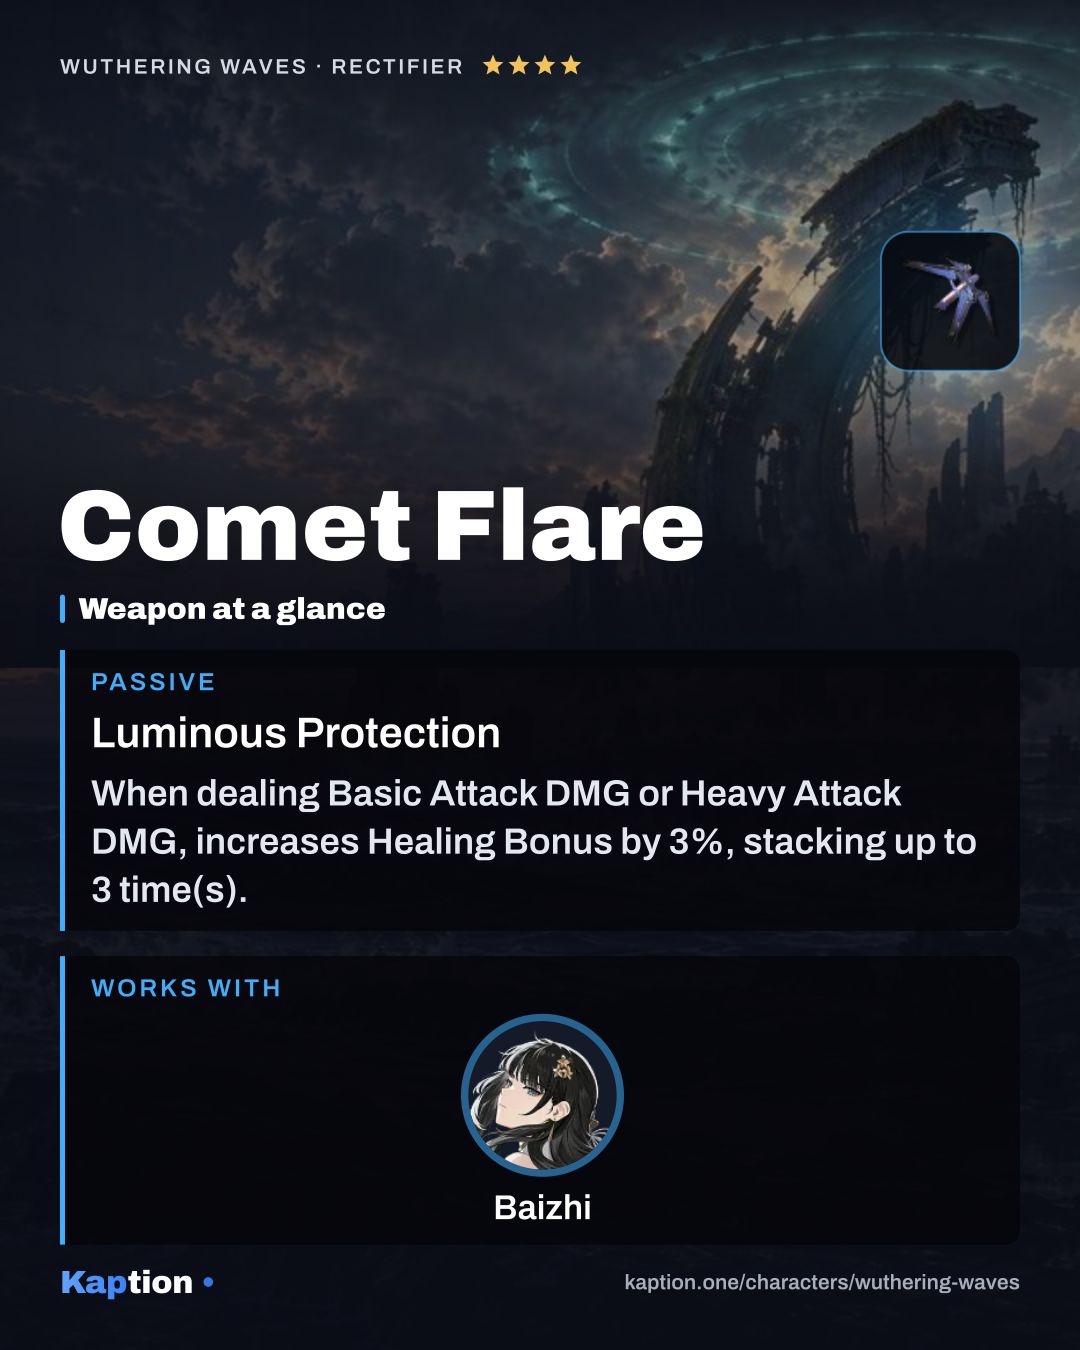
Variation is a strong alternative: casting the Resonance Skill restores 8 Concerto Energy, once every 20 seconds. Comet Flare is another option for healing. Basic Attack or Heavy Attack DMG grants 3% Healing Bonus per stack, up to 3 stacks, for 8 seconds; it can trigger once every 0.6 seconds.
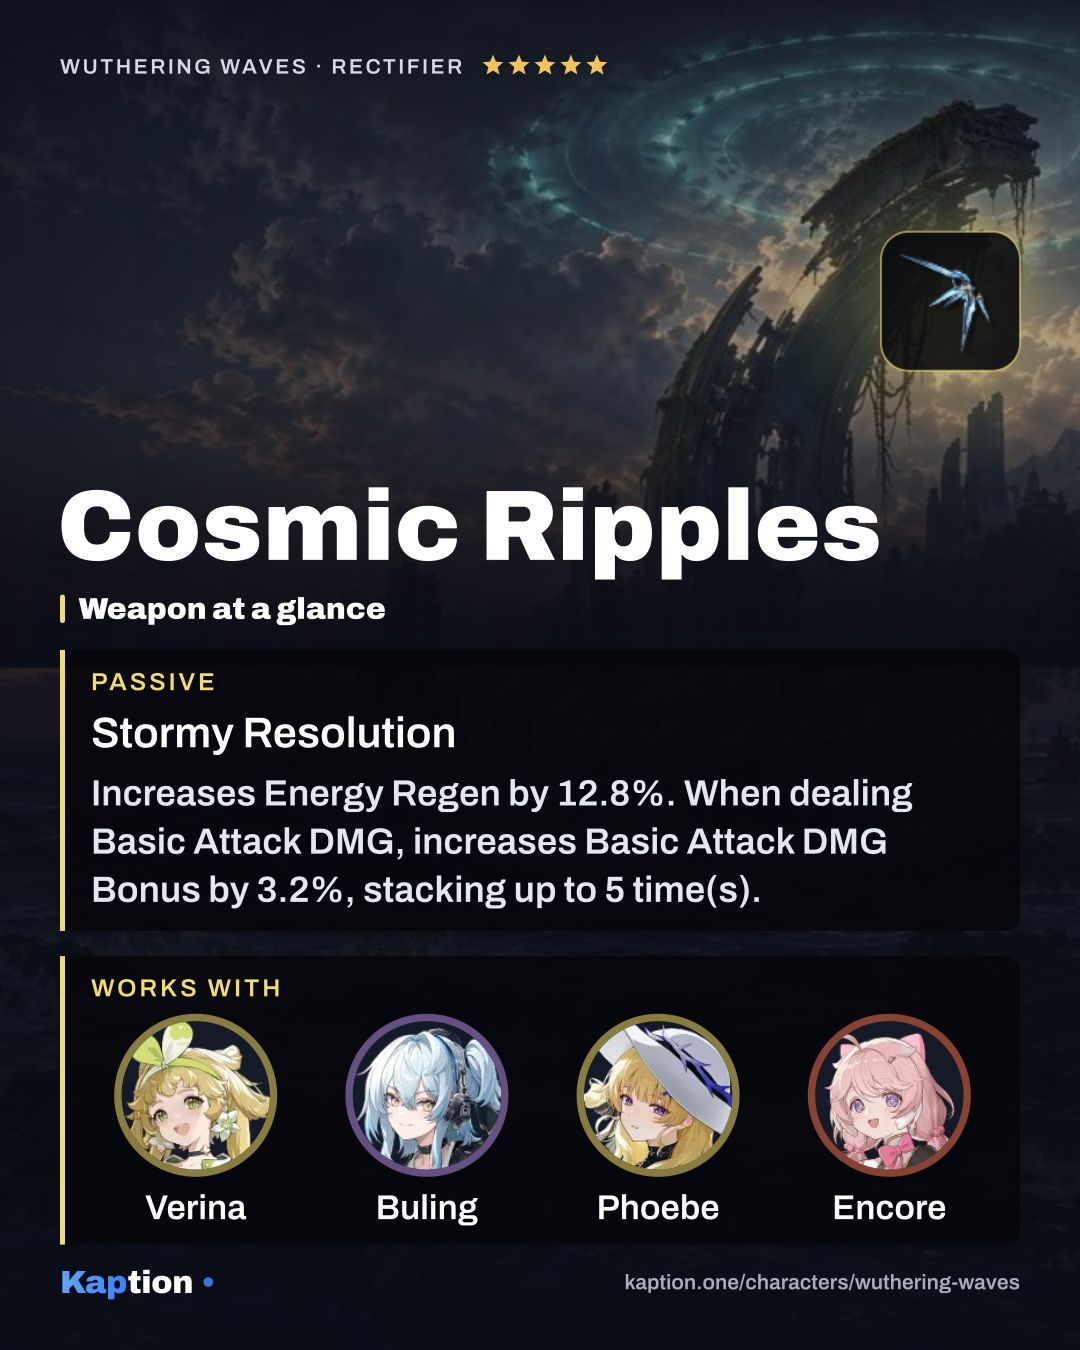
Call of the Abyss gives 16% Healing Bonus for 15 seconds after Resonance Liberation. Cosmic Ripples offers 12.8% Energy Regen, although its Basic Attack DMG Bonus is less focused on Baizhi’s healing.
Leveling priority
A suggested order is Cycle of Life first for its repeated healing, then Momentary Union for healing while another character is active. Follow with Emergency Plan, which provides an immediate team heal.
Overflowing Frost is a reasonable next choice for its entry heal. Leave Destined Promise until last: you still need Basic Attacks to build Concentration, but their damage is not the main reason to use them.
For maximum character ascension, you need 170,000 Shell Credit, 4 LF Howler Core, 12 MF Howler Core, 12 HF Howler Core, 4 FF Howler Core, 46 Sound-Keeping Tacet Core and 60 Lanternberry.
To raise all skills to maximum, you need 2,030,000 Shell Credit, 25 LF Howler Core, 28 MF Howler Core, 40 HF Howler Core, 57 FF Howler Core, 26 Monument Bell, 25 Lento Helix, 28 Adagio Helix, 55 Andante Helix and 67 Presto Helix.
Resonance Chain nodes worth it
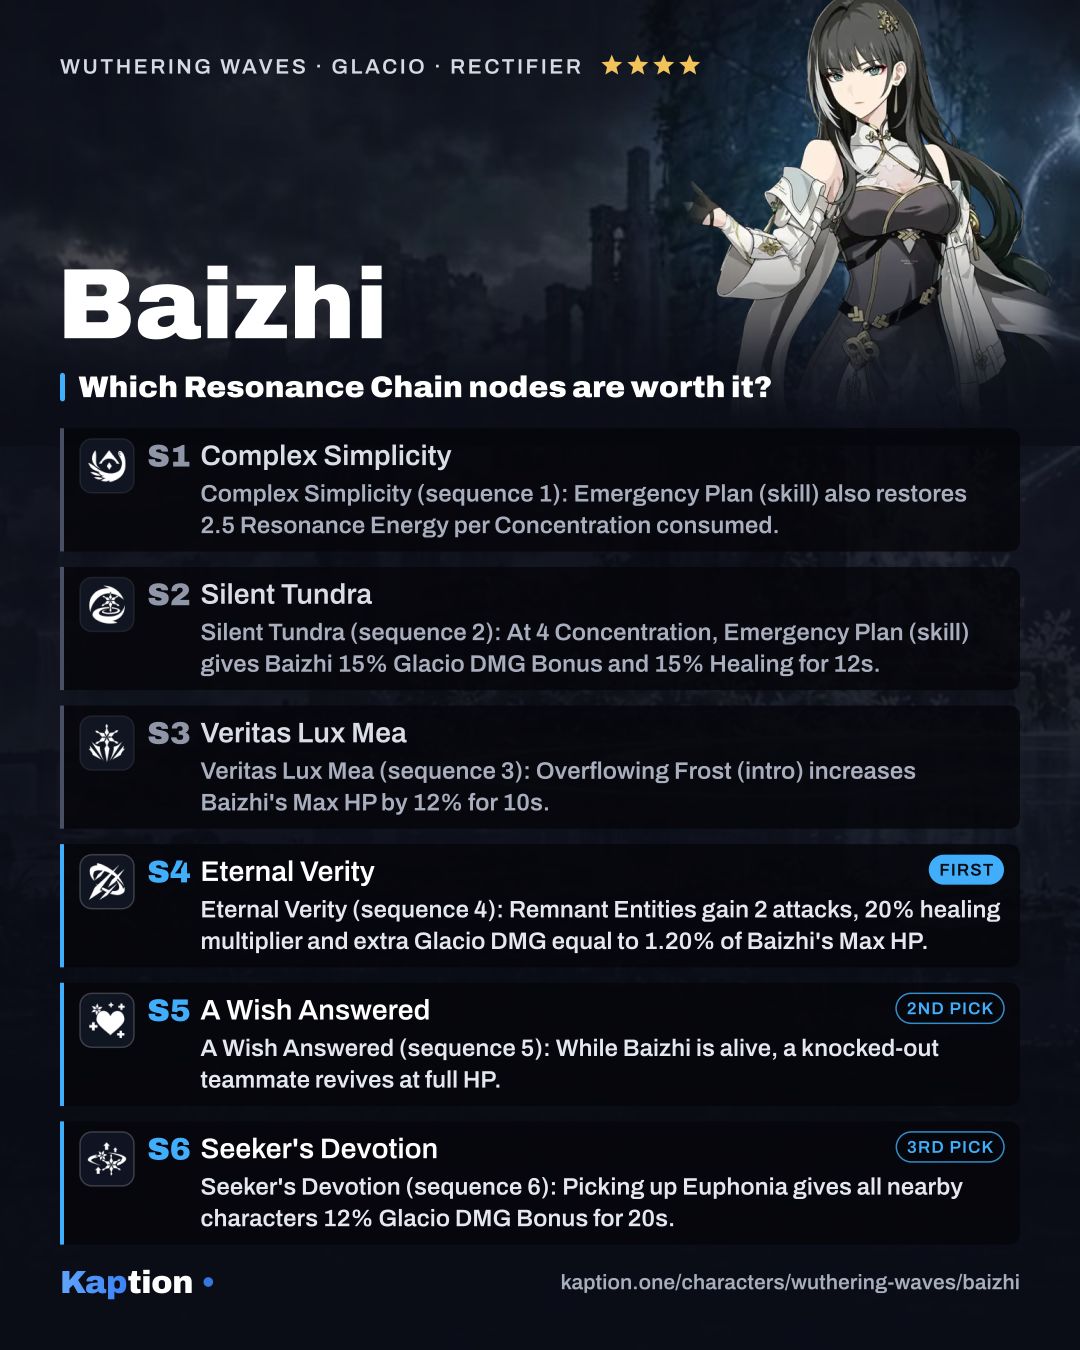
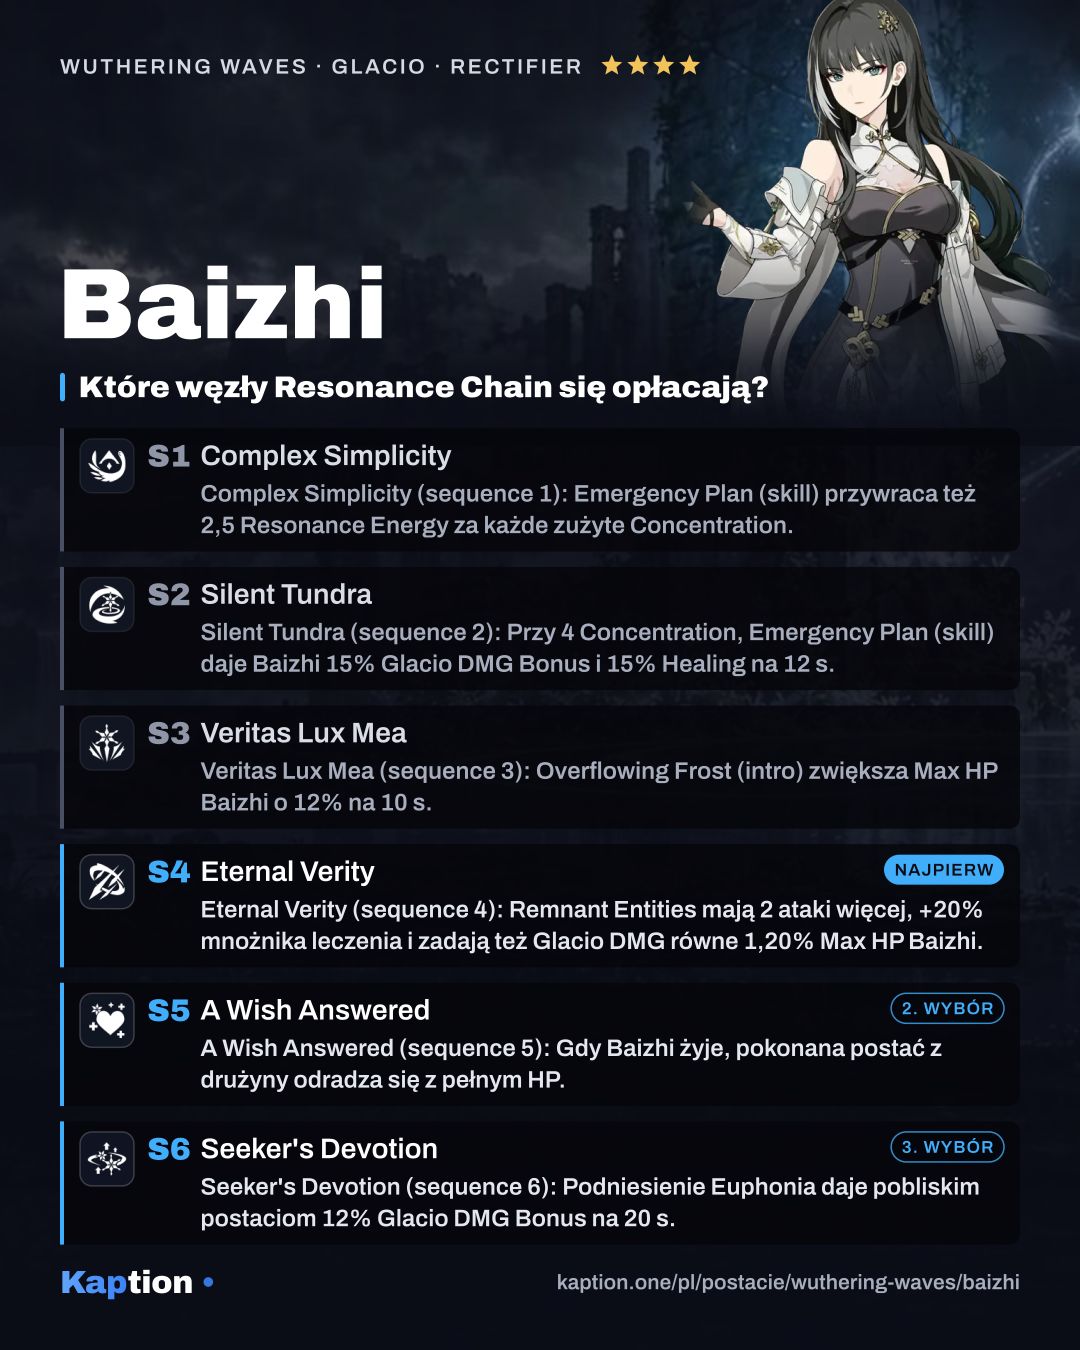
For general healing, Eternal Verity (sequence 4) is a good upgrade to consider first. Remnant Entities can attack two more times, their healing multiplier increases by 20%, and they deal extra Glacio DMG equal to 1.20% of Baizhi’s Max HP.
A Wish Answered (sequence 5) is useful insurance: if a teammate is knocked out while Baizhi is alive on the team, it immediately revives them with 100% Max HP. It can trigger once every 10 minutes, so do not plan on it rescuing every failed attempt.
Seeker’s Devotion (sequence 6) is especially worth considering with Glacio teammates. Picking up Euphonia gives nearby characters 12% Glacio DMG Bonus for 20 seconds.
The earlier nodes can wait if those effects matter more to your team. Complex Simplicity (sequence 1) restores 2.5 Resonance Energy per Concentration spent on Emergency Plan. Silent Tundra (sequence 2) gives Baizhi 15% Glacio DMG Bonus and 15% Healing for 12 seconds if she has 4 Concentration when she casts it. Veritas Lux Mea (sequence 3) gives her 12% Max HP for 10 seconds after Overflowing Frost.
Teams
Baizhi fits a team that wants a healer and an incoming Resonator who can use her DMG Amplification. Her healing reaches nearby teammates, while the active character can pick up Euphonia for ATK.
Yangyang is a named Aero teammate option. Lingyang and Zhezhi are Glacio options to consider, particularly if you have Seeker’s Devotion (sequence 6) for its Glacio DMG Bonus. For example, you can try Baizhi with Lingyang and Zhezhi.
Rover: Spectro is another named option. Verina and Shorekeeper are also named teammates, though Baizhi already provides healing, so consider how much healing your team needs.
Common mistakes
Do not spend Concentration without checking how much you have. Both Heavy Attack and Emergency Plan consume all of it, and each point spent gives one heal. Land more Basic Attacks first when you want more repeated healing.
Do not forget the difference between the two spending options. Heavy Attack restores Resonance Energy as well as Concerto Energy when it consumes Concentration; Emergency Plan restores Concerto Energy and also gives an immediate heal.
Do not leave Euphonia behind after using Emergency Plan. Switch to the Resonator you want to receive its ATK increase and pick it up before it disappears. Also keep the active character within range when relying on the team healing from Momentary Union.
Do not build solely around Baizhi’s personal damage if you need her to heal. Her Max HP matters for specific heals, while Healing Bonus and Concerto Energy effects support the rest of her job.