

Guide
How the kit works
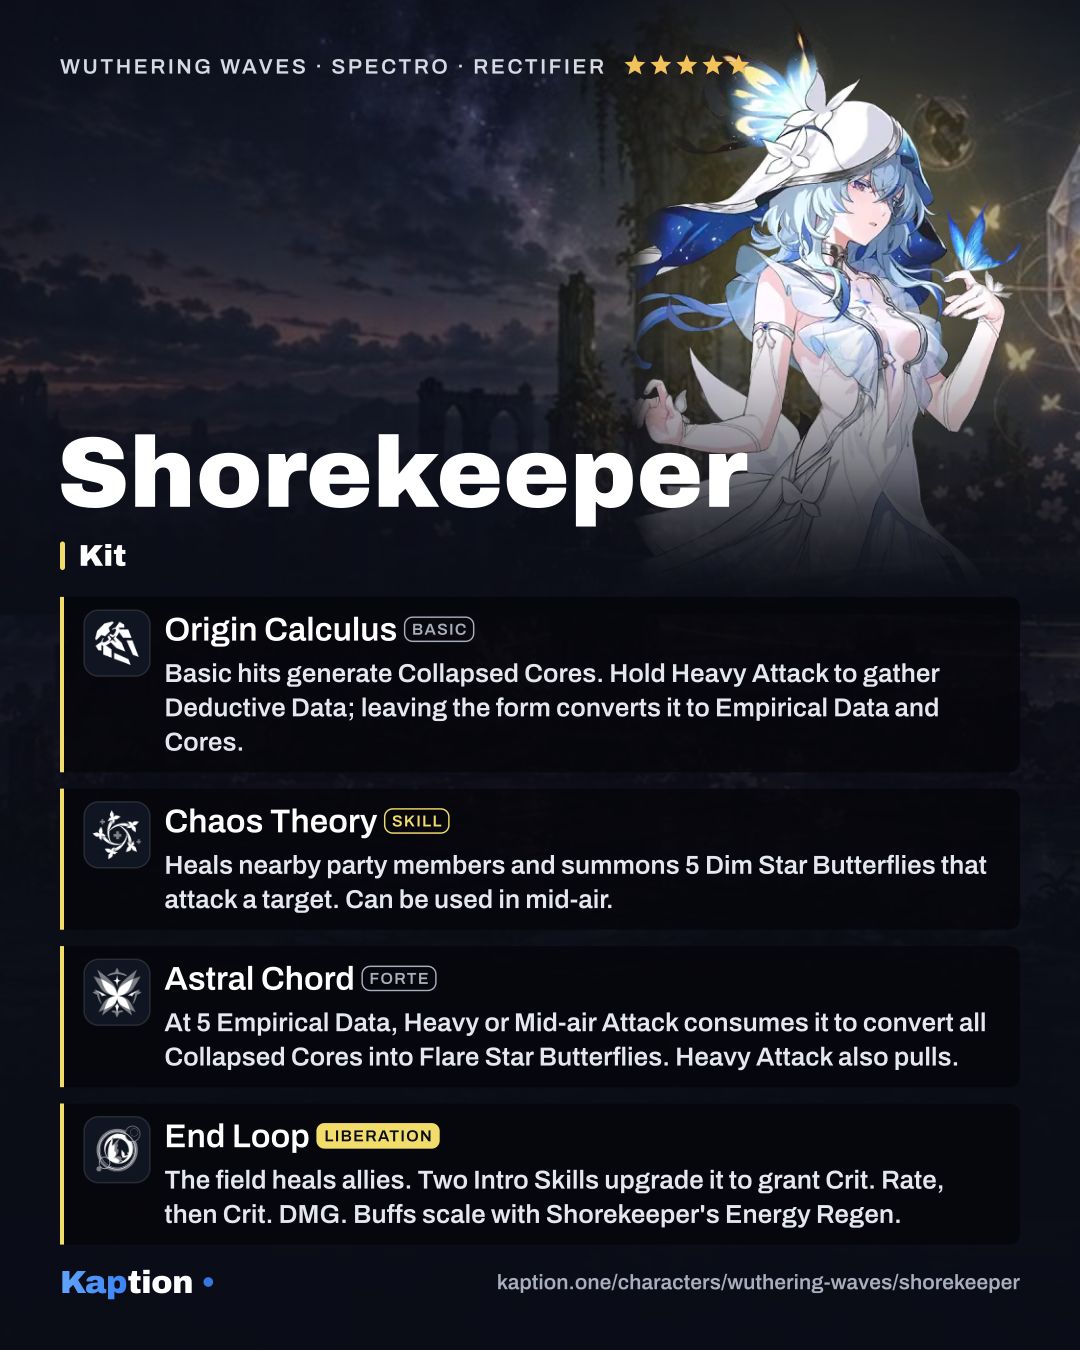
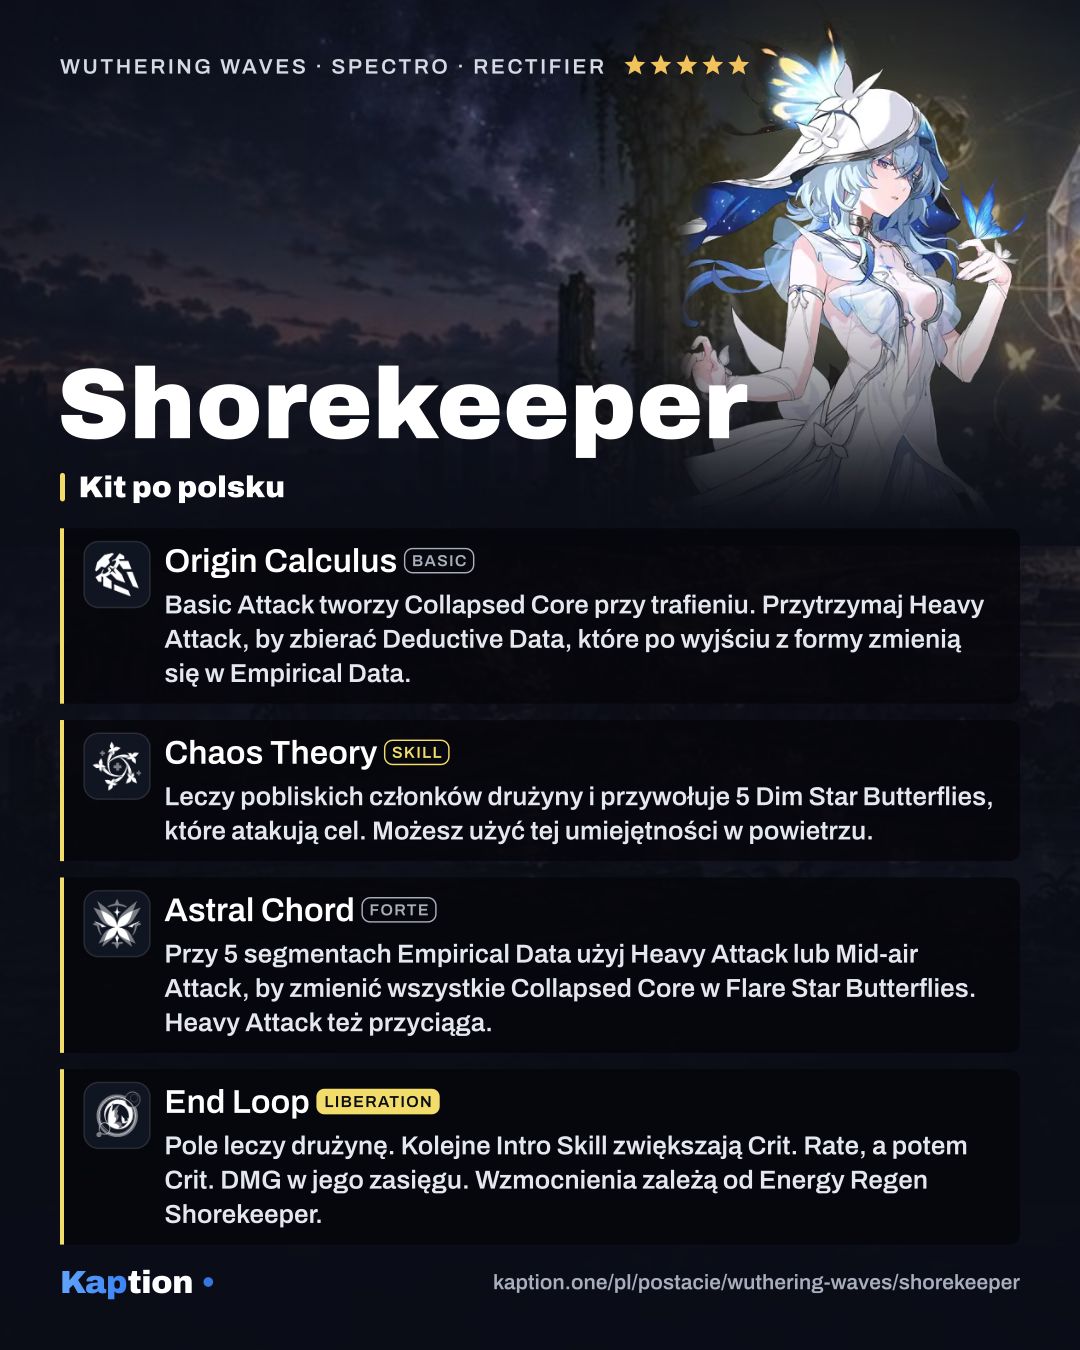
Start with Chaos Theory to heal nearby party members and send five Dim Star Butterflies after a target. Follow it with a Basic Attack to start at the second hit. Origin Calculus generates Collapsed Cores on hit, while Astral Chord gives Empirical Data from Normal Attacks. The third Basic Attack hit gives two segments; hits one, two and four give one each.
At five Empirical Data, use a Heavy Attack for Illation: it pulls nearby targets and converts the generated Collapsed Cores into attacking Flare Star Butterflies. A Mid-air Attack at five segments instead triggers Transmutation, which also converts the cores but does not have the stated pull. You can also hold Heavy Attack to enter Unbound Form and generate data over time, though it continuously consumes STA.
Cast End Loop to create an Outer Stellarealm that heals party members in range every three seconds. A party member's Intro Skill inside it upgrades it to Inner Stellarealm, adding Crit. Rate. A second Intro Skill within that field creates Supernal Stellarealm, adding Crit. DMG while keeping the earlier effects.
Switching out with Binary Butterfly gives nearby party members 15% DMG Amplification and lets the on-field character recover from a hit or launch with Dodge, up to five times. Be careful when bringing Shorekeeper back: in Supernal Stellarealm, Proof of Existence becomes Discernment, a guaranteed critical hit that ends the field.
Build and why
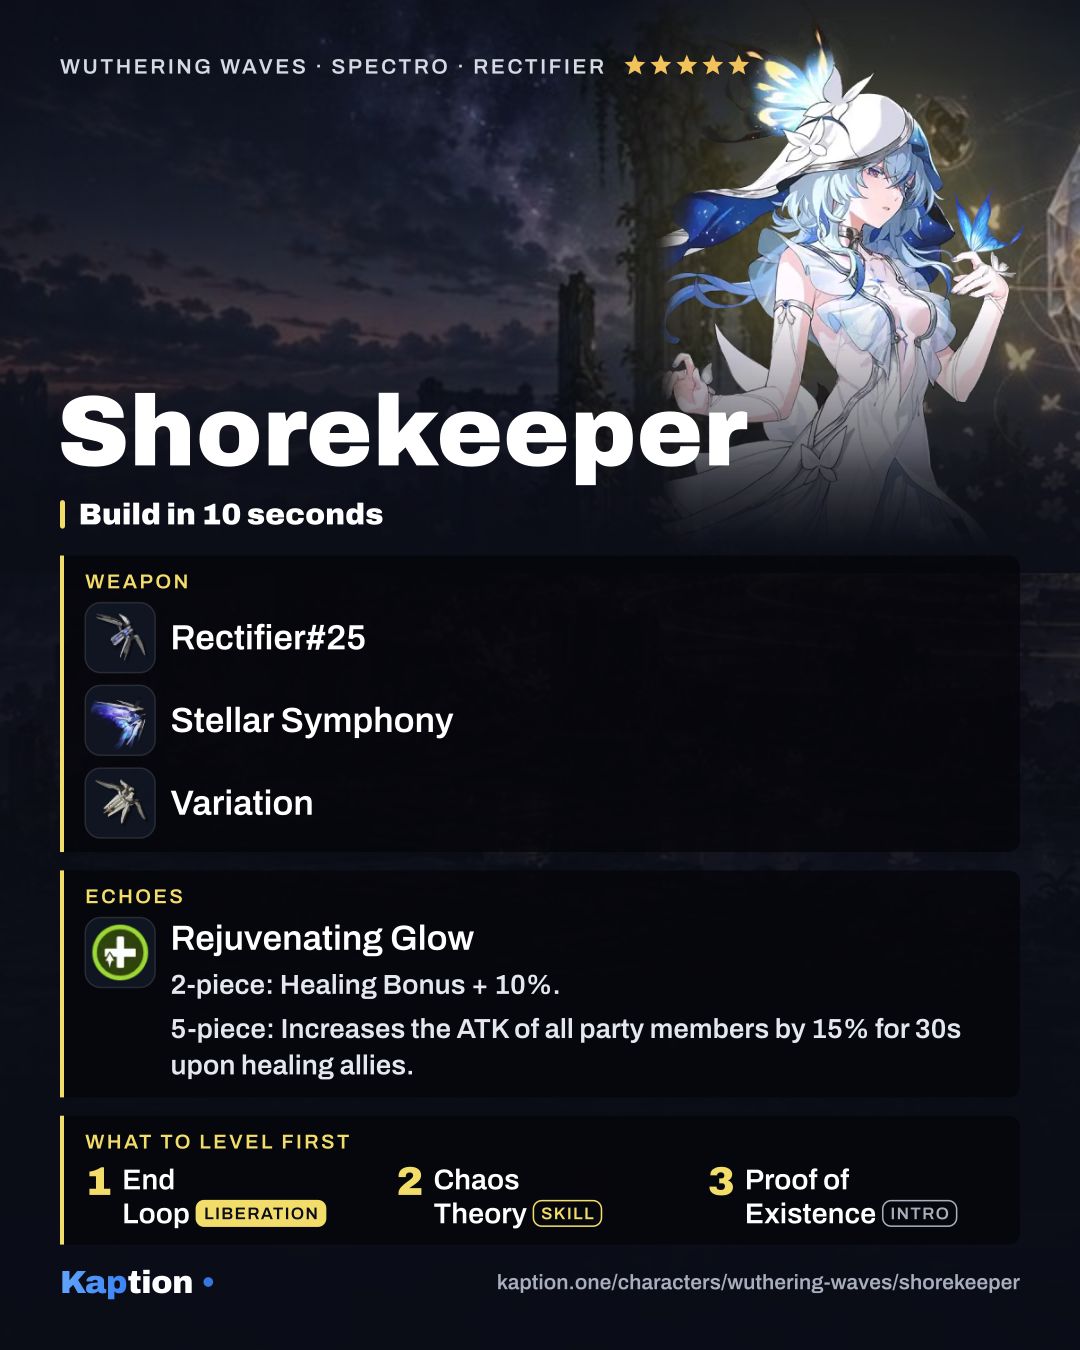
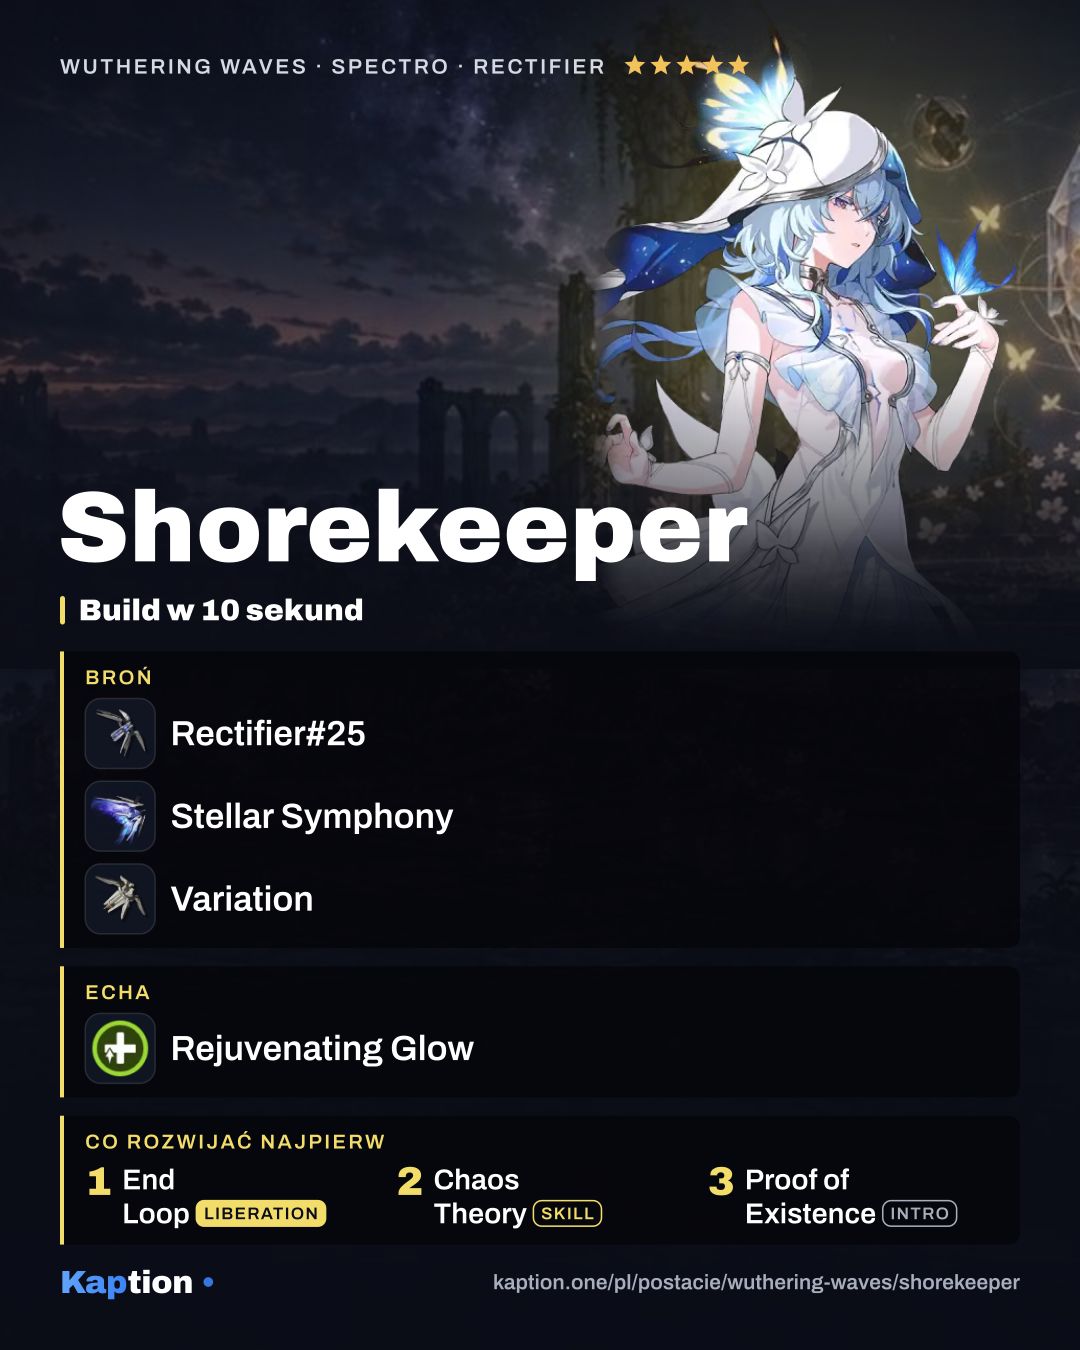
Use five pieces of Rejuvenating Glow. Its two-piece effect gives 10% Healing Bonus, which suits Shorekeeper's healing skills. The five-piece effect is not described in the available data. Moonlit Clouds is another option: its two-piece effect gives 10% Energy Regen, which contributes to the field's Crit. Rate and Crit. DMG buffs.
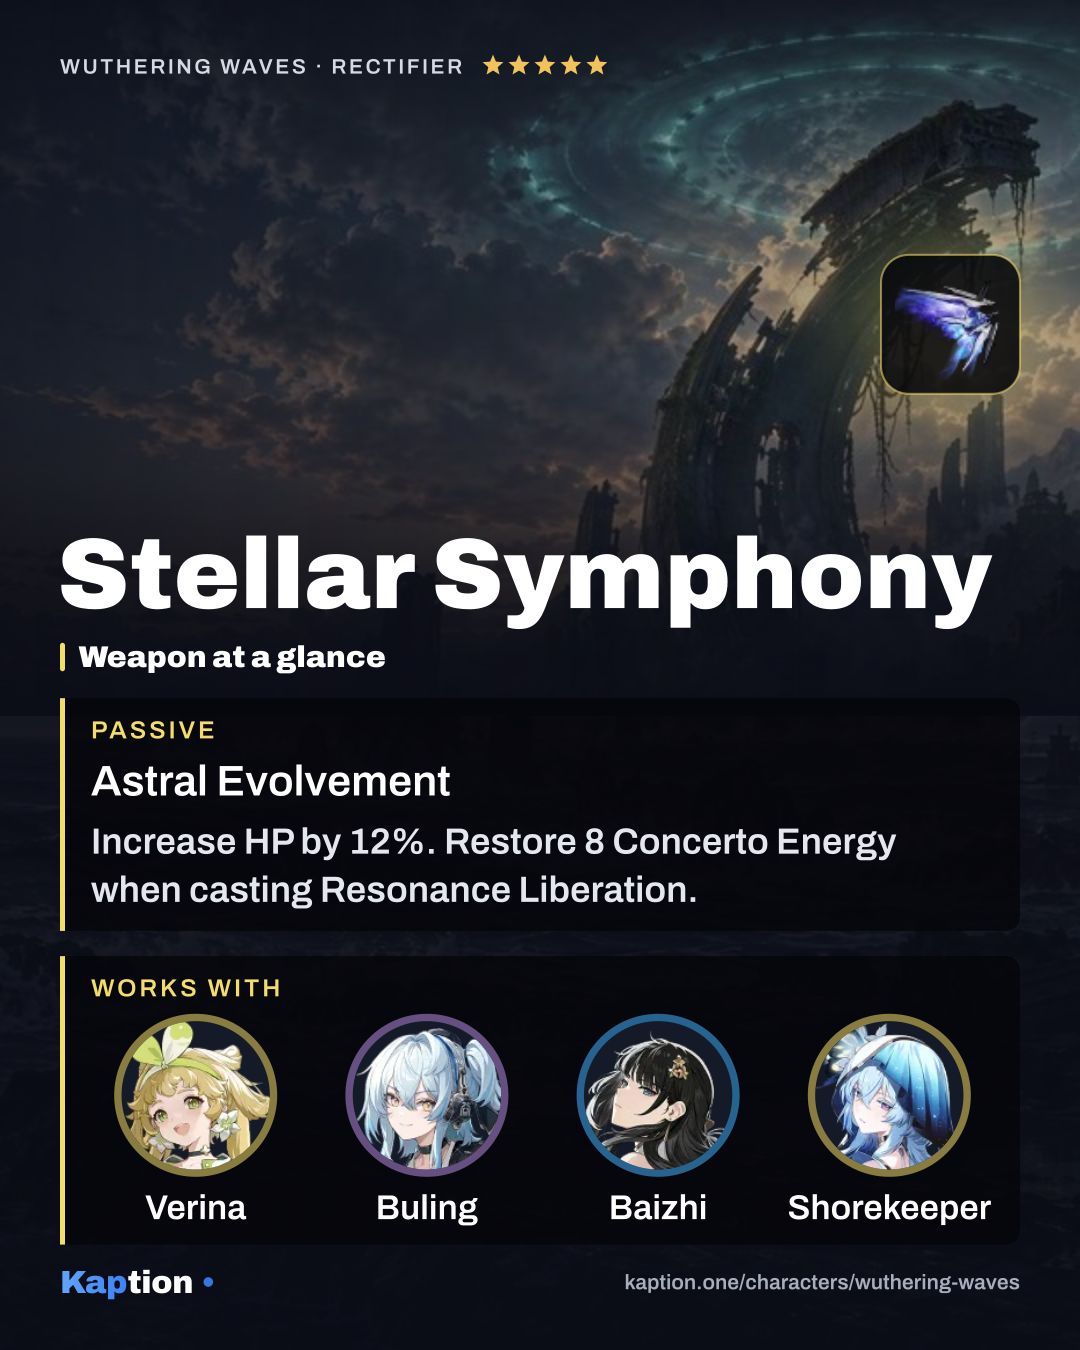
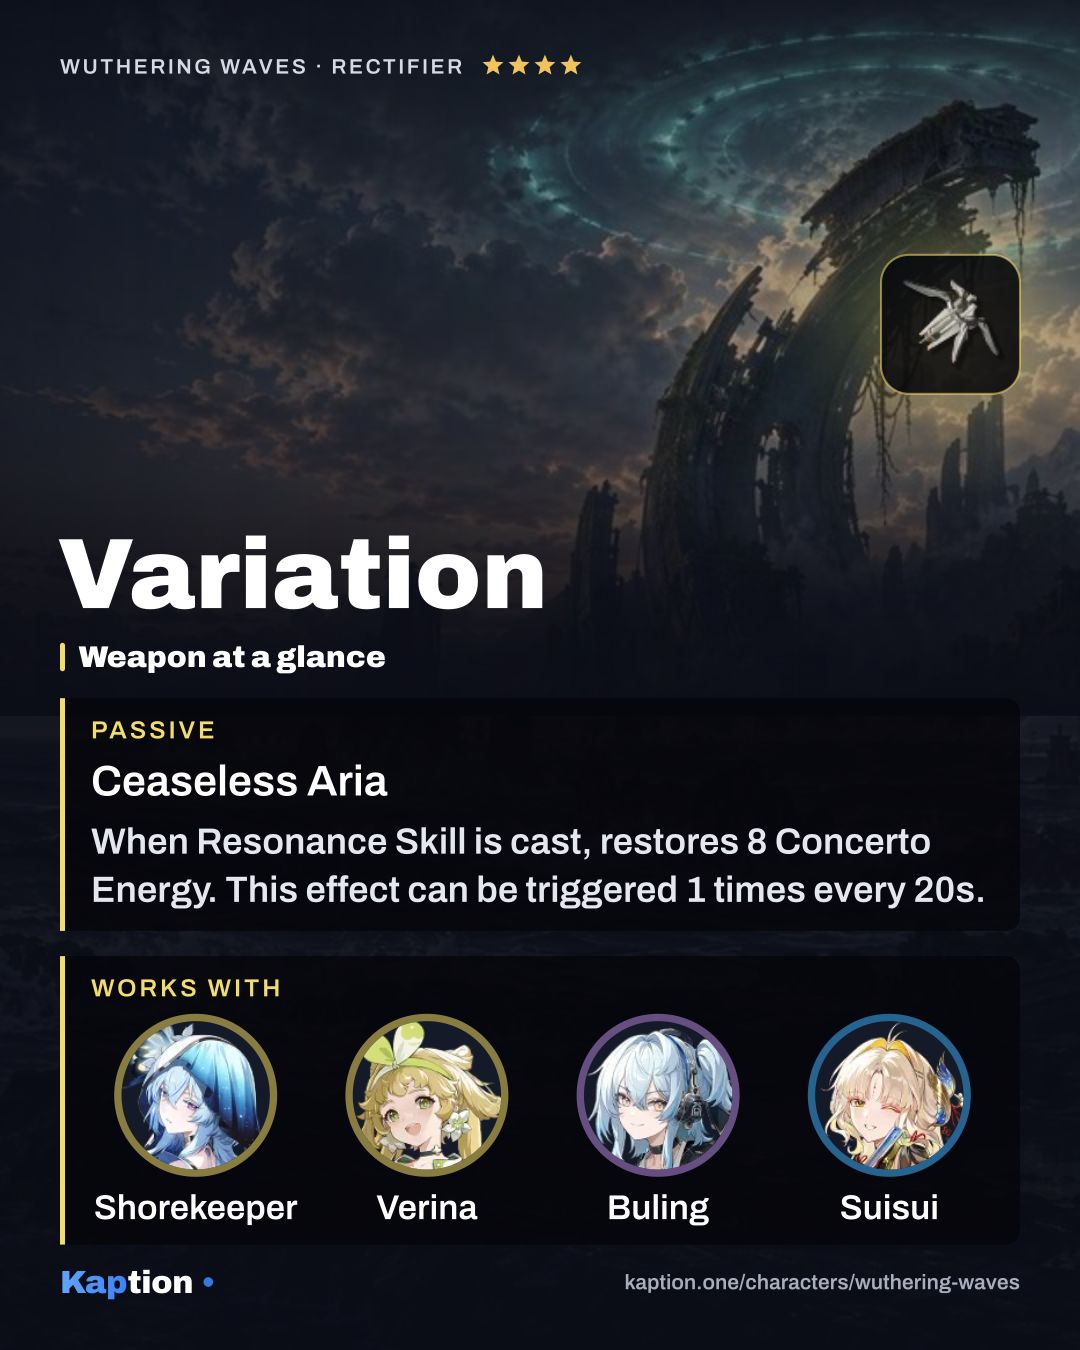
Stellar Symphony is the first weapon choice. It increases HP by 12%, restores 8 Concerto Energy when Shorekeeper casts her Liberation, and gives nearby teammates 14% ATK for 30 seconds when she casts a healing Skill. Variation is next, restoring 8 Concerto Energy when she casts her Skill. Both energy effects have a 20-second interval.
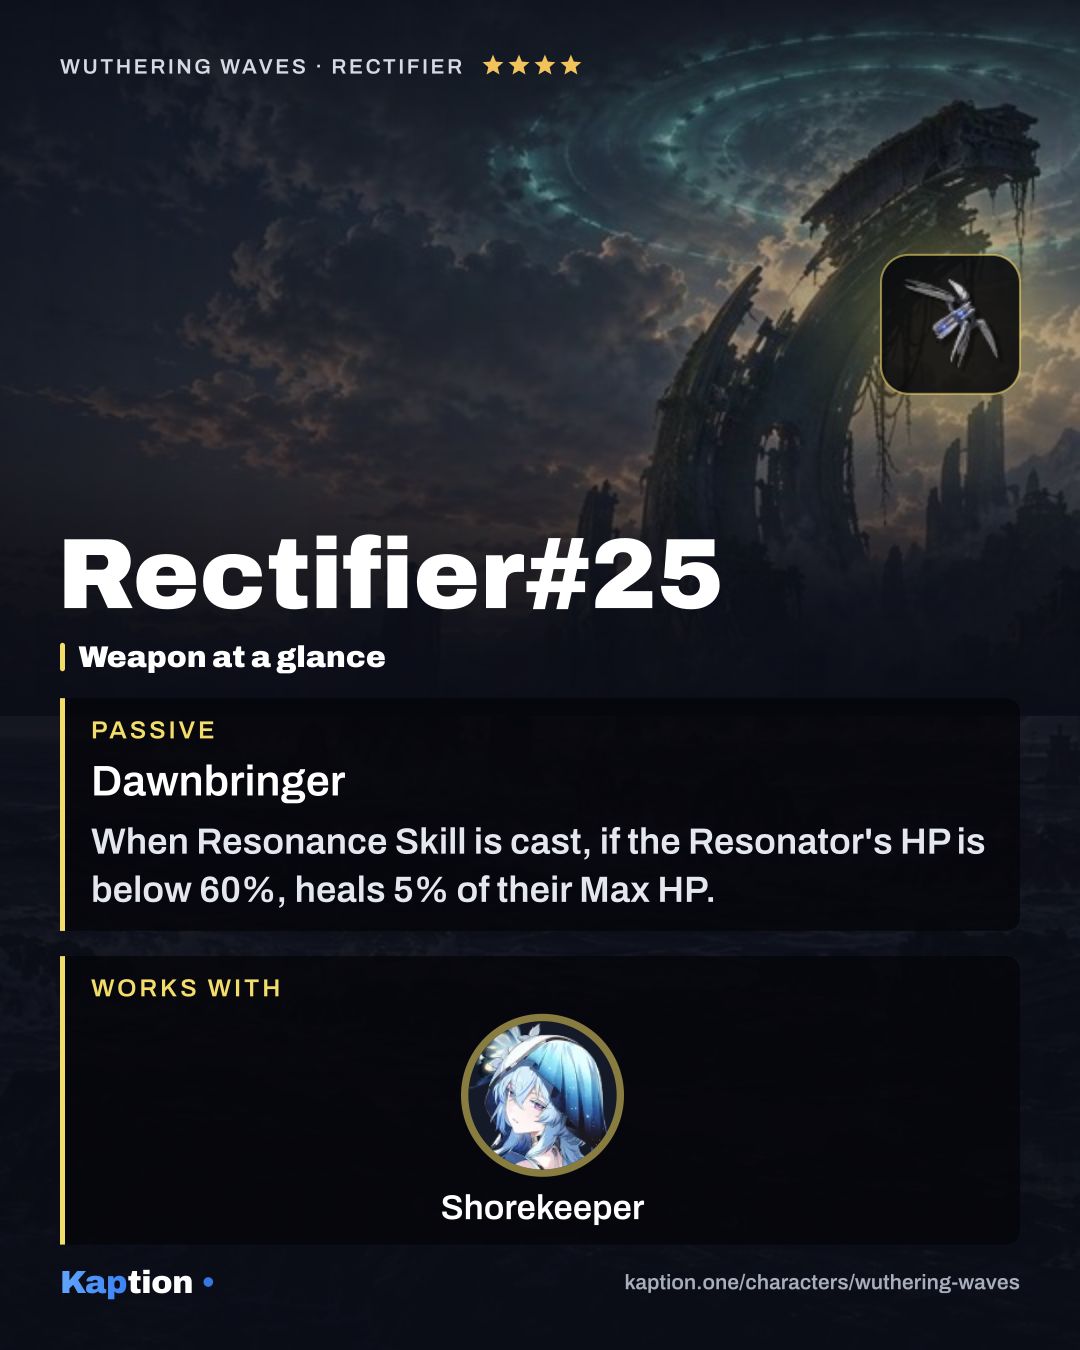
Rectifier#25 is the next option. Casting her Skill heals Shorekeeper for 5% of her Max HP if her HP is below 60%; above 60%, it gives her 12% ATK for 10 seconds. Look for Energy Regen when building her, since it increases both Crit. buffs from the field up to their caps. Count the 10% from Self Gravitation while the on-field character is within a Stellarealm.
Leveling priority
A reasonable leveling order is End Loop first for its recurring party healing, then Chaos Theory for its immediate heal. Follow with Proof of Existence, which also heals, then Astral Chord and Origin Calculus. This order favors Shorekeeper's support role over her attacks.
For maximum ascension, gather 170,000 Shell Credit, 4 LF Whisperin Core, 12 MF Whisperin Core, 12 HF Whisperin Core, 4 FF Whisperin Core, 46 Topological Confinement and 60 Nova.
To raise all skills to their maximum, you need another 2,030,000 Shell Credit, plus 25 LF Whisperin Core, 28 MF Whisperin Core, 40 HF Whisperin Core, 57 FF Whisperin Core, 26 Sentinel's Dagger, 25 Lento Helix, 28 Adagio Helix, 55 Andante Helix and 67 Presto Helix.
Resonance Chain nodes worth it
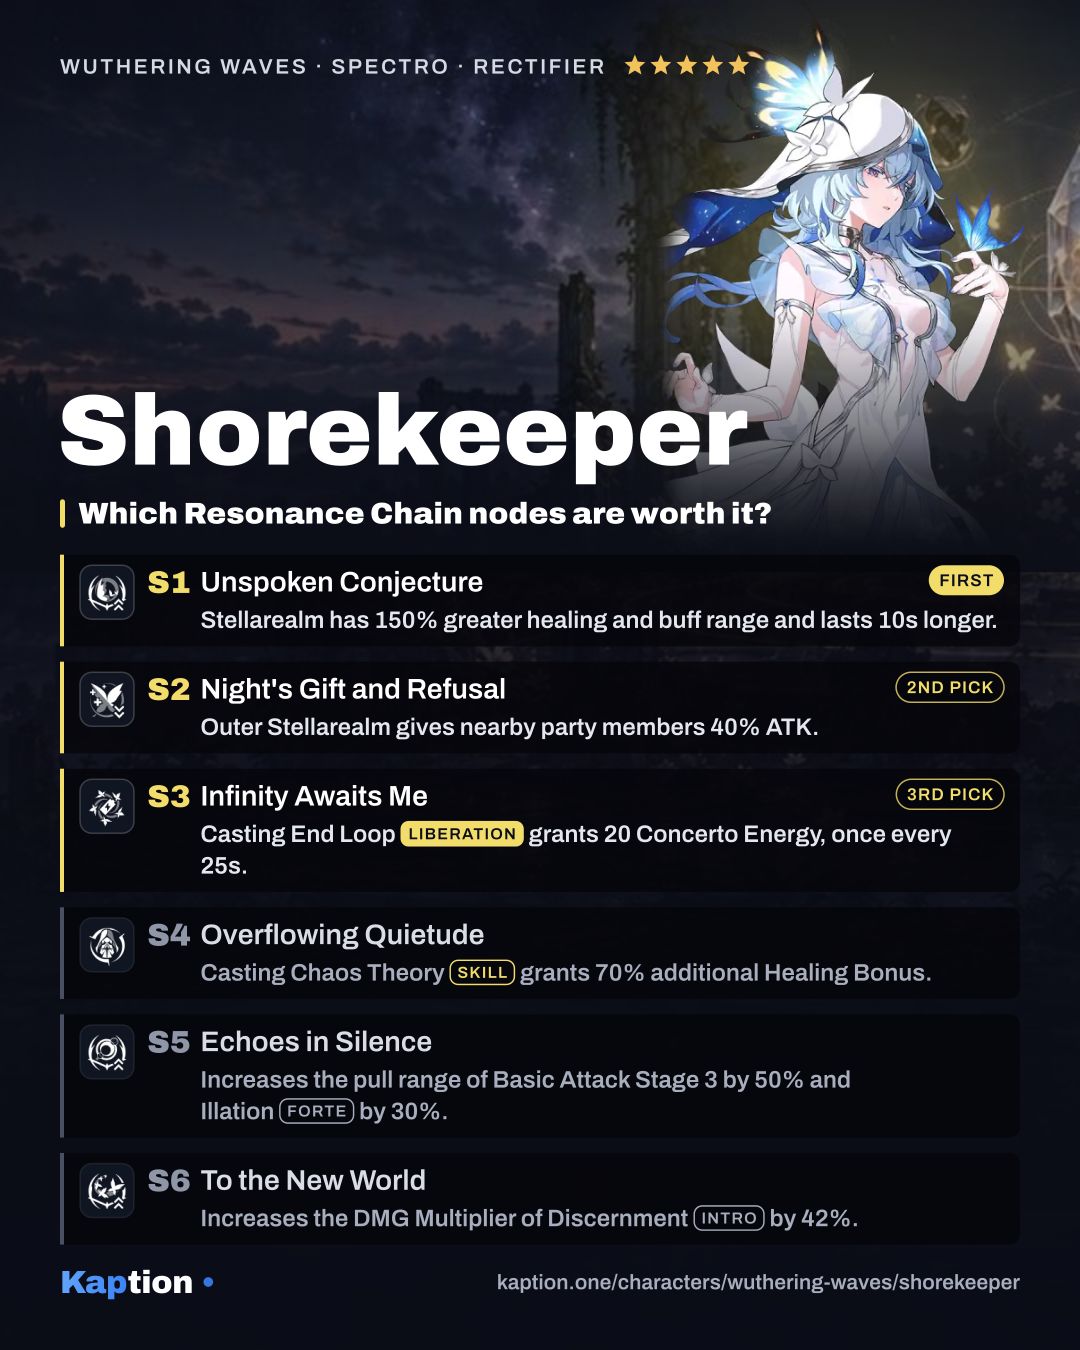
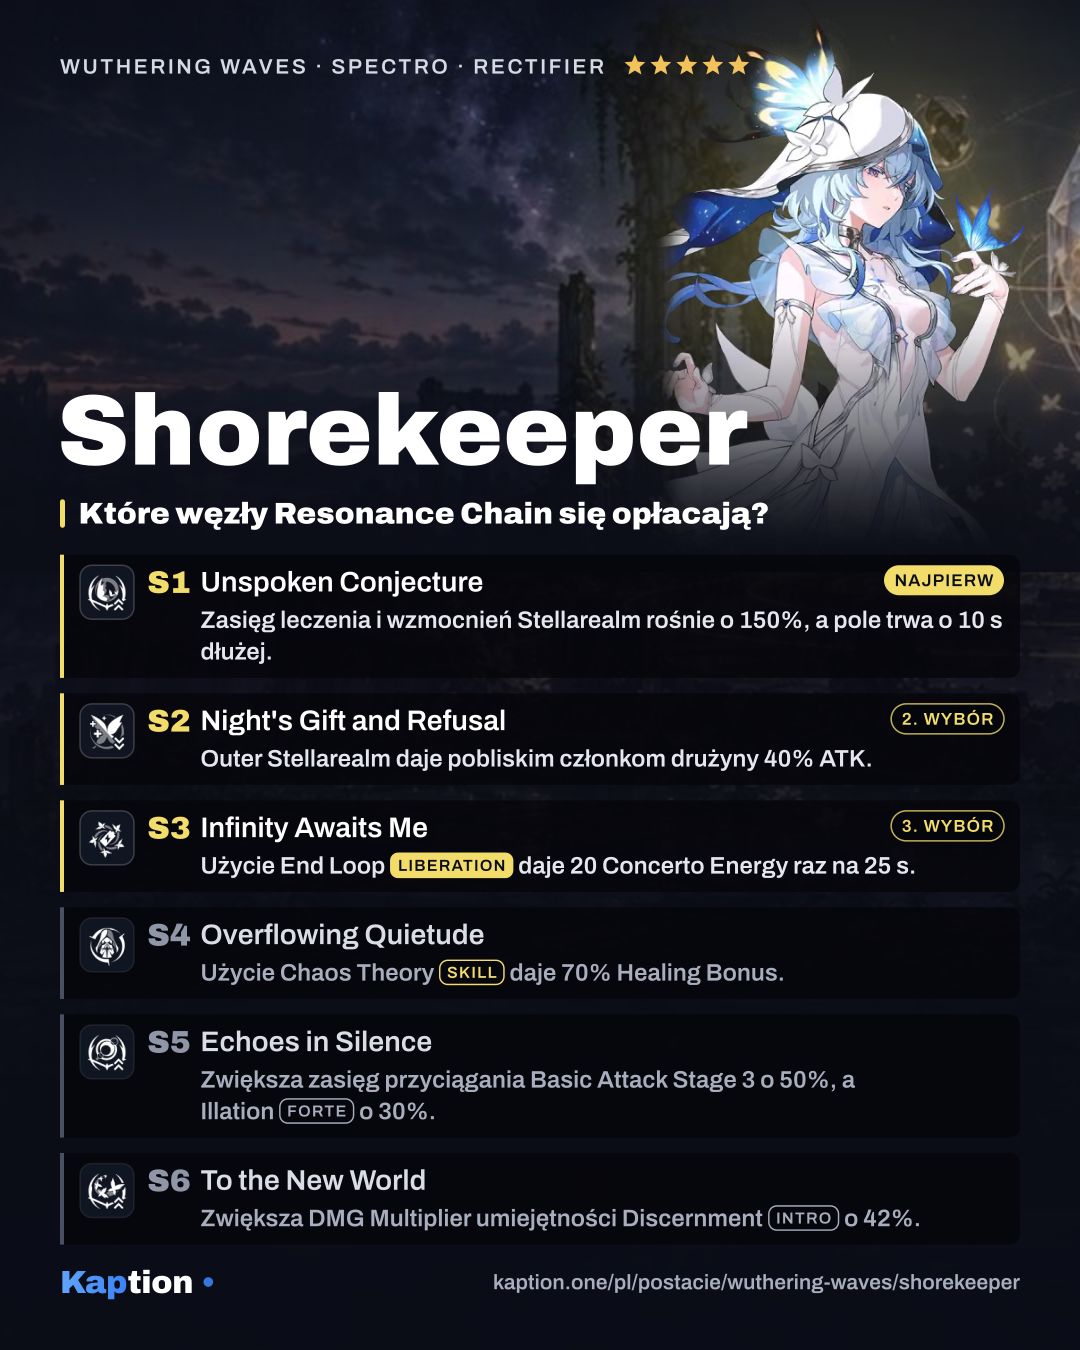
Unspoken Conjecture (Sequence 1) is worth considering for field comfort. It extends the healing and buff range by 150%, adds 10 seconds to the duration and stops the Discernment form of Proof of Existence from ending the Stellarealm. You can bring Shorekeeper back without losing the field to that Intro Skill.
Night's Gift and Refusal (Sequence 2) adds 40% ATK for nearby party members to the Outer Stellarealm. Infinity Awaits Me (Sequence 3) is another option: casting End Loop gives Shorekeeper 20 Concerto Energy, once every 25 seconds.
If you mainly want team buffs, you can skip the later nodes. Overflowing Quietude (Sequence 4) adds 70% Healing Bonus when casting Chaos Theory, Echoes in Silence (Sequence 5) extends pull ranges, and To the New World (Sequence 6) improves Discernment's damage.
Teams
Shorekeeper fits beside a damage dealer and another teammate who can take turns using Intro Skills inside her field. Her Crit. buffs and Binary Butterfly damage amplification apply to party members without requiring a particular element.
Life Entwined can save another Resonator from a fatal blow once every 10 minutes. That character recovers HP equal to 50% of Shorekeeper's HP, which Shorekeeper loses; the effect cannot reduce her below 1 HP.
Common mistakes
Do not leave the fight outside the Stellarealm and expect its healing or Crit. buffs to follow. Use Intro Skills within the field to upgrade it, then keep the character you are playing in range.
Do not switch Shorekeeper back into Supernal Stellarealm without considering the Discernment form of Proof of Existence. Before her first Resonance Chain node, that Intro attack ends the field. Let your damage dealer use the buffs first if you still need them.
Do not expect the pull from Illation in Astral Chord before you have five Empirical Data. Keep an eye on Energy Regen too: it affects both Crit. buffs, but extra Energy Regen will not increase them once they reach their caps.