




































Guide
How the kit works
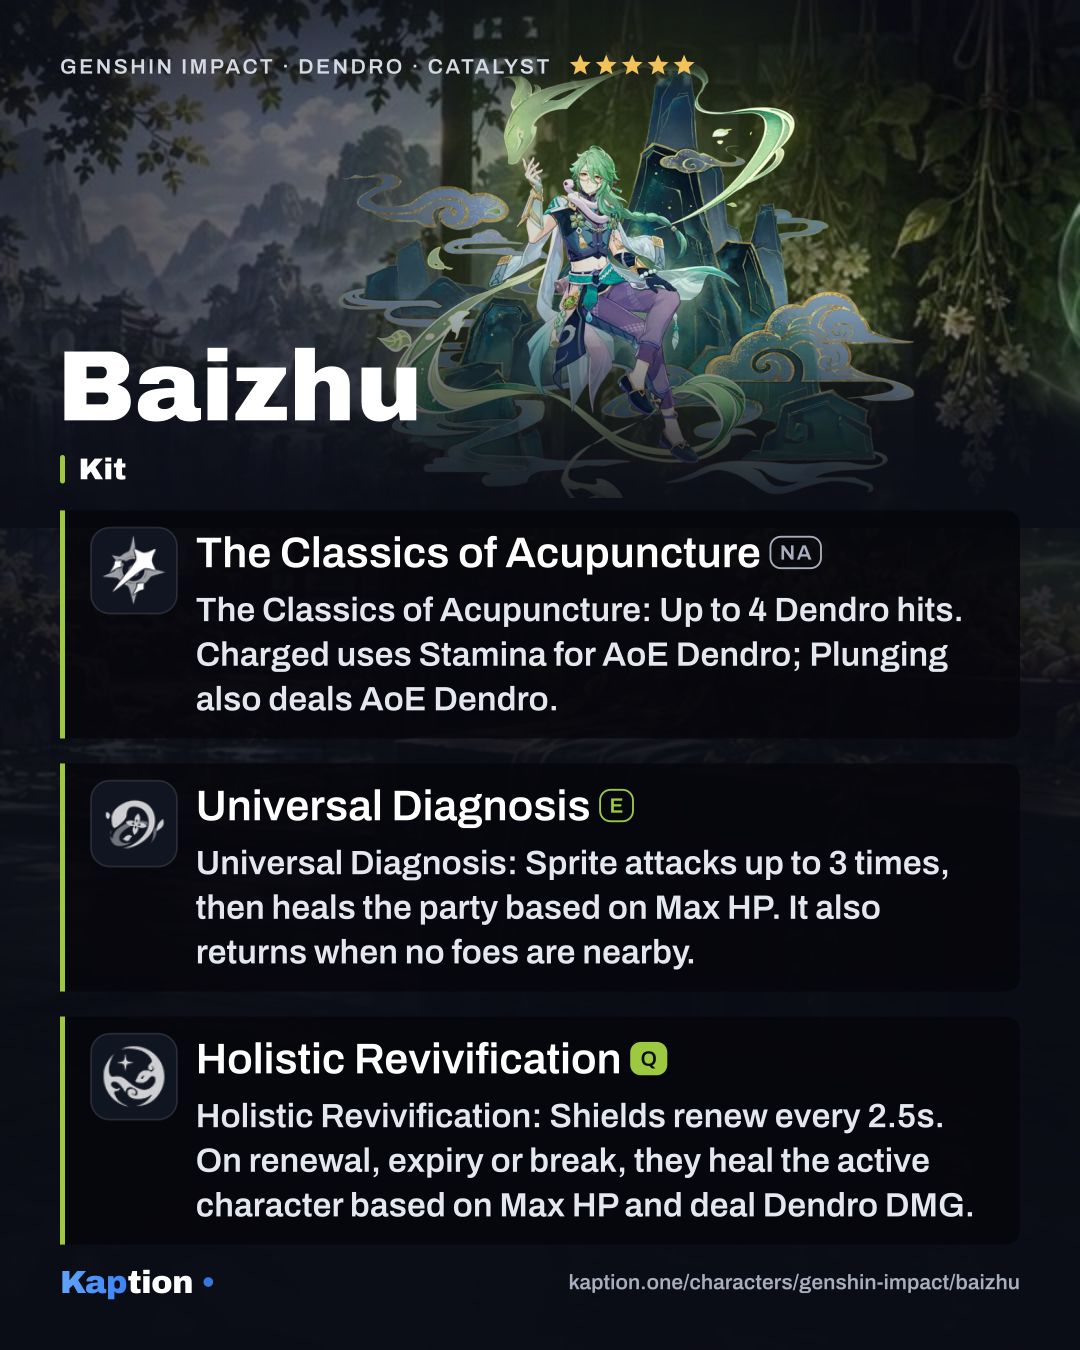
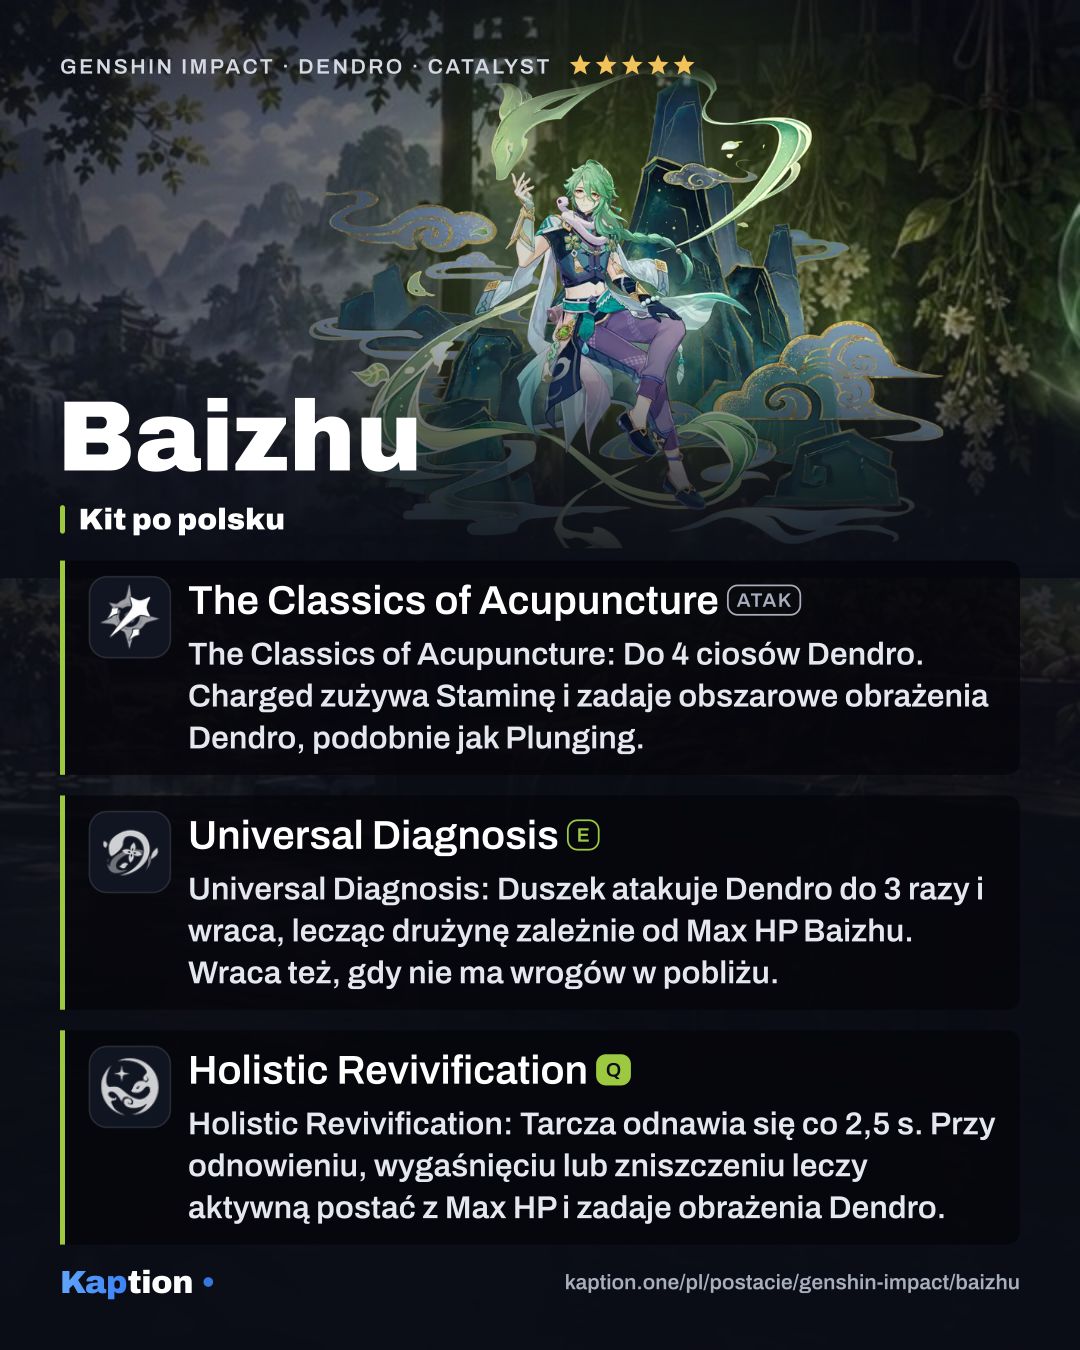
Start with Universal Diagnosis. It sends a Gossamer Sprite to attack nearby opponents with Dendro DMG. After three attacks, or when no opponents are nearby, the Sprite returns and heals all nearby party members based on Baizhu's Max HP.
Use Holistic Revivification when you want its protection and reaction bonus. It creates a shield, then generates a new one every 2.5 seconds. When a protected character receives a new shield, or a shield expires or breaks, it heals the active character and releases Spiritveins to deal Dendro DMG. The shield absorbs Dendro DMG with 250% effectiveness.
All Things Are of the Earth gives a character healed by a Burst shield a six-second reaction bonus. For each 1,000 Max HP Baizhu has, up to 50,000, it increases their Burning, Bloom, Hyperbloom and Burgeon DMG by 2%, Lunar-Bloom DMG by 0.7%, and the DMG Bonus from Aggravate and Spread by 0.8%.
Five Fortunes Forever gives Baizhu 20% Healing Bonus when the active character is below 50% HP; at 50% HP or above, he gets 25% Dendro DMG Bonus instead. The Classics of Acupuncture (NA) deals Dendro DMG, but you can switch to a teammate after using his abilities. Herbal Nourishment also heals the active character when you collect certain harvestable items.
Build and why
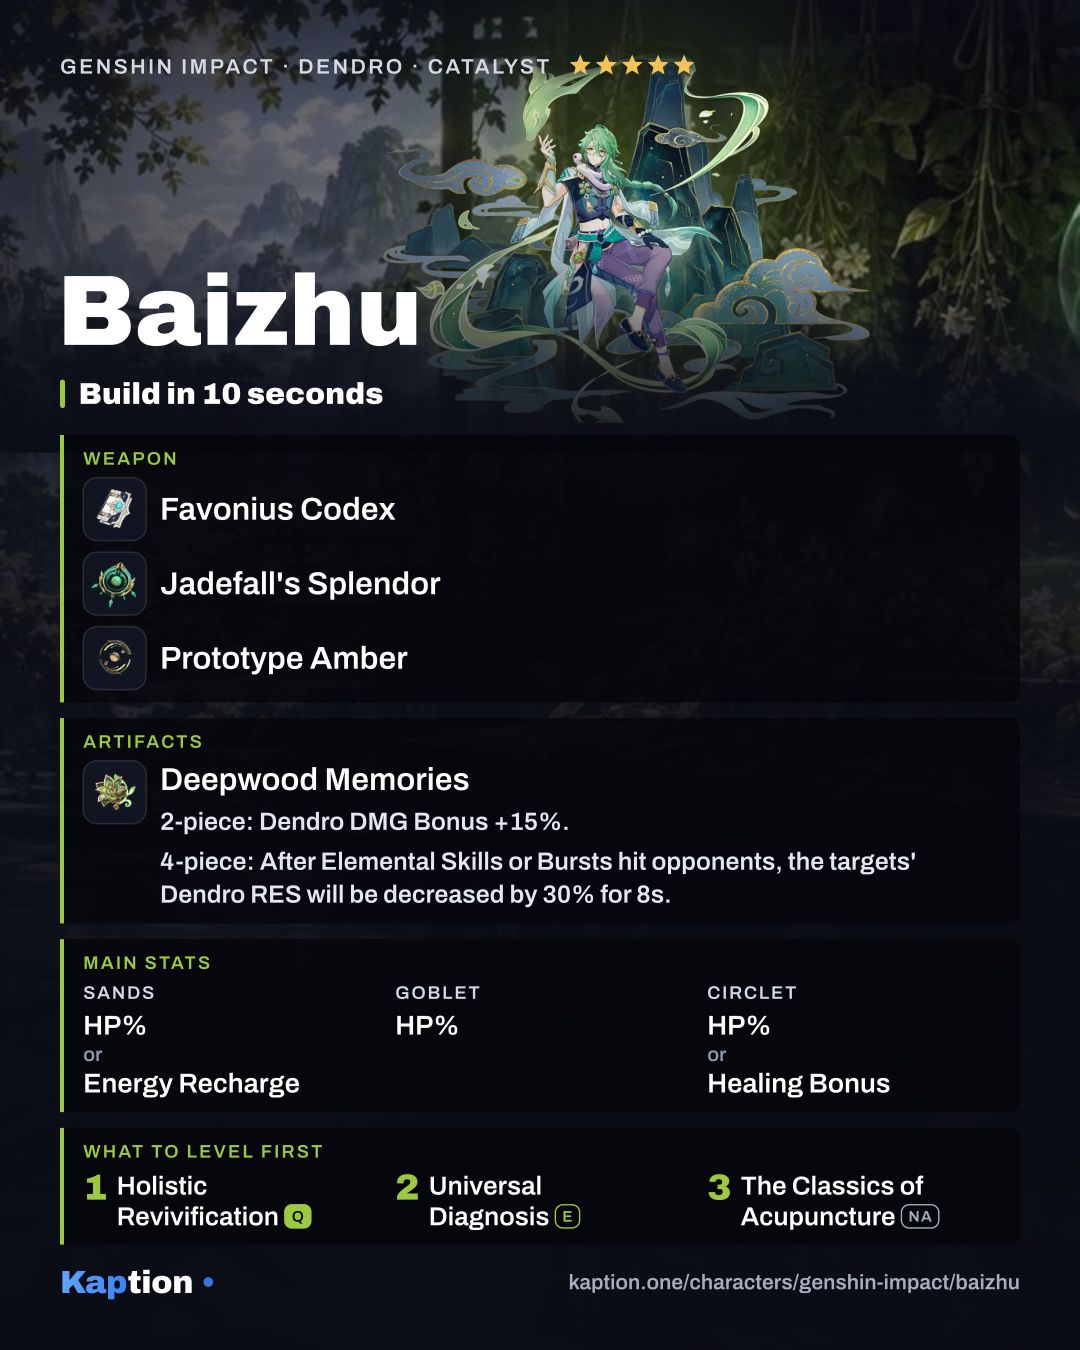
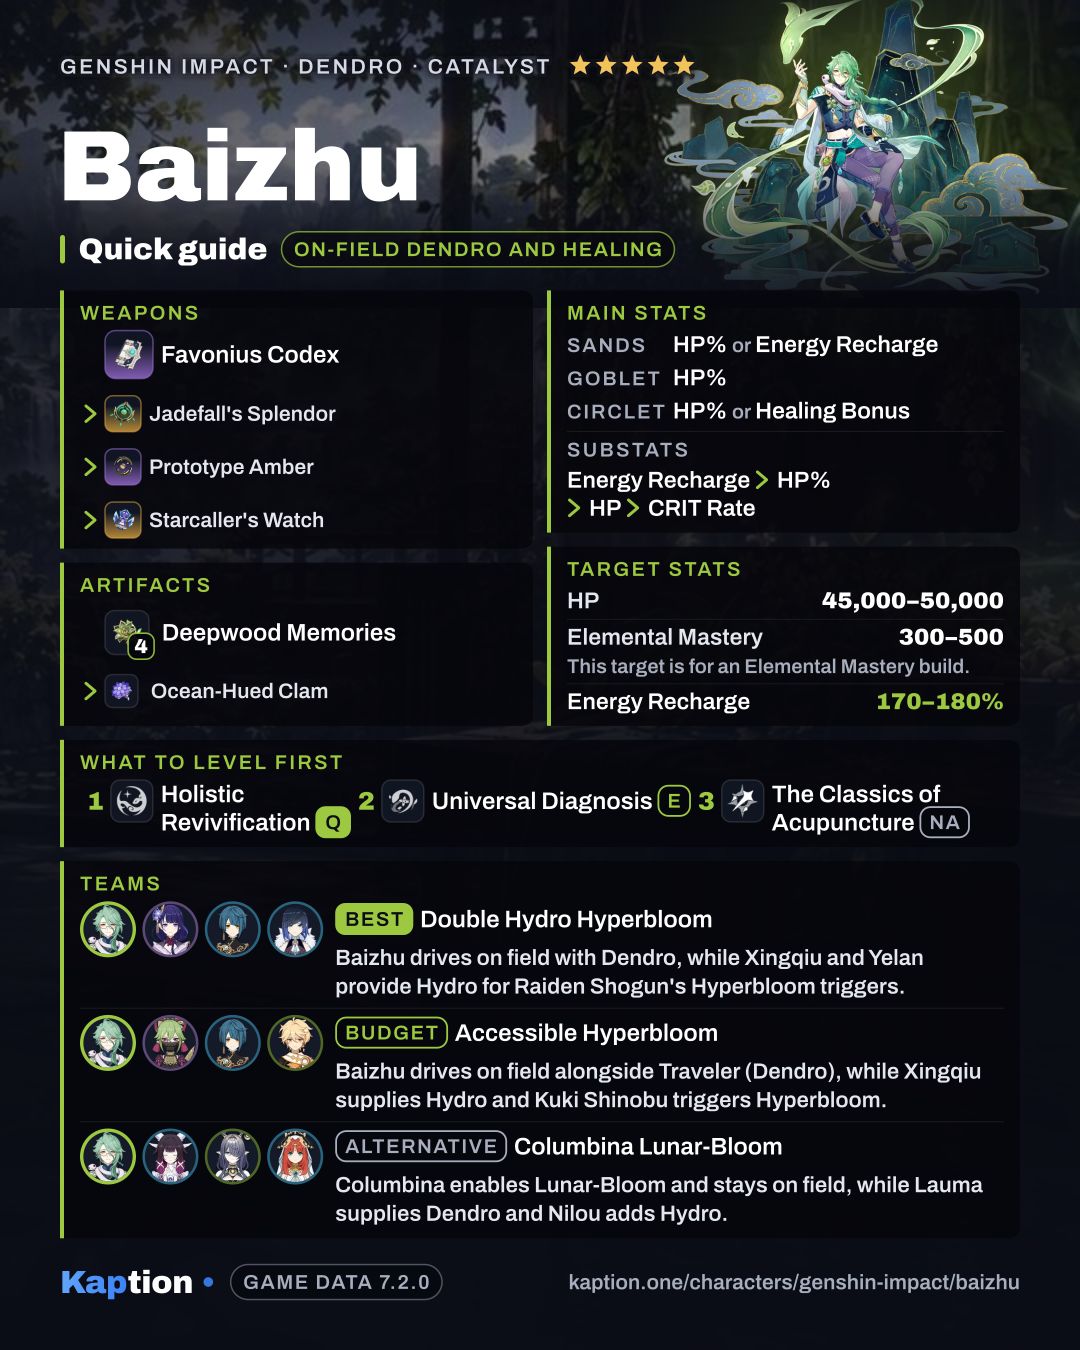
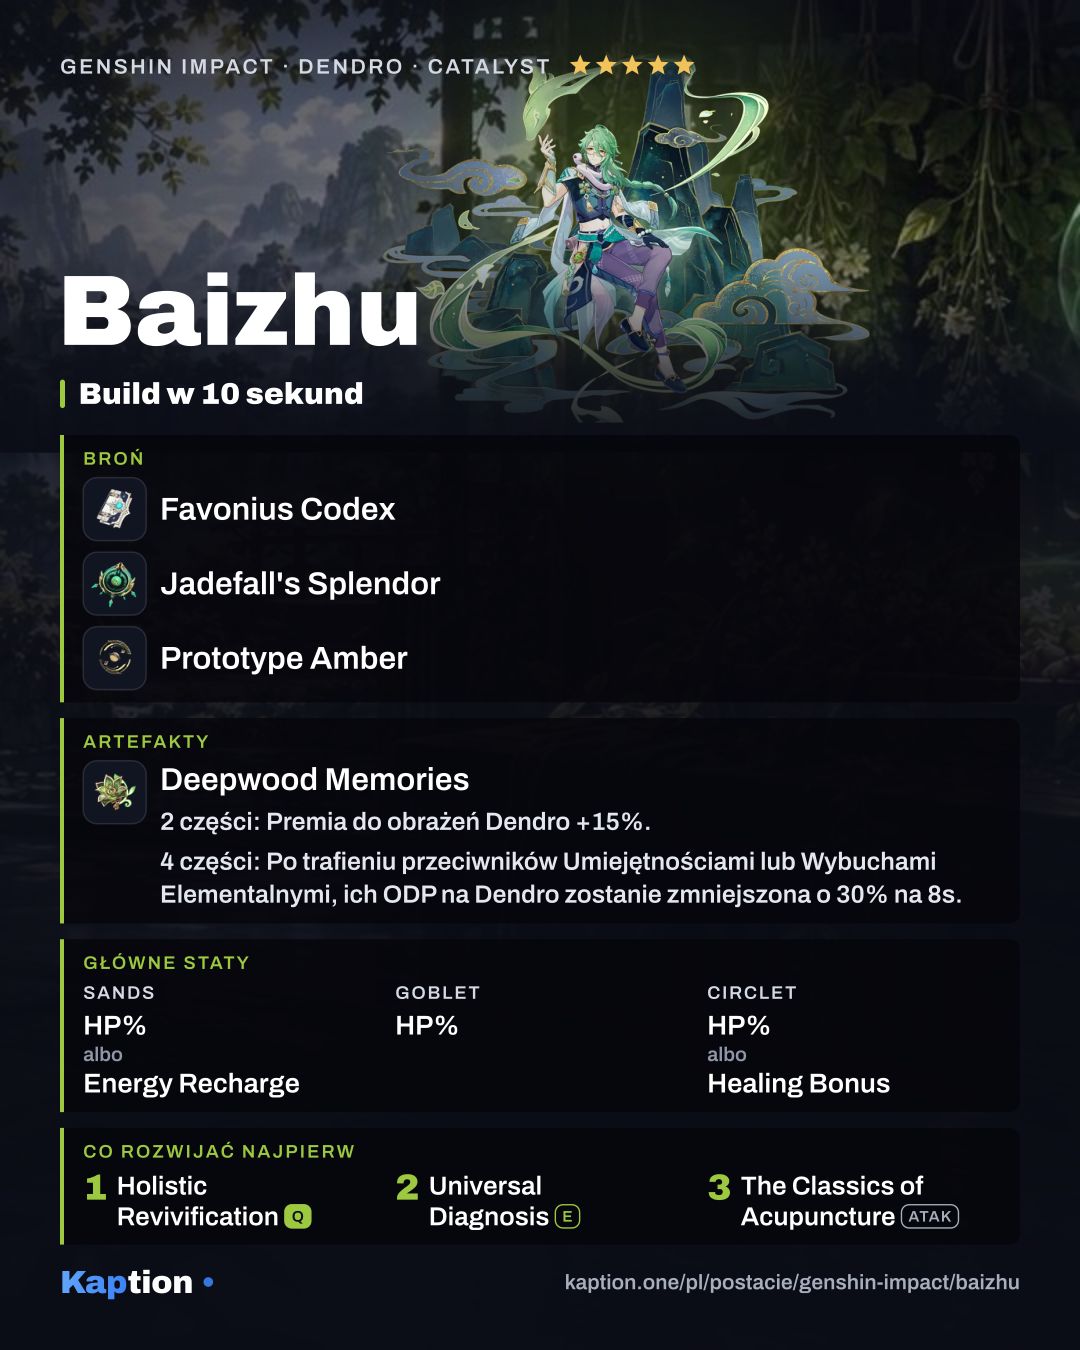
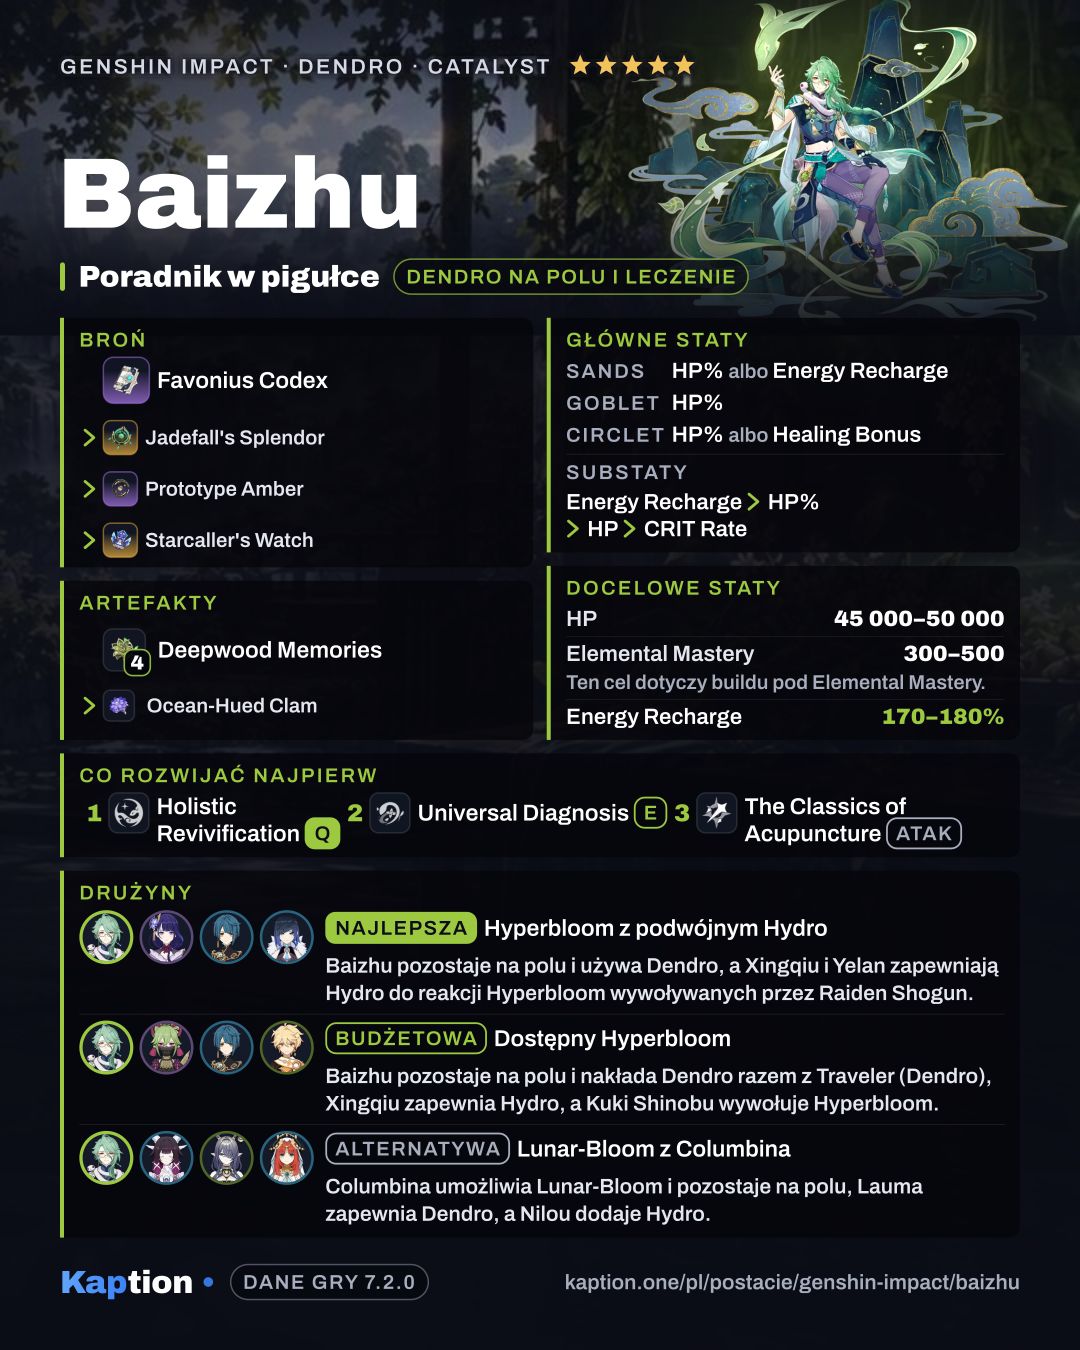
Four pieces of Deepwood Memories are the first set to consider. Skill or Burst hits reduce the target's Dendro RES by 30% for eight seconds, even if Baizhu is off-field. That helps the team's Dendro damage as well as his own.
Ocean-Hued Clam is an alternative that turns healing into damage: its foam records healing, including overflow, and explodes after three seconds. Instructor is another option for reaction teams. When Baizhu triggers a reaction, its four-piece effect gives the party 120 Elemental Mastery for eight seconds.
For a simple mix, use two pieces of Tenacity of the Millelith for 20% HP and two pieces of Emblem of Severed Fate for 20% Energy Recharge. Pick HP Percentage or Energy Recharge on the sands, HP Percentage on the goblet, and HP Percentage or Healing Bonus on the circlet. Look for Energy Recharge, HP Percentage, HP and CRIT Rate in substats.
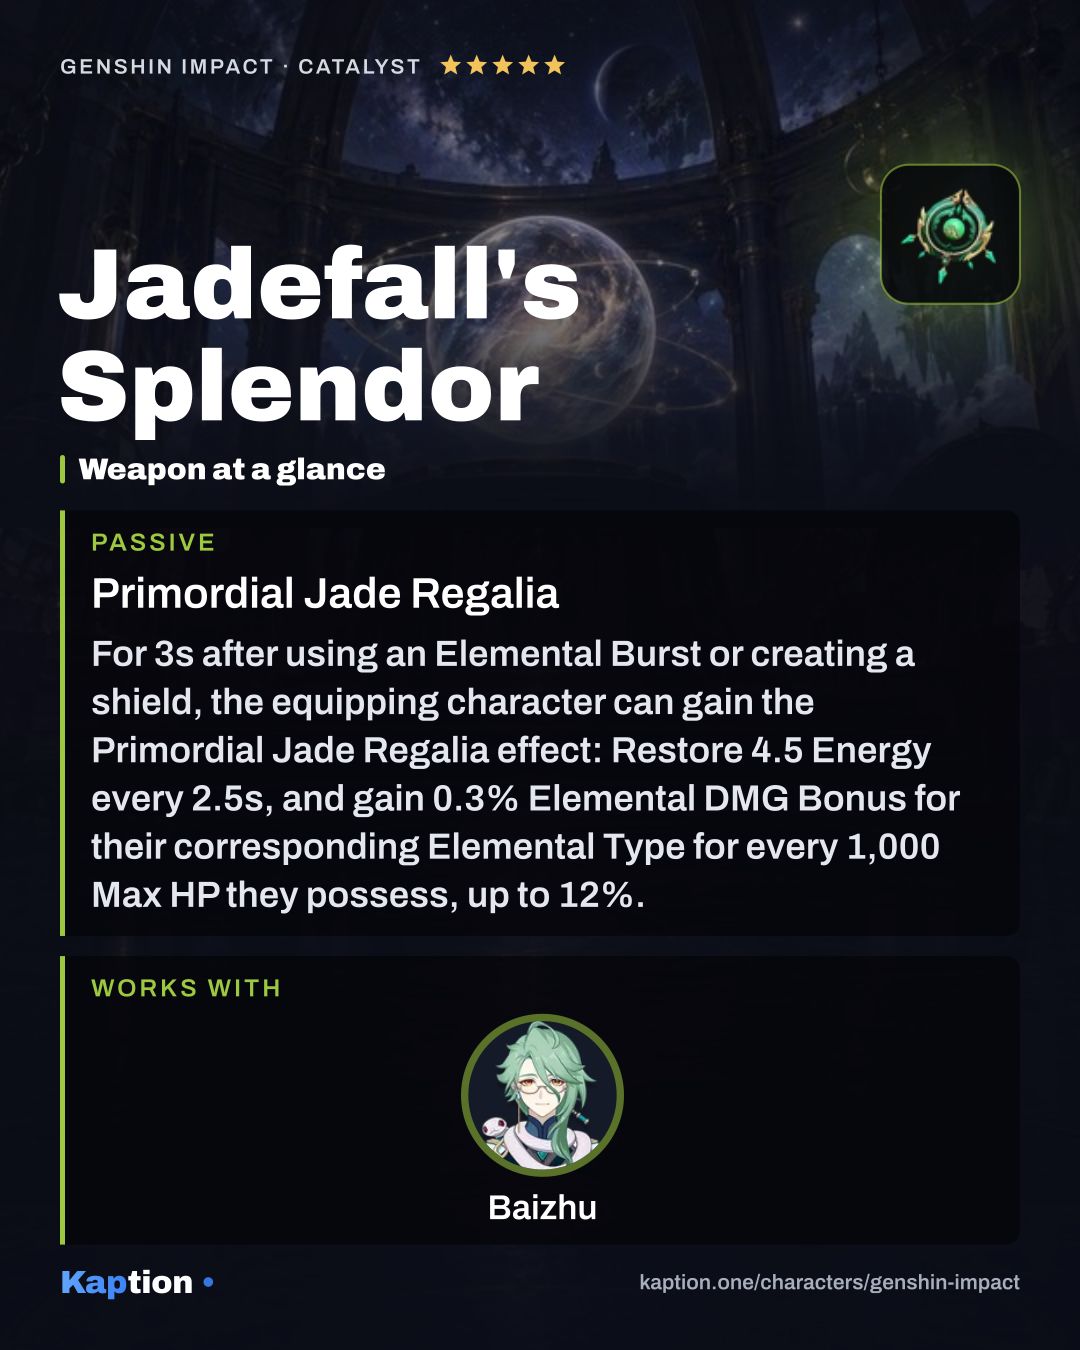
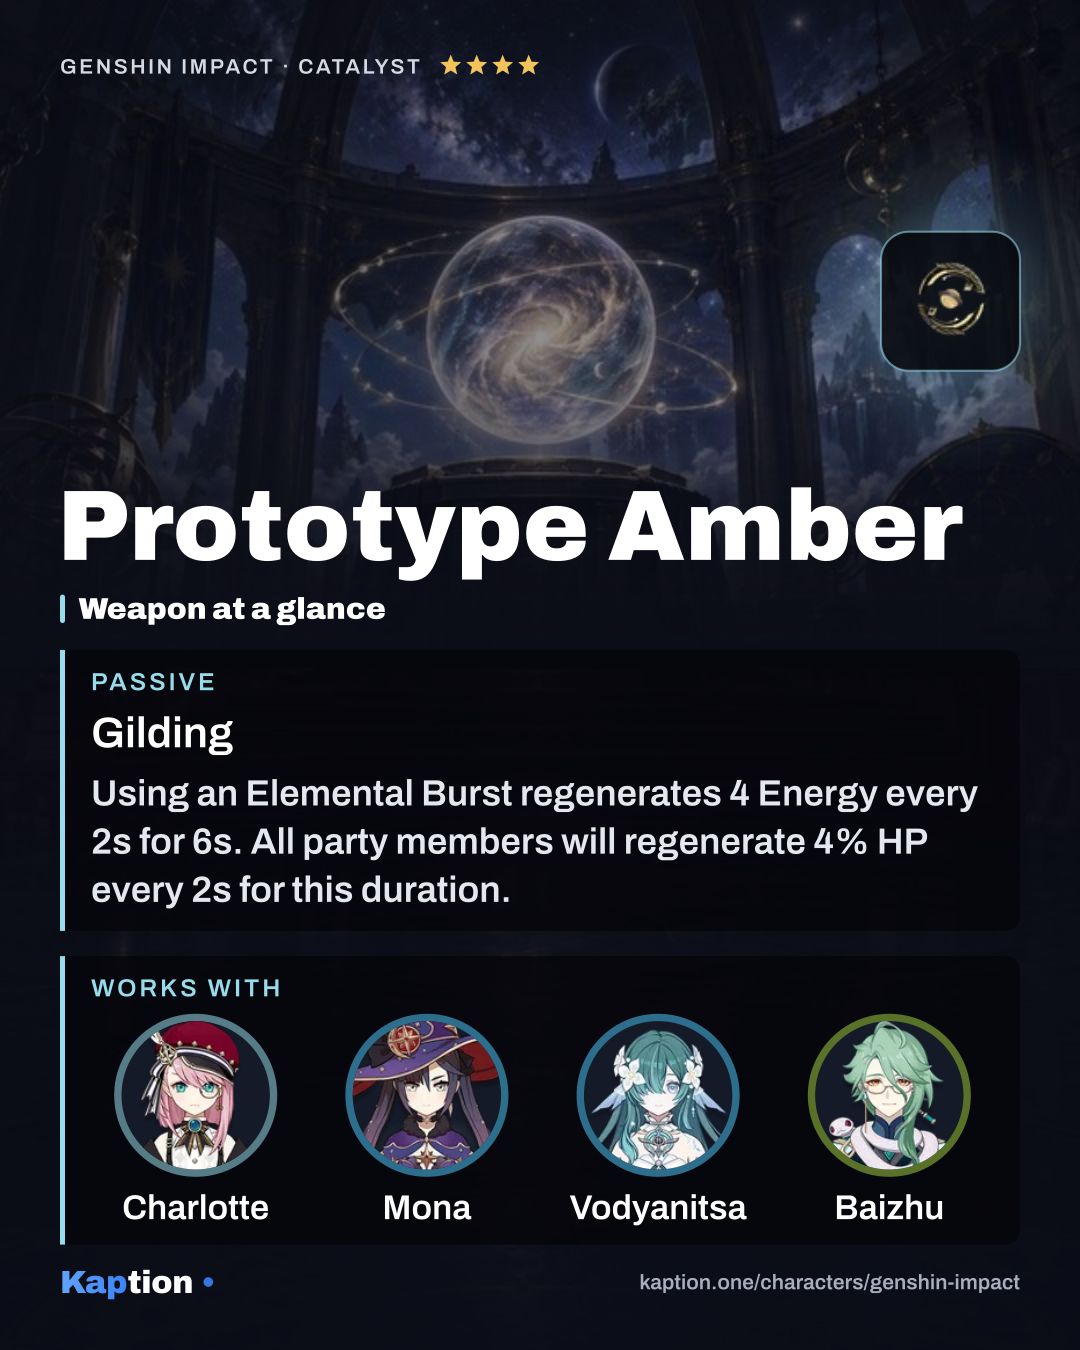
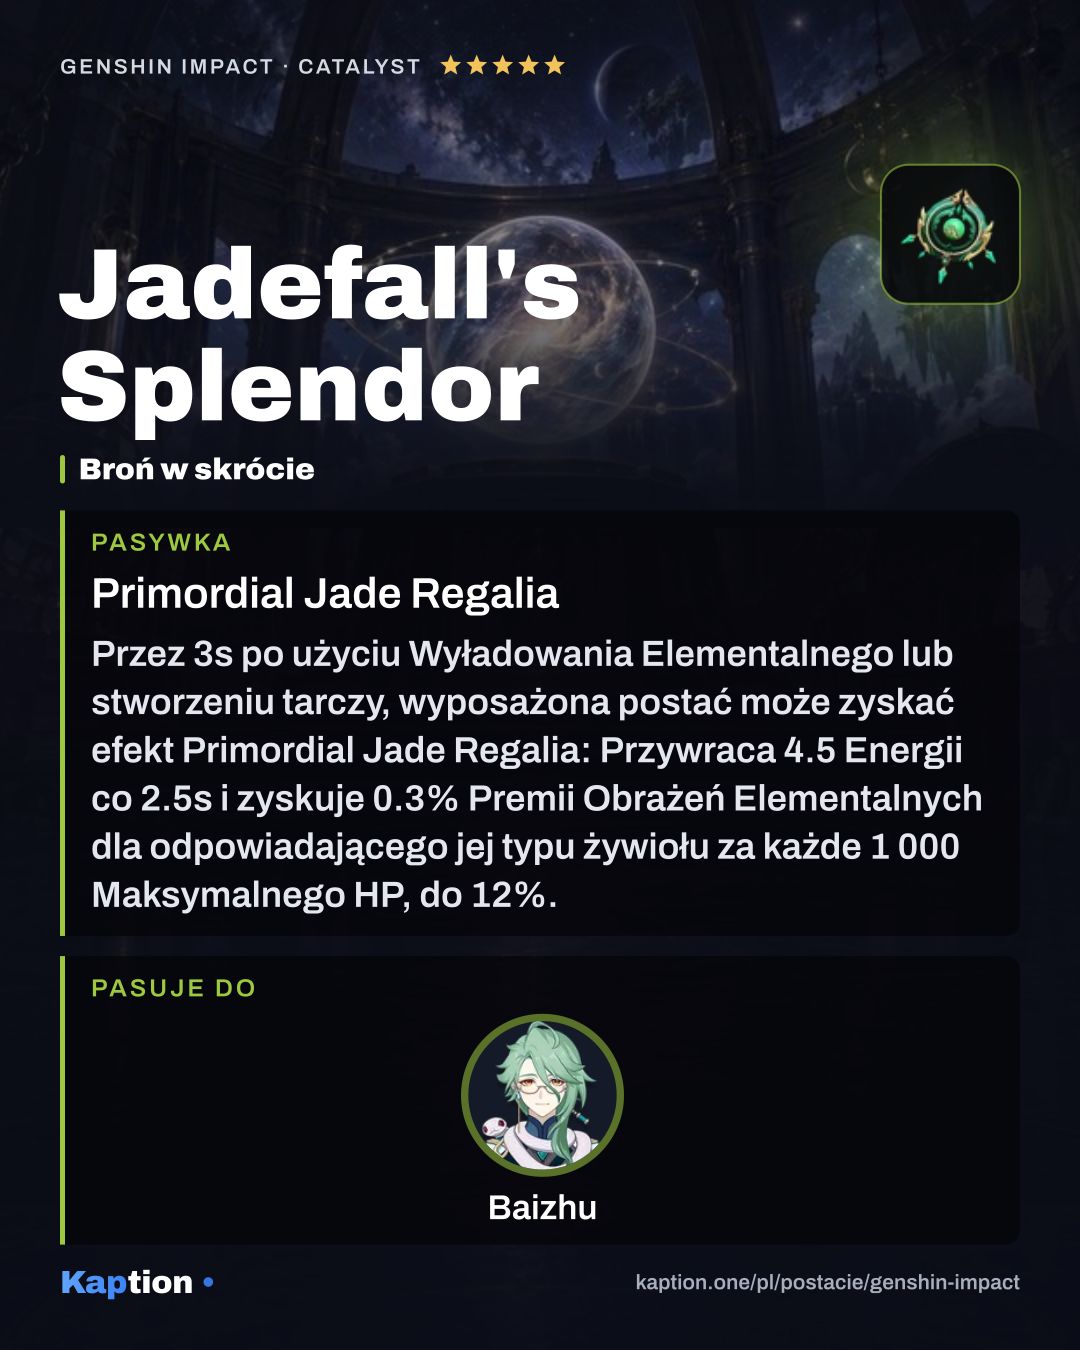
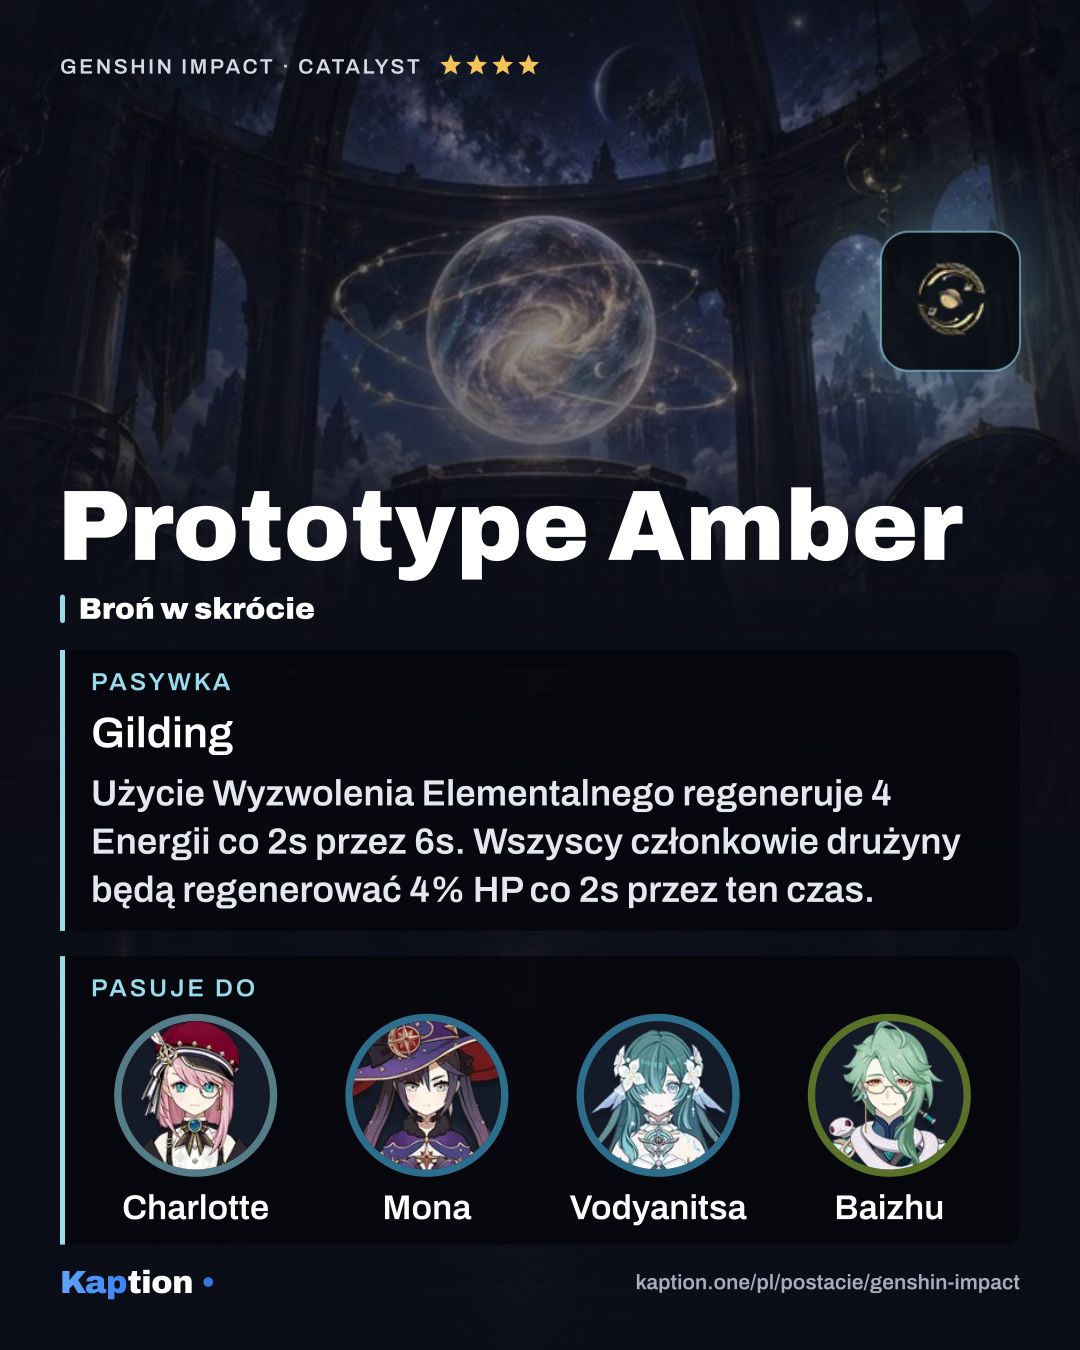
Jadefall's Splendor restores Energy and gives an Elemental DMG Bonus based on Max HP after Baizhu uses his Burst or creates a shield. Prototype Amber is a useful alternative: after the Burst, it restores Energy and heals the party over six seconds.
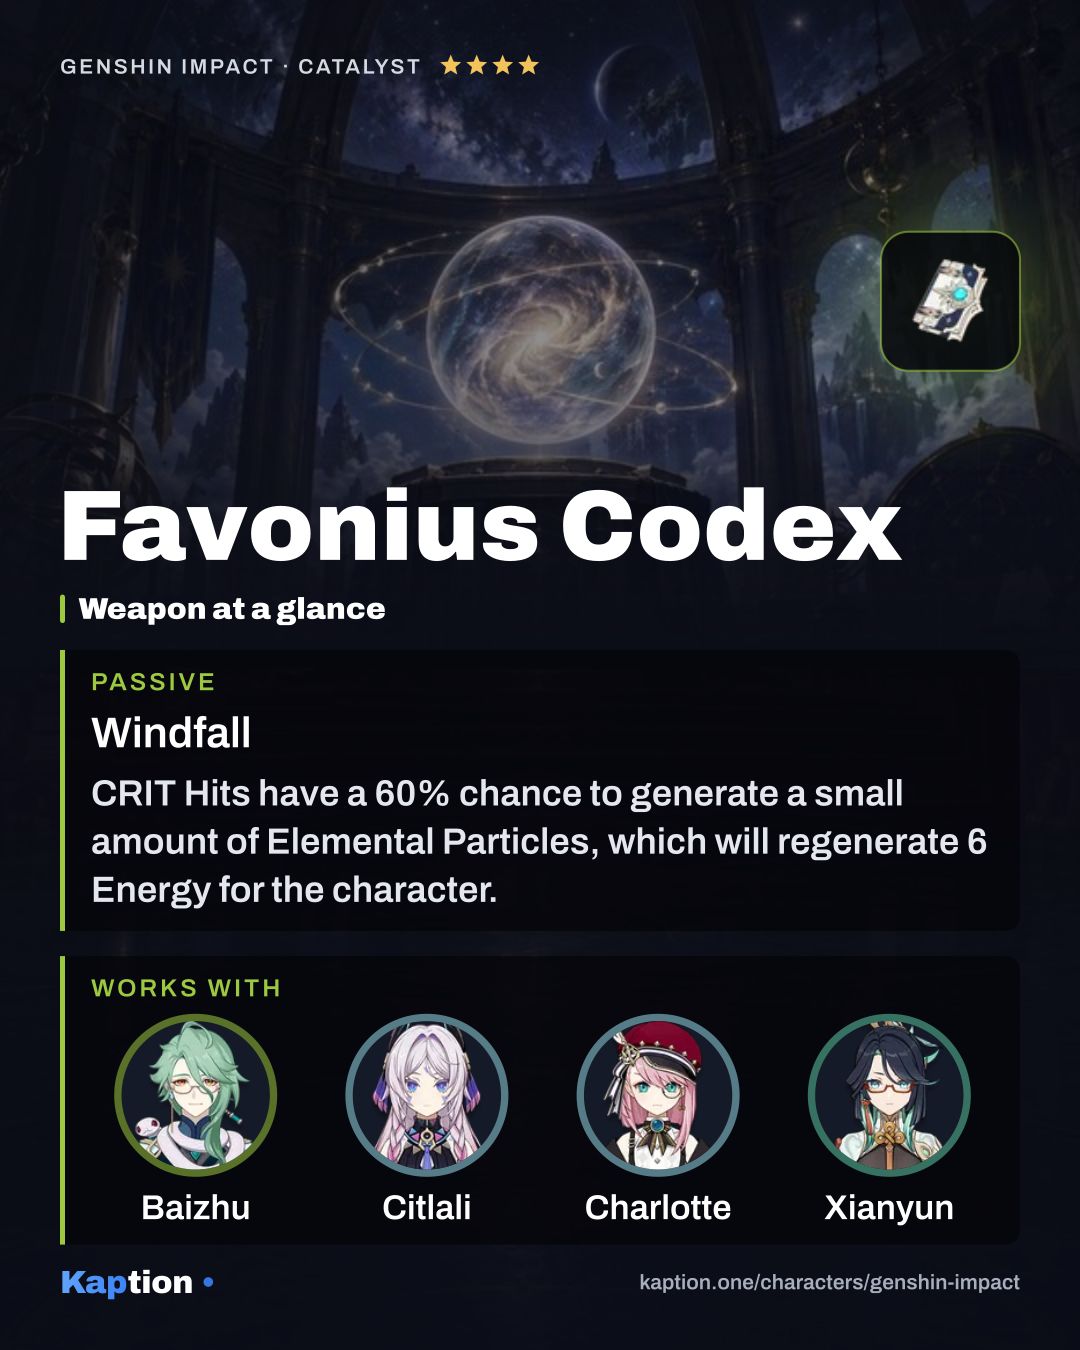
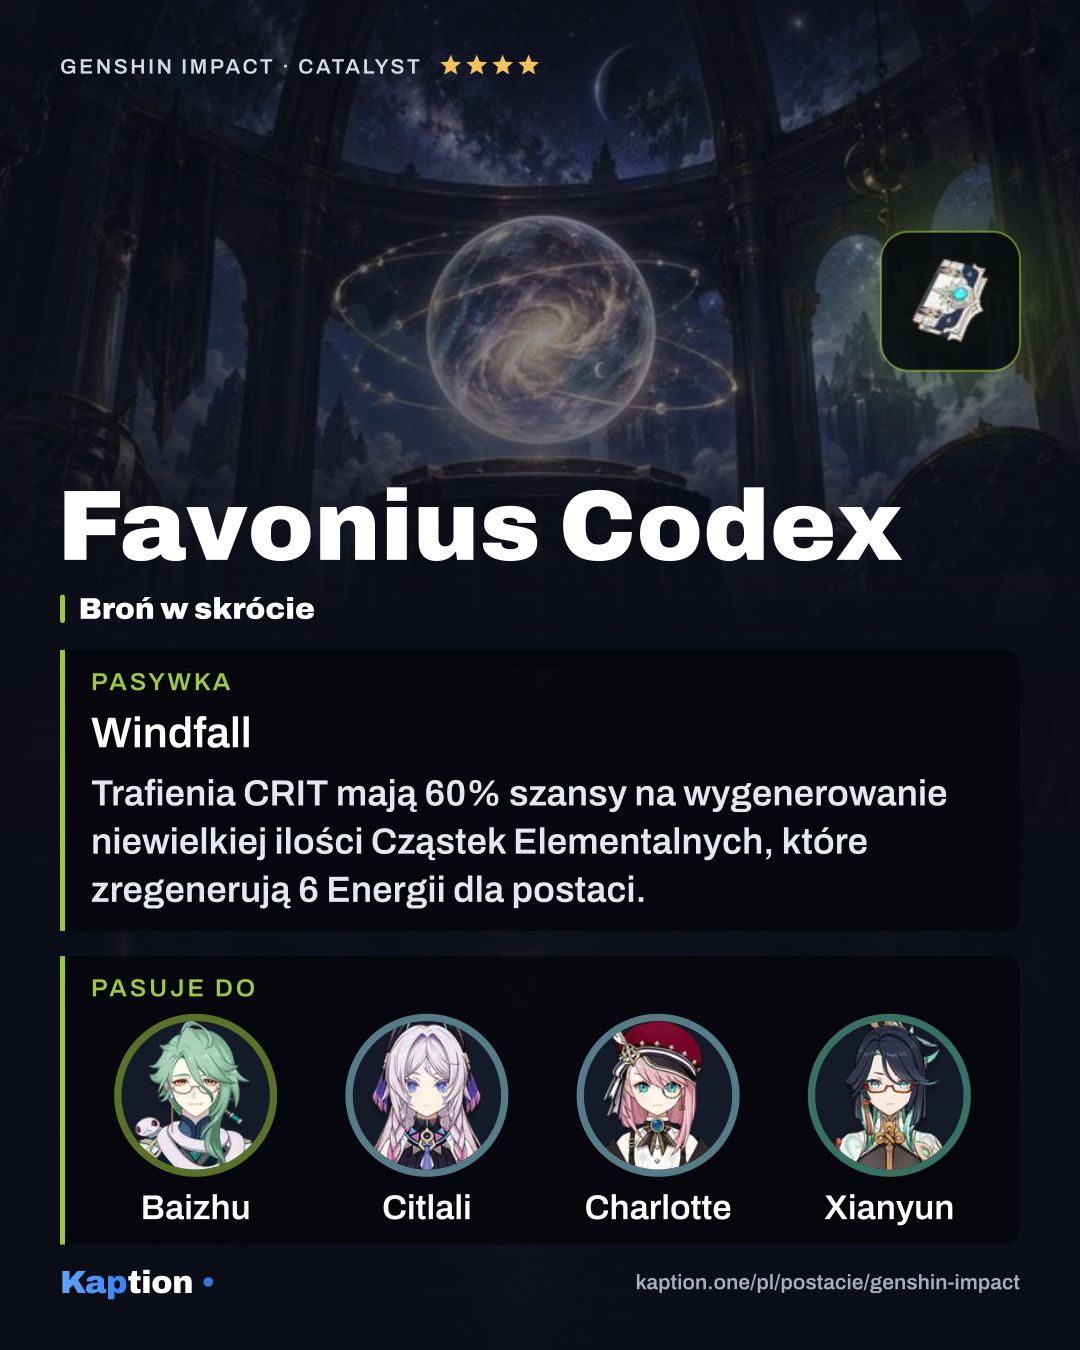
Favonius Codex can provide Energy particles on CRIT Hits, so CRIT Rate matters if you use it. Thrilling Tales of Dragon Slayers is another option: switching from Baizhu gives the incoming character ATK for ten seconds. Balance HP with enough Energy Recharge to use the Burst when you need it.
Leveling priority
A practical talent order is Holistic Revivification first, Universal Diagnosis second, then The Classics of Acupuncture (NA). The Burst is used for repeated healing and protection, while the skill heals the whole nearby party. Normal Attacks can wait if Baizhu spends little time on-field.
For maximum character ascension, you need 420,000 Mora, 168 Violetgrass, one Nagadus Emerald Sliver, nine Nagadus Emerald Fragment, nine Nagadus Emerald Chunk, six Nagadus Emerald Gemstone and 46 Evergloom Ring. You also need 18 Fungal Spores, 30 Luminescent Pollen and 36 Crystalline Cyst Dust.
To raise all three talents to the maximum, gather 4,957,500 Mora, nine Teachings of Gold, 63 Guide to Gold, 114 Philosophies of Gold, three Crown of Insight and 18 Worldspan Fern. The talents also need 18 Fungal Spores, 66 Luminescent Pollen and 93 Crystalline Cyst Dust, separate from the ascension costs.
Constellations worth it
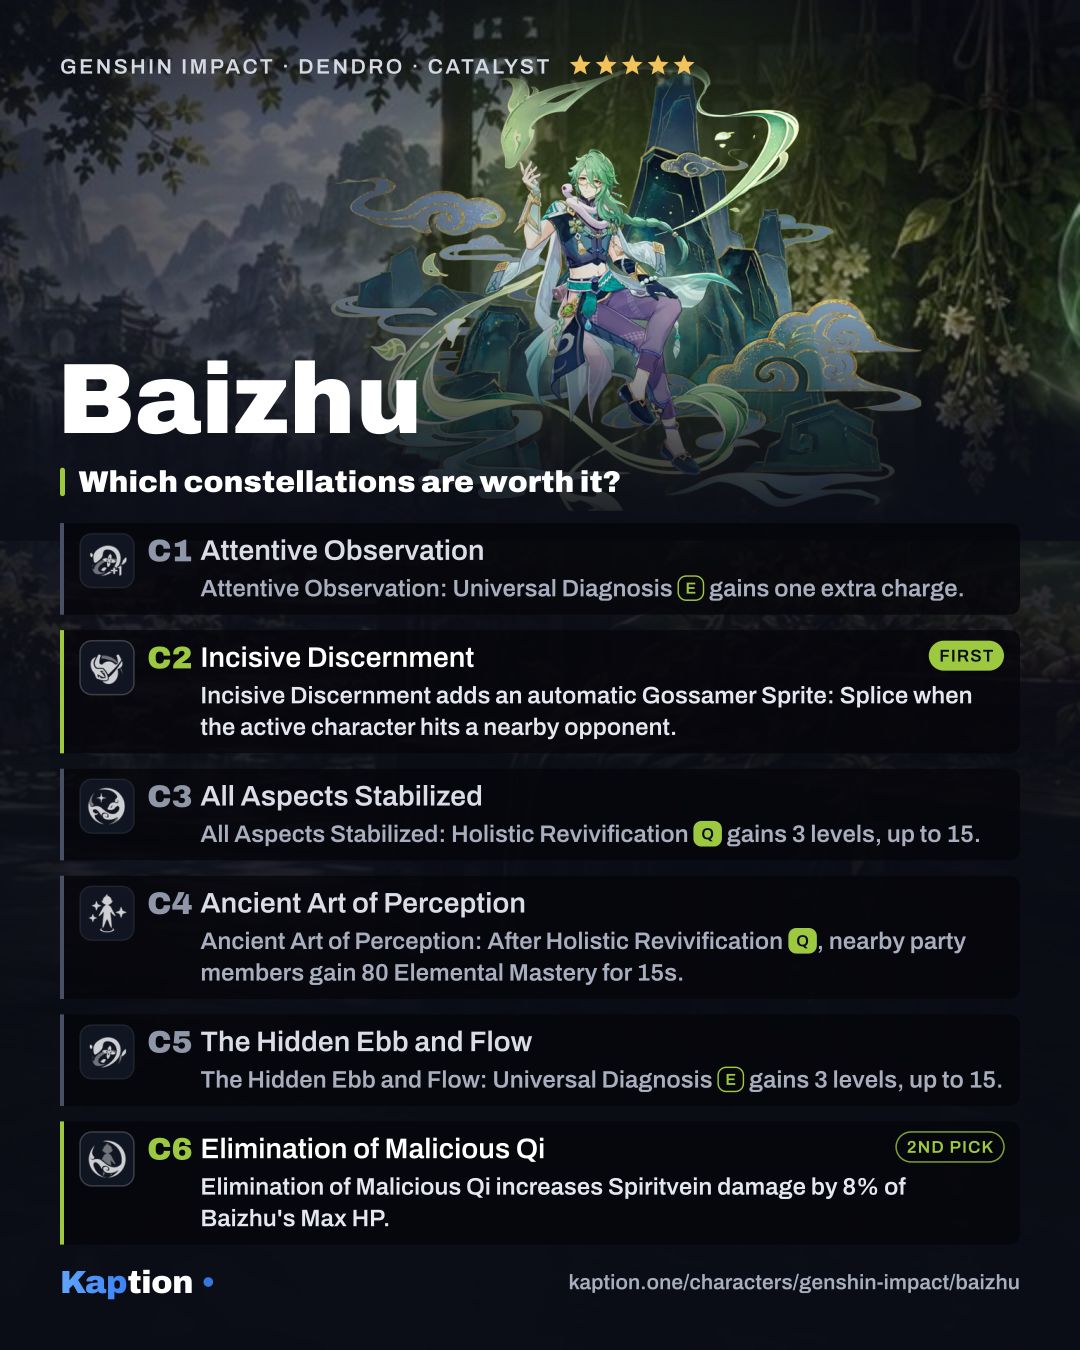
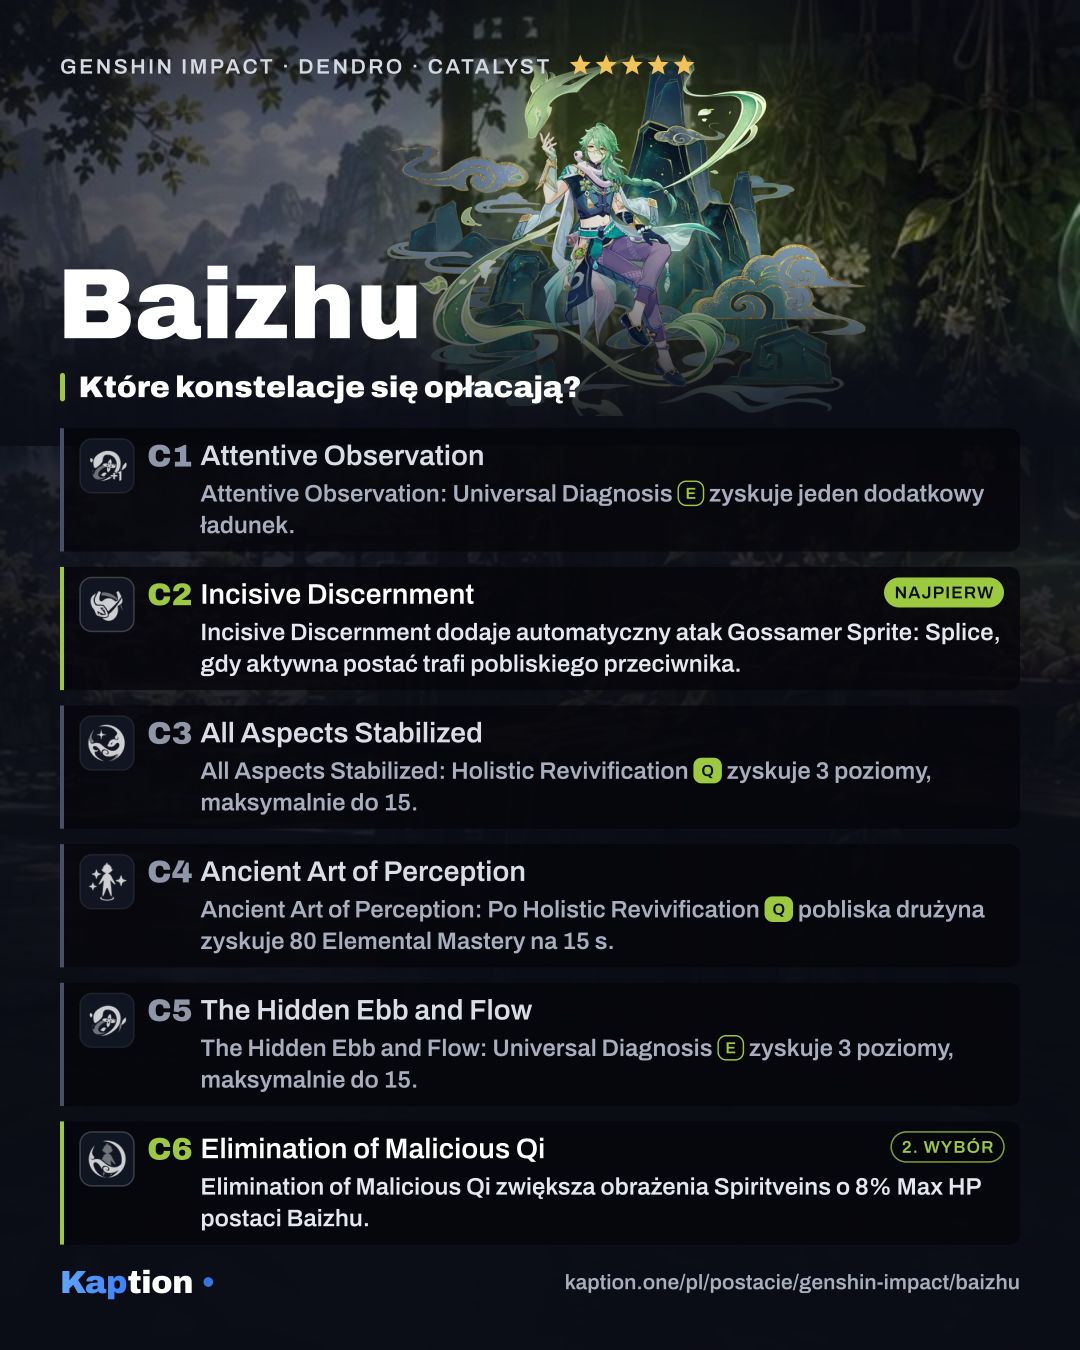
Incisive Discernment adds an automatic Gossamer Sprite: Splice when the active character hits a nearby opponent. It attacks once and heals for 20% of the skill Sprite's normal healing. It can trigger once every five seconds.
Elimination of Malicious Qi increases Spiritvein damage by 8% of Baizhu's Max HP. Each Sprite or Sprite: Splice can also generate one Burst shield when it hits an opponent.
Attentive Observation gives the skill an extra charge, while Ancient Art of Perception gives nearby party members 80 Elemental Mastery for 15 seconds after the Burst. Both are worth considering. All Aspects Stabilized and The Hidden Ebb and Flow only add talent levels; if you stop at C2, you can skip the later constellations.
Teams
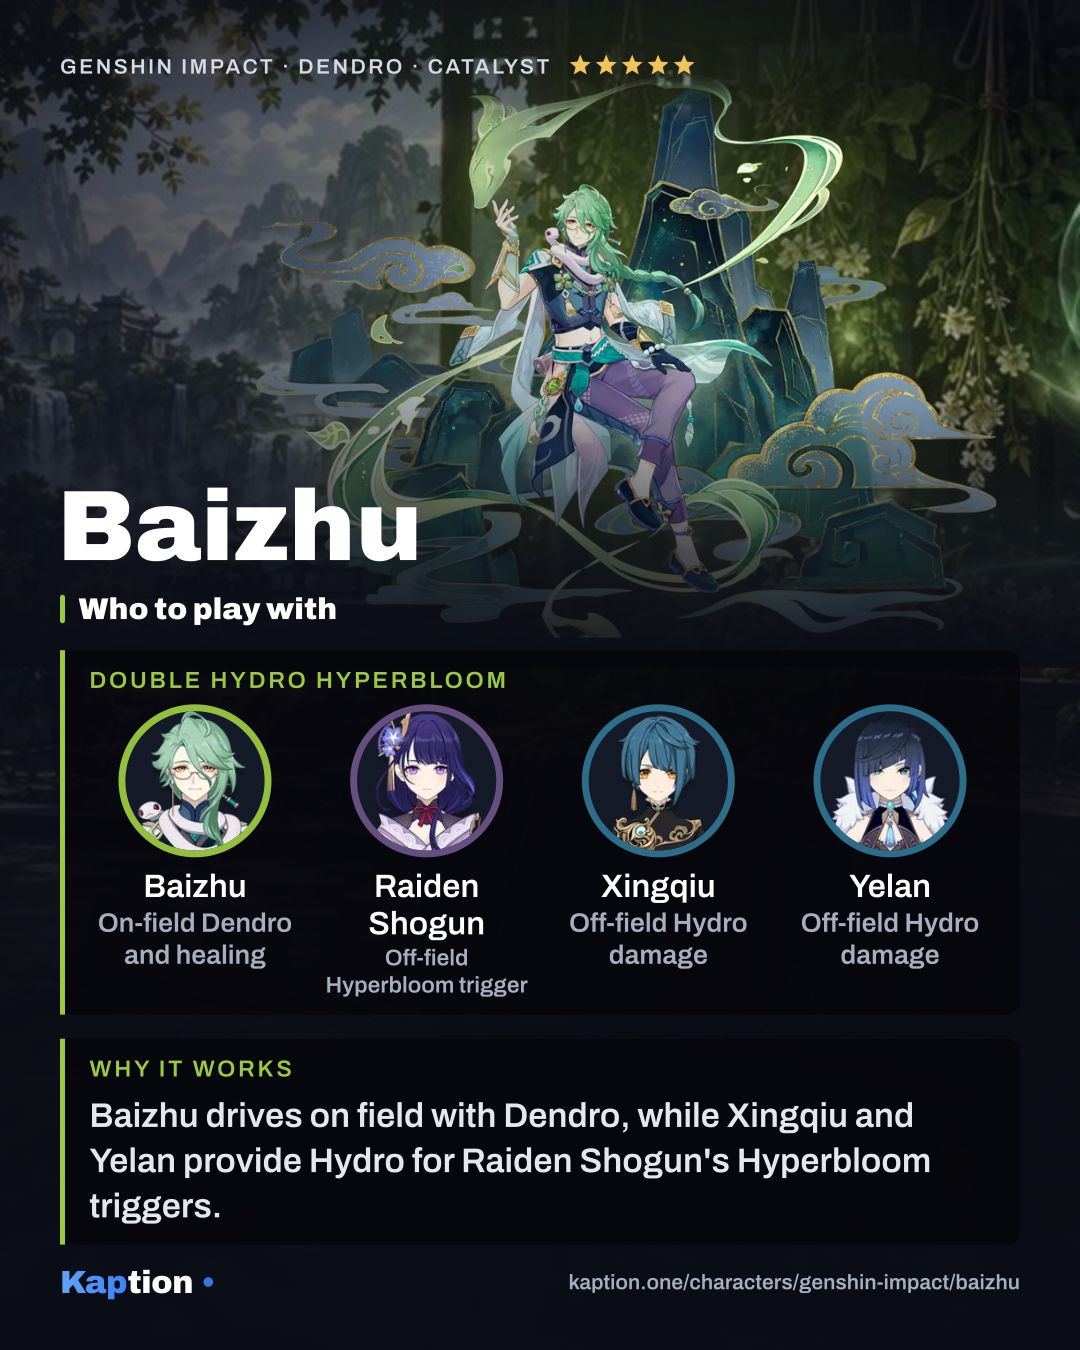
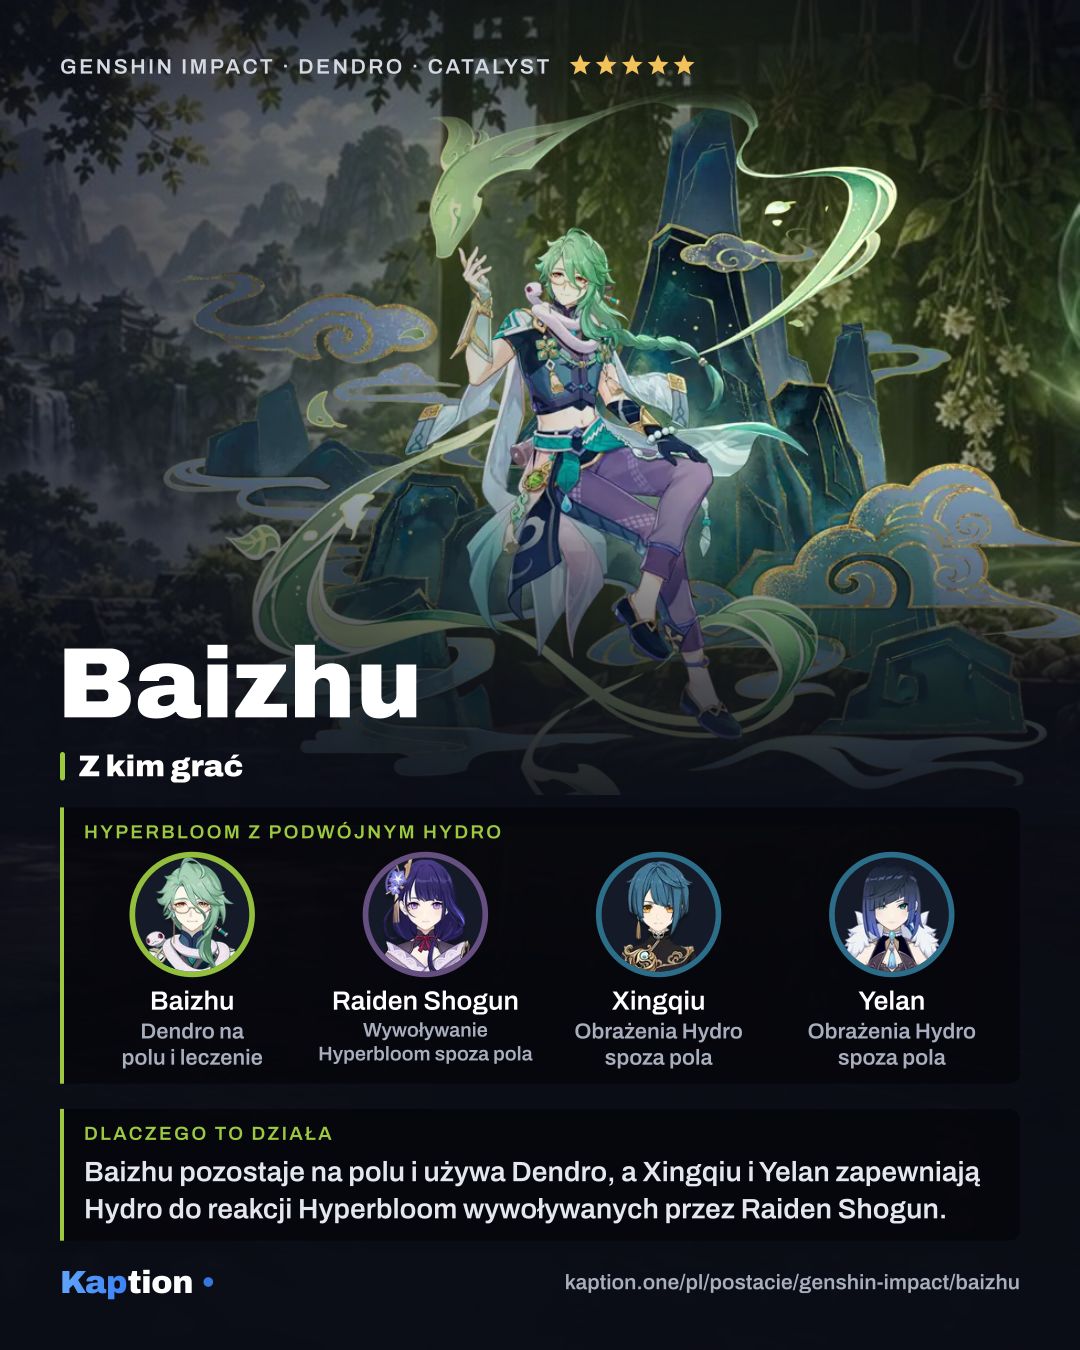
Pair Baizhu with Hydro characters such as Xingqiu or Yelan for Bloom-based teams. Nilou is another Bloom teammate, while Lauma, Nefer and Columbina are options for Lunar-Bloom. Baizhu gives these teams healing and a bonus to the relevant reaction damage for characters healed by his shields.
For Hyperbloom, consider a Hydro teammate alongside an Electro character such as Fischl. Fischl can also join another Dendro character such as Alhaitham when you want to use the Aggravate and Spread bonuses. Thoma is a Pyro option for a Burgeon team.
The shield healing affects the active character, so switch to the character whose reactions you want to improve. The bonus lasts six seconds after that character is healed by a shield.
Common mistakes
Do not assume the reaction bonus applies to the whole party at once. A character has to be healed by a Burst shield to receive it. The skill's party-wide heal is useful, but it does not grant that shield-healing bonus.
Do not chase HP at the expense of using the Burst. The reaction bonus counts Max HP only up to 50,000, although healing still scales with Max HP. Also remember that the shield absorbs Dendro DMG especially well; its 250% effectiveness does not apply to every damage type.