






































Guide
How the kit works
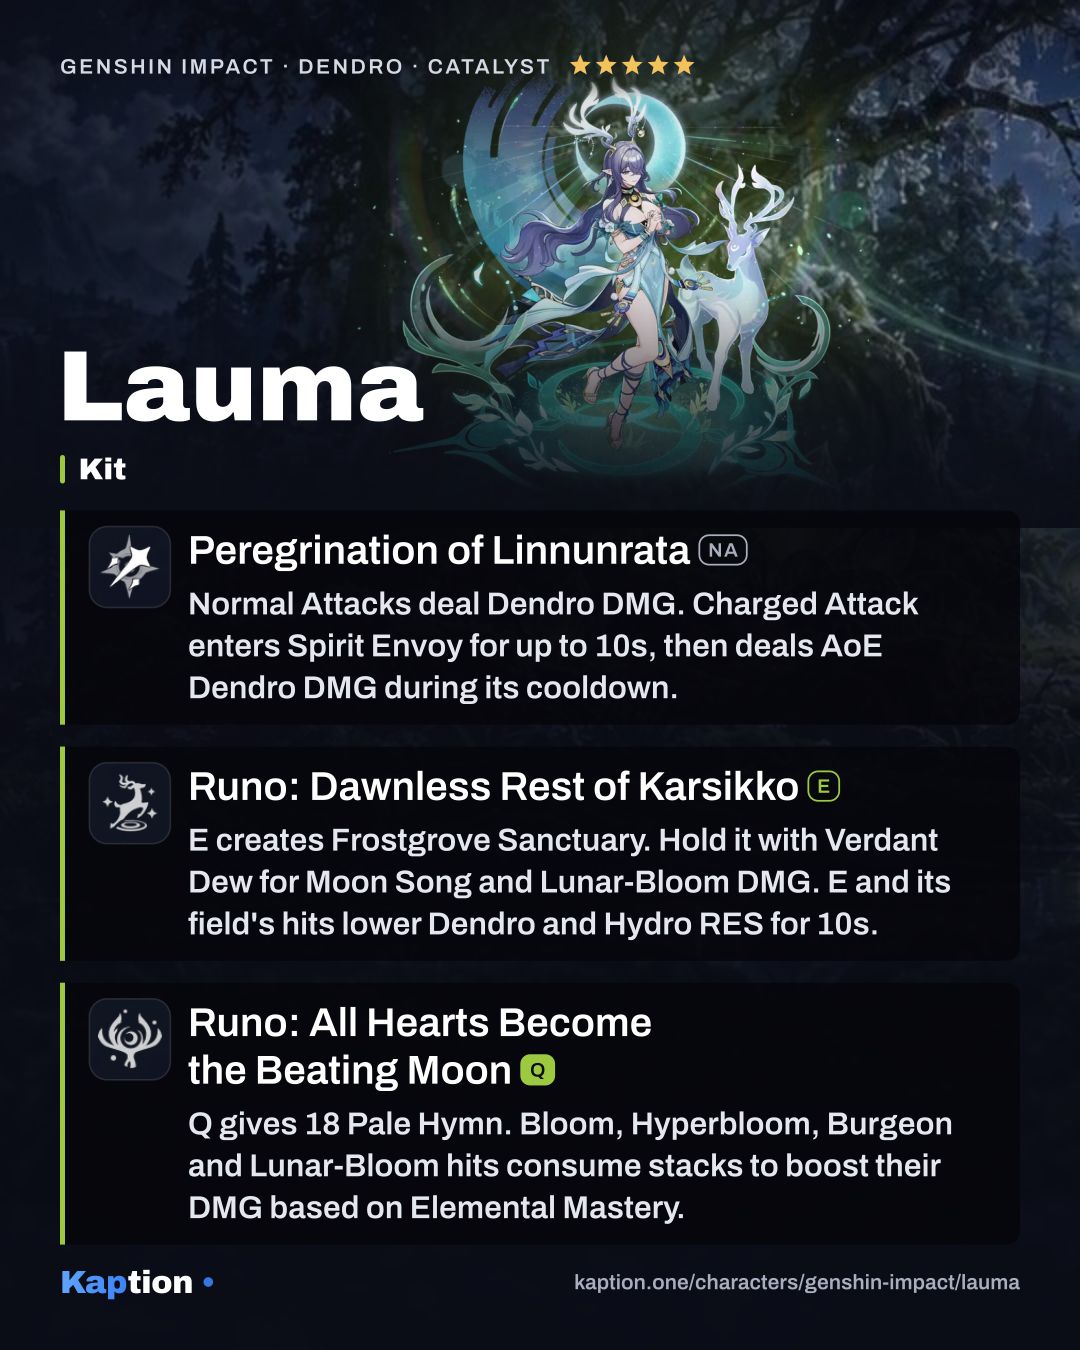
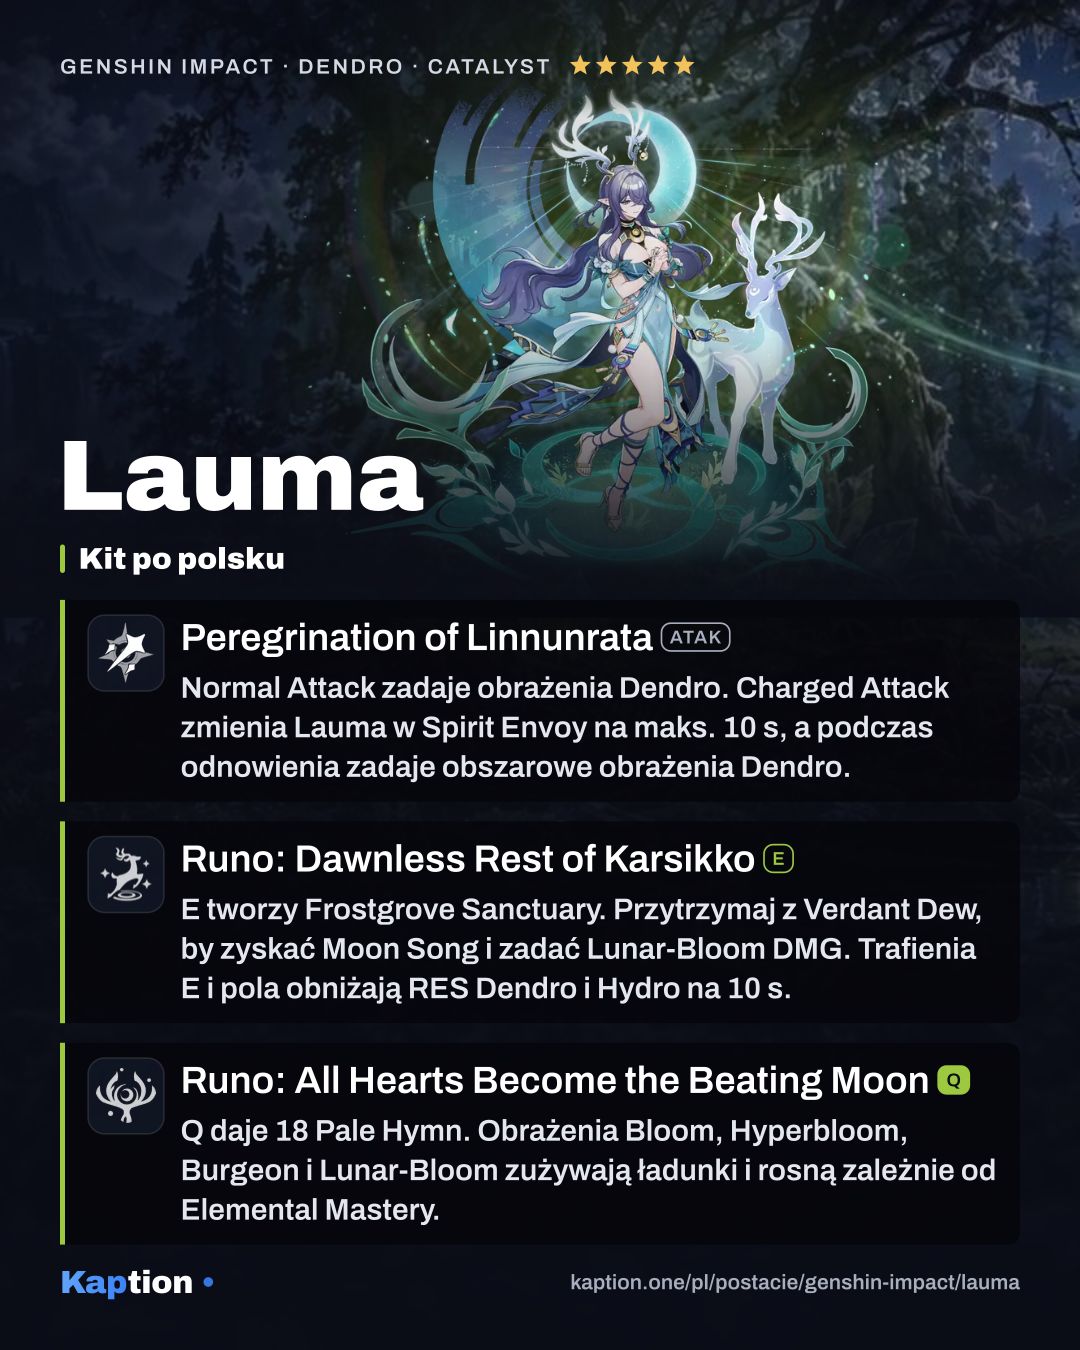
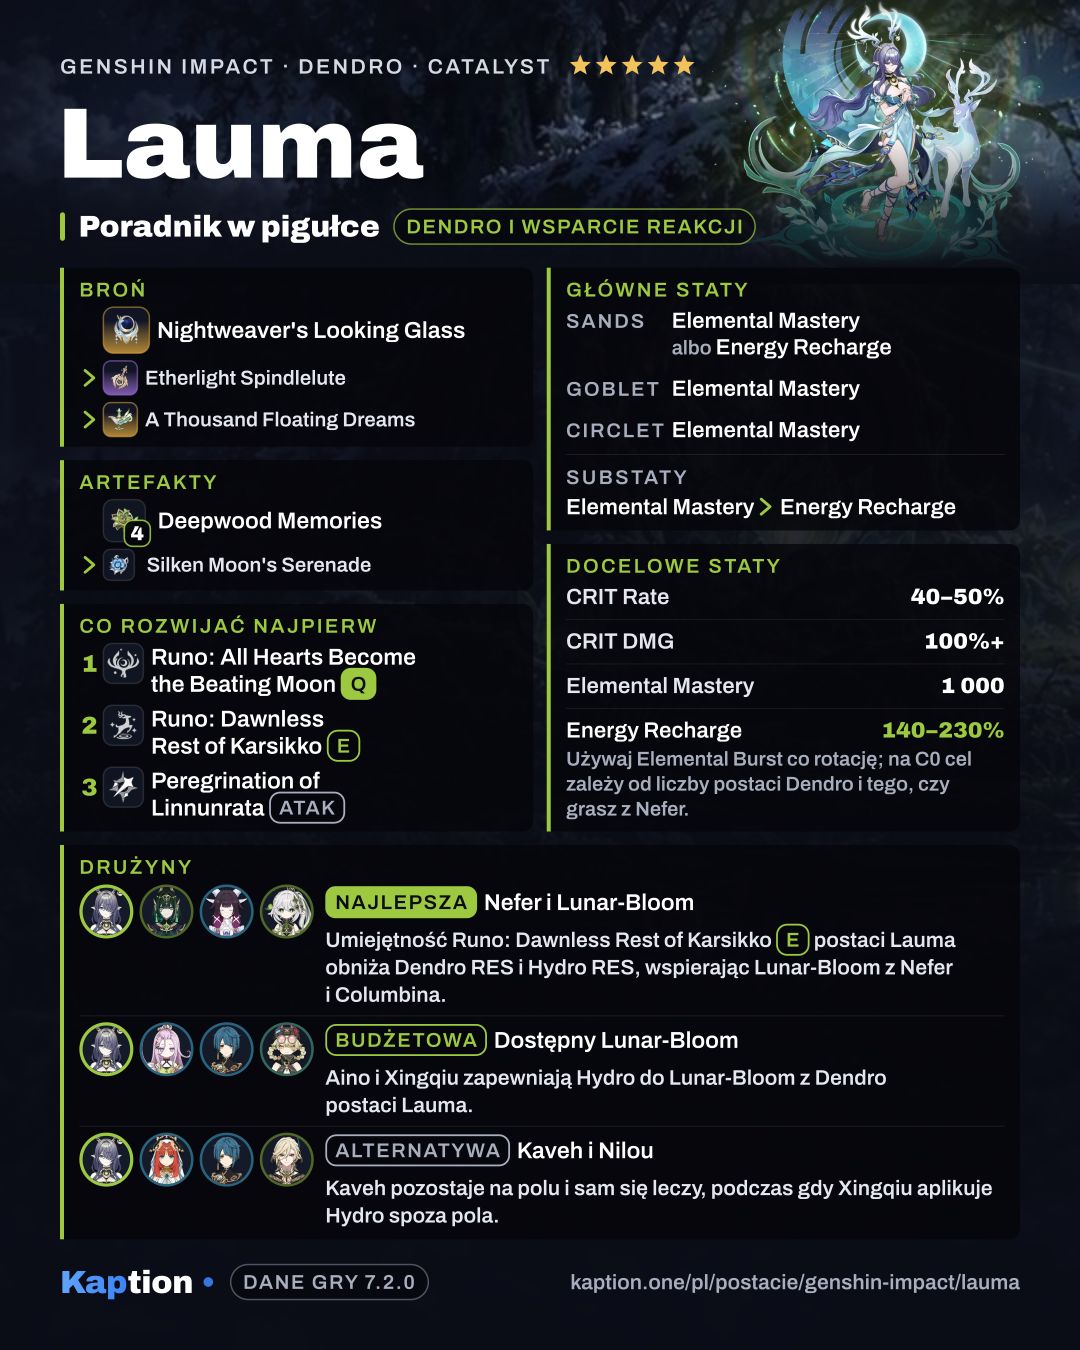
Start with Runo: Dawnless Rest of Karsikko. Tap it for AoE Dendro damage and a Frostgrove Sanctuary. Hold it if Lauma has at least one Verdant Dew: she consumes up to three, deals a regular hit and a hit counted as Lunar-Bloom damage, then gains one Moon Song stack per Verdant Dew consumed.
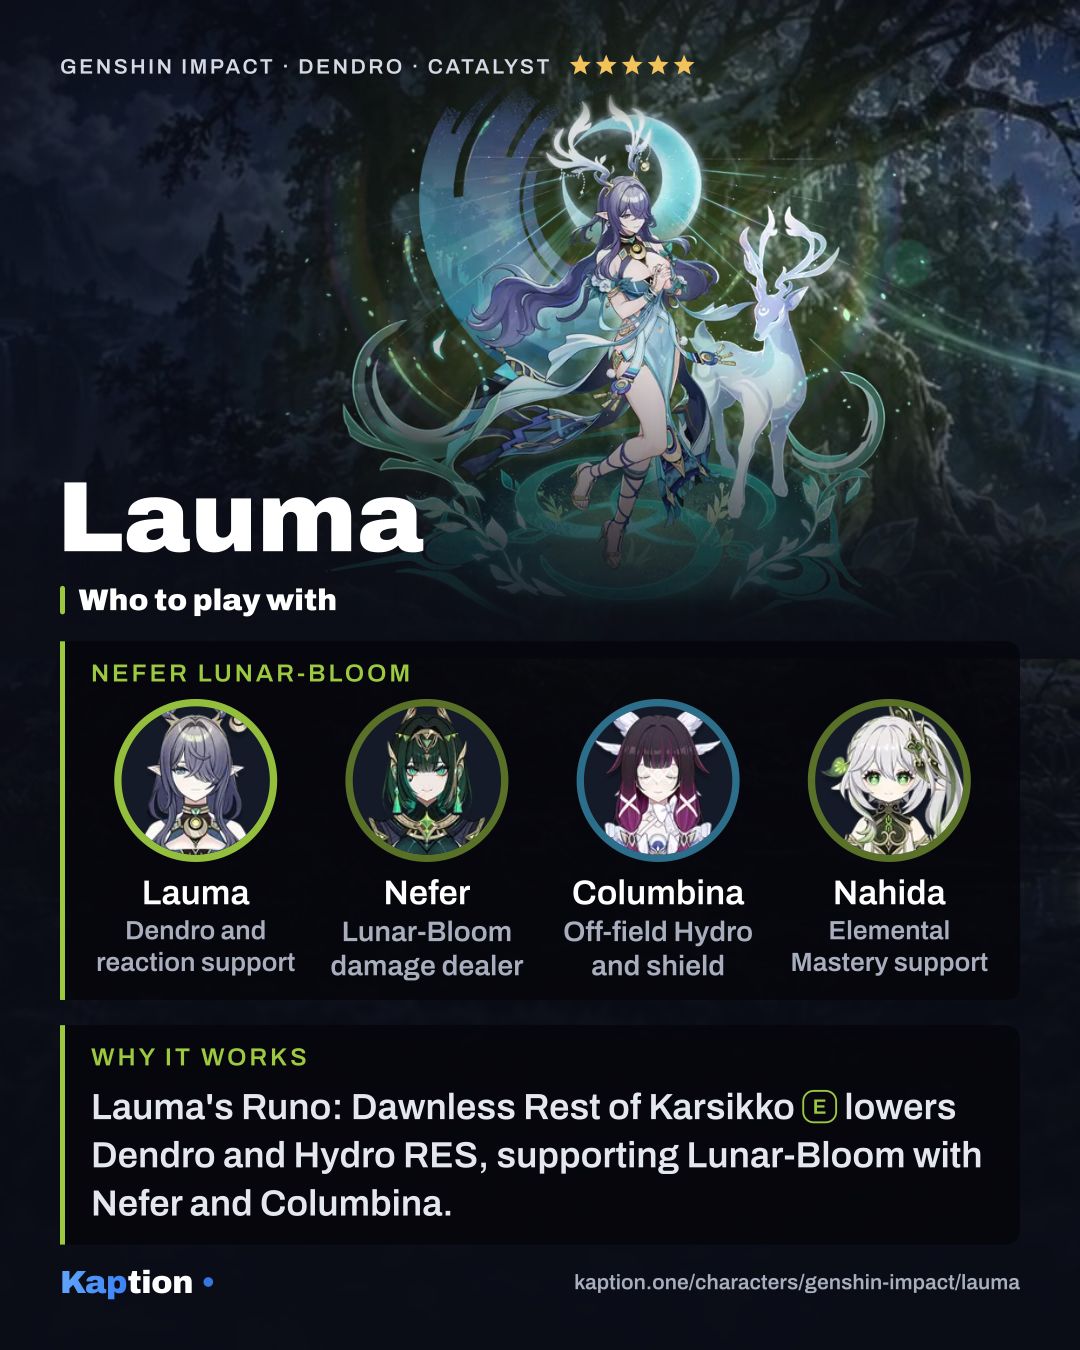
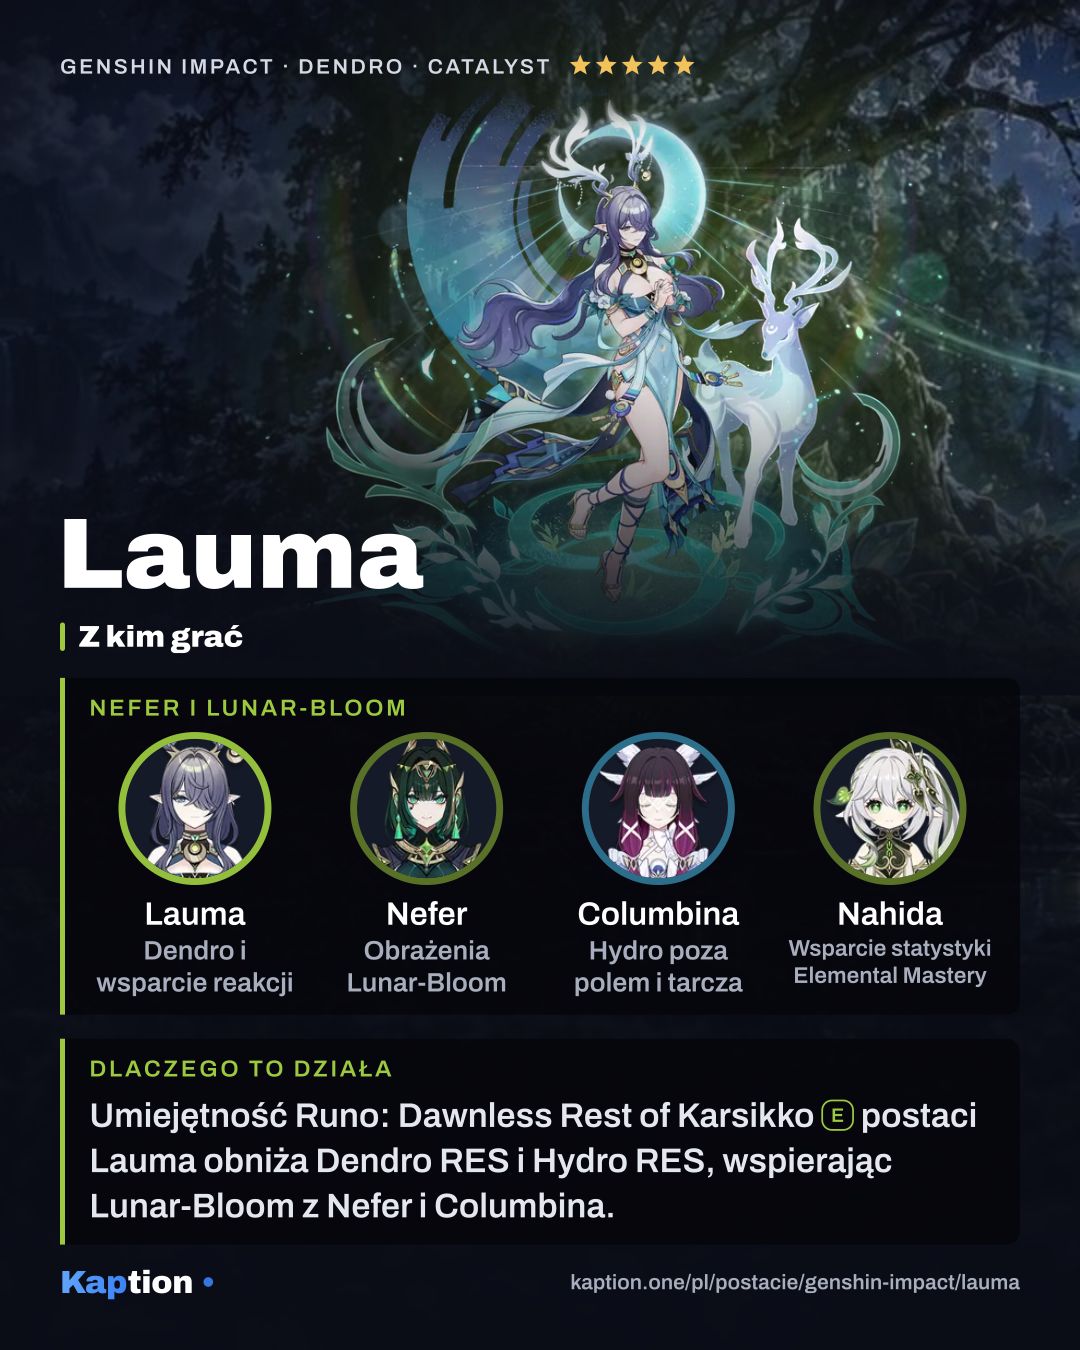
When the Skill or Sanctuary attacks hit an enemy, they lower that enemy's Dendro RES and Hydro RES for 10 seconds. The Skill text does not explain how Lauma gains Verdant Dew or what triggers Sanctuary attacks, so check their availability during play.
Use Runo: All Hearts Become the Beating Moon to gain 18 Pale Hymn stacks. Each stack increases a nearby party member's Bloom, Hyperbloom, Burgeon or Lunar-Bloom damage based on Lauma's Elemental Mastery. Hitting multiple enemies at once can consume multiple stacks. If Lauma has Moon Song when she uses the Burst, or gains it within 15 seconds afterward, she consumes it for six Pale Hymn stacks each. This conversion happens once per Burst.
Light for the Frosty Night gives a 20-second buff after the Skill. At Nascent Gleam, Bloom, Hyperbloom and Burgeon can CRIT at a fixed 15% CRIT Rate and 100% CRIT DMG. At Ascendant Gleam, nearby party members instead gain 10% Lunar-Bloom CRIT Rate and 20% Lunar-Bloom CRIT DMG. The two Moonsign buffs do not stack.
Peregrination of Linnunrata (NA) has up to three Dendro Normal Attacks. Its Charged Attack enters a Stamina-consuming movement form for up to 10 seconds, with increased interruption resistance and up to two extra jumps. During that form's cooldown, the Charged Attack instead deals AoE Dendro damage.
Build and why
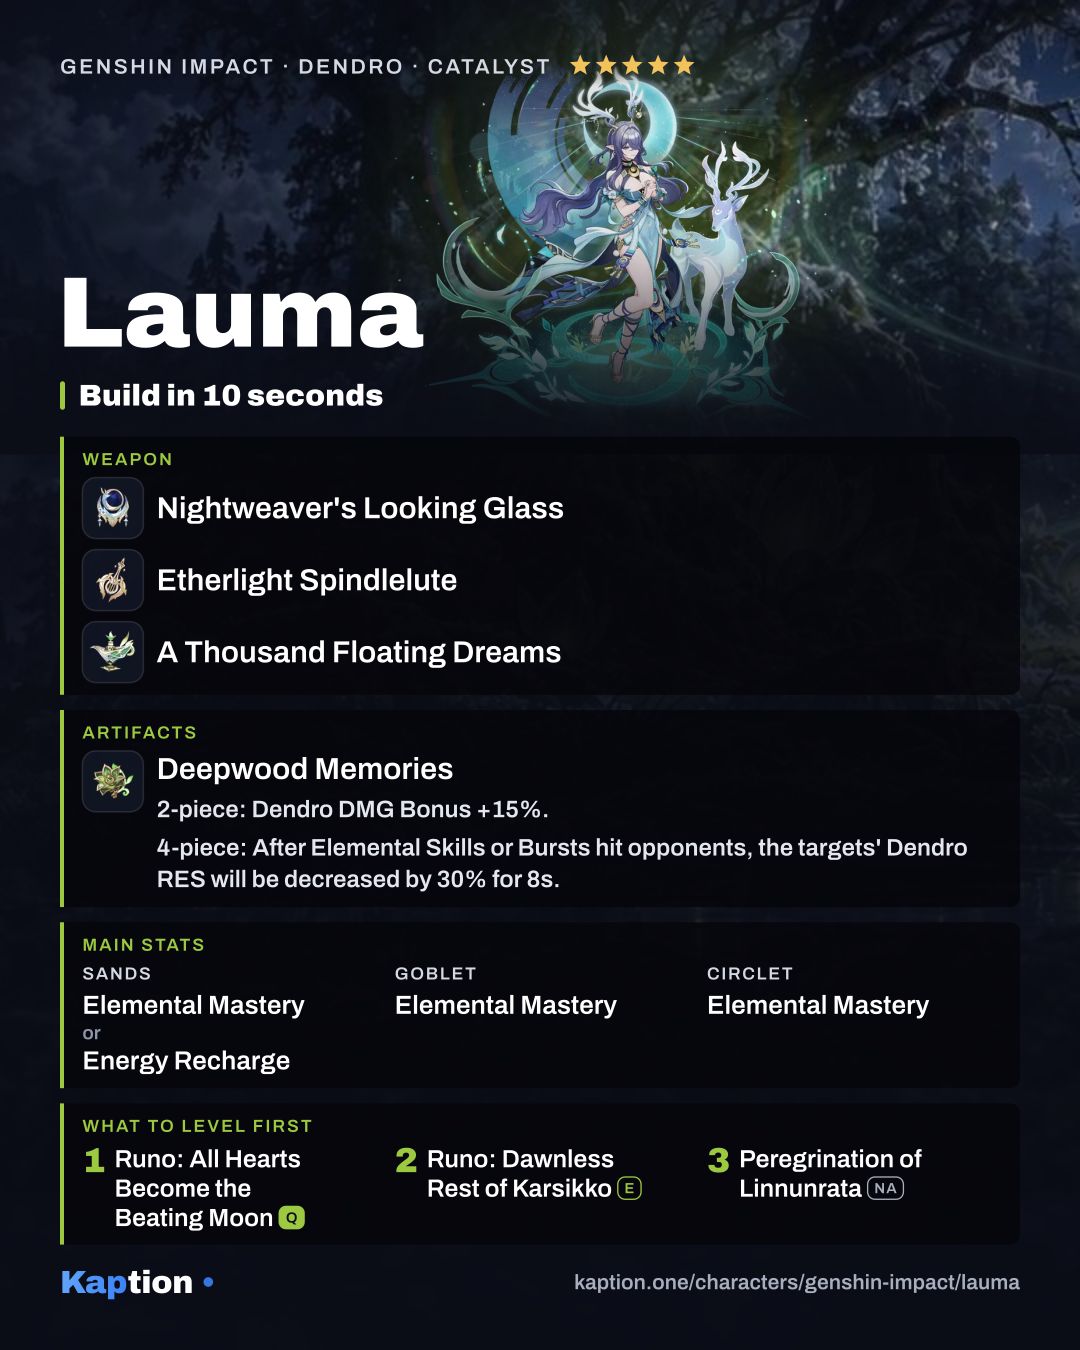
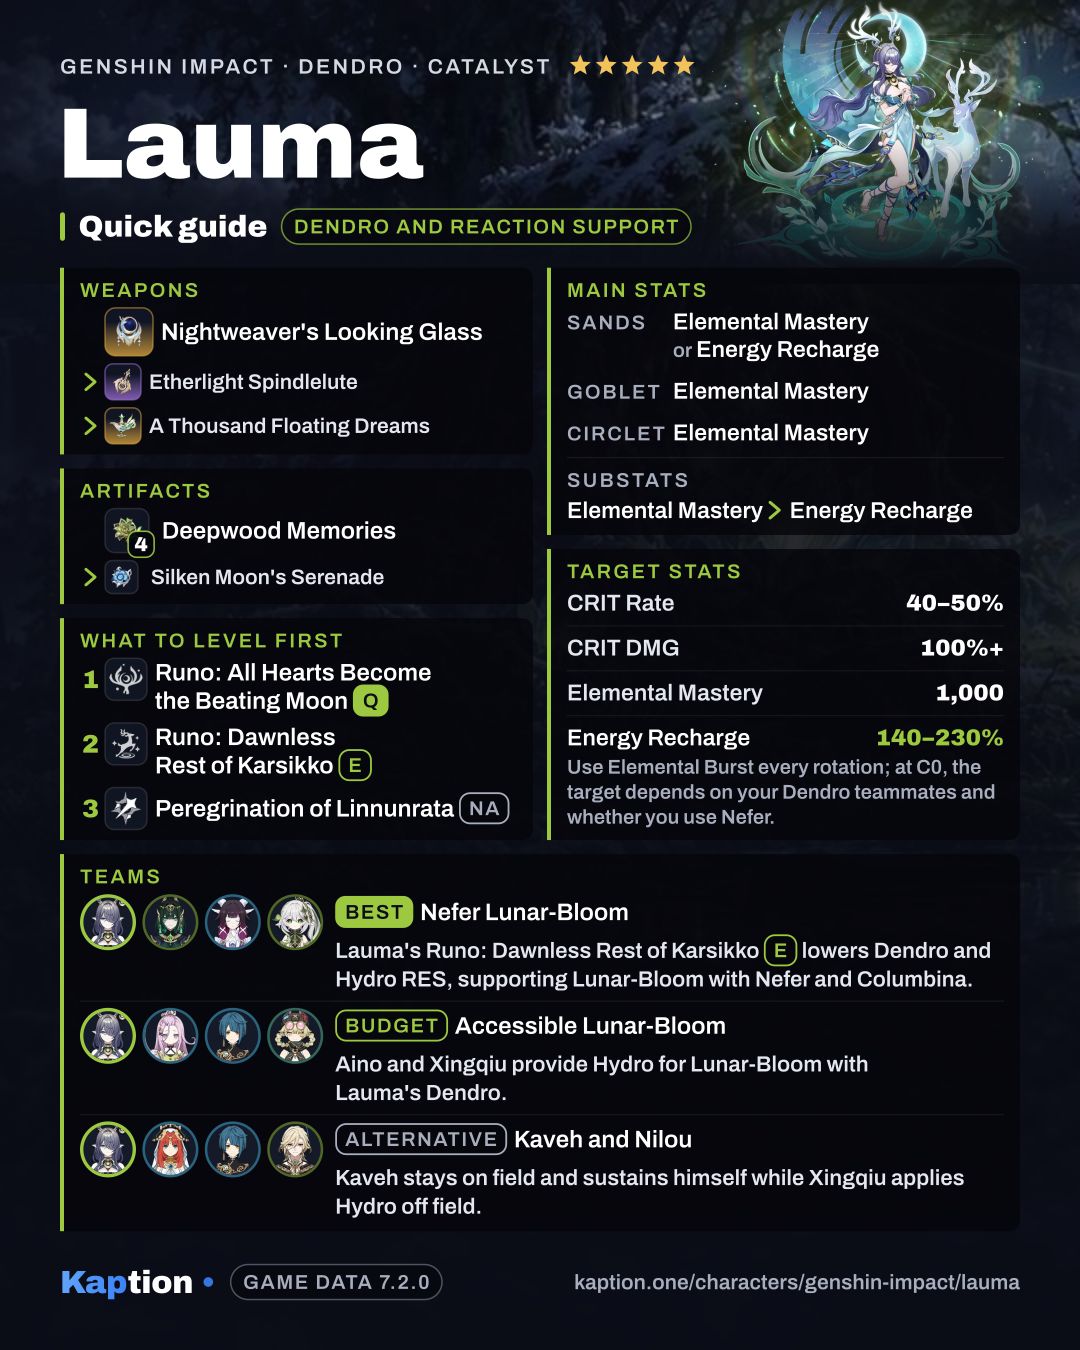
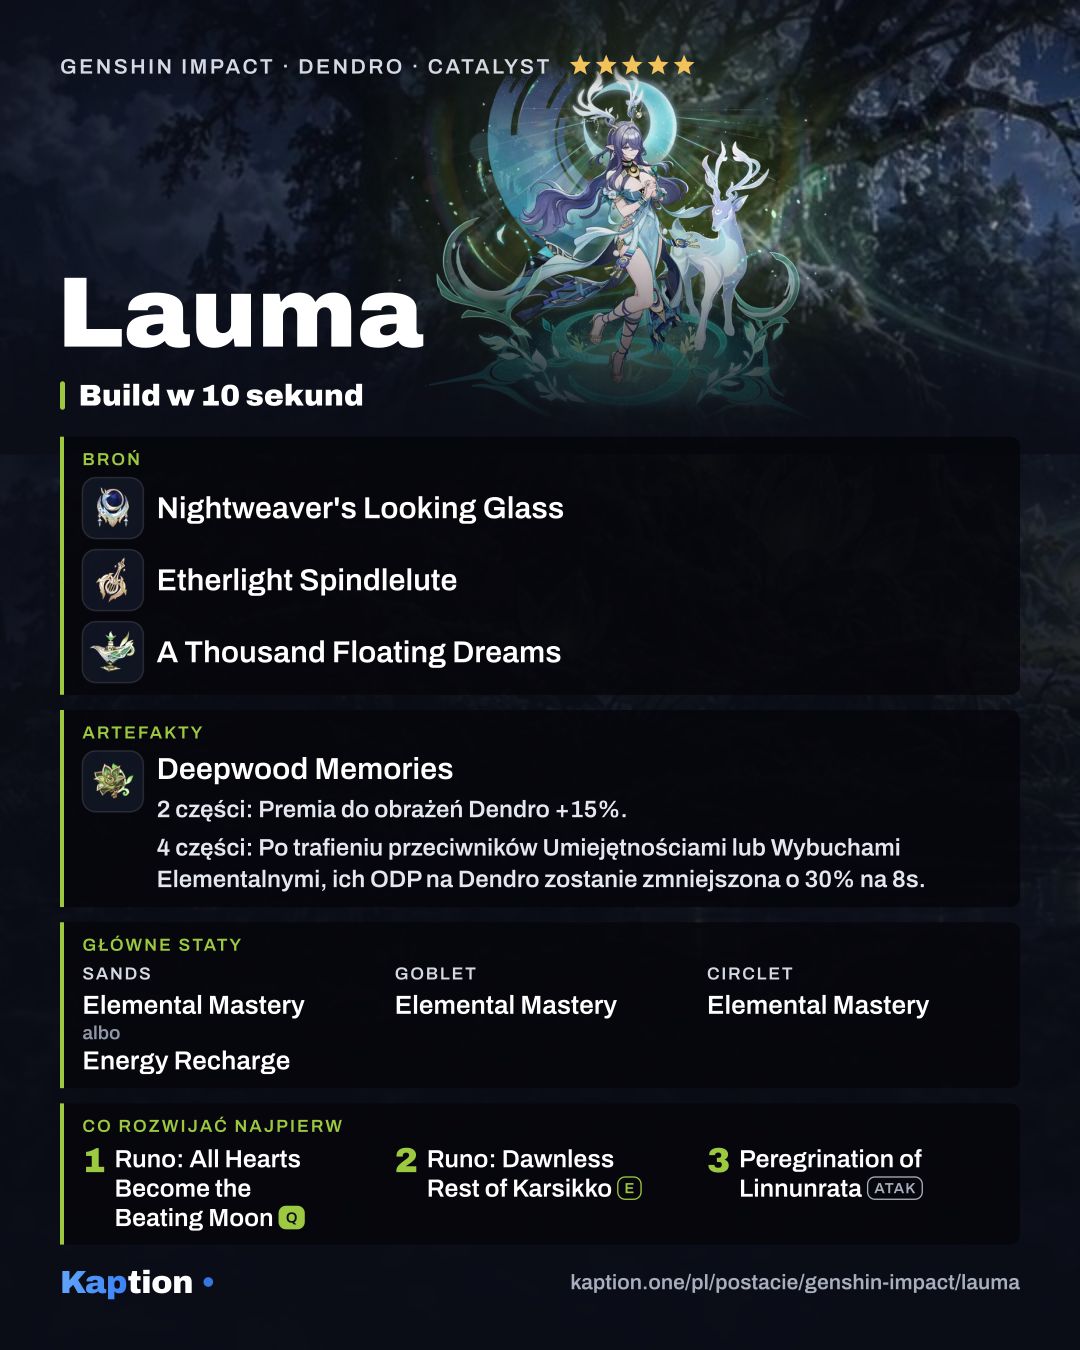
Use four pieces of Silken Moon's Serenade as your first set choice. Dealing Elemental DMG grants the party 60 Elemental Mastery at Nascent Gleam or 120 at Ascendant Gleam for 8 seconds. The set also increases party Lunar Reaction damage by 10% for each different Gleaming Moon effect present, and its wearer can trigger it off-field.
Four pieces of Deepwood Memories are another strong option: Skill or Burst hits lower the target's Dendro RES by 30% for 8 seconds, even when the wearer is off-field. Gilded Dreams is an alternative for Lauma's own Elemental Mastery, with its four-piece effect granting more of it for teammates of different elements after a reaction.
Choose Elemental Mastery on the goblet and circlet. Use Elemental Mastery or Energy Recharge on the sands, and look for those same substats in that order. Elemental Mastery raises Lauma's reaction buffs and her Skill damage through Cleansing for the Spring. Energy Recharge helps when you need the Burst available again.
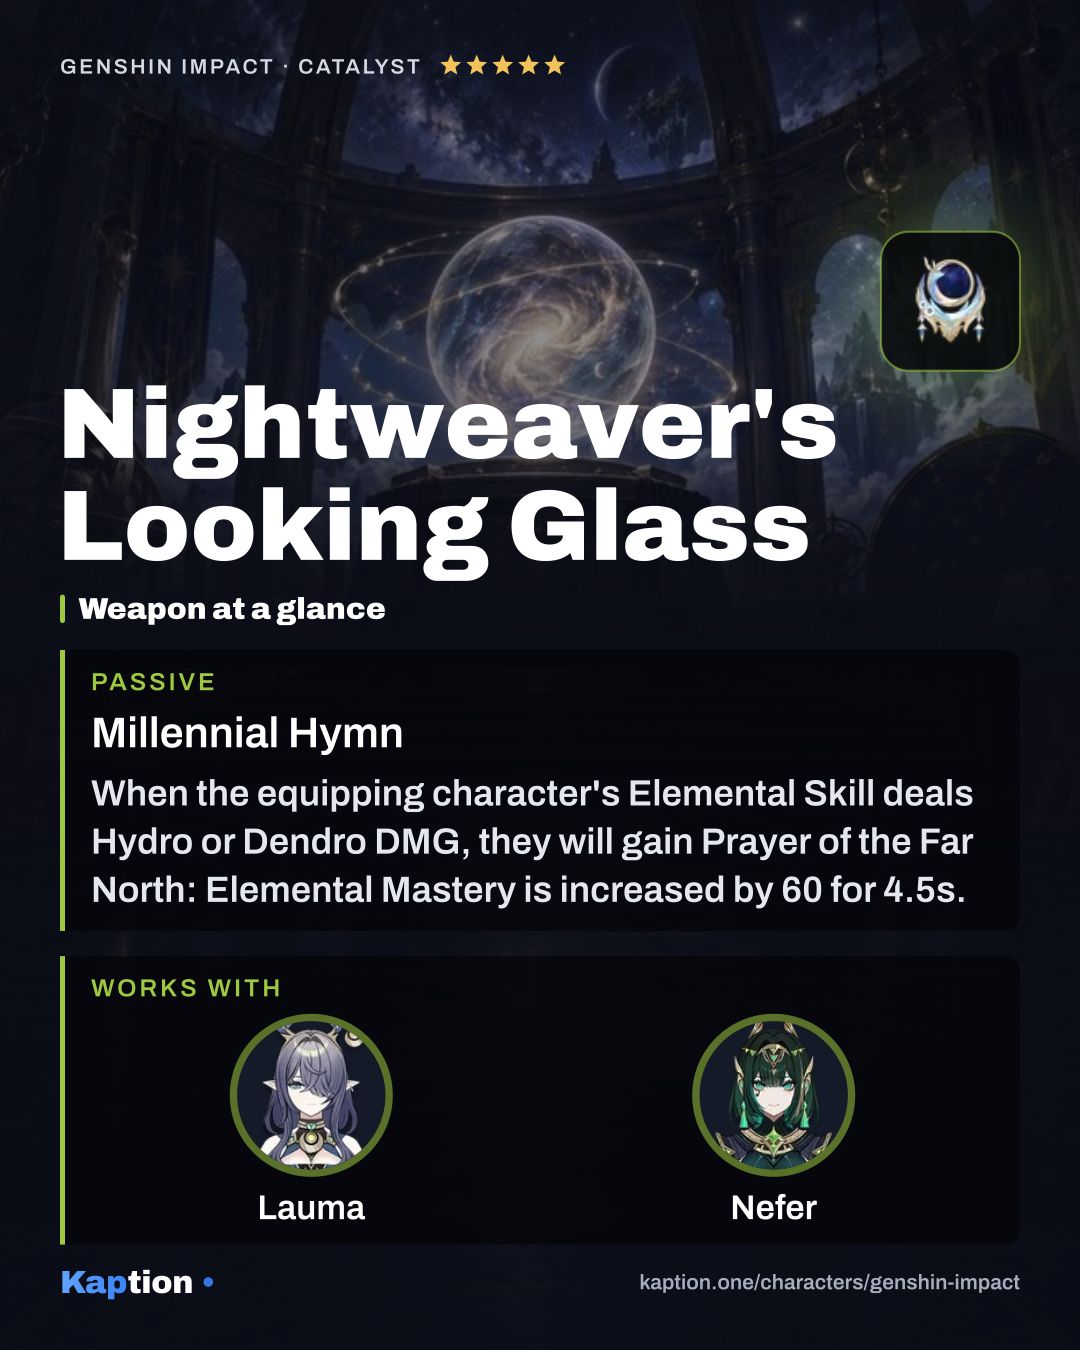
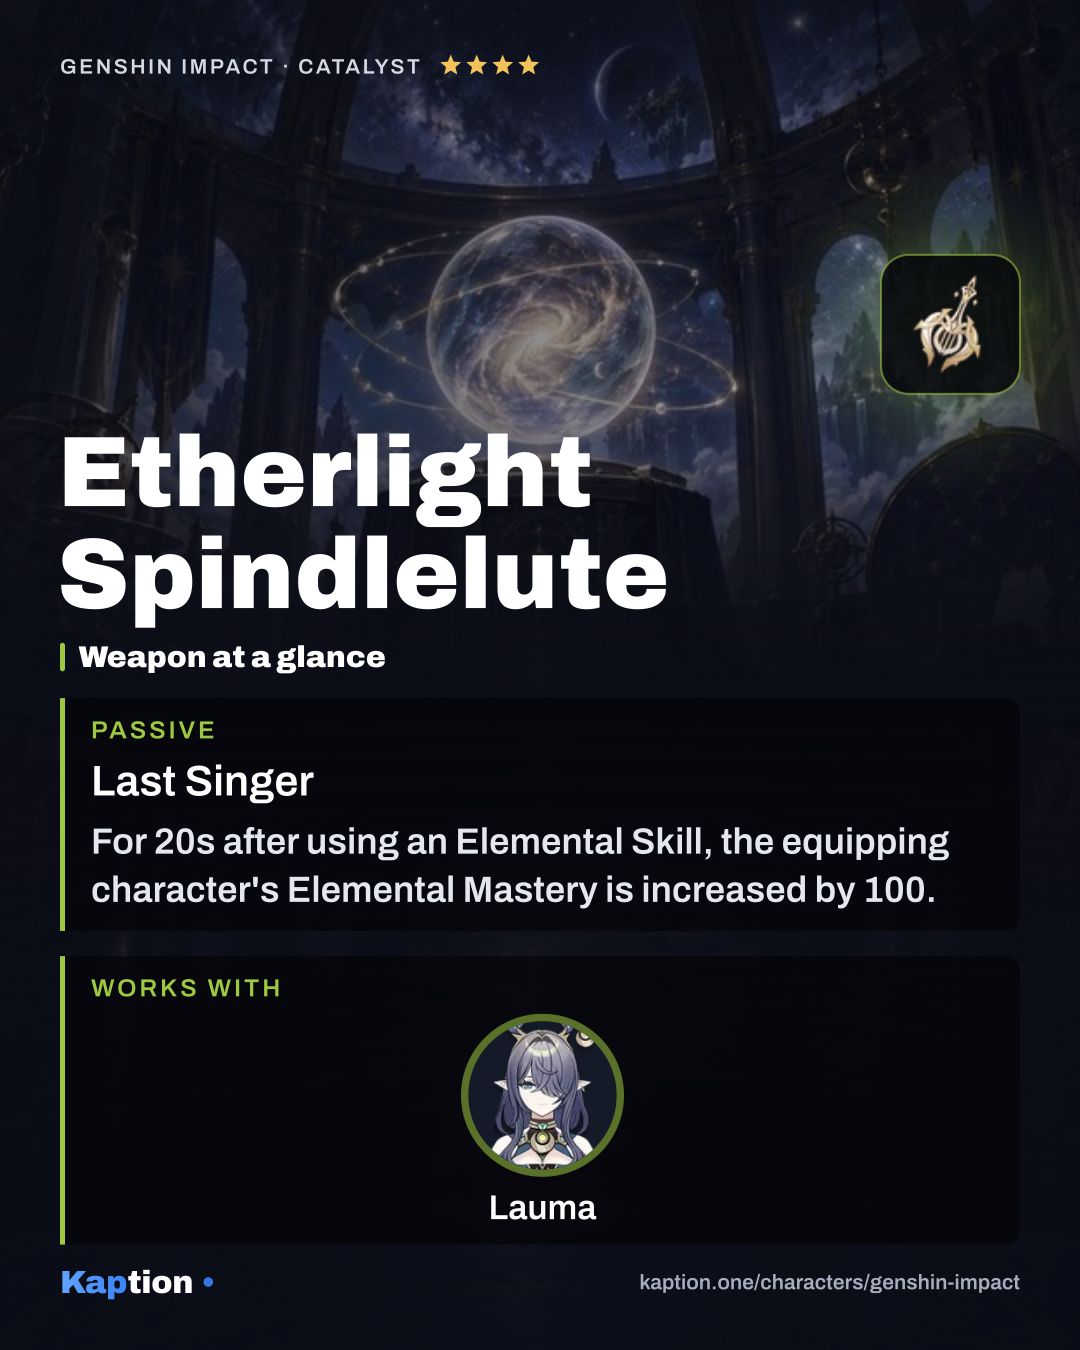
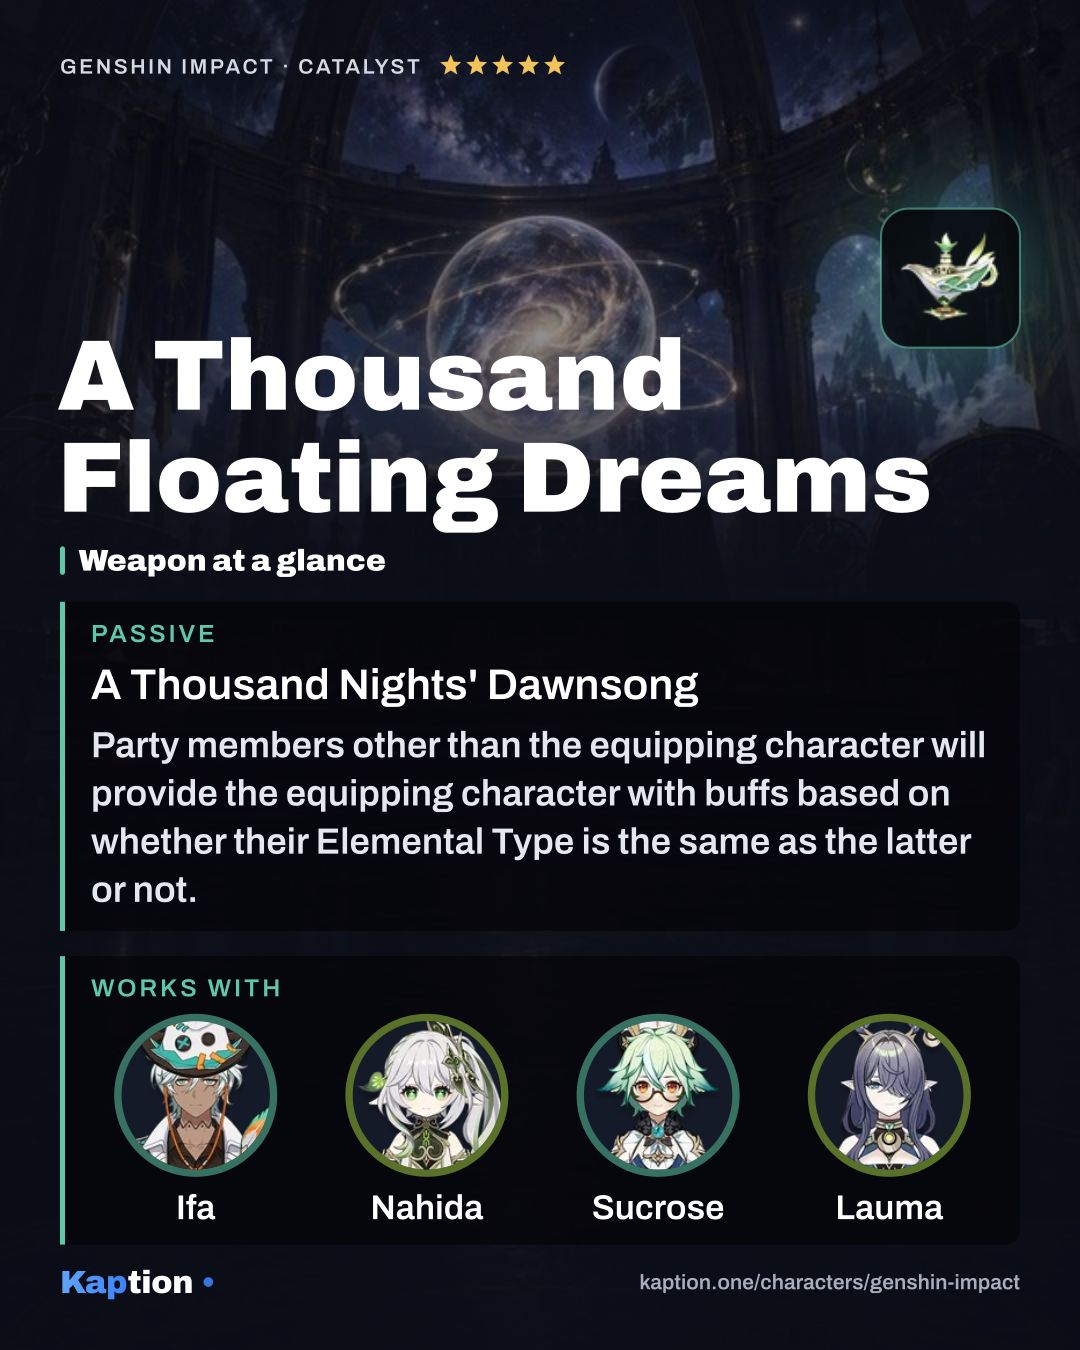
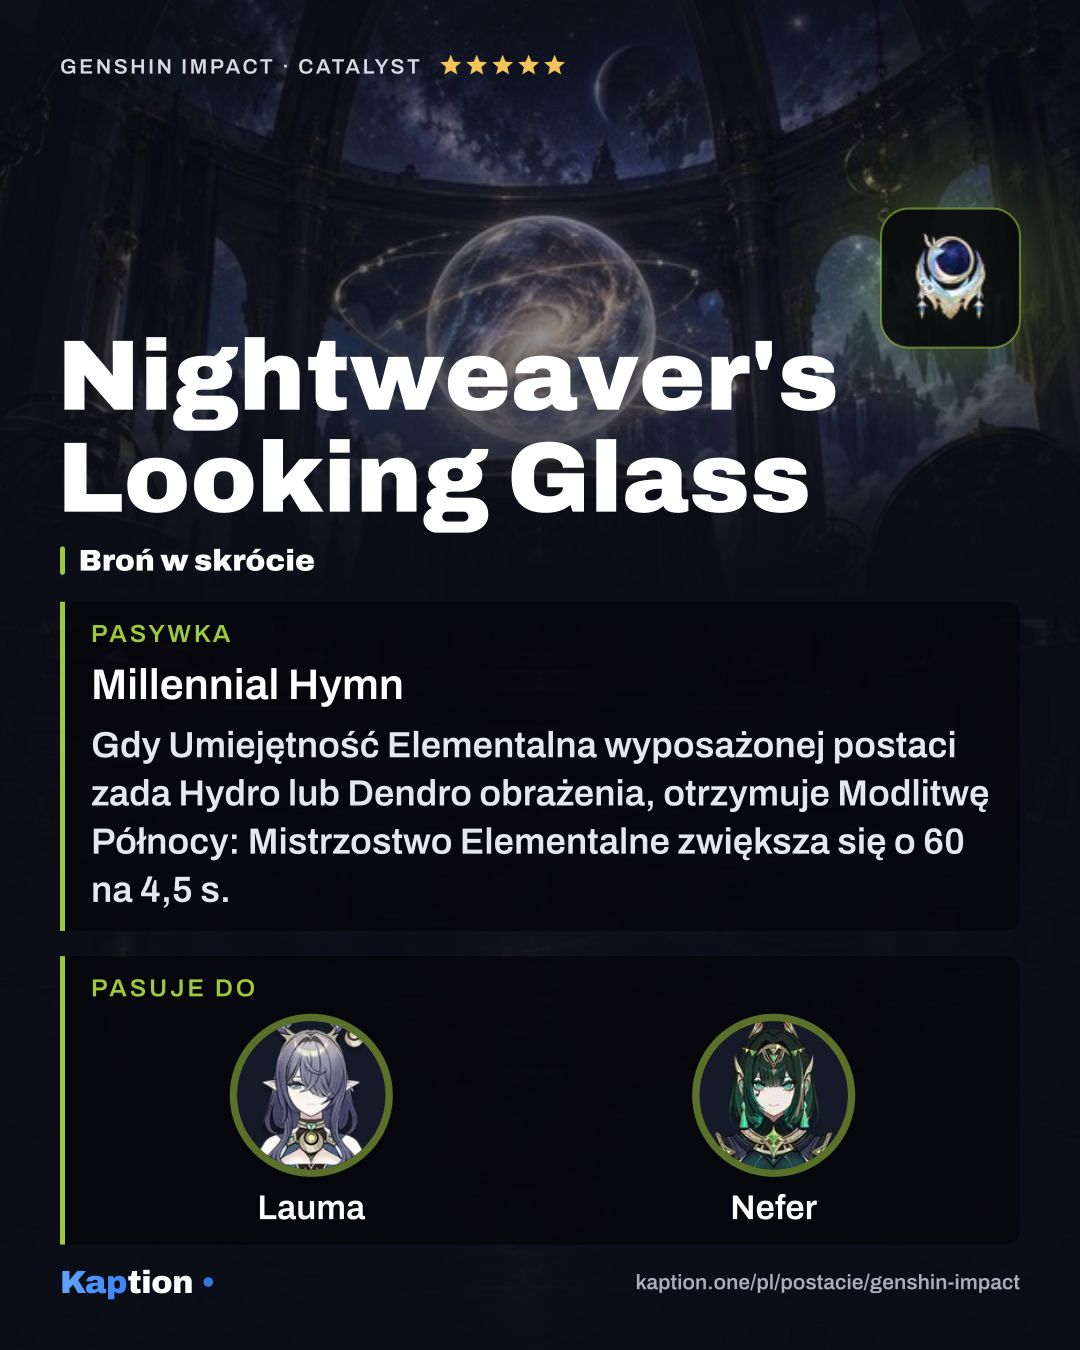
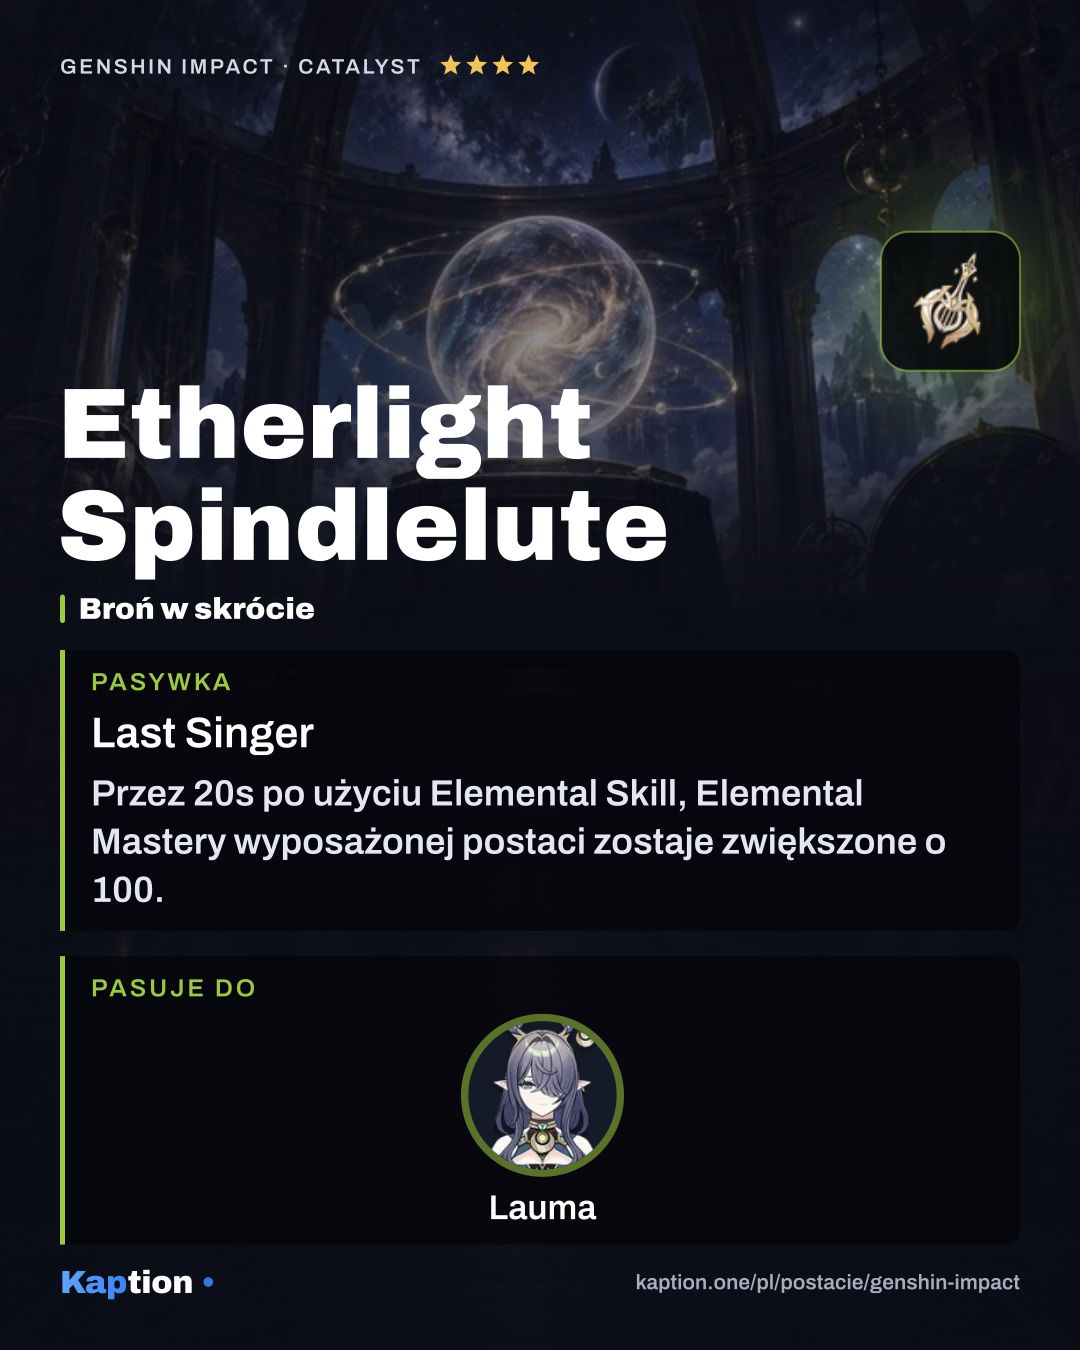
Nightweaver's Looking Glass is the first weapon choice. A Dendro Skill hit grants 60 Elemental Mastery, and a nearby teammate triggering Lunar-Bloom grants another 60. Etherlight Spindlelute is a useful alternative with 100 Elemental Mastery for 20 seconds after using the Skill. A Thousand Floating Dreams gives Lauma 32 Elemental Mastery for each other party member with the same element, up to three stacks.
Leveling priority
A good leveling order is Runo: All Hearts Become the Beating Moon first, then Runo: Dawnless Rest of Karsikko, and finally Peregrination of Linnunrata (NA). The Burst supports reaction damage across the party, while the Skill has its own Dendro and Lunar-Bloom hits. Normal Attacks are a lower priority for a reaction-support build.
For maximum ascension, you need 420,000 Mora, 168 Moonfall Silver, 1 Nagadus Emerald Sliver, 9 Nagadus Emerald Fragment, 9 Nagadus Emerald Chunk, 6 Nagadus Emerald Gemstone, 18 Tattered Warrant, 30 Immaculate Warrant, 36 Frost-Etched Warrant and 46 Lightbearing Scale-Feather.
To max all three skills, the separate total is 4,957,500 Mora, 3 Crown of Insight, 9 Teachings of Moonlight, 63 Guide to Moonlight, 114 Philosophies of Moonlight, 18 Tattered Warrant, 66 Immaculate Warrant, 93 Frost-Etched Warrant and 18 Eroded Scale-Feather.
Constellations worth it
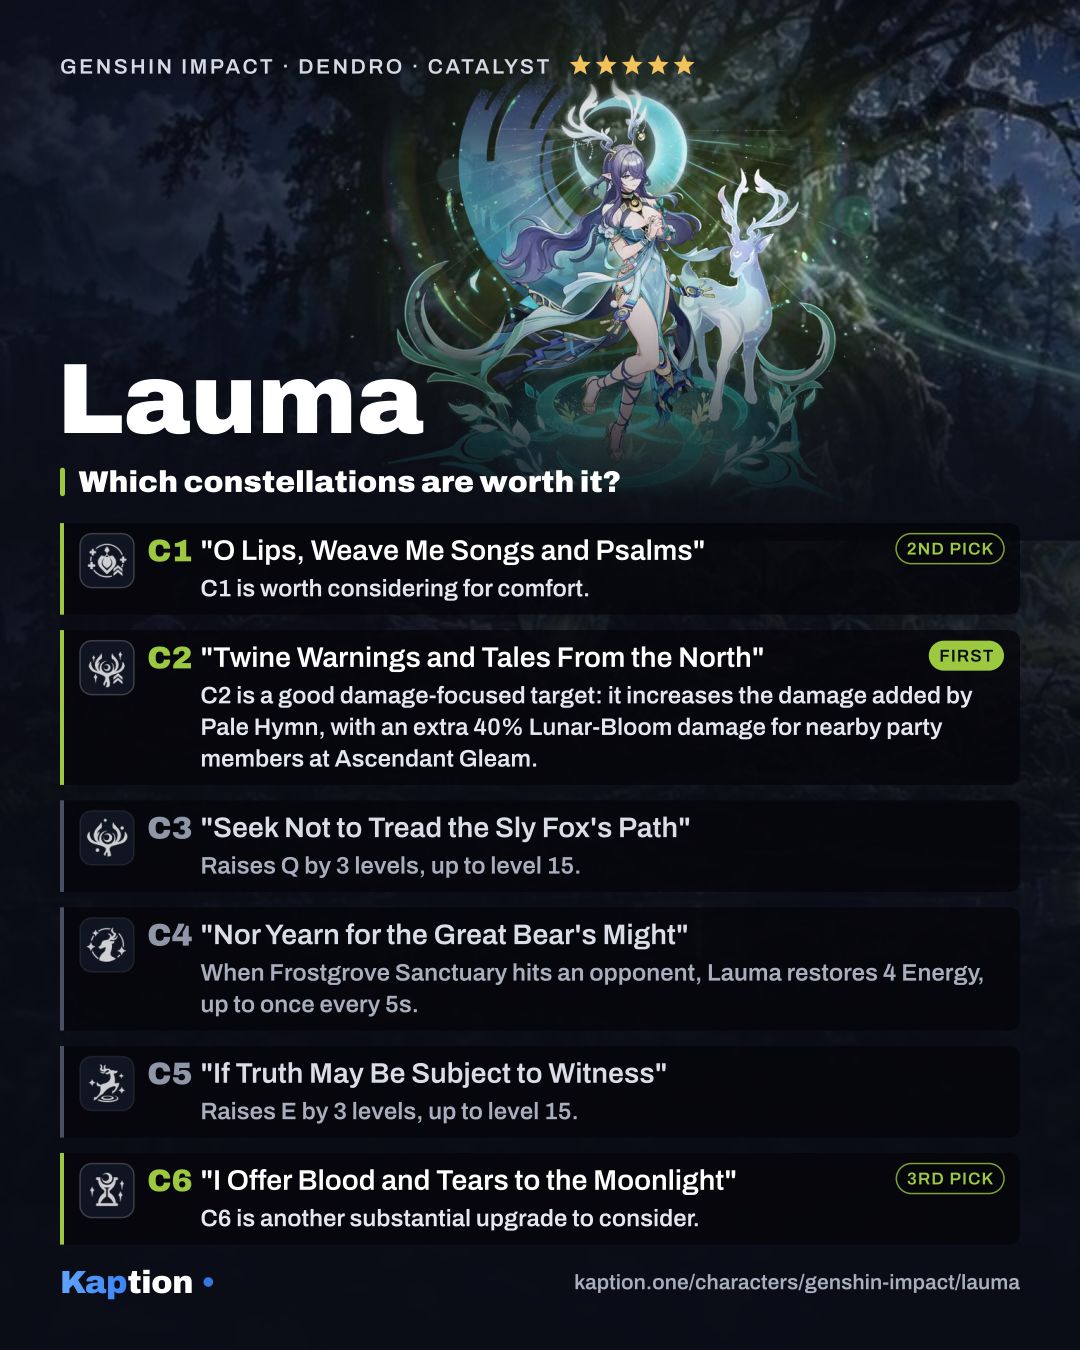
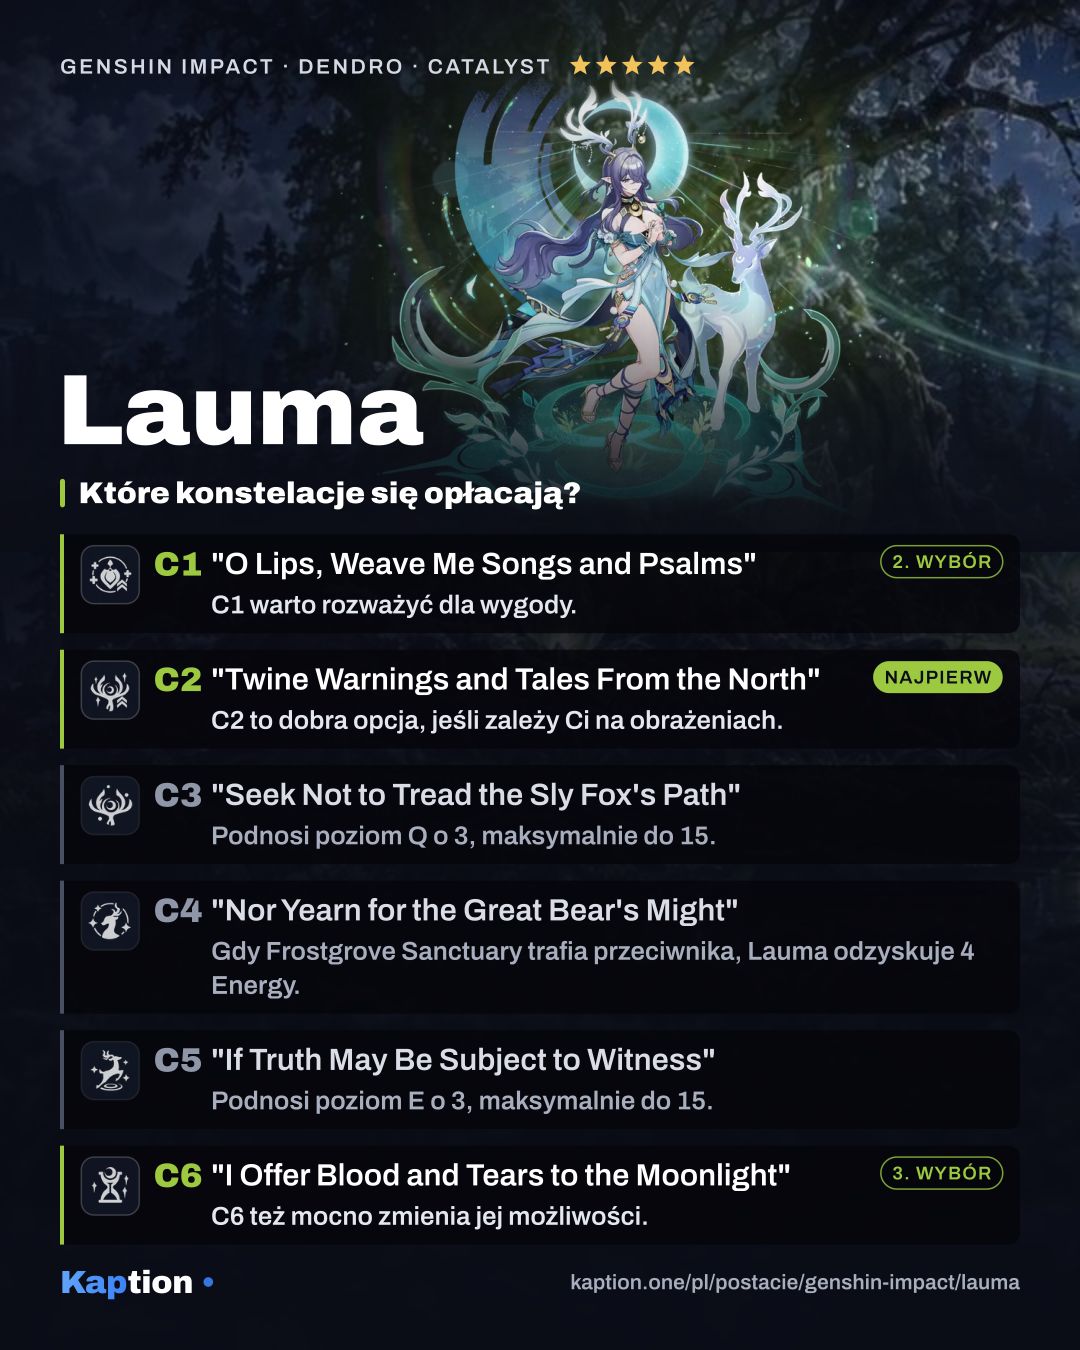
C2 is a good damage-focused target: it increases the damage added by Pale Hymn, with an extra 40% Lunar-Bloom damage for nearby party members at Ascendant Gleam. C1 is worth considering for comfort. For 20 seconds after Lauma uses her Skill or Burst, nearby active characters heal when party members trigger Lunar-Bloom. The healing is 500% of Lauma's Elemental Mastery and can trigger once every 1.9 seconds.
C6 is another substantial upgrade to consider. Sanctuary attacks deal an extra instance of Lunar-Bloom damage and provide Pale Hymn stacks. While Lauma has those stacks, her Normal Attacks can consume one to deal damage counted as Lunar-Bloom. At Ascendant Gleam, nearby party members' Lunar-Bloom damage is elevated by 25%.
C3 and C5 add levels to the Burst and Skill respectively, while C4 restores Energy when Sanctuary attacks hit. You can leave C3 through C6 aside if you are stopping at C2. Reaching C6 requires the preceding constellations.
Common mistakes
Do not hold the Skill expecting it to work without Verdant Dew. Watch for Moon Song too: using the Burst before the held Skill is fine, but the new stacks must arrive within 15 seconds for that Burst's conversion.
Do not build only for Energy Recharge and neglect Elemental Mastery. Her Burst and Lunar-Bloom passive both scale with it. At the same time, do not ignore Energy Recharge if you cannot use the Burst when needed.
Do not assume Lauma heals at C0. Her healing arrives at C1 and has a Lunar-Bloom trigger. Also remember that Pale Hymn can lose several stacks to a single hit against multiple enemies, so its remaining count matters.