

































Guide
How the kit works
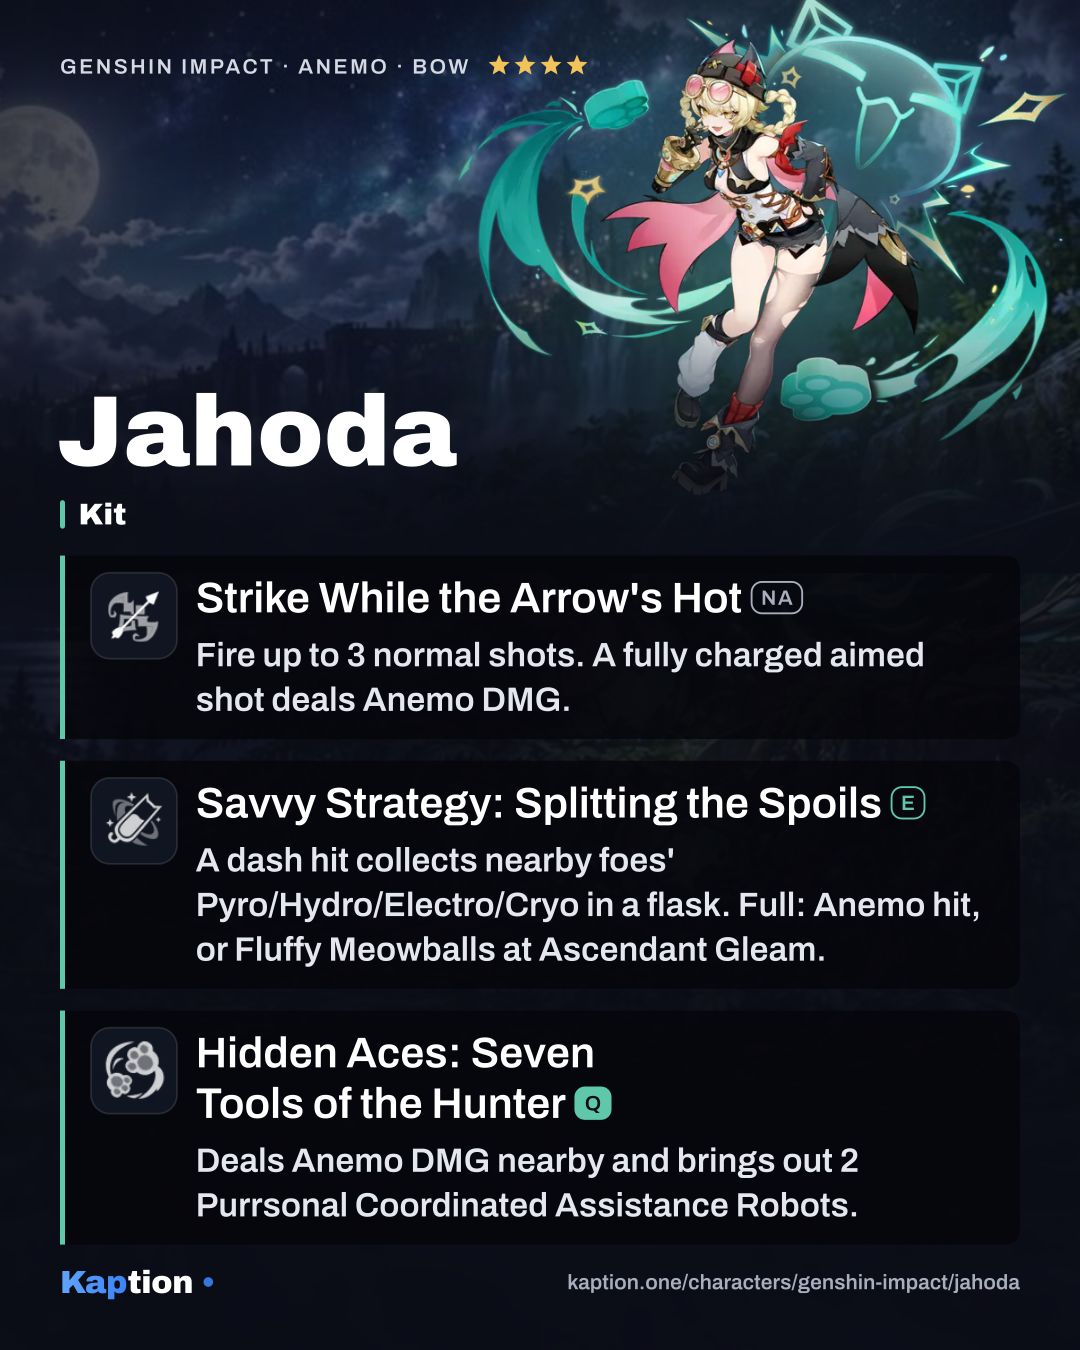
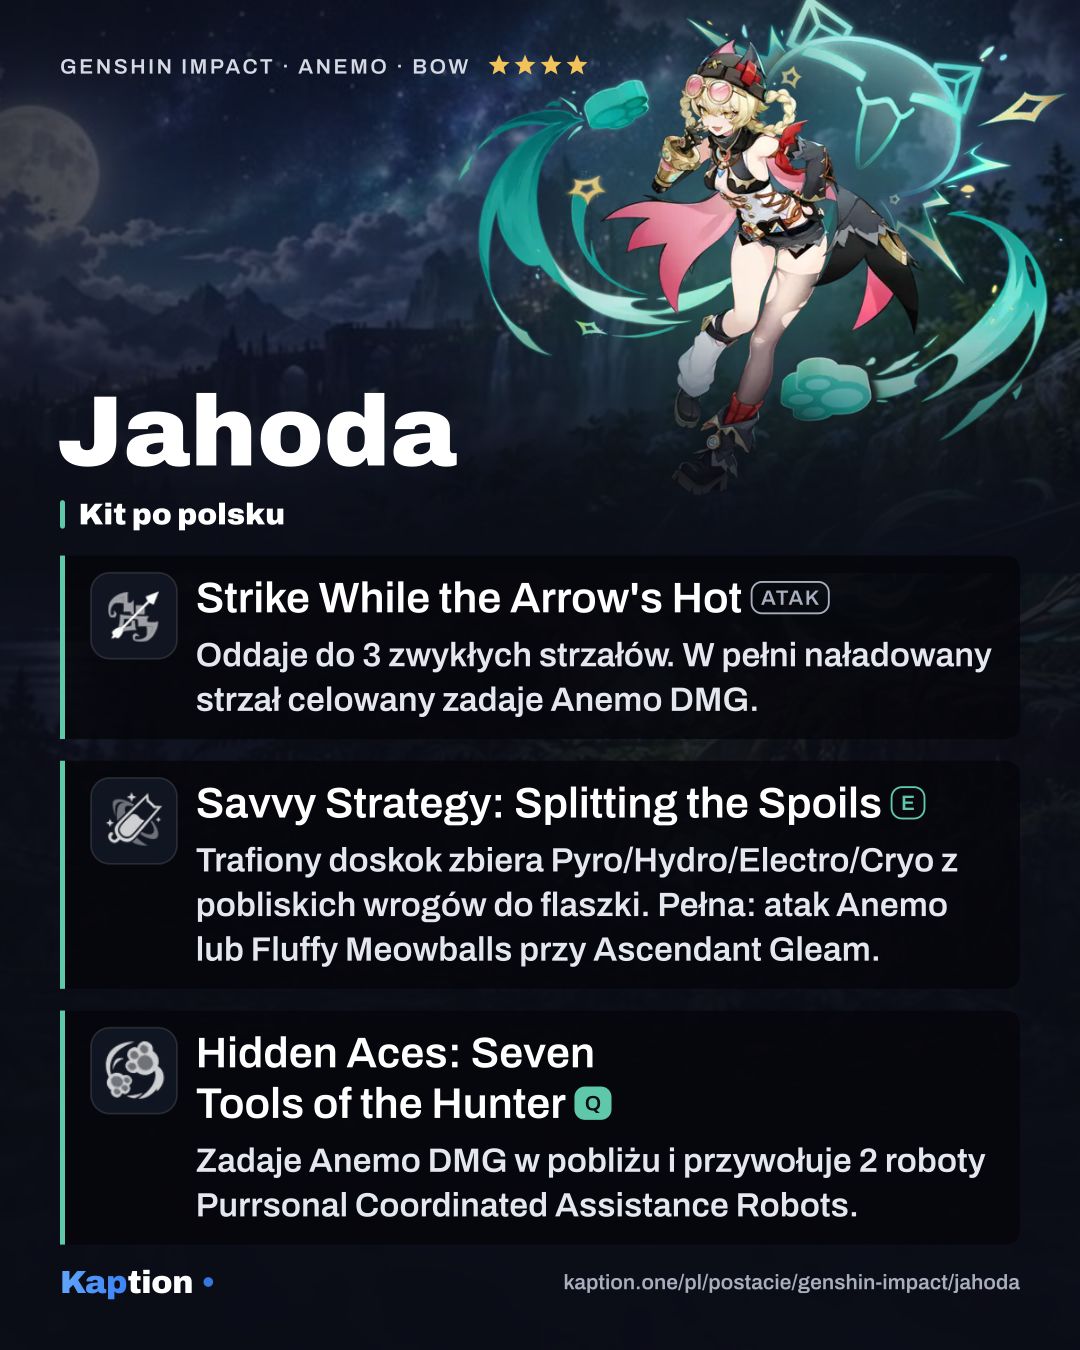
Start by getting a Pyro, Hydro, Electro or Cryo effect on an opponent, then use Savvy Strategy: Splitting the Spoils to dash into them. Contact starts Shadow Pursuit: Jahoda moves continuously while her flask takes an eligible element from nearby opponents and gradually fills. Press the Skill again or wait for the state to end to drain it and deal Anemo DMG. If the dash misses, she drops a Smoke Bomb instead.
Normally, a full flask ends Shadow Pursuit immediately with a stronger Anemo hit. At Moonsign: Ascendant Gleam, it instead fires Fluffy Meowballs of the stored element for a short time. Their hits restore 2 Energy to Jahoda, at most once every 3.5 seconds.
Use Hidden Aces: Seven Tools of the Hunter to deal Anemo DMG and summon two robots. Their enhancement depends on the eligible elements in the party. When a robot heals the active character above 70% HP, that character gains 100 Elemental Mastery for 6 seconds. Her fully charged aimed shot also deals Anemo DMG, but the Skill and Burst are the focus of this support setup.
Build and why
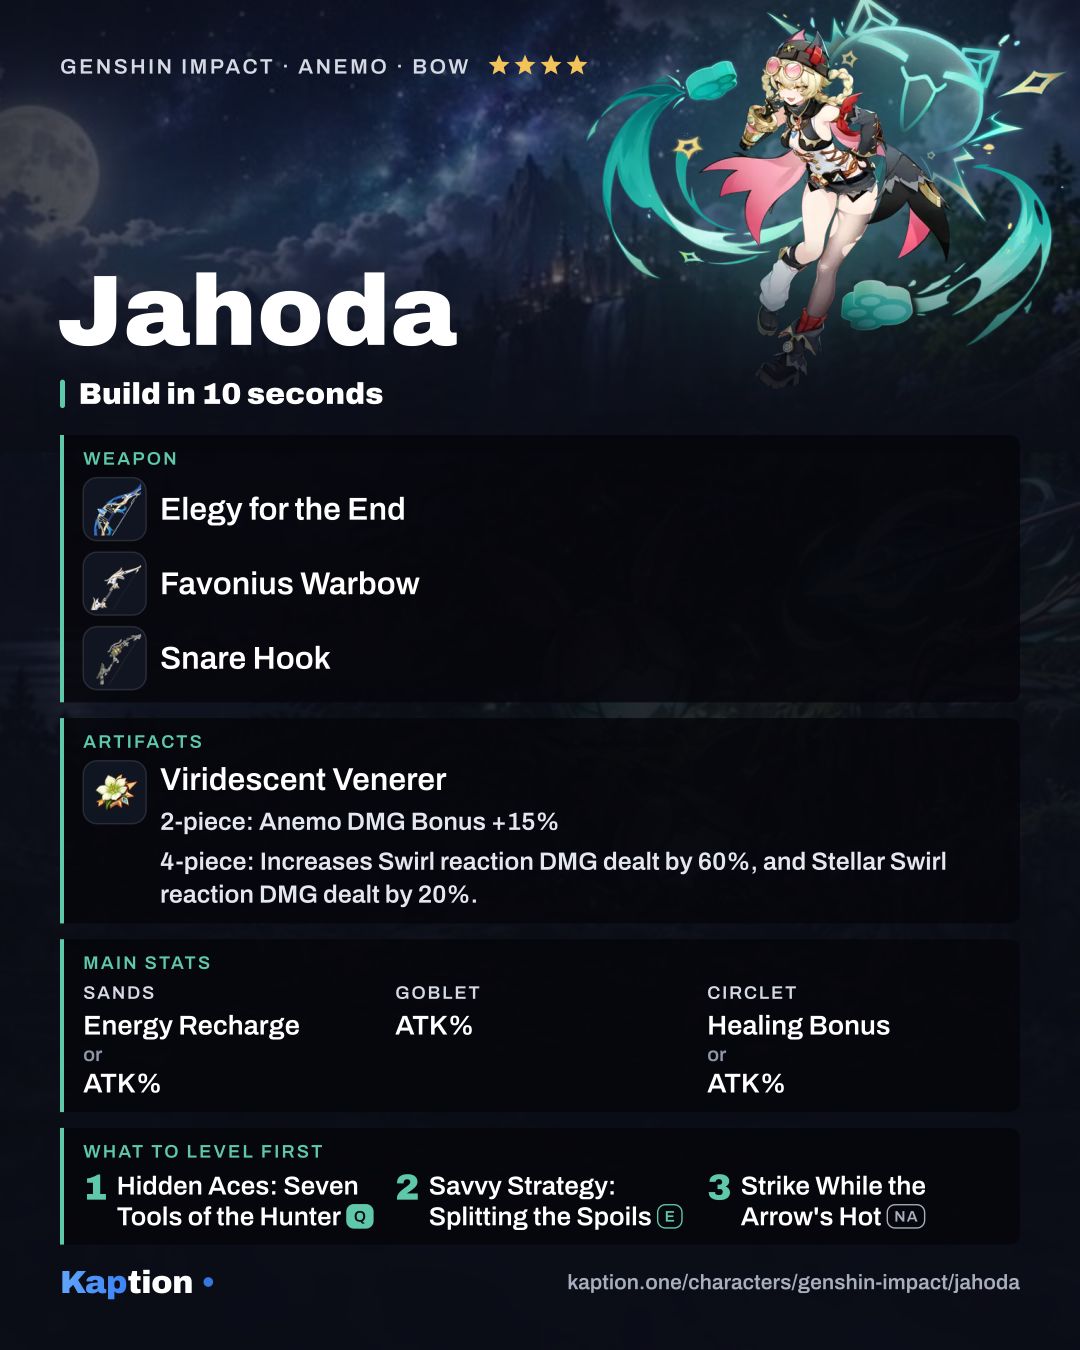
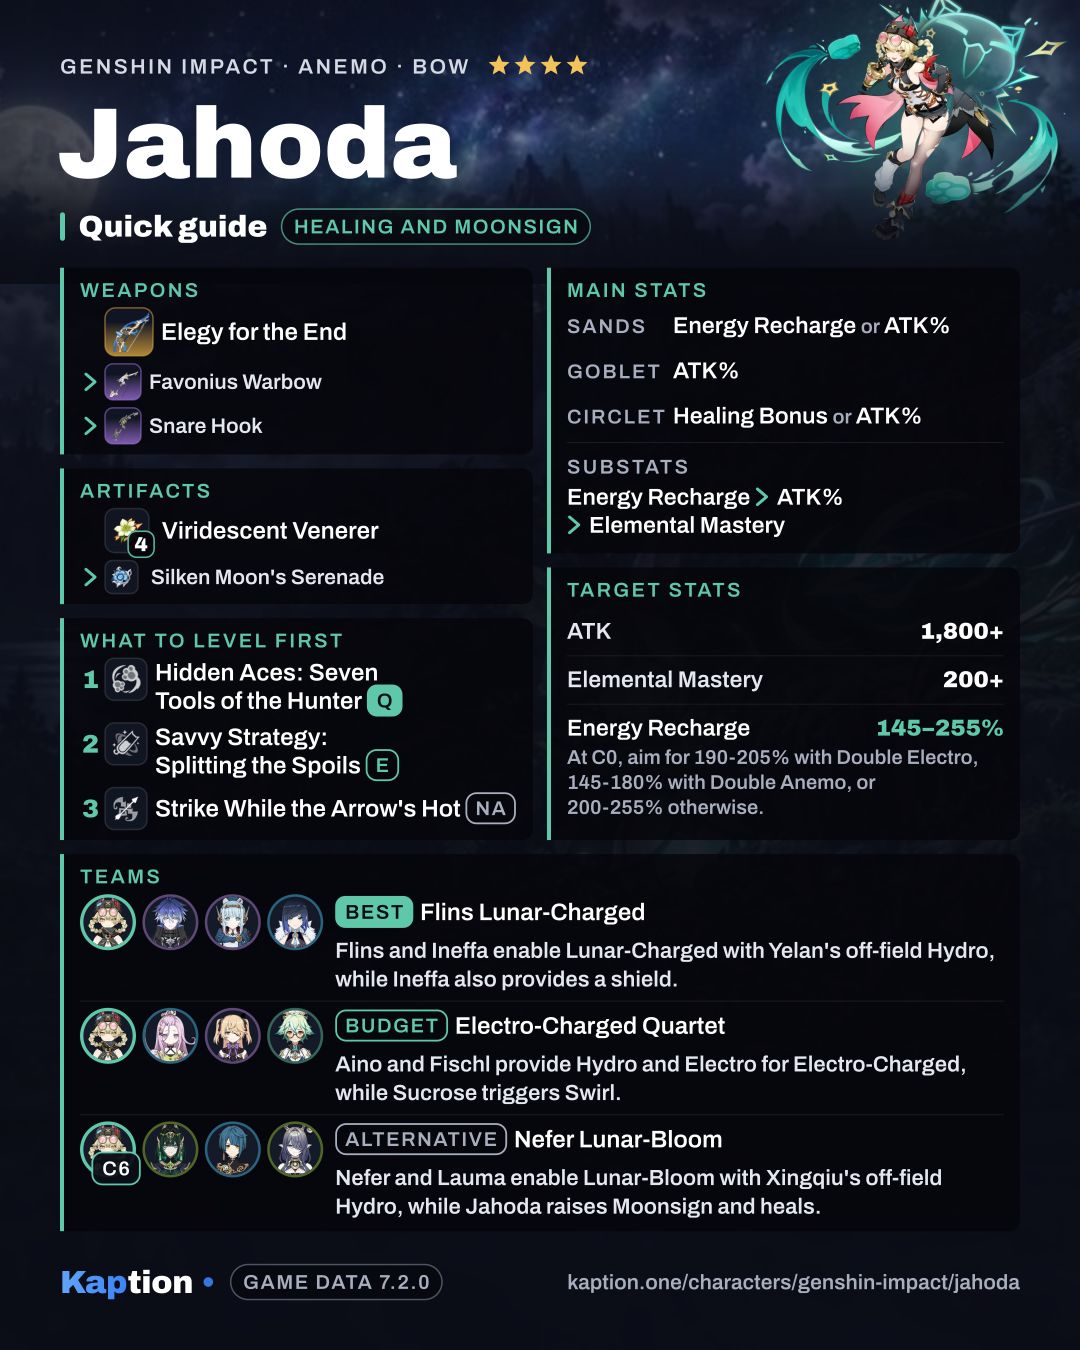
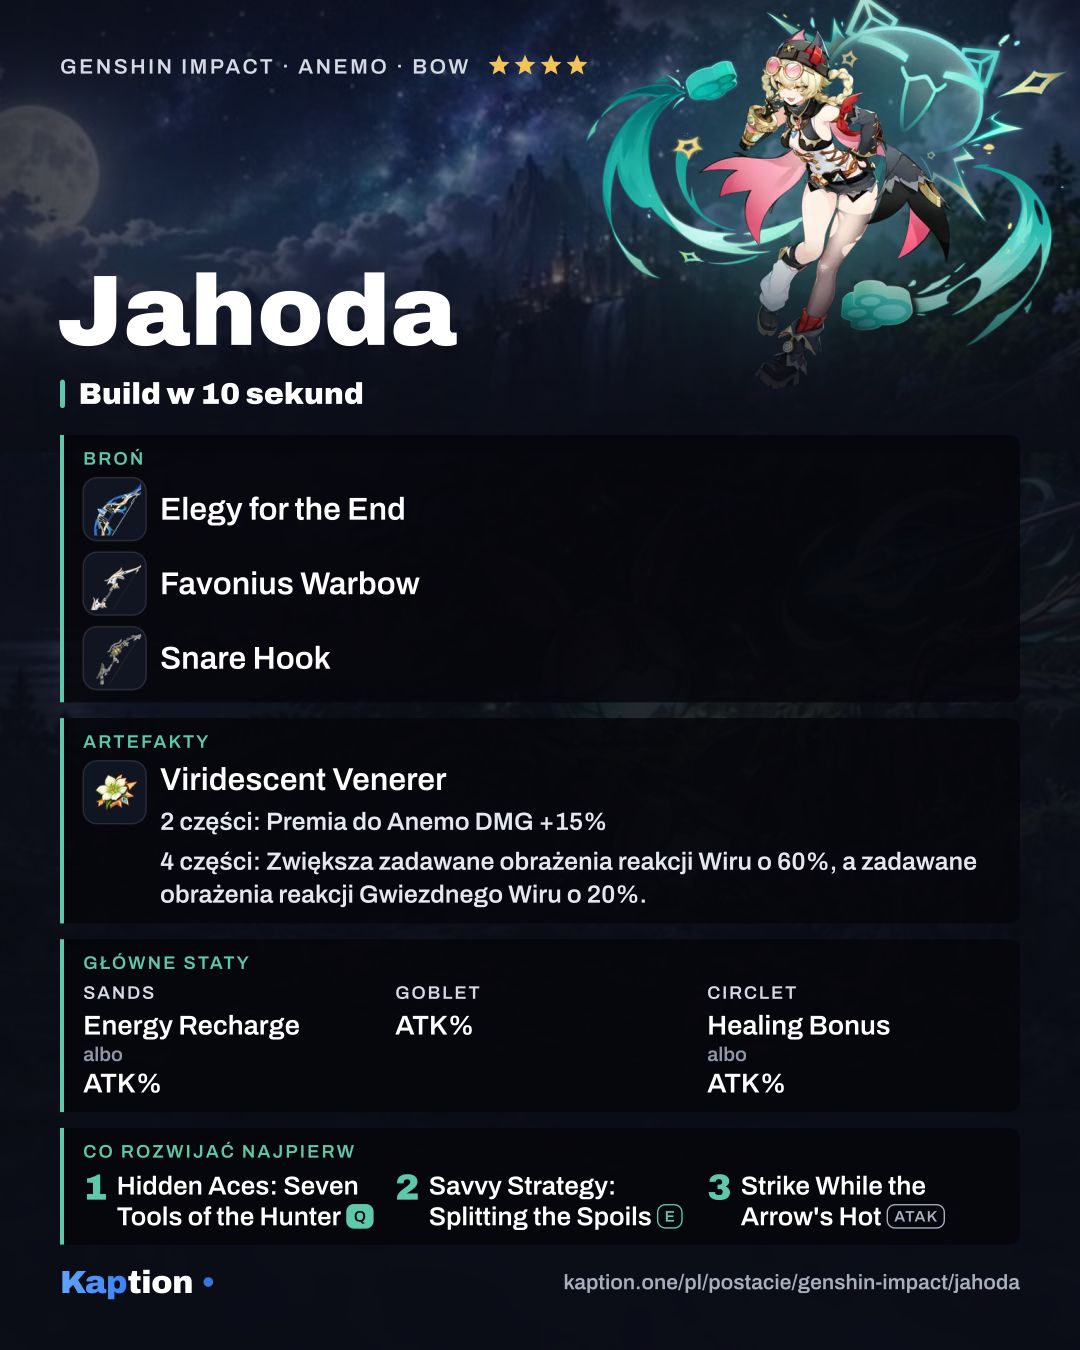
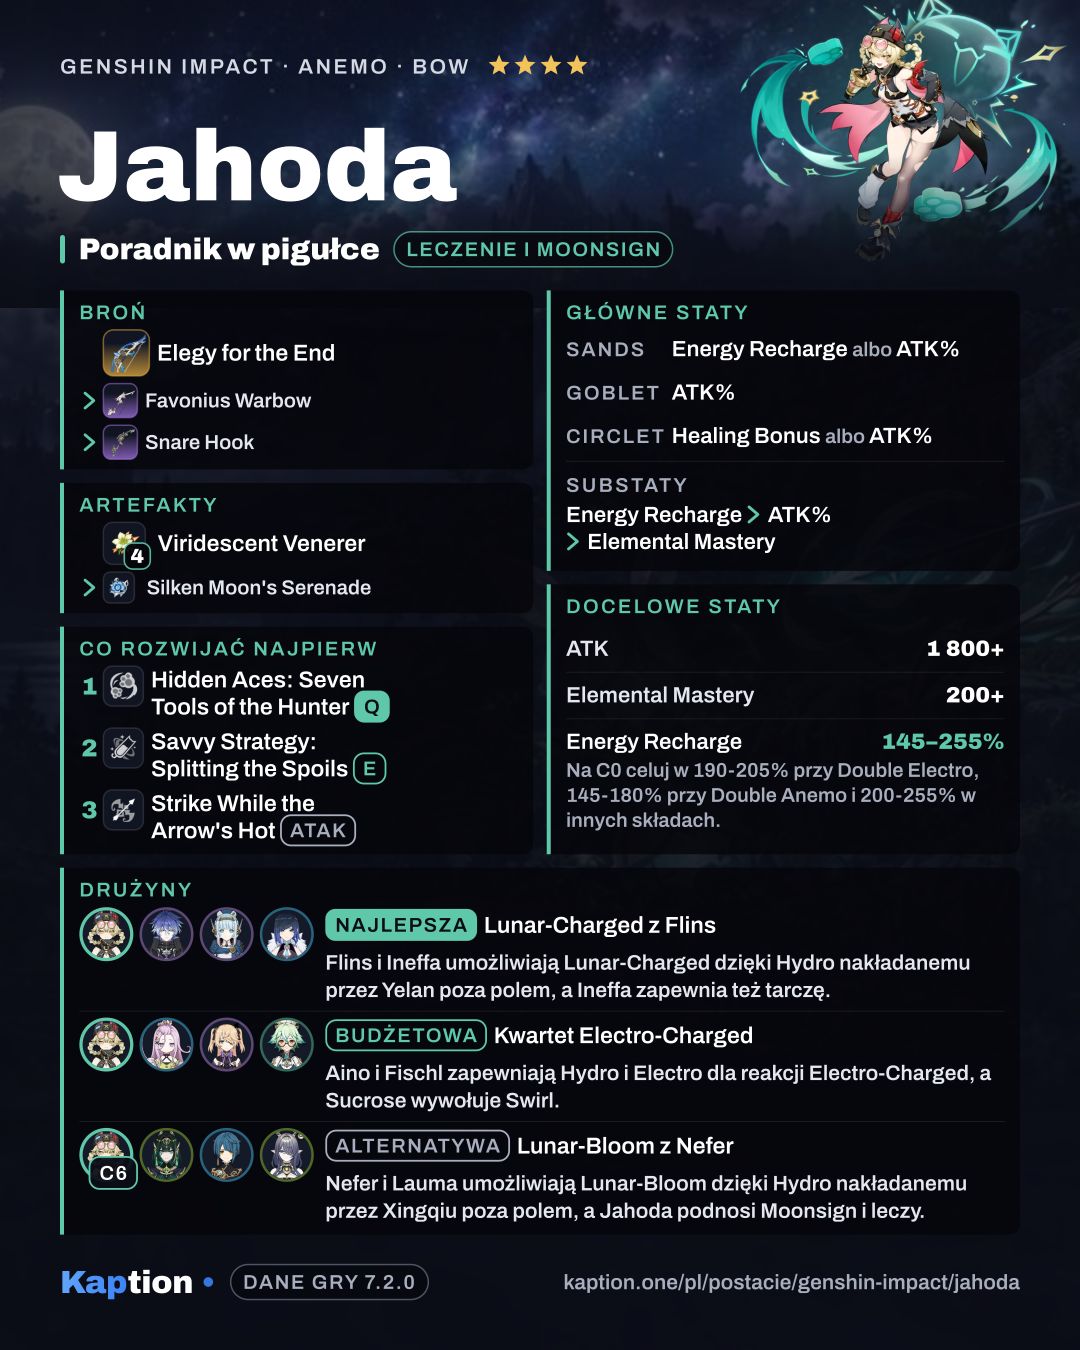
Use four pieces of Viridescent Venerer as the first choice. Its four-piece effect increases Swirl DMG by 60% and reduces the opponent’s RES to the element infused in Swirl by 40% for 10 seconds. It also increases Stellar Swirl DMG by 20%; triggering Stellar Swirl reduces Cryo RES by 40%. RES reductions of the same element do not stack.
Four pieces of Silken Moon's Serenade are the next option for a Moonsign team. Dealing Elemental DMG grants the party 60 or 120 Elemental Mastery for 8 seconds, depending on the Moonsign level. Its Gleaming Moon effect also contributes to party Lunar Reaction DMG, but effects with the same Gleaming Moon name do not stack. Golden Troupe is an option if you want more Skill DMG instead.
For main stats, choose Energy Recharge or ATK Percentage on the sands, ATK Percentage on the goblet, and Healing Bonus or ATK Percentage on the circlet. Look for Energy Recharge first in substats, followed by ATK Percentage and Elemental Mastery. Healing Bonus is the choice when you want to emphasize healing; don’t give up the Energy Recharge you need to use the Burst.
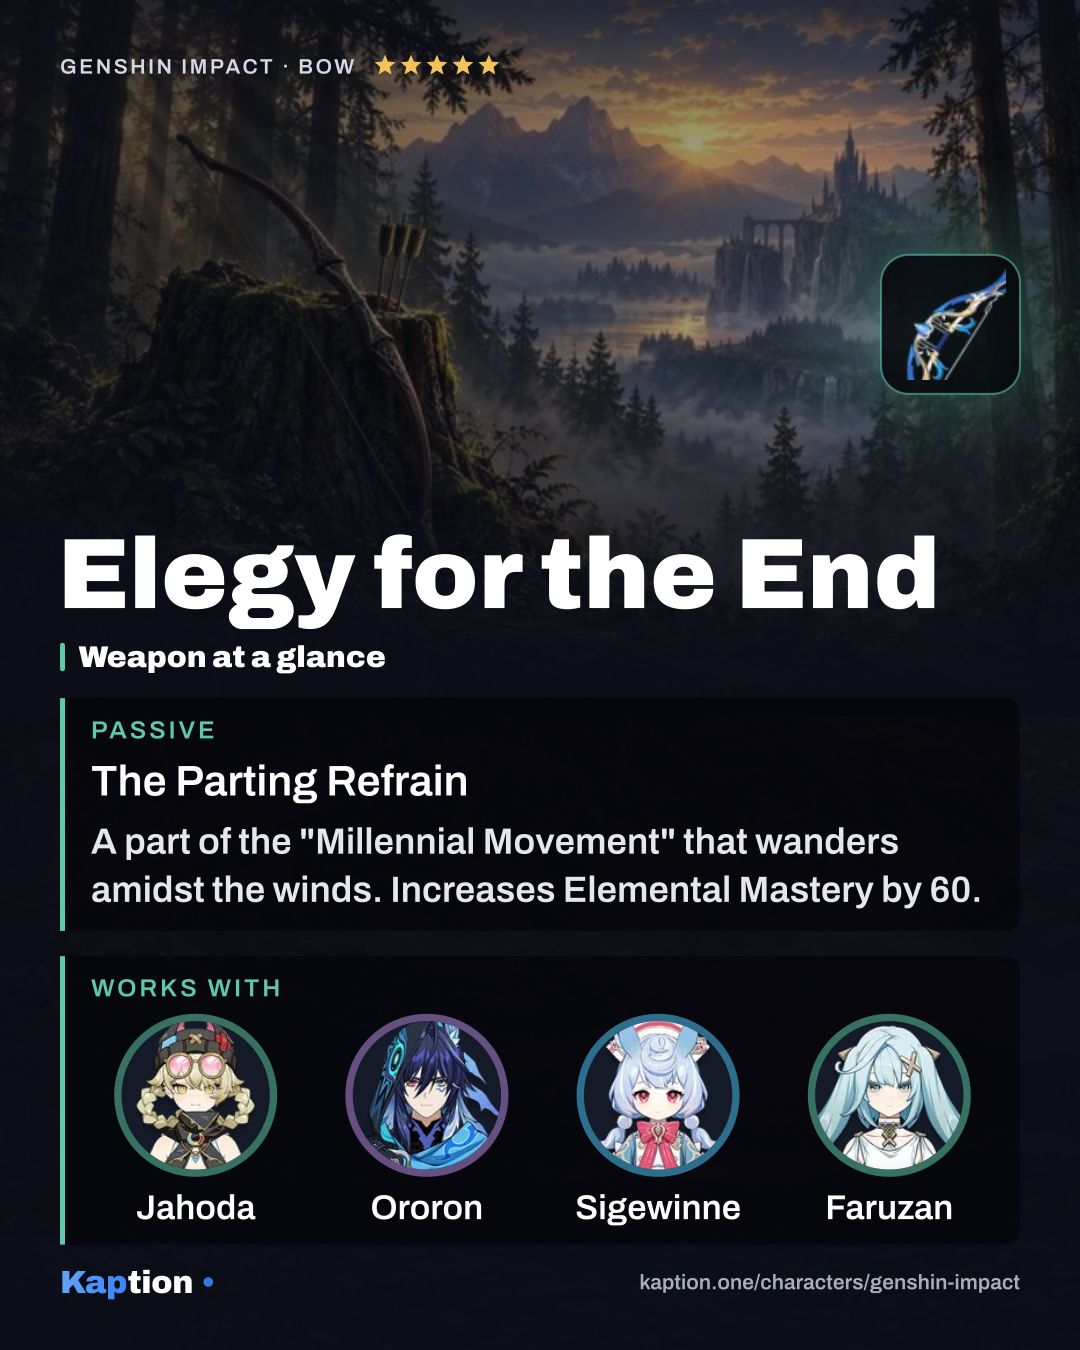
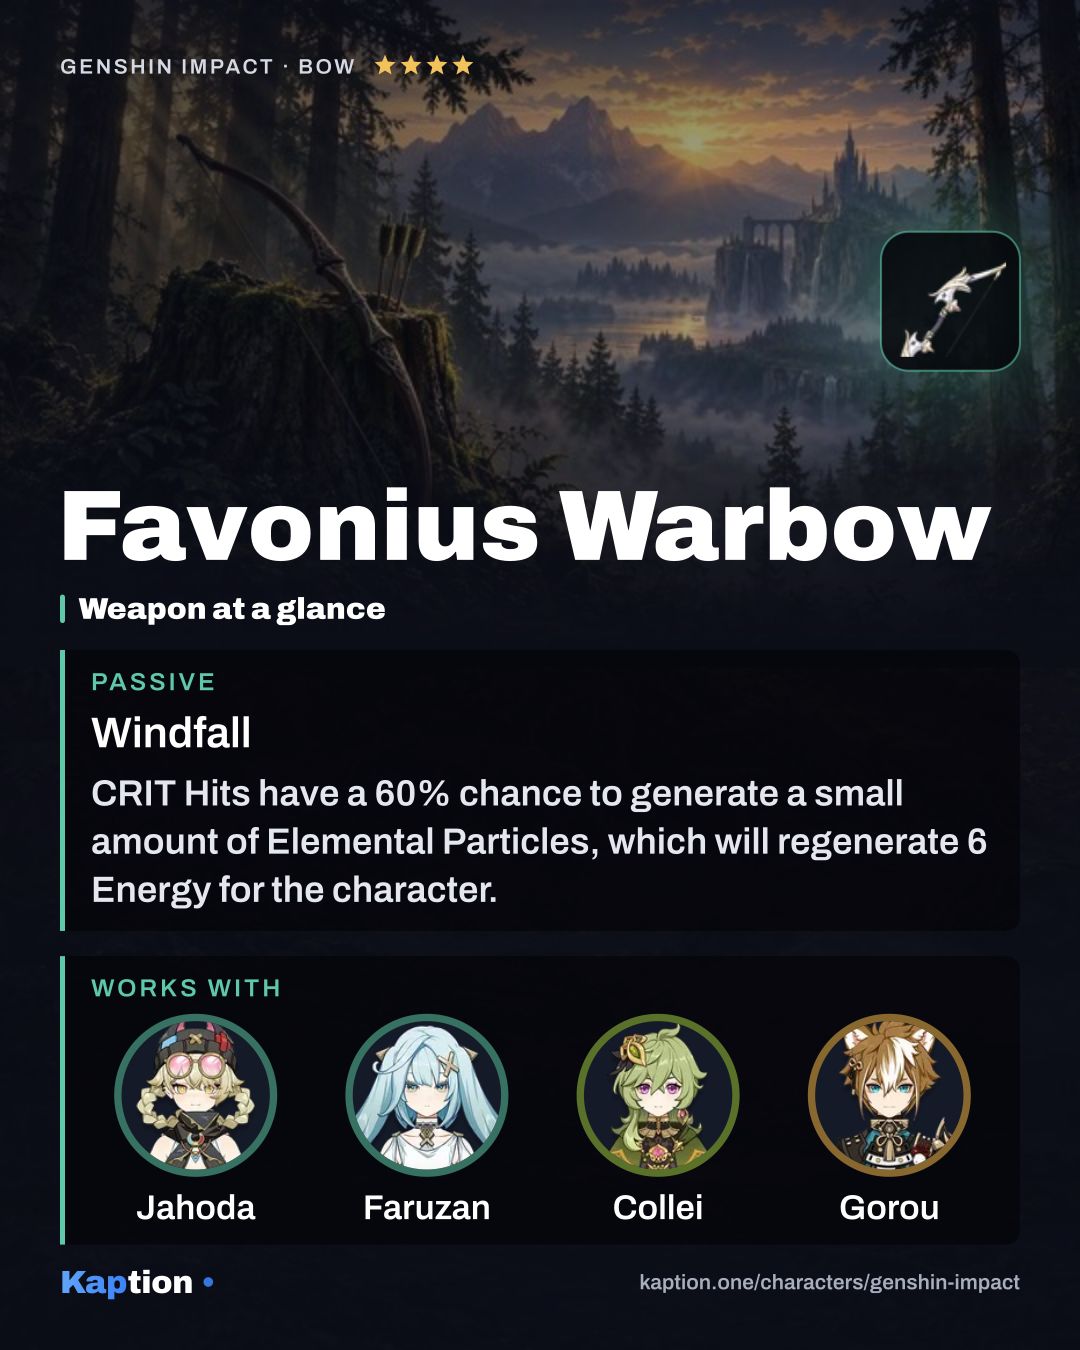
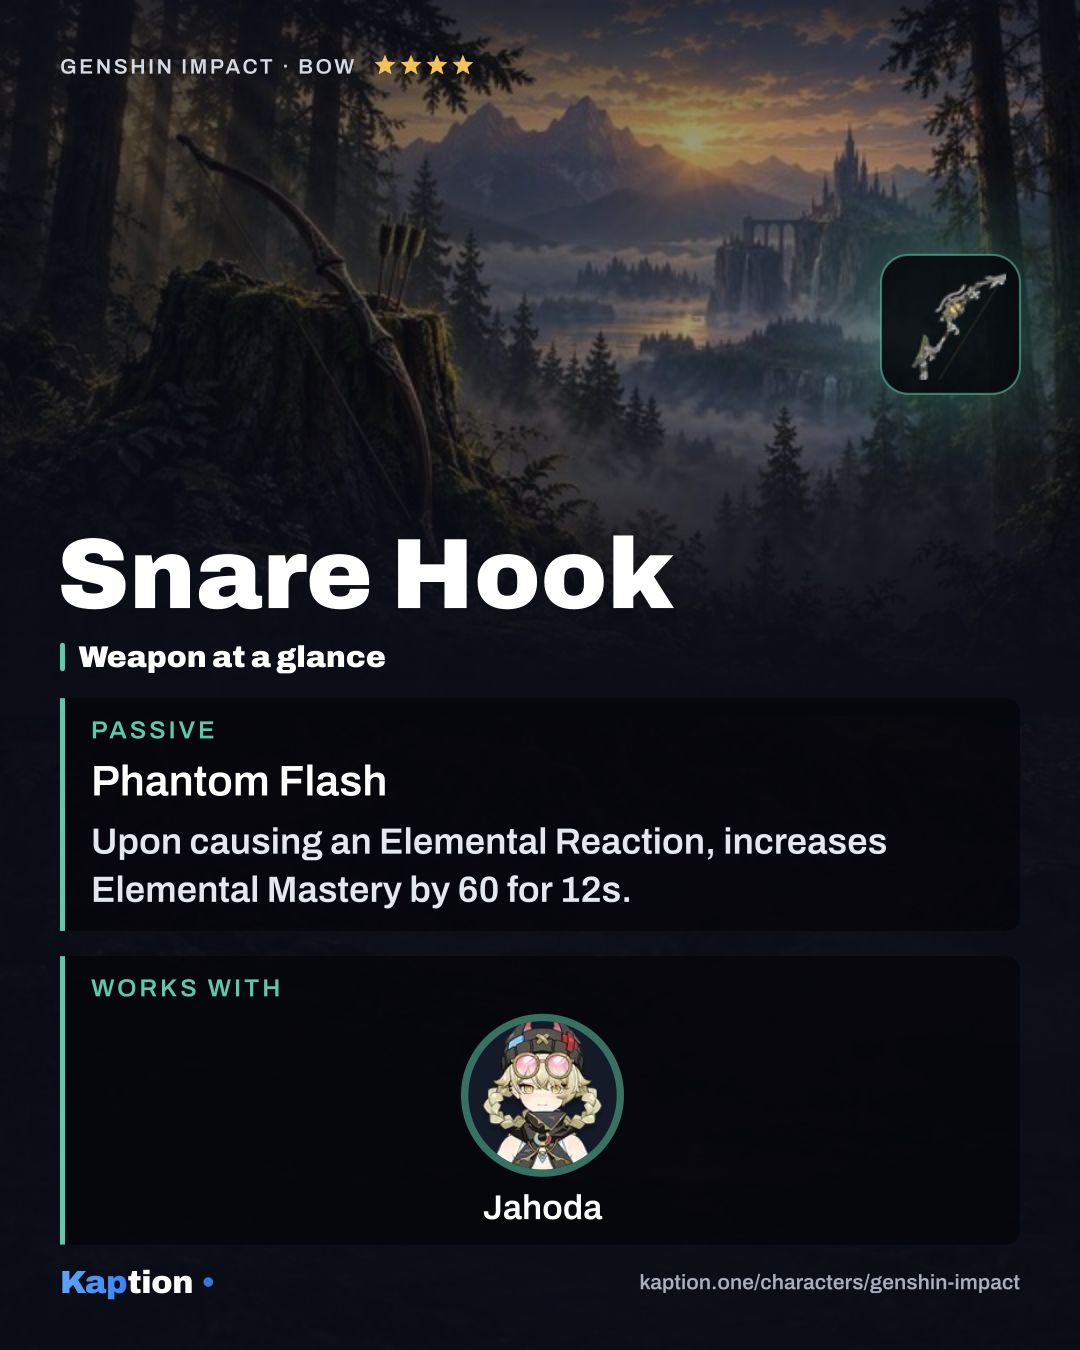
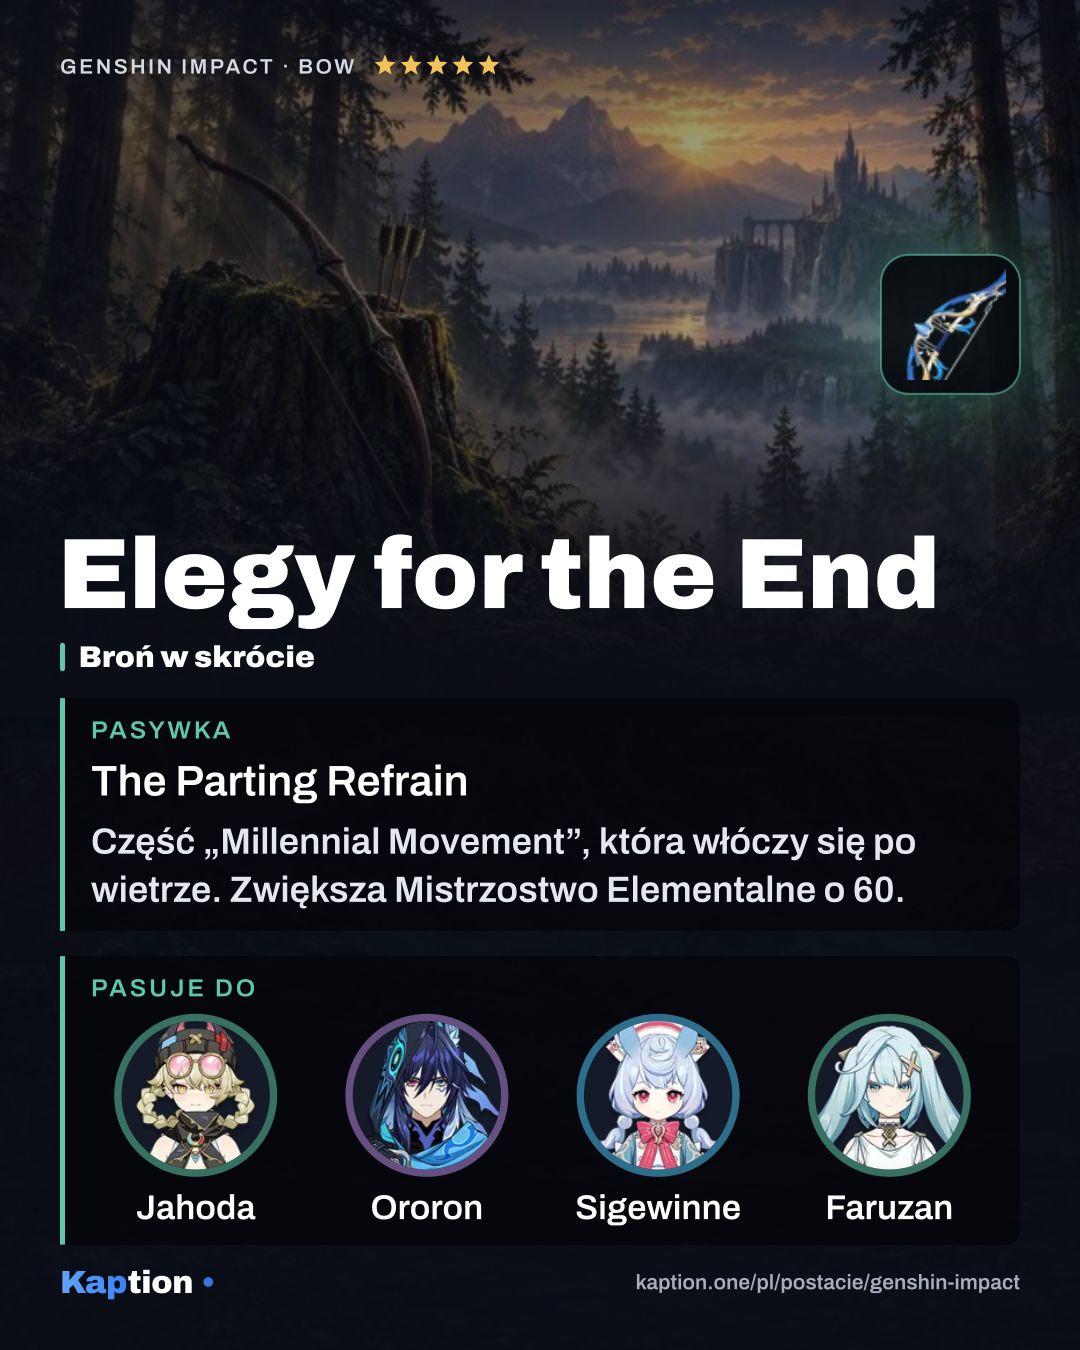
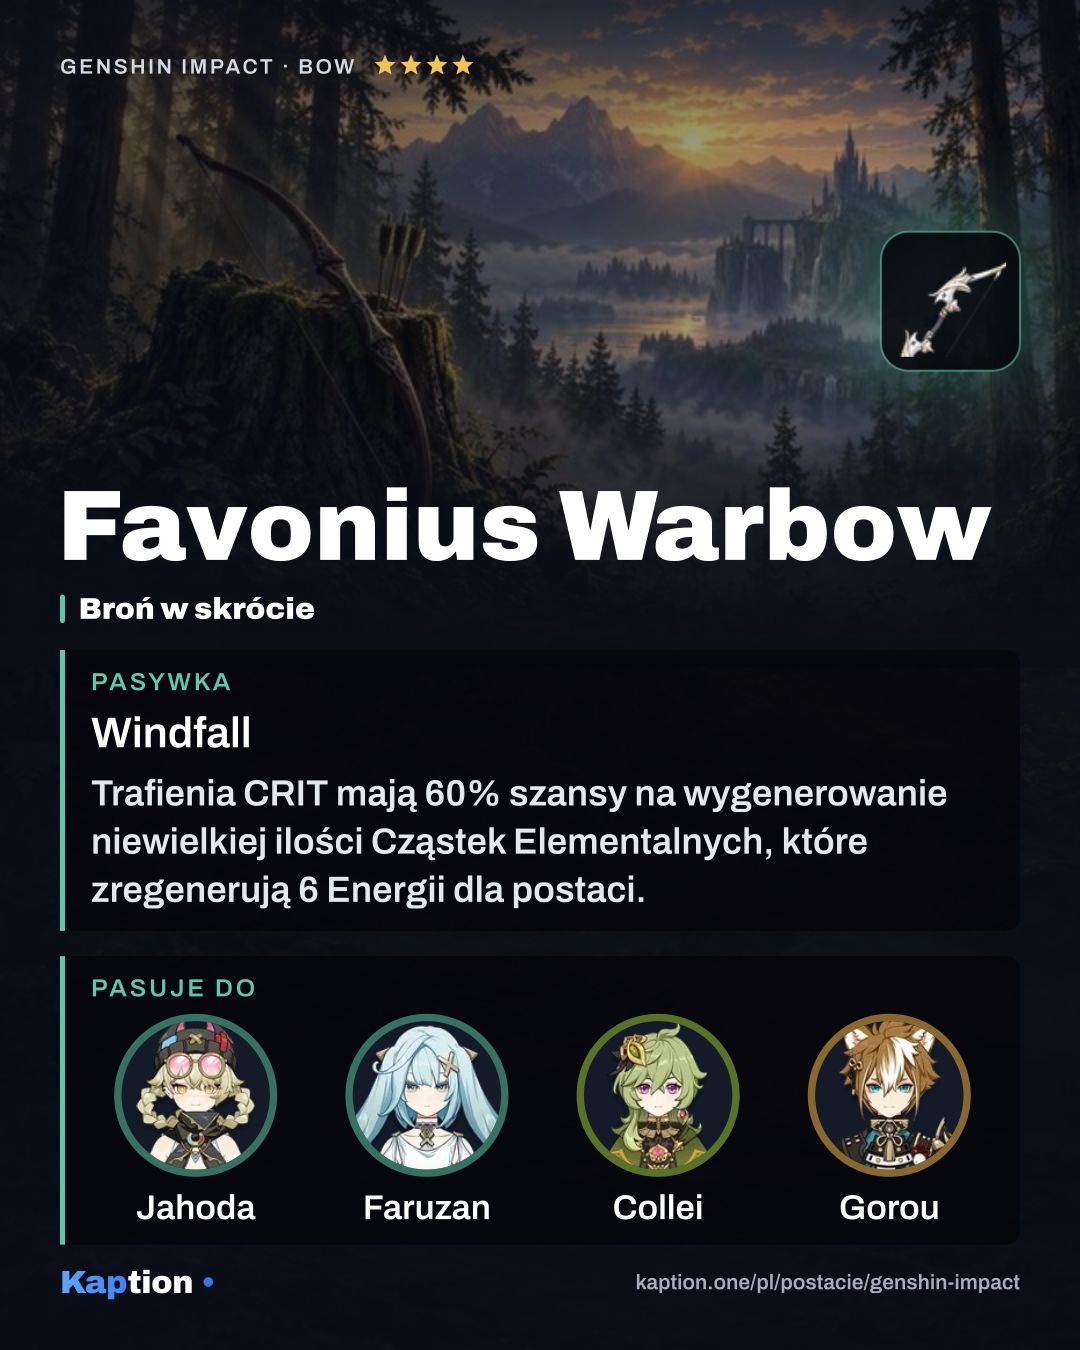
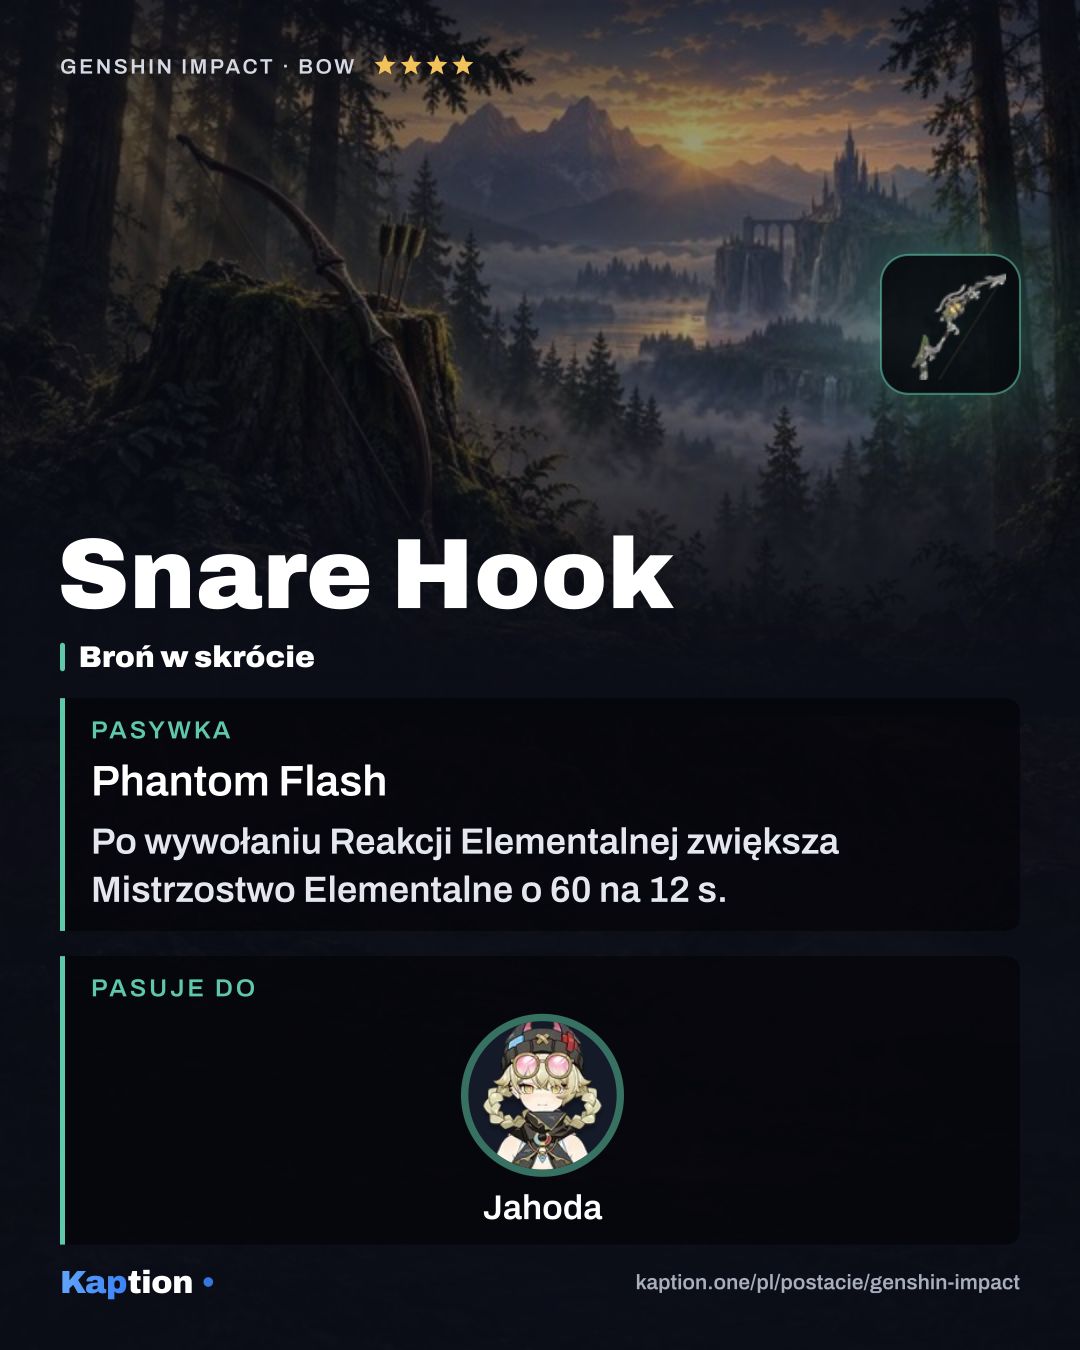
Elegy for the End is the first weapon choice. Its listed effect gives 60 Elemental Mastery and lets Skill and Burst hits generate Sigils even off-field. Favonius Warbow is an Energy option: CRIT Hits have a 60% chance to generate particles, once every 12 seconds. Snare Hook gives 60 Elemental Mastery after an Elemental Reaction, with another 60 at Ascendant Gleam.
Leveling priority
A sensible leveling order is Burst first, Skill second and Normal Attack last. The Burst is the source of the robots that deal damage and heal, while the Skill is Jahoda’s other main combat tool. Normal Attacks are less central if you use her for support.
For maximum ascension, gather 420,000 Mora, 168 Portable Bearing, 1 Vayuda Turquoise Sliver, 9 Vayuda Turquoise Fragment, 9 Vayuda Turquoise Chunk and 6 Vayuda Turquoise Gemstone. You also need 18 Broken Drive Shaft, 30 Reinforced Drive Shaft, 36 Precision Drive Shaft and 46 Lightbearing Scale-Feather.
To raise all three talents to the maximum, the listed total is 4,957,500 Mora, 3 Crown of Insight, 9 Teachings of Vagrancy, 63 Guide to Vagrancy and 114 Philosophies of Vagrancy. Add 18 Broken Drive Shaft, 66 Reinforced Drive Shaft, 93 Precision Drive Shaft and 18 Ascended Sample: Knight.
Constellations worth it
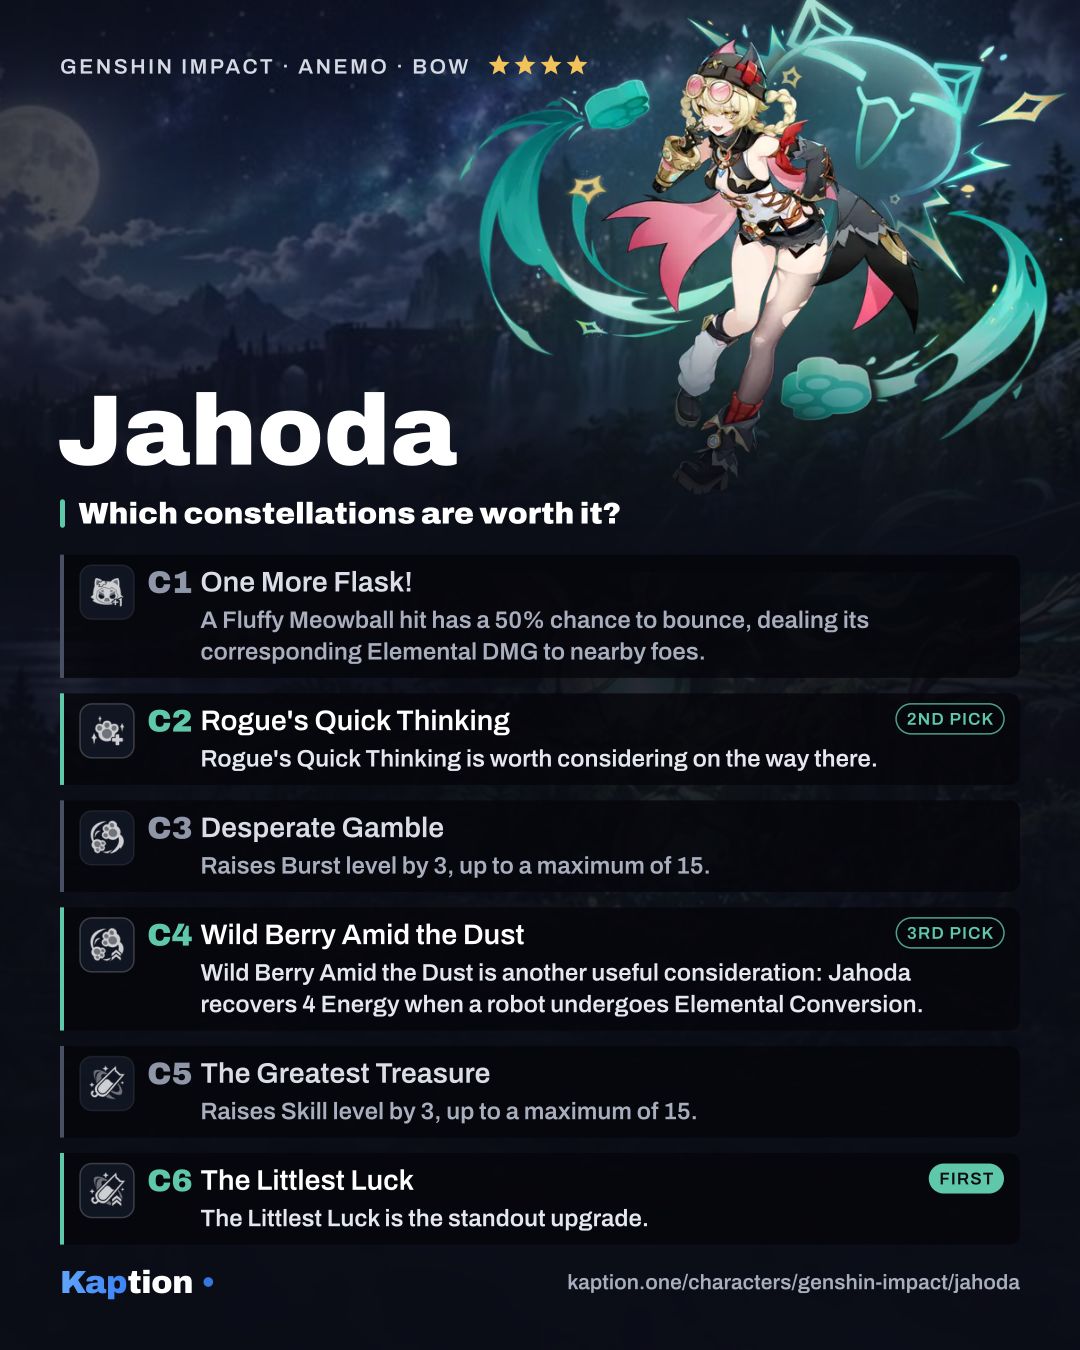
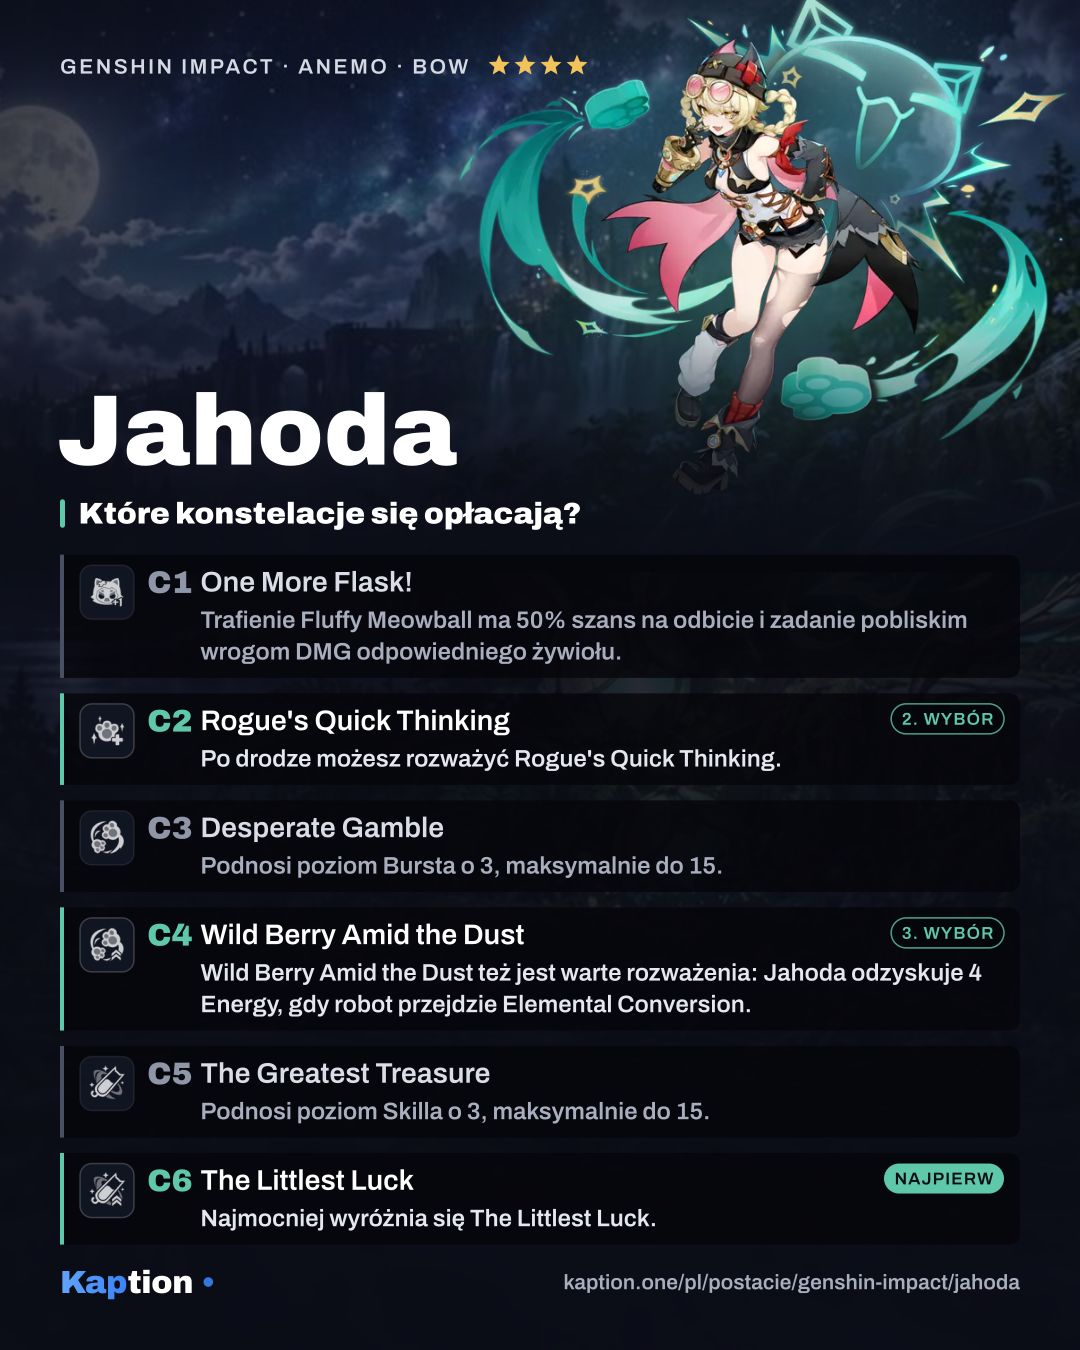
The Littlest Luck is the standout upgrade. At Ascendant Gleam, filling the flask grants nearby Moonsign characters in the party 5% CRIT Rate and 40% CRIT DMG for 20 seconds. The bonus is for Moonsign characters, not automatically everyone in the party.
Rogue's Quick Thinking is worth considering on the way there. At Ascendant Gleam, and after unlocking Plan to Get Paid, it lets the robots gain up to two eligible elemental enhancements instead of one. Wild Berry Amid the Dust is another useful consideration: Jahoda recovers 4 Energy when a robot undergoes Elemental Conversion.
You can stop at C2 if those effects are enough for your team. C1 gives Fluffy Meowballs a 50% chance to bounce, while C3 and C5 add three levels to the Burst and Skill respectively. Reaching C6 requires the earlier constellations, so none of them can be skipped on the way.
Teams
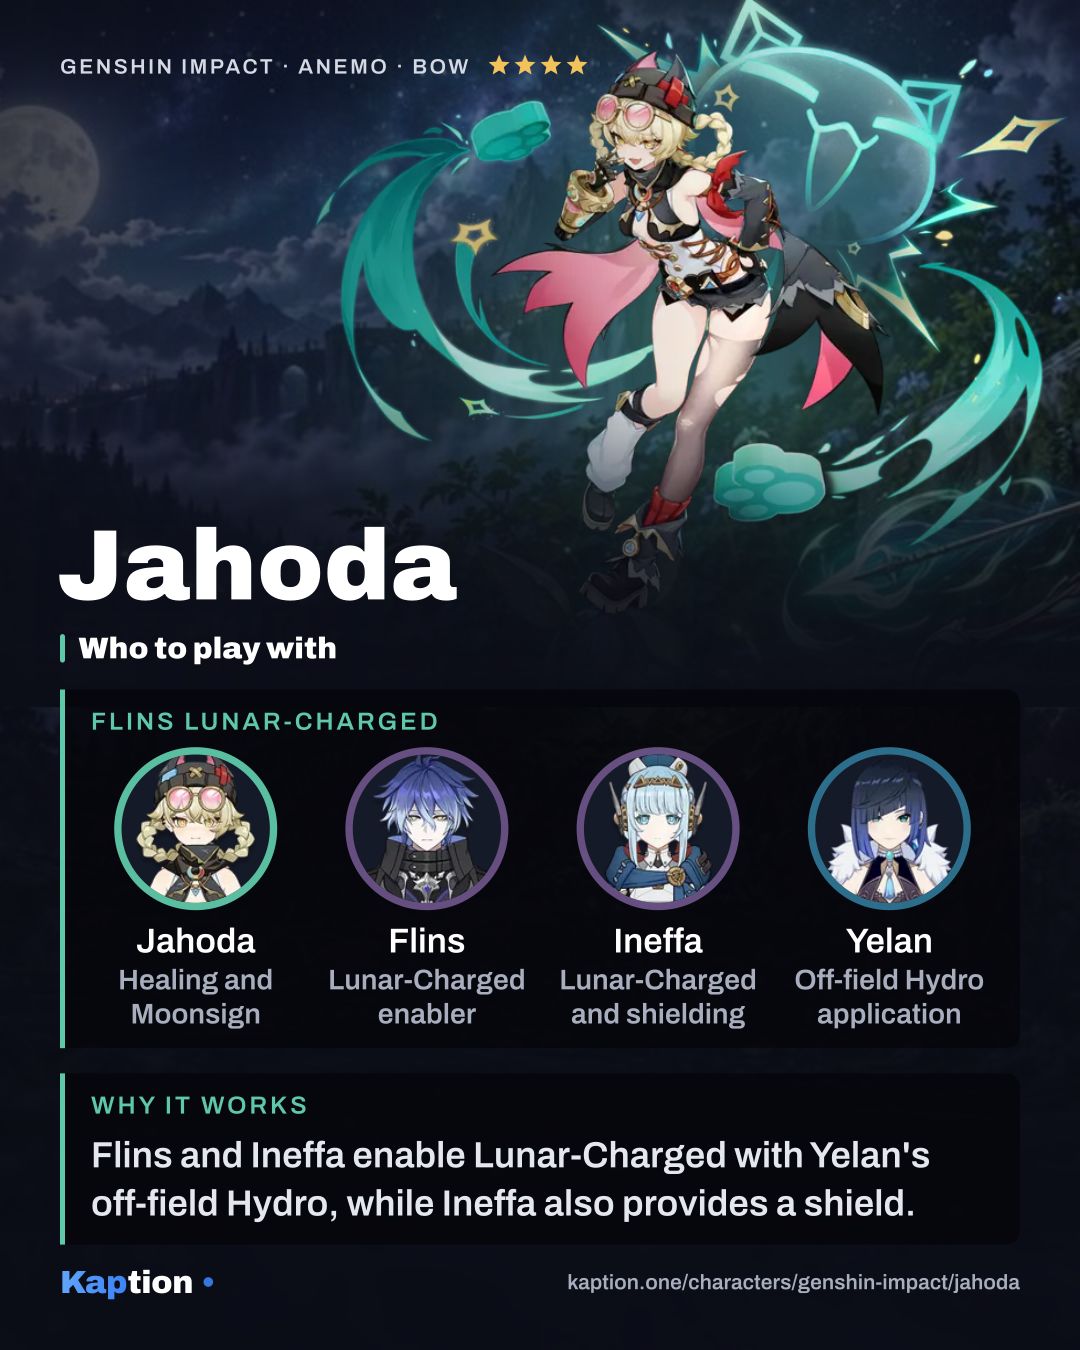
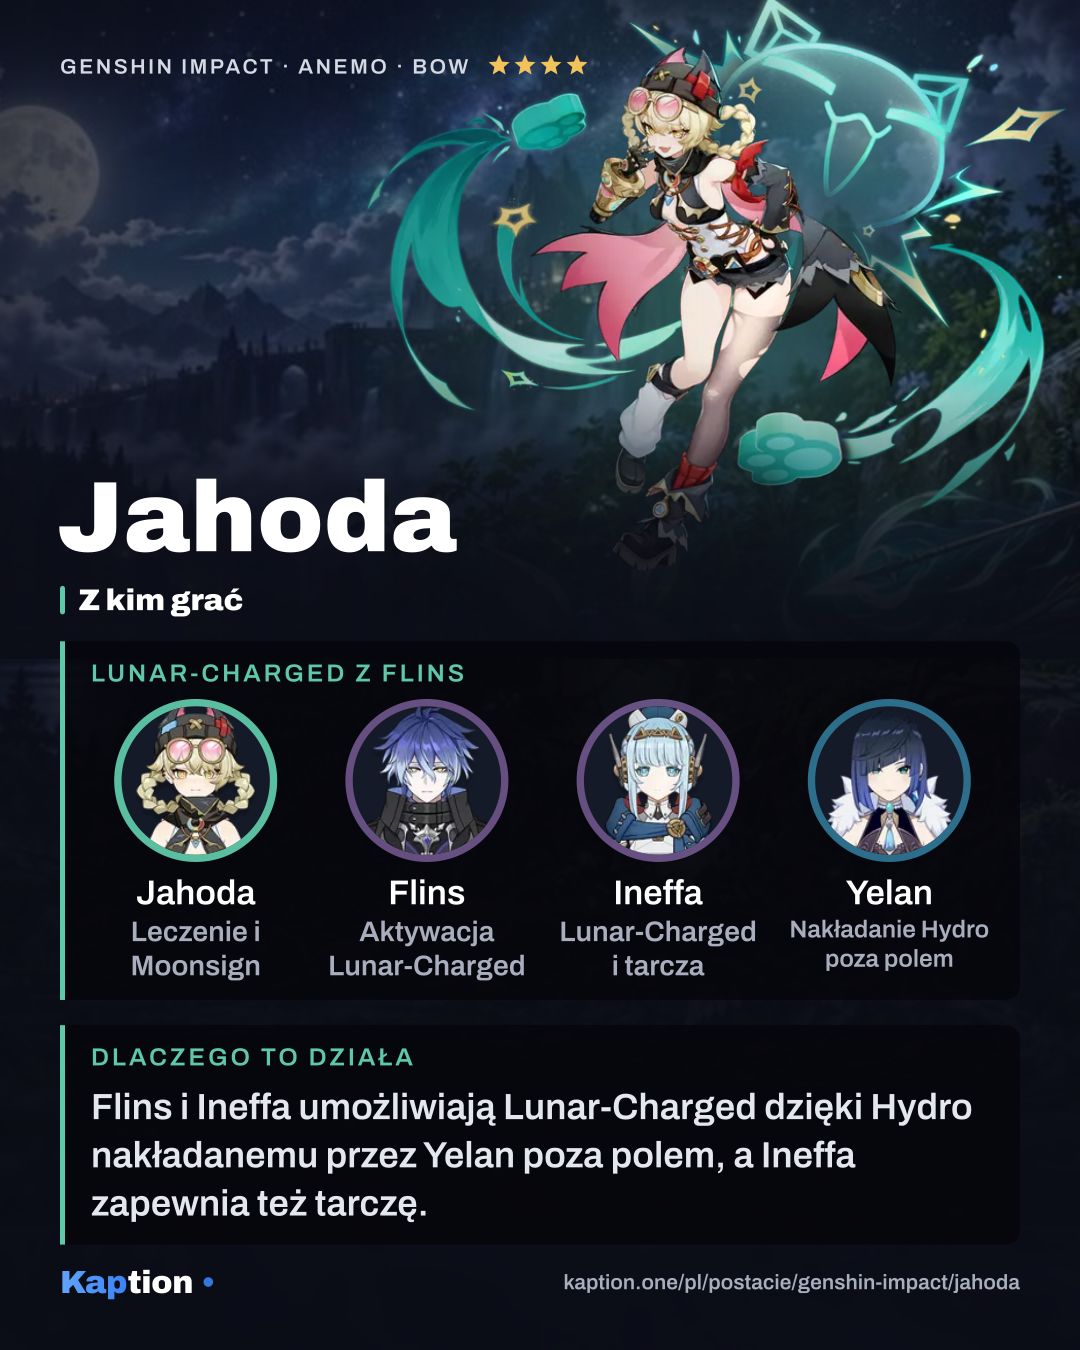
Bring at least one Pyro, Hydro, Electro or Cryo teammate if you want the robot enhancement. The most common eligible element determines the effect: Pyro raises robot DMG to 130% of its original value, Hydro raises healing to 120%, Electro adds a robot, and Cryo reduces their attack interval by 10%. In a tie, the priority is Pyro, Hydro, Electro, then Cryo.
Common mistakes
Don’t dash past the opponent and expect Shadow Pursuit to start. The dash must make contact; otherwise you get the Smoke Bomb. Also, don’t assume a full flask always ends the state immediately, since Ascendant Gleam changes what happens.
Don’t build the whole team around a robot bonus without counting its eligible elements and checking ties. Keep the active character’s HP above 70% if you want the Elemental Mastery bonus from robot healing, and remember that the bonus lasts only 6 seconds.
Finally, avoid stacking the same Gleaming Moon effect and expecting it to add together. Choose your artifact set and Energy Recharge around what the team needs rather than relying on charged shots in a support setup.