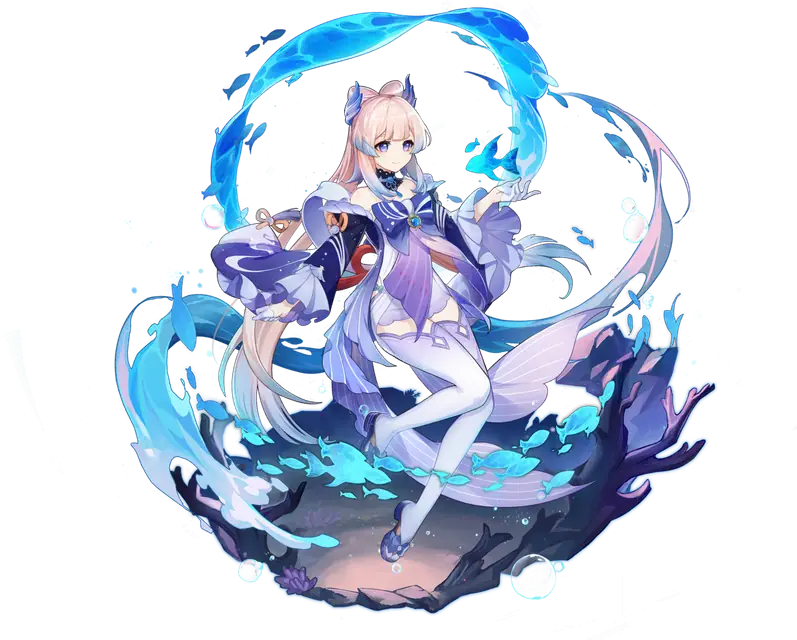

















































Guide
How the kit works
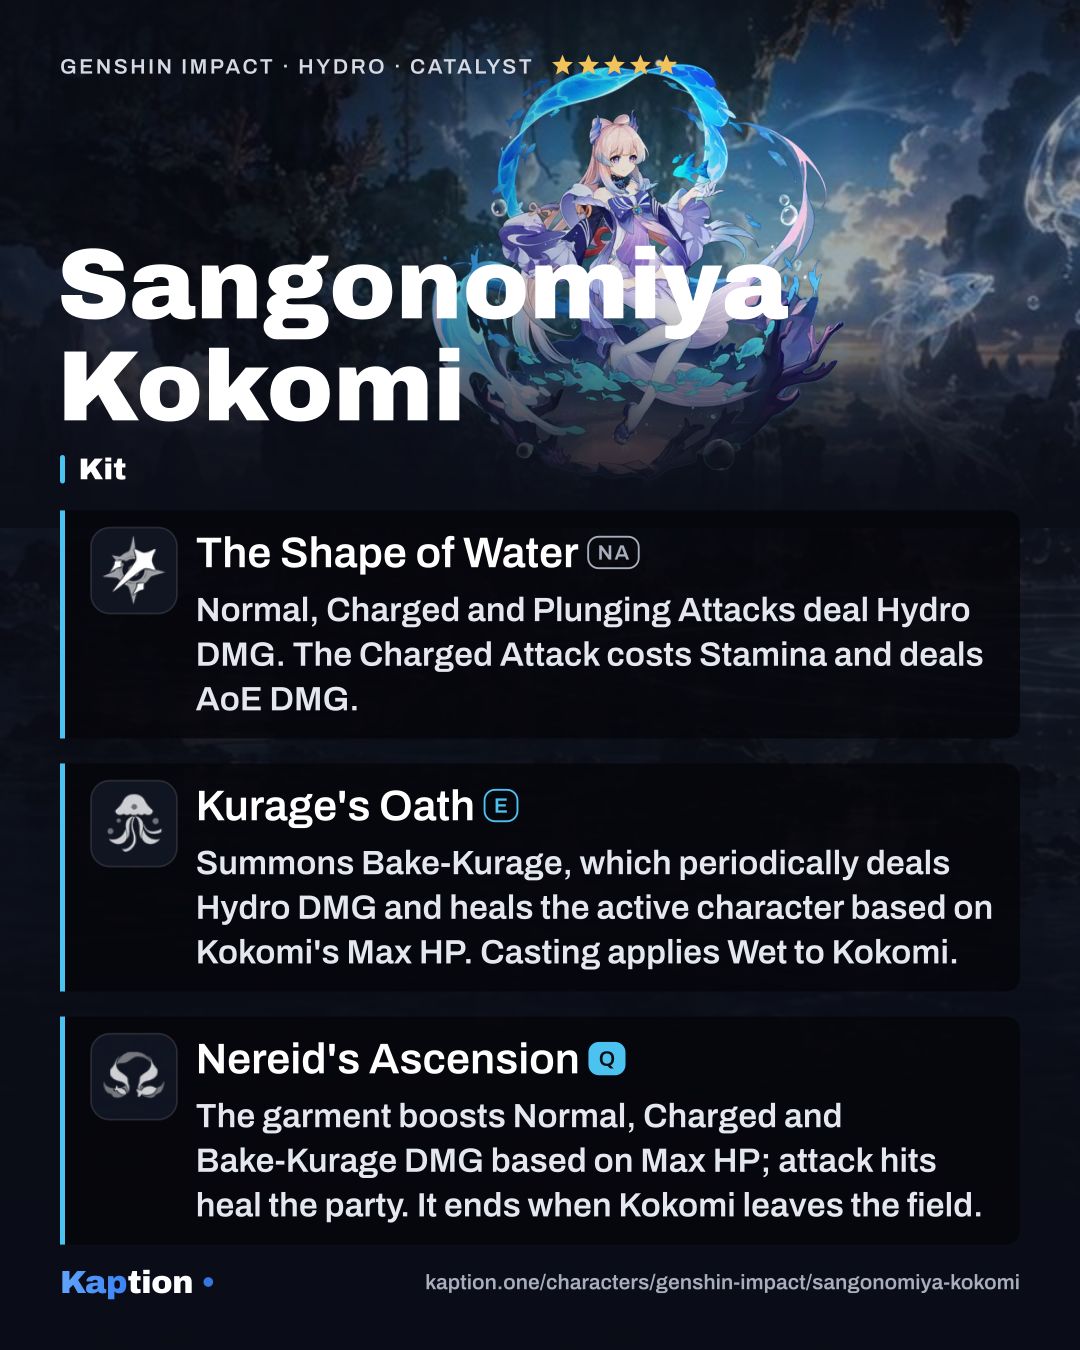
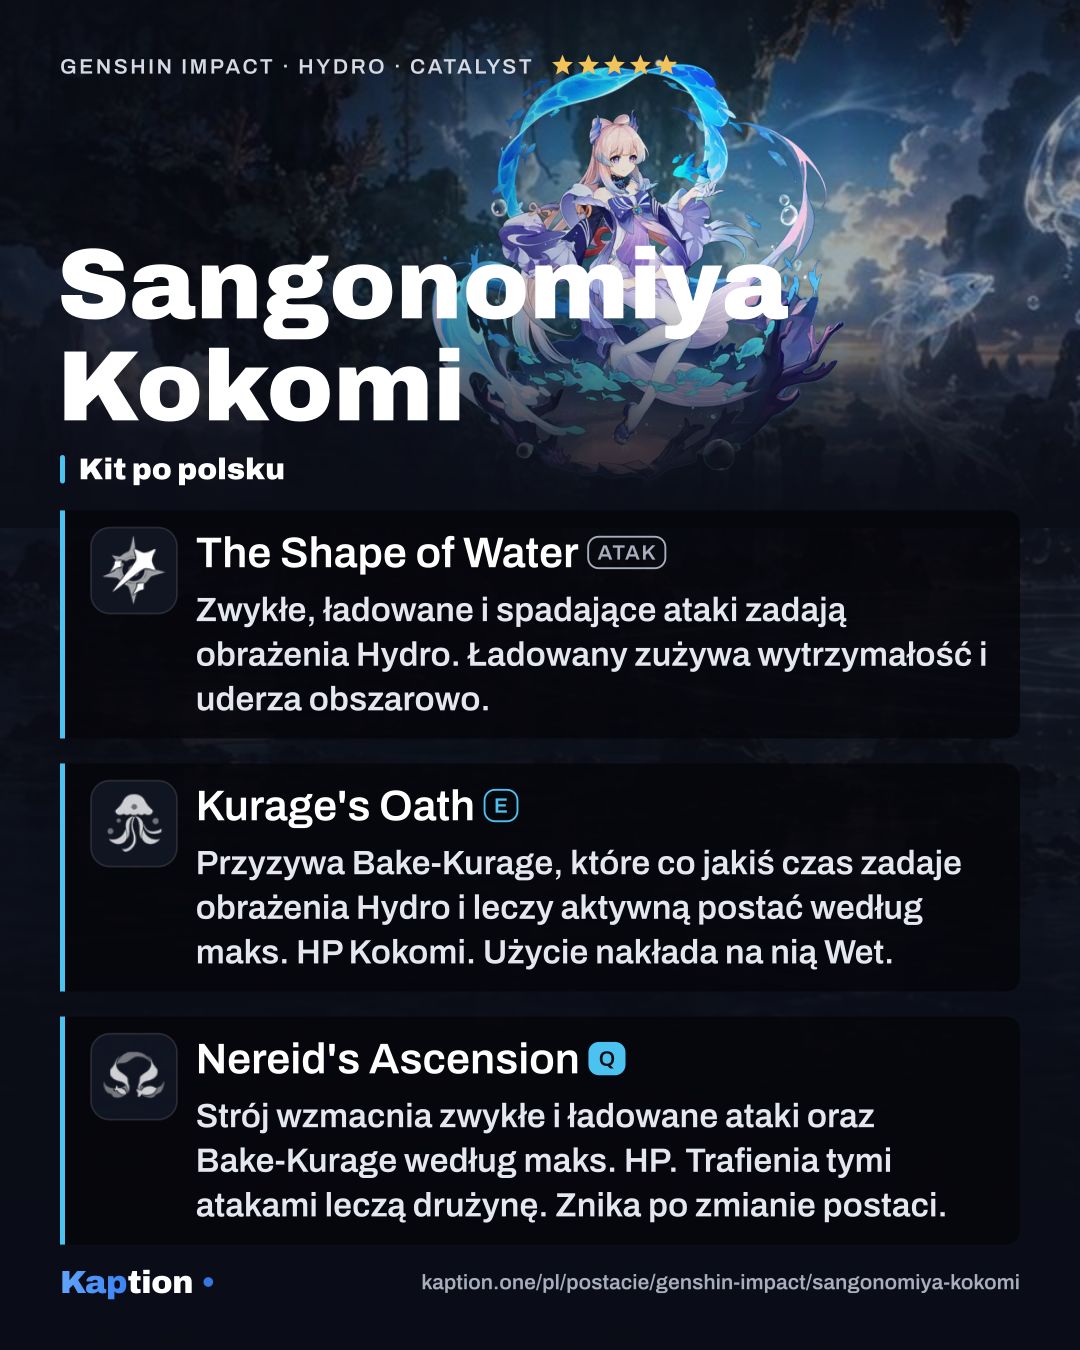
Start with Kurage's Oath to summon Bake-Kurage. It periodically deals Hydro DMG to nearby opponents and heals nearby active characters based on Kokomi's Max HP. Using the skill also applies Wet to Kokomi. You can then switch to a teammate while Bake-Kurage remains on the field.
Use Nereid's Ascension while Kokomi's own Bake-Kurage is still present. The passive Tamakushi Casket refreshes its duration when the Burst is used. The Burst also deals Hydro DMG and gives Kokomi a Ceremonial Garment, increasing her Normal Attack, Charged Attack and Bake-Kurage damage based on Max HP.
During the garment, use The Shape of Water (NA) to hit opponents. Normal and Charged Attack hits heal all nearby party members. Song of Pearls increases their garment damage bonus further by 15% of Kokomi's Healing Bonus. The garment also improves interruption resistance, but its effects end when Kokomi leaves the field. She can walk on water while it lasts.
Build and why
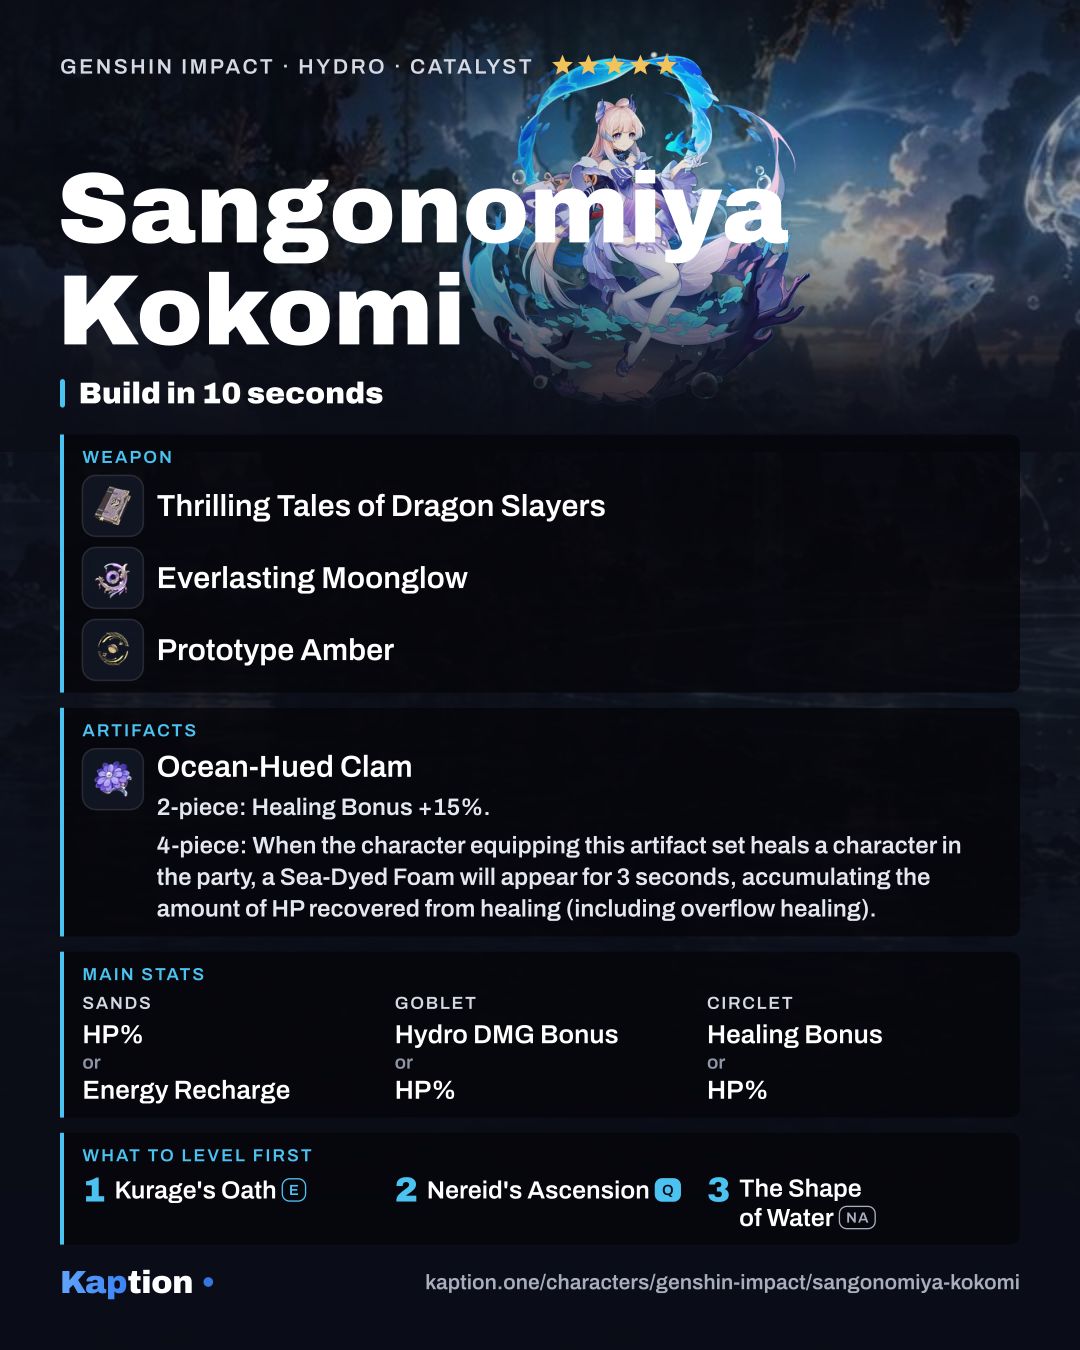
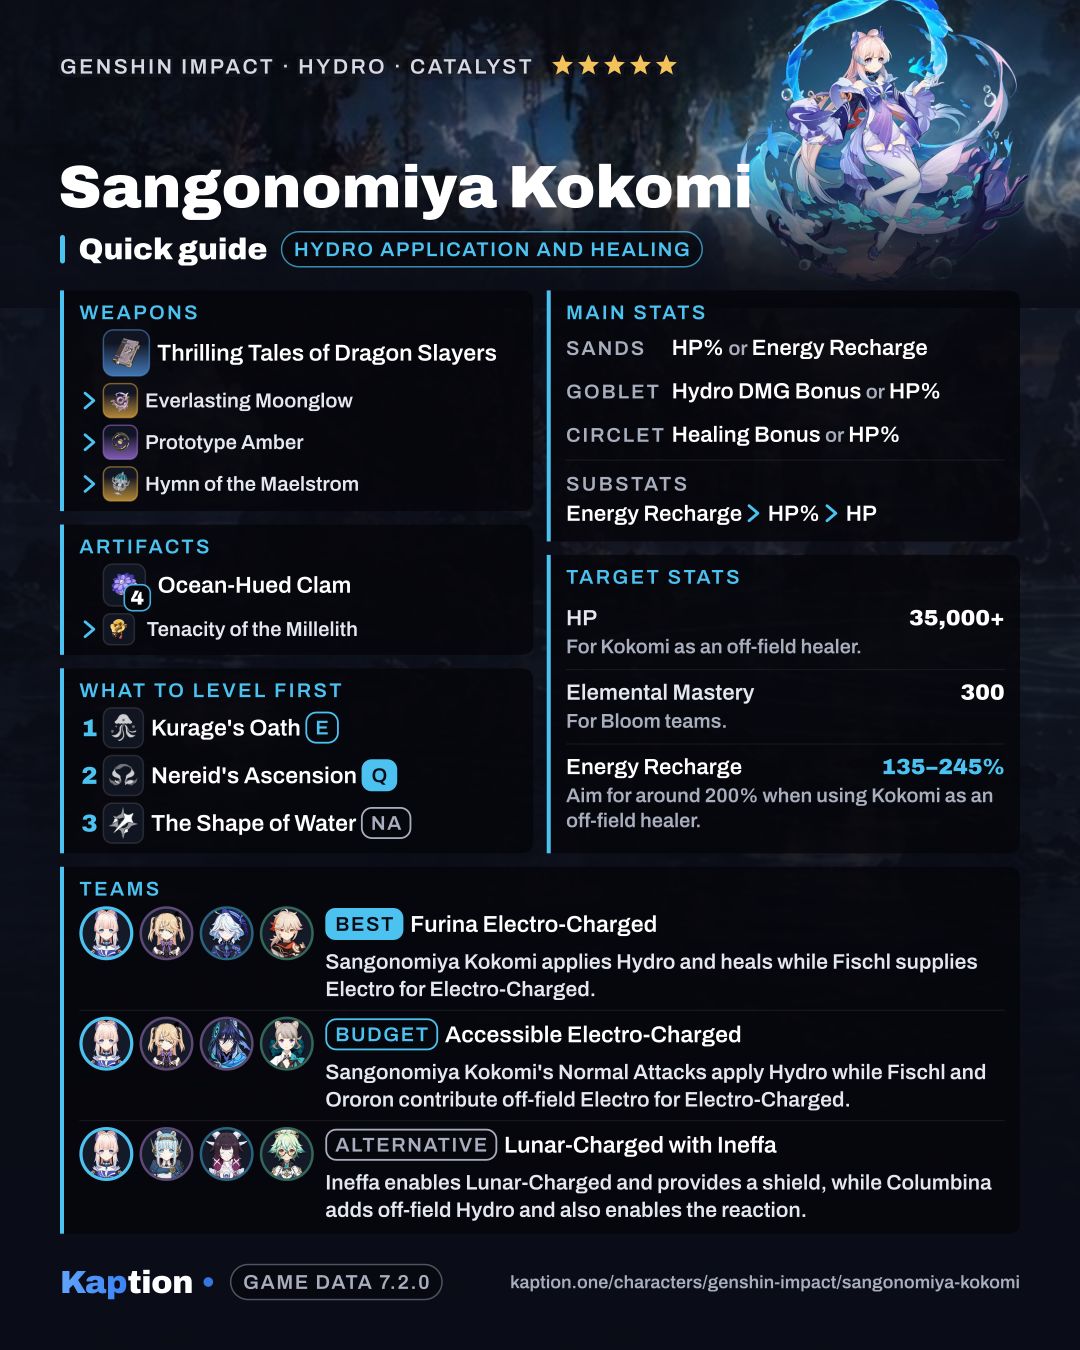
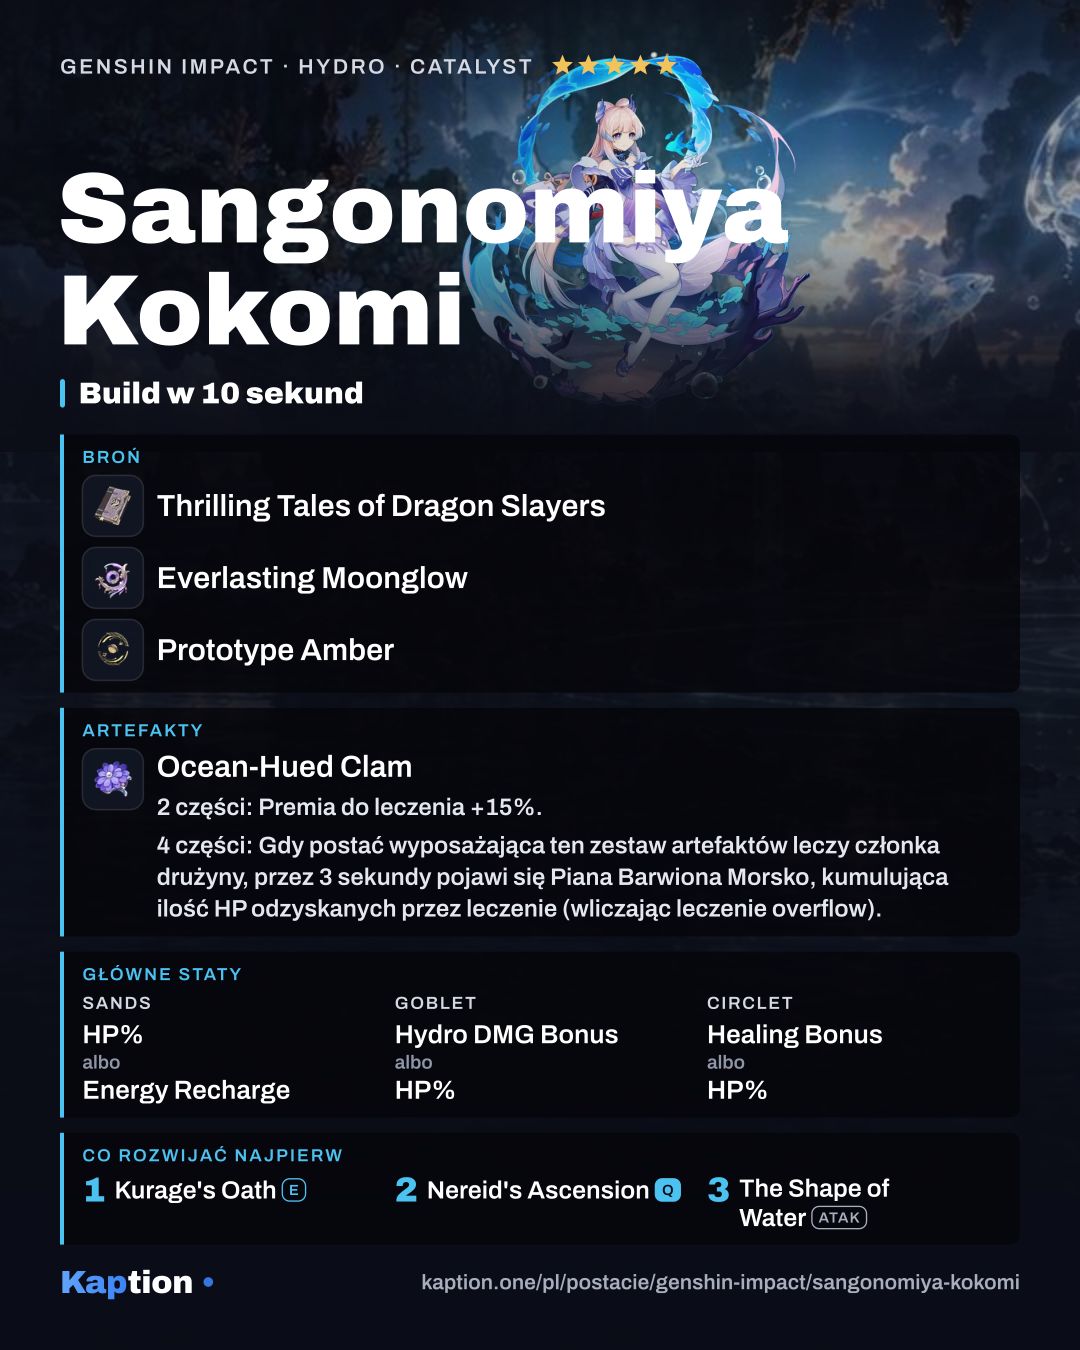
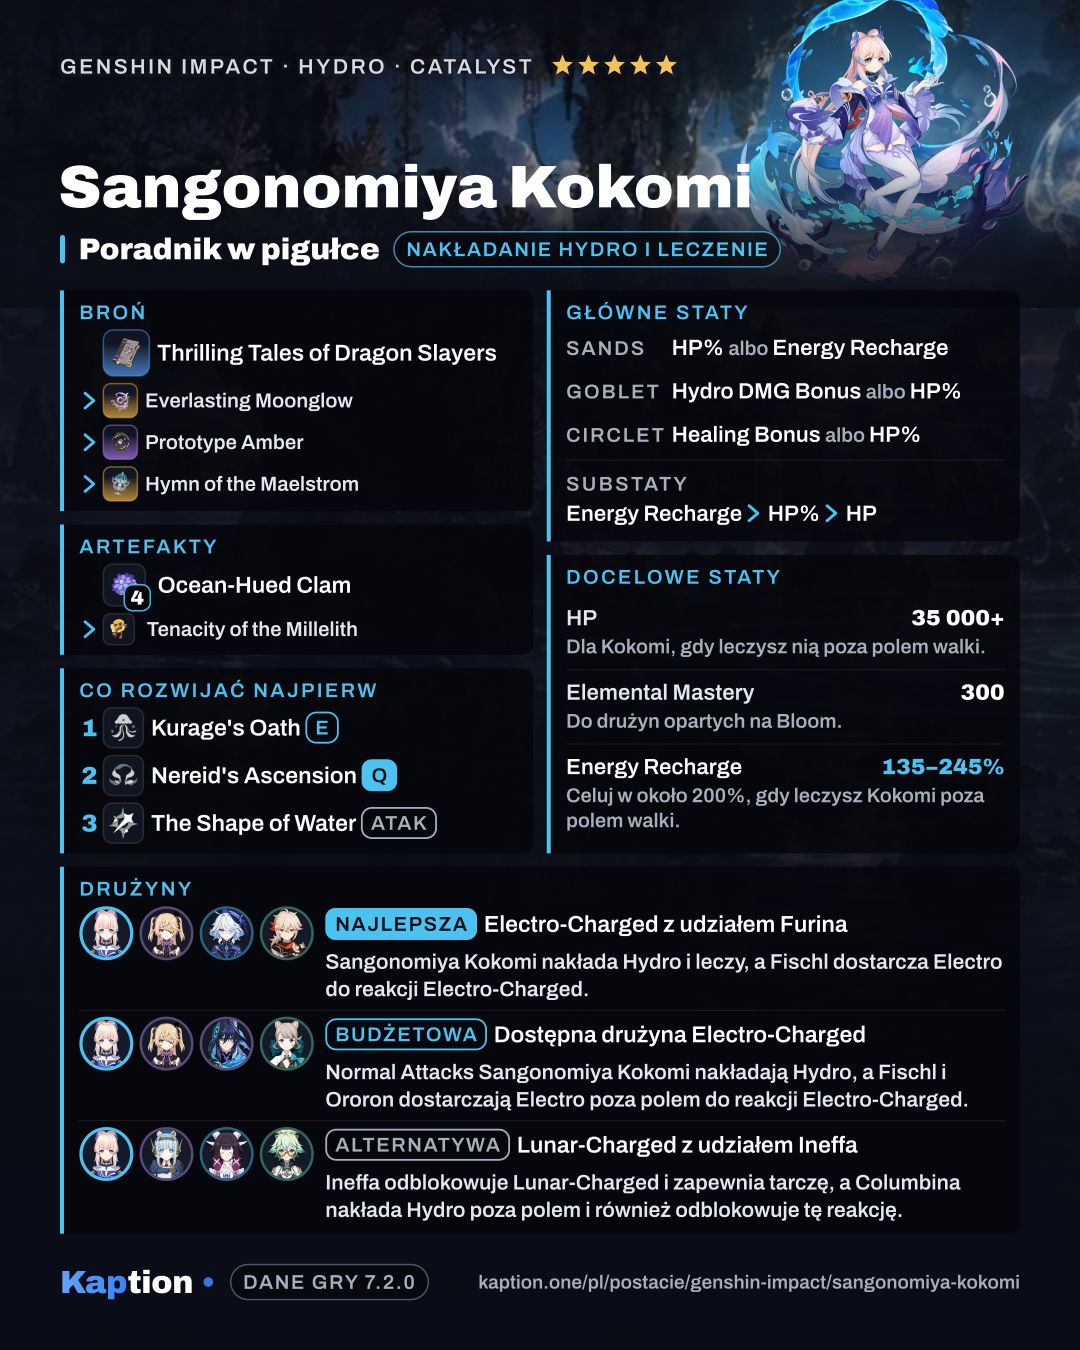
For a damage build, use four pieces of Ocean-Hued Clam. Its Healing Bonus helps Kokomi, and its four-piece effect records healing, including excess healing, before dealing damage to nearby opponents. Each Sea-Dyed Foam can record up to 30,000 HP and deals damage based on 90% of the recorded amount. The effect can trigger while Kokomi is off-field.
Four pieces of Tenacity of the Millelith are a strong team-support alternative. Bake-Kurage hits can grant nearby party members 20% ATK and 30% Shield Strength for 3 seconds, even while Kokomi is off-field. Song of Days Past is another option: it records healing and uses it to increase the active character's damage. Two pieces each of Tenacity of the Millelith and Maiden Beloved are a useful mix for Max HP and healing.
Use HP Percentage or Energy Recharge on the sands, Hydro DMG Bonus or HP Percentage on the goblet, and Healing Bonus or HP Percentage on the circlet. Look for Energy Recharge first in substats, followed by HP Percentage and HP. Healing Bonus helps both healing and the garment's attack bonus, while Hydro DMG Bonus suits a Kokomi who spends time attacking.
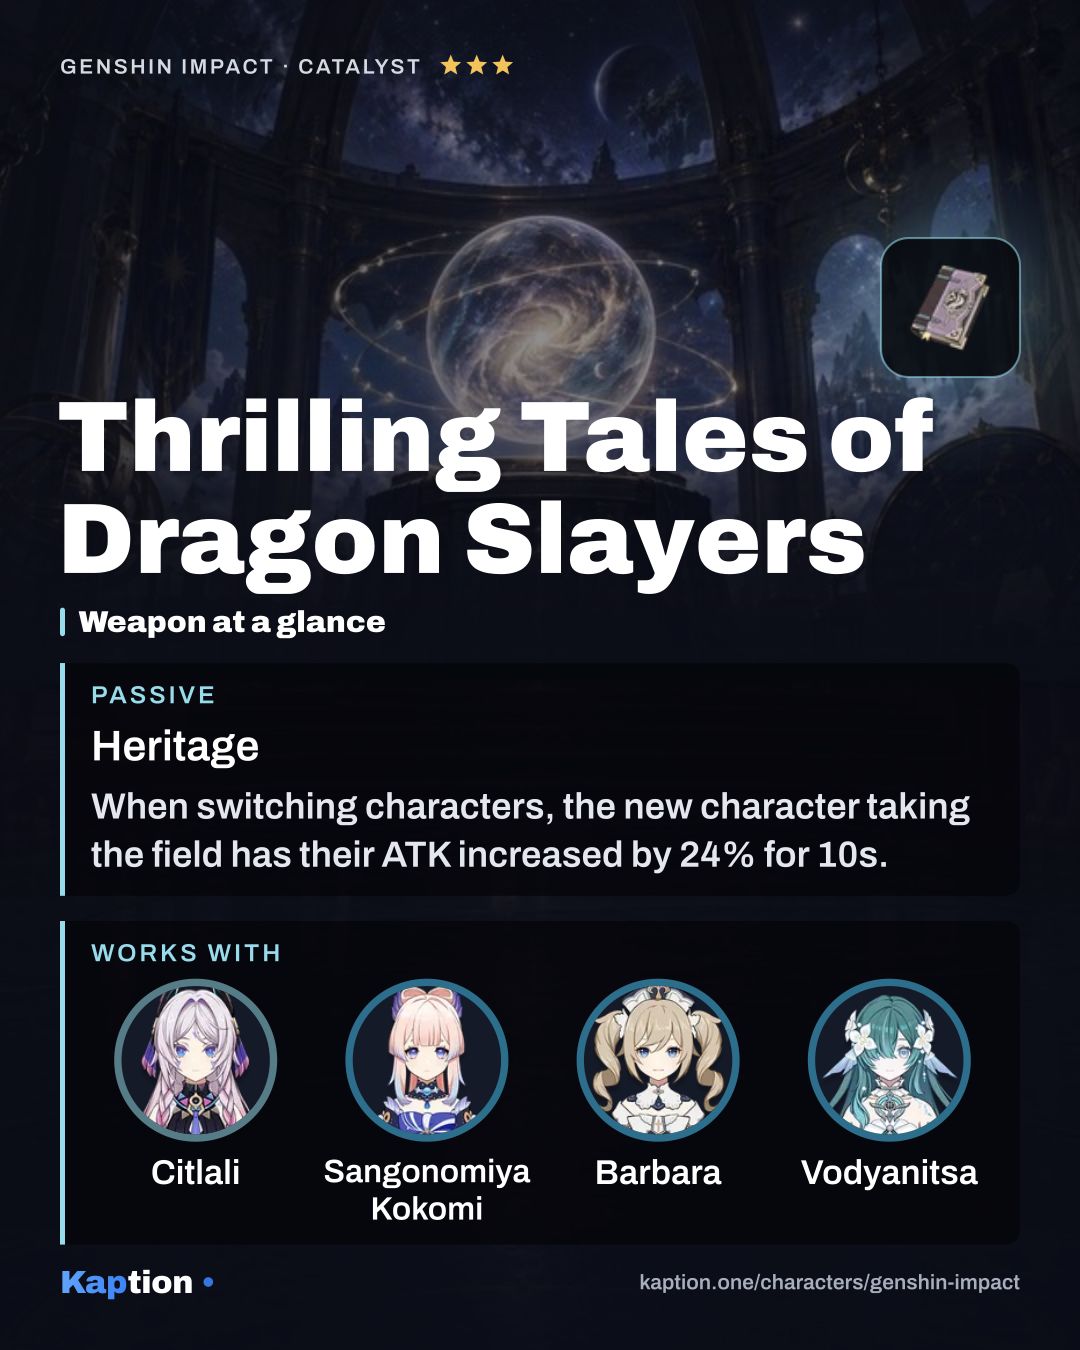
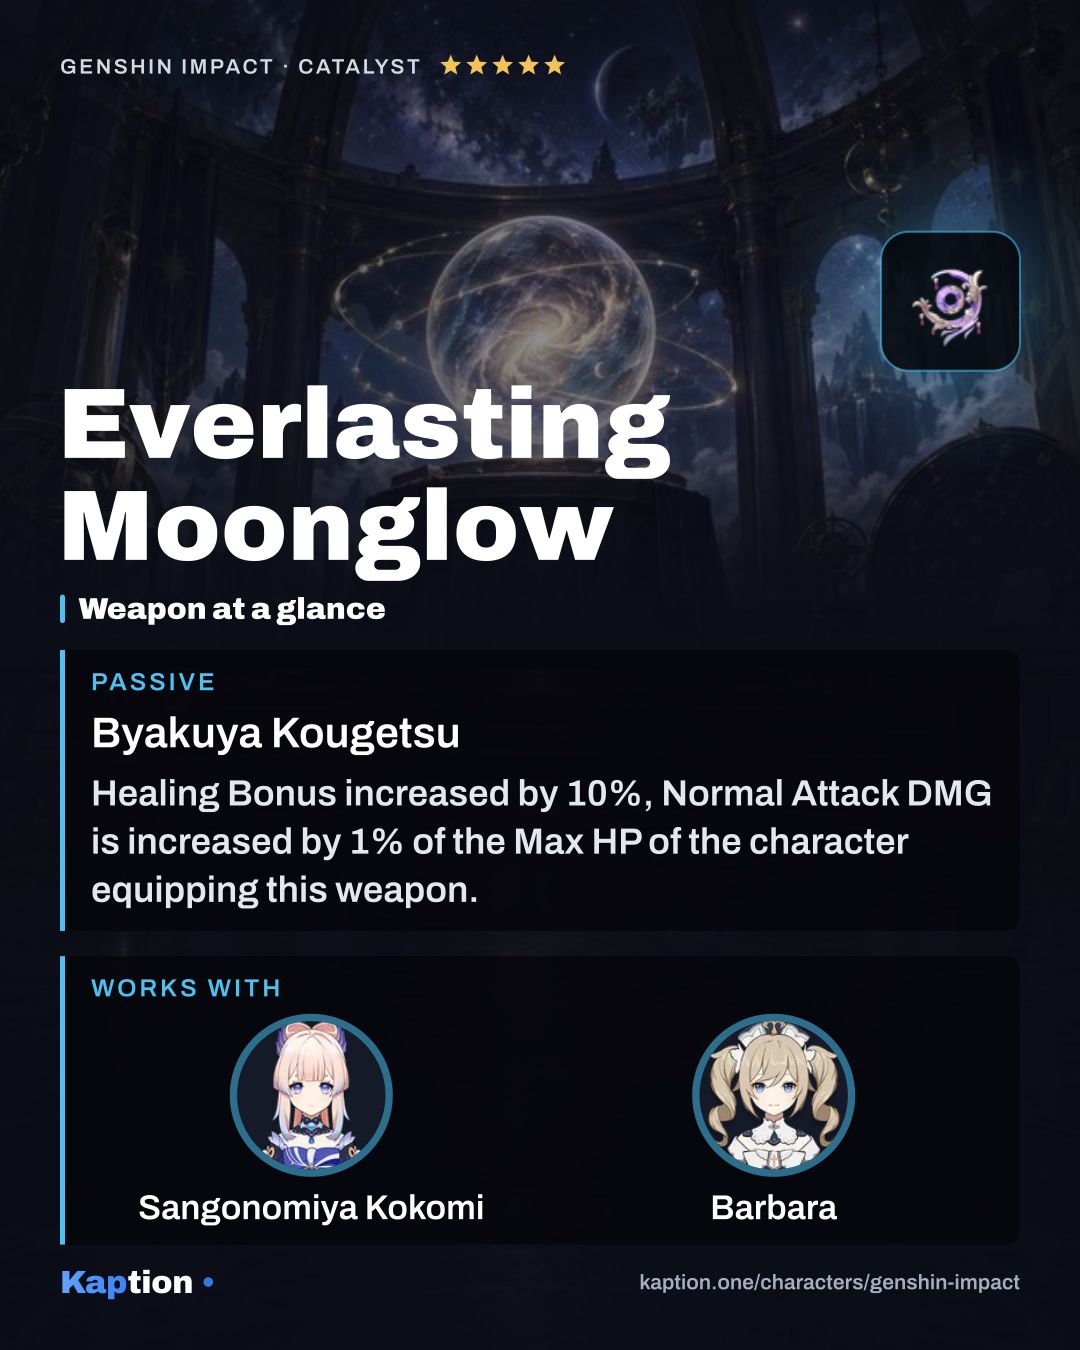
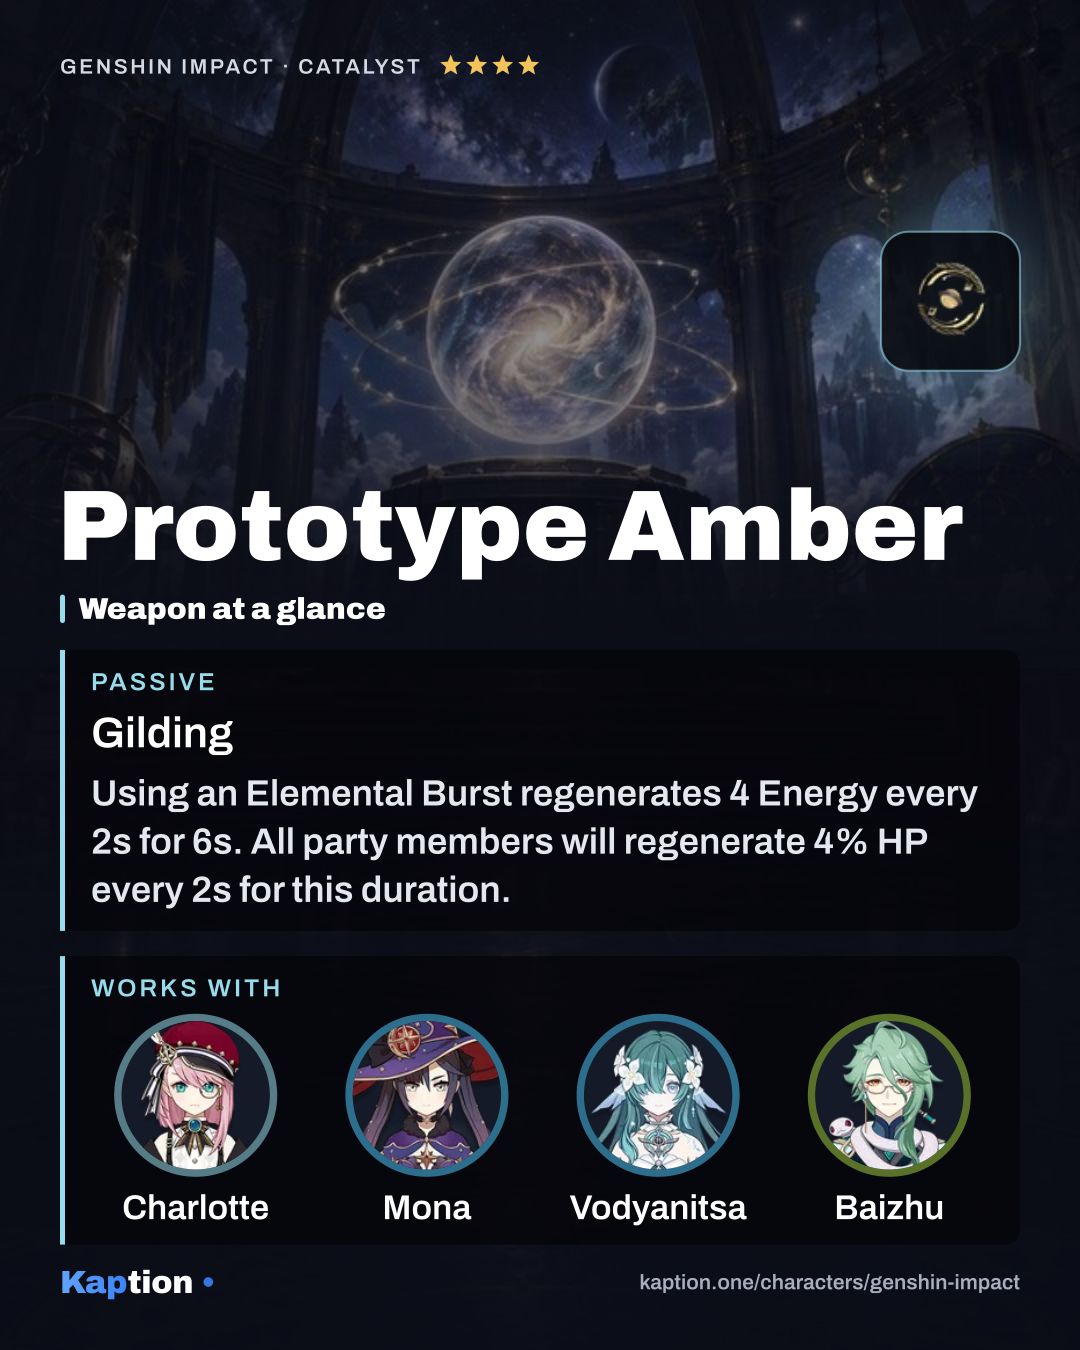
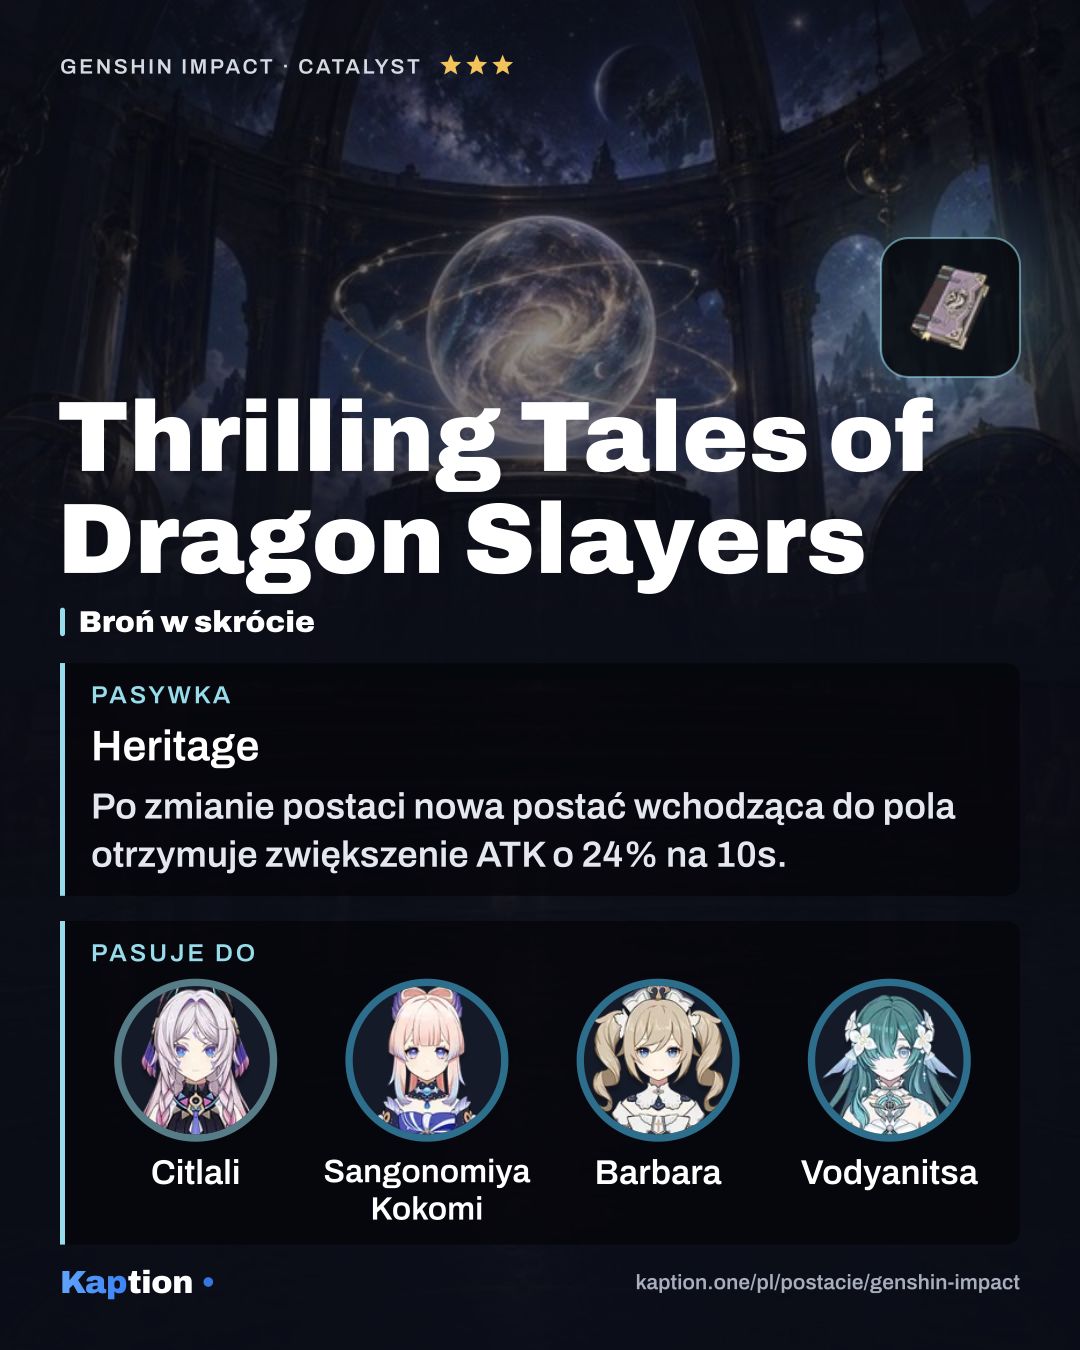
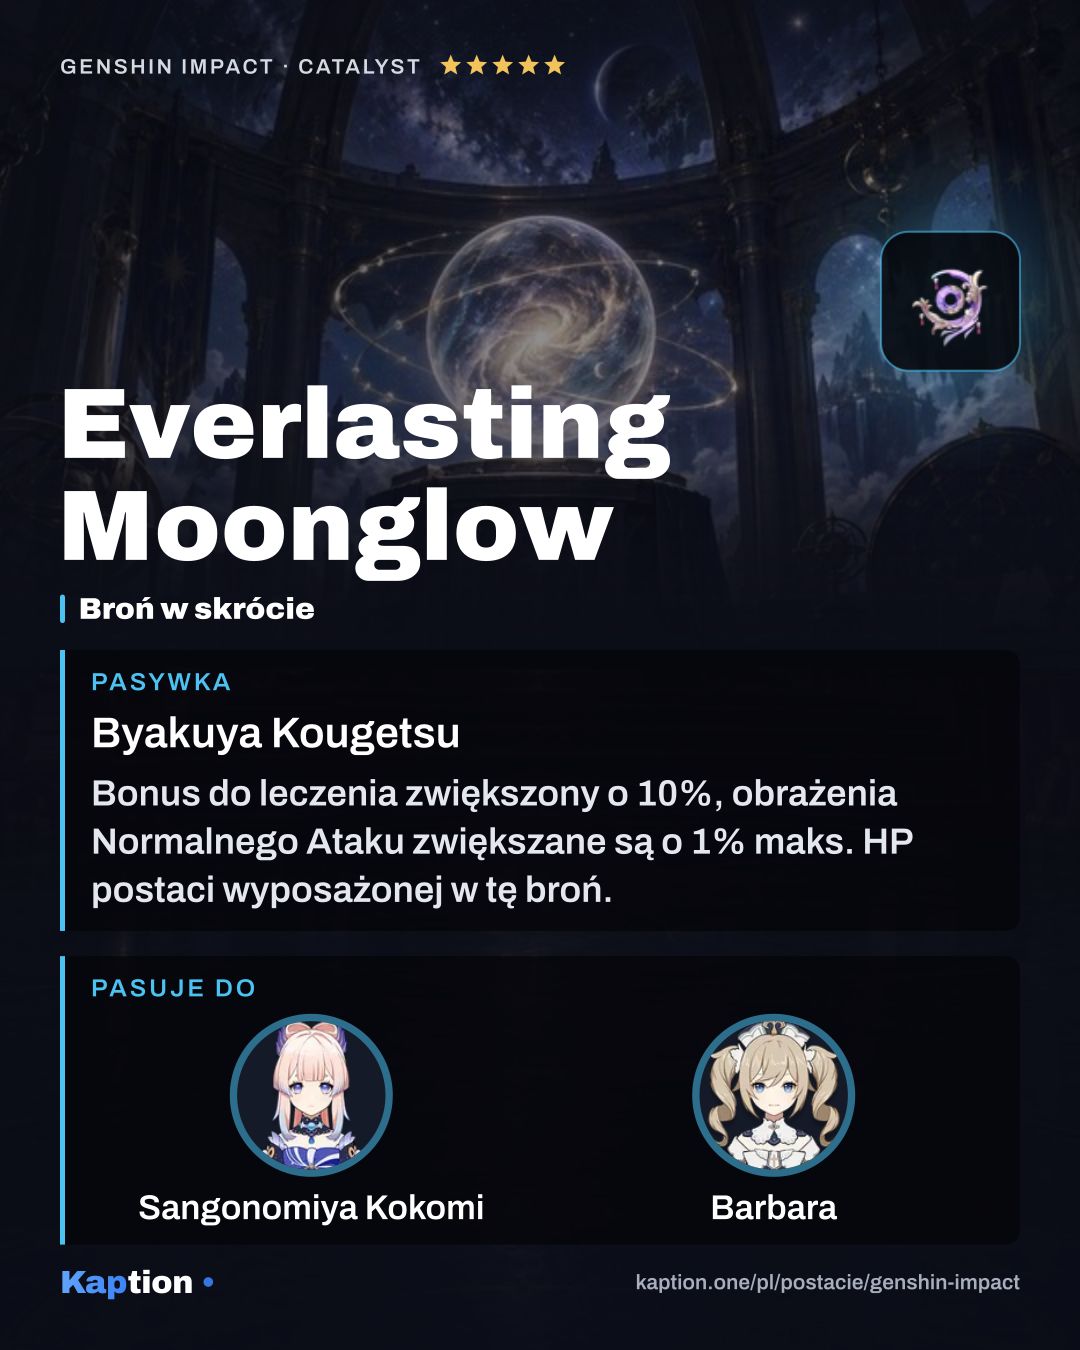
Thrilling Tales of Dragon Slayers is the first weapon to consider for team support: switching characters gives the incoming character 24% ATK for 10 seconds, once every 20 seconds. Everlasting Moonglow suits on-field play with Healing Bonus, Max HP-based Normal Attack damage and Energy restoration after a Burst. Prototype Amber is another option that restores Energy and party HP after a Burst.
Leveling priority
A good leveling order is Kurage's Oath, Nereid's Ascension, then The Shape of Water (NA). The skill is useful even when Kokomi leaves the field, while the Burst improves her on-field damage and party healing. Raise Normal Attacks earlier if you spend a lot of time attacking with her.
For maximum ascension, collect 420,000 Mora, 168 Sango Pearl, 46 Dew of Repudiation, 1 Varunada Lazurite Sliver, 9 Varunada Lazurite Fragment, 9 Varunada Lazurite Chunk and 6 Varunada Lazurite Gemstone. You also need 18 Spectral Husk, 30 Spectral Heart and 36 Spectral Nucleus.
For all three talents, the total is 4,957,500 Mora, 3 Crown of Insight, 9 Teachings of Transience, 63 Guide to Transience, 114 Philosophies of Transience, 18 Spectral Husk, 66 Spectral Heart, 93 Spectral Nucleus and 18 Hellfire Butterfly.
Constellations worth it
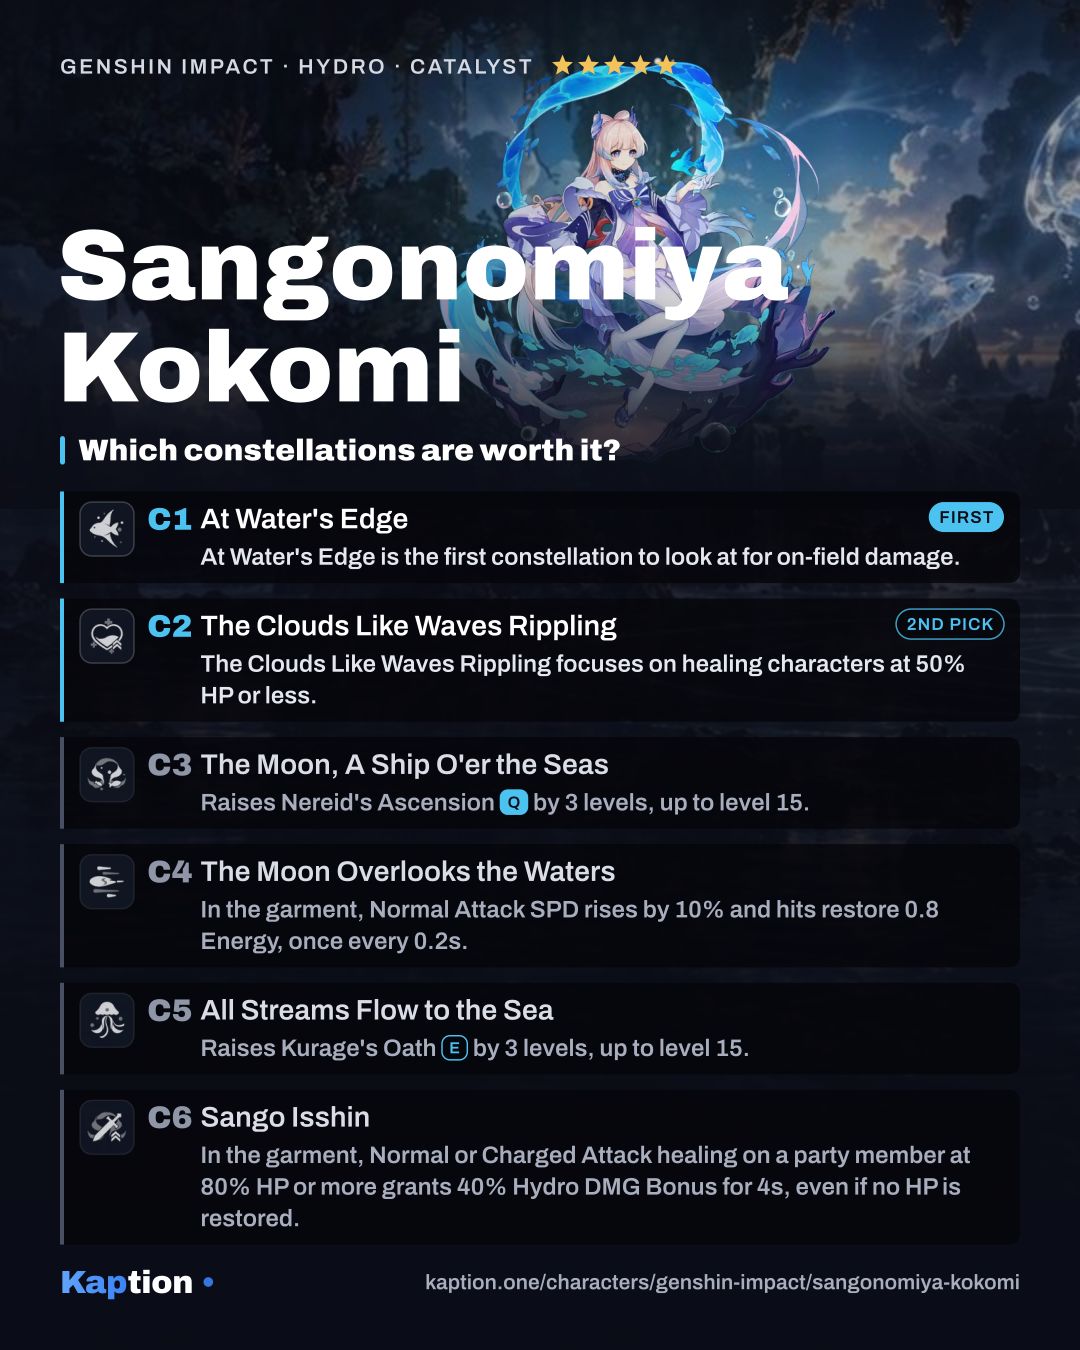
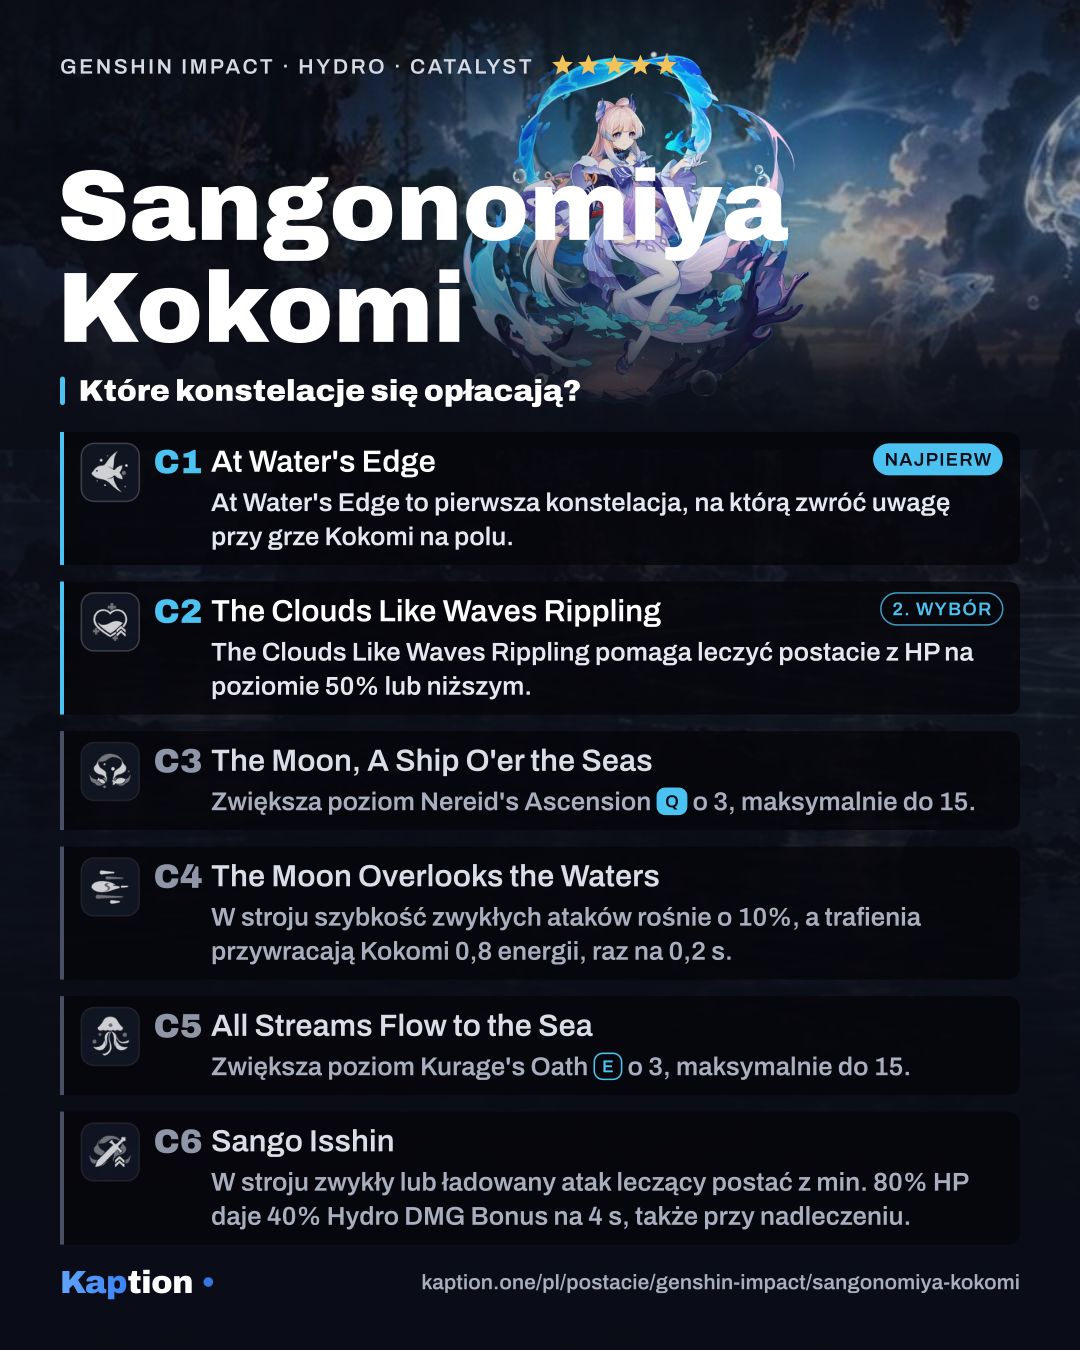
At Water's Edge is the first constellation to look at for on-field damage. While the Ceremonial Garment is active, the final hit of Kokomi's Normal Attack combo releases a fish that deals Hydro DMG equal to 30% of her Max HP. That fish damage is not considered Normal Attack damage.
The Clouds Like Waves Rippling focuses on healing characters at 50% HP or less. It adds healing based on 4.5% of Kokomi's Max HP to Bake-Kurage and 0.6% to the garment's Normal and Charged Attack healing. Its value depends on whether you need that extra healing at low HP.
The Moon Overlooks the Waters is worth considering for on-field play: the garment gives Normal Attacks 10% more speed, and hits restore 0.8 Energy, up to once every 0.2 seconds. Sango Isshin grants 40% Hydro DMG Bonus for 4 seconds when garment attacks heal or would heal a party member at 80% HP or more. You can stop at C0; C3 and C5 raise talent levels rather than adding a new way to play.
Teams
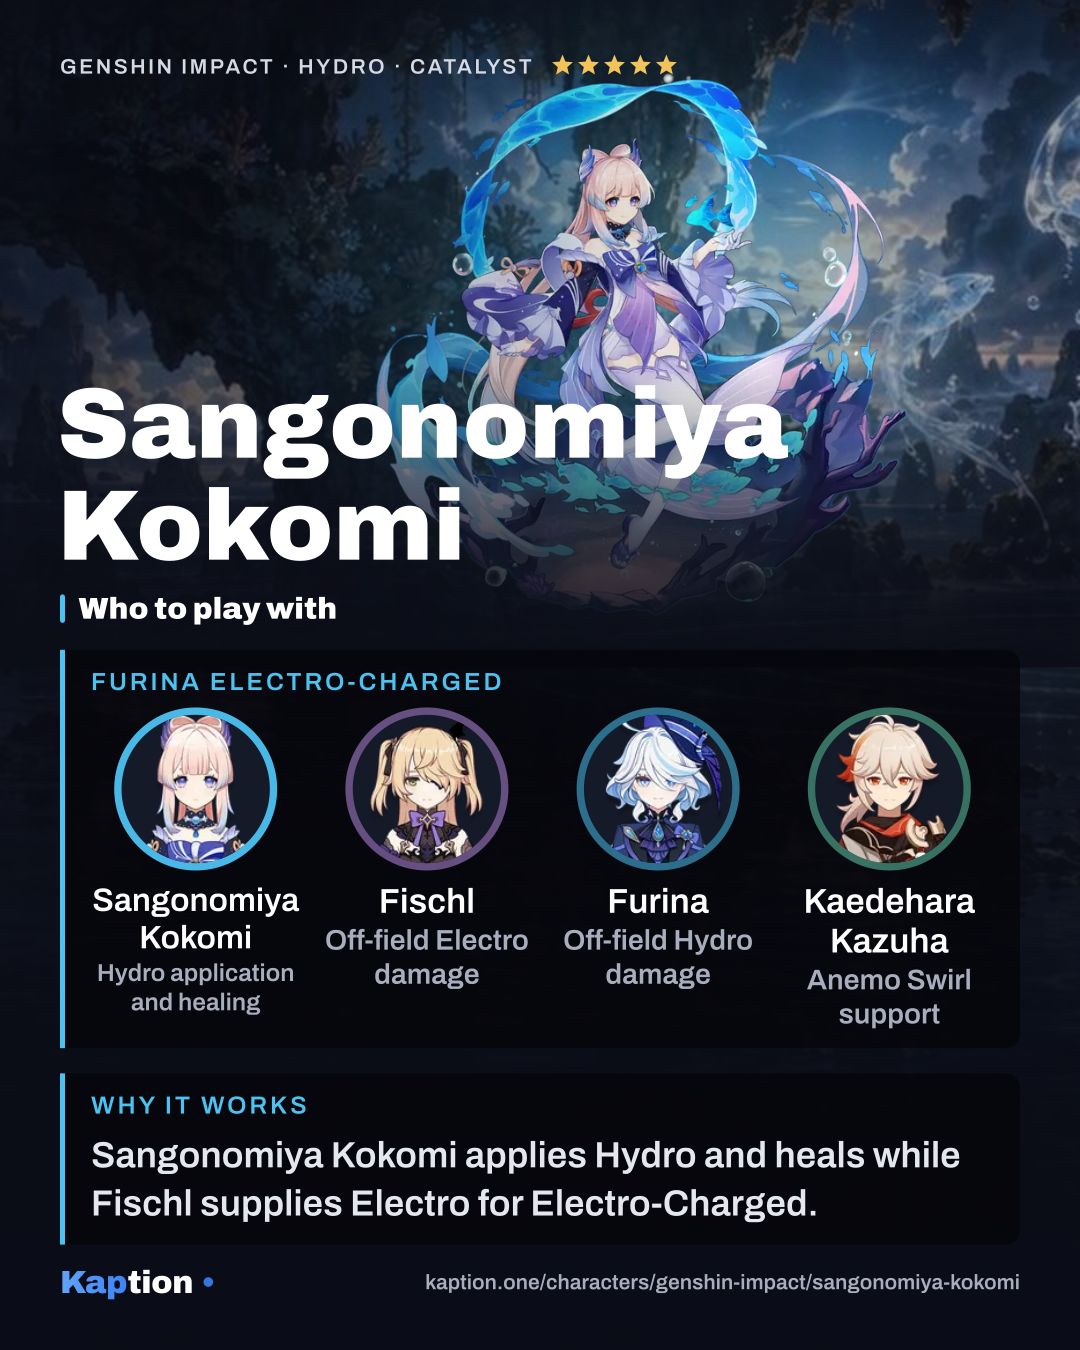
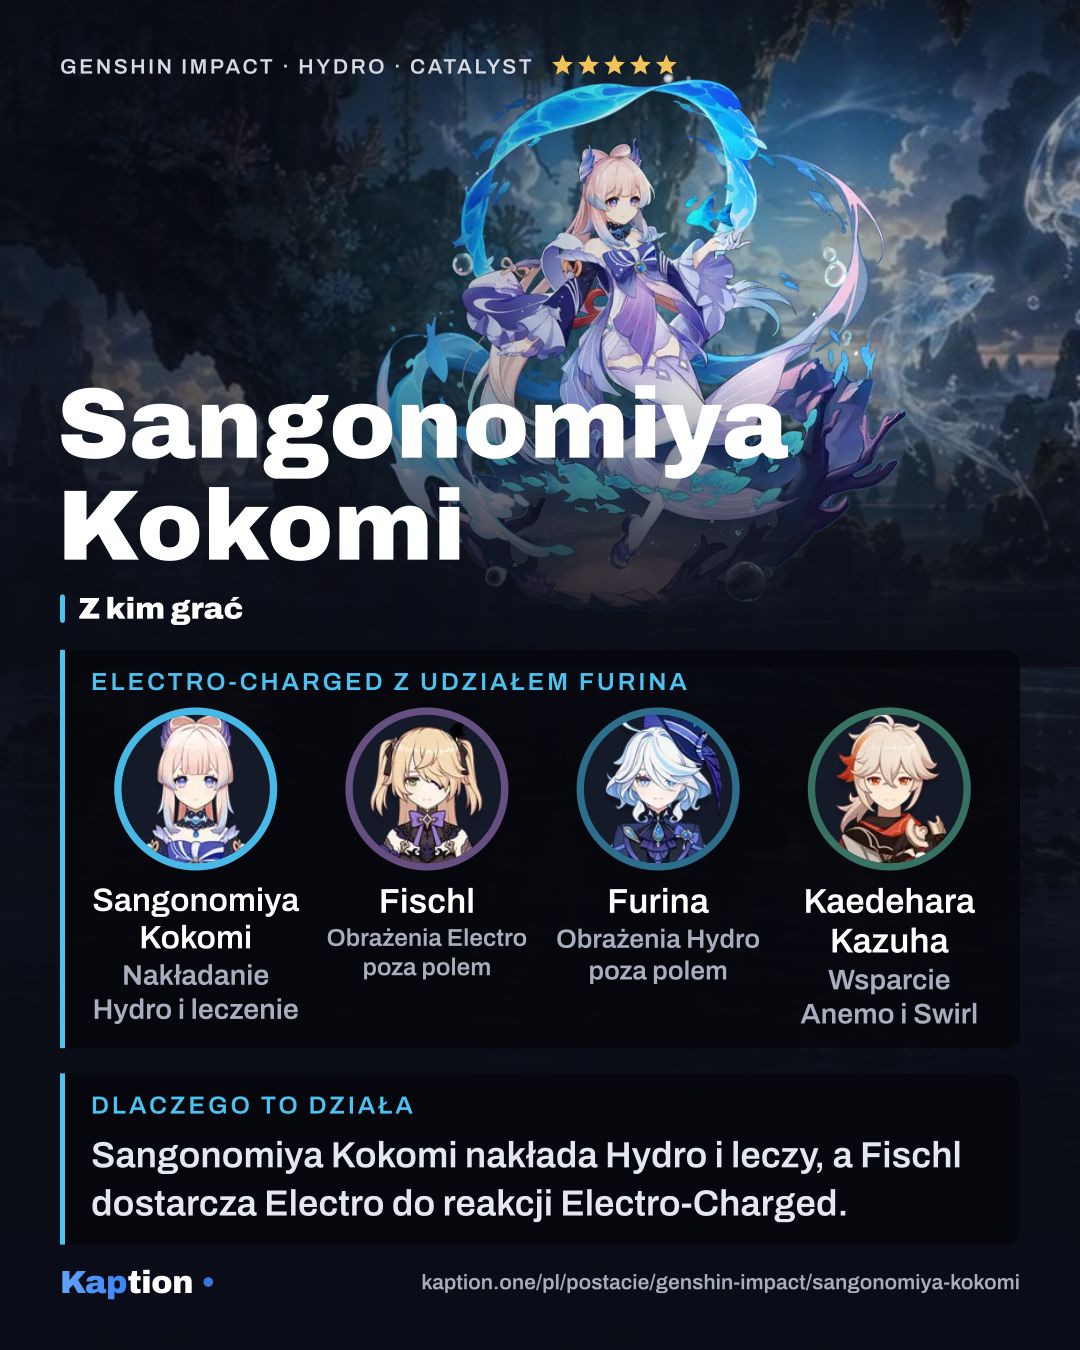
Kokomi fits teams that want Hydro and healing in one slot. For a Frozen team, pair her with a Cryo damage dealer such as Kamisato Ayaka and consider an Anemo character such as Venti. Place Bake-Kurage where it can reach opponents and the active character.
For Bloom teams, Nahida provides a Dendro teammate and Nilou is another named option. Fischl or Beidou can be considered for an Electro-Charged team. Kokomi can stay on the field during her Burst when the team needs her attacks and party-wide healing, or switch out after placing Bake-Kurage when another character needs field time.
Furina is another Hydro teammate to consider. Kokomi's Burst healing reaches all nearby party members when her attacks hit, while Bake-Kurage heals the nearby active character between those on-field turns.
Common mistakes
Do not use Nereid's Ascension expecting a refresh after Bake-Kurage has disappeared. Kokomi's own summon must still be on the field when she casts it. Also avoid switching away immediately if you want to use the Ceremonial Garment: its effects end when she leaves.
Do not build around CRIT Rate without accounting for Flawless Strategy's 100% reduction. Keep enough Energy Recharge to use the Burst when you need it, and choose HP Percentage and Healing Bonus for the parts of the kit that scale with them.
Watch who receives healing. Kurage's Oath heals nearby active characters, while garment-enhanced attack hits heal all nearby party members. Remember that casting the skill also applies Wet to Kokomi.