


























Genshin Impact character

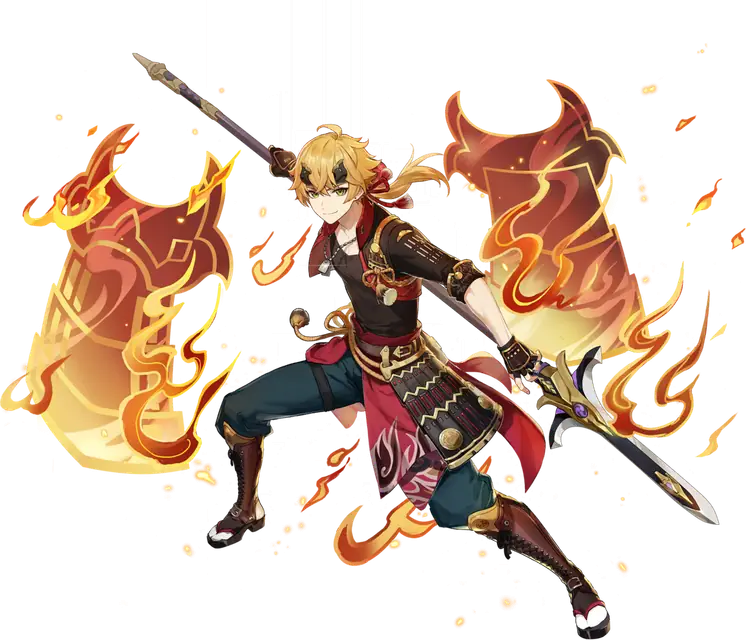
Thoma (Genshin Impact)

Guide, build and skills

  • 4-star
  • Element Pyro
  • Weapon Polearm
  • Game data 7.2.0

Burgeon trigger and shielder

Energy Recharge helps bring Crimson Ooyoroi (Q) back, while HP strengthens the shield and Fiery Collapse; Favonius Lance also benefits from CRIT Rate.

Thoma from Genshin Impact with a Kaption Polish subtitle
How Kaption shows Thoma in Polish: "Wygląda na to, że nie ma żadnego zamiaru jeść jedzenia, które przynieśliśmy... Tylko mi się wydaje, czy wygląda trochę na zdenerwowaną?"

At a glance

Thoma is a Pyro Polearm character who protects the active teammate with a shield. His Elemental Skill creates the first barrier, and his Elemental Burst lets Normal Attacks refresh and strengthen it while Thoma is off the field.

He fits teams that use Normal Attacks and can make use of his Pyro damage. You can build him around Max HP and Energy Recharge for protection, or use reaction-focused sets in a Burgeon team. The shield has an absorption limit, so refreshing it does not make it invincible.

Video guide

BEST THOMA BUILD! Complete Thoma Guide - Artifacts, Weapons & Teams | Genshin Impact

Video by Zy0x on YouTube · 17 min · 910.7K views · November 2021

The YouTube player loads only after you click.

Build

Suggested build The game doesn't recommend a build for this character.

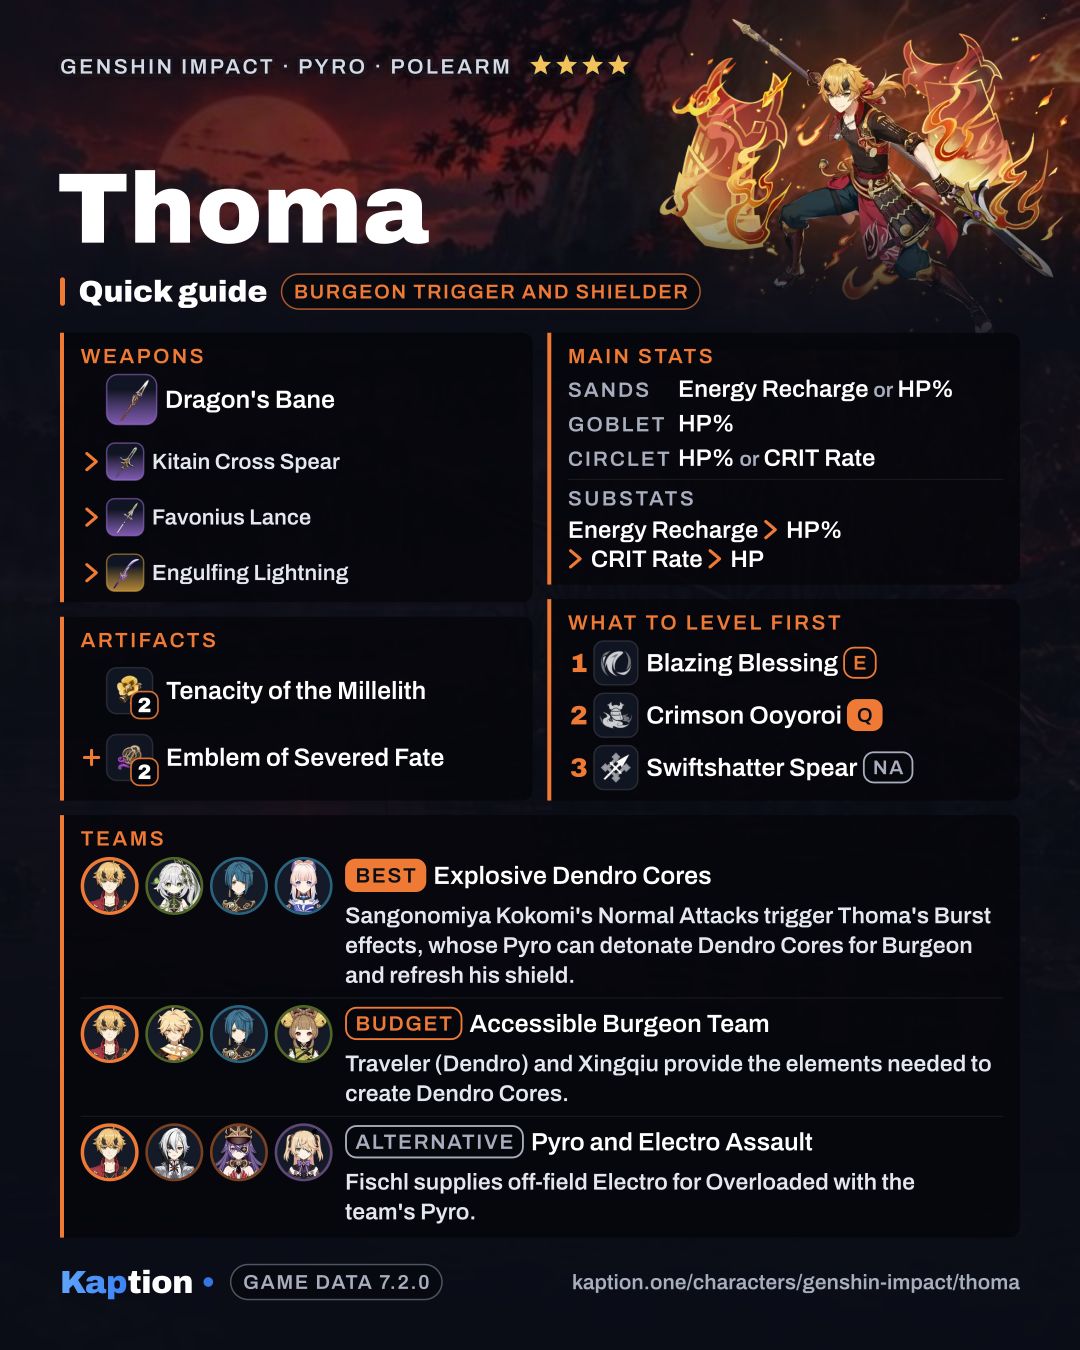
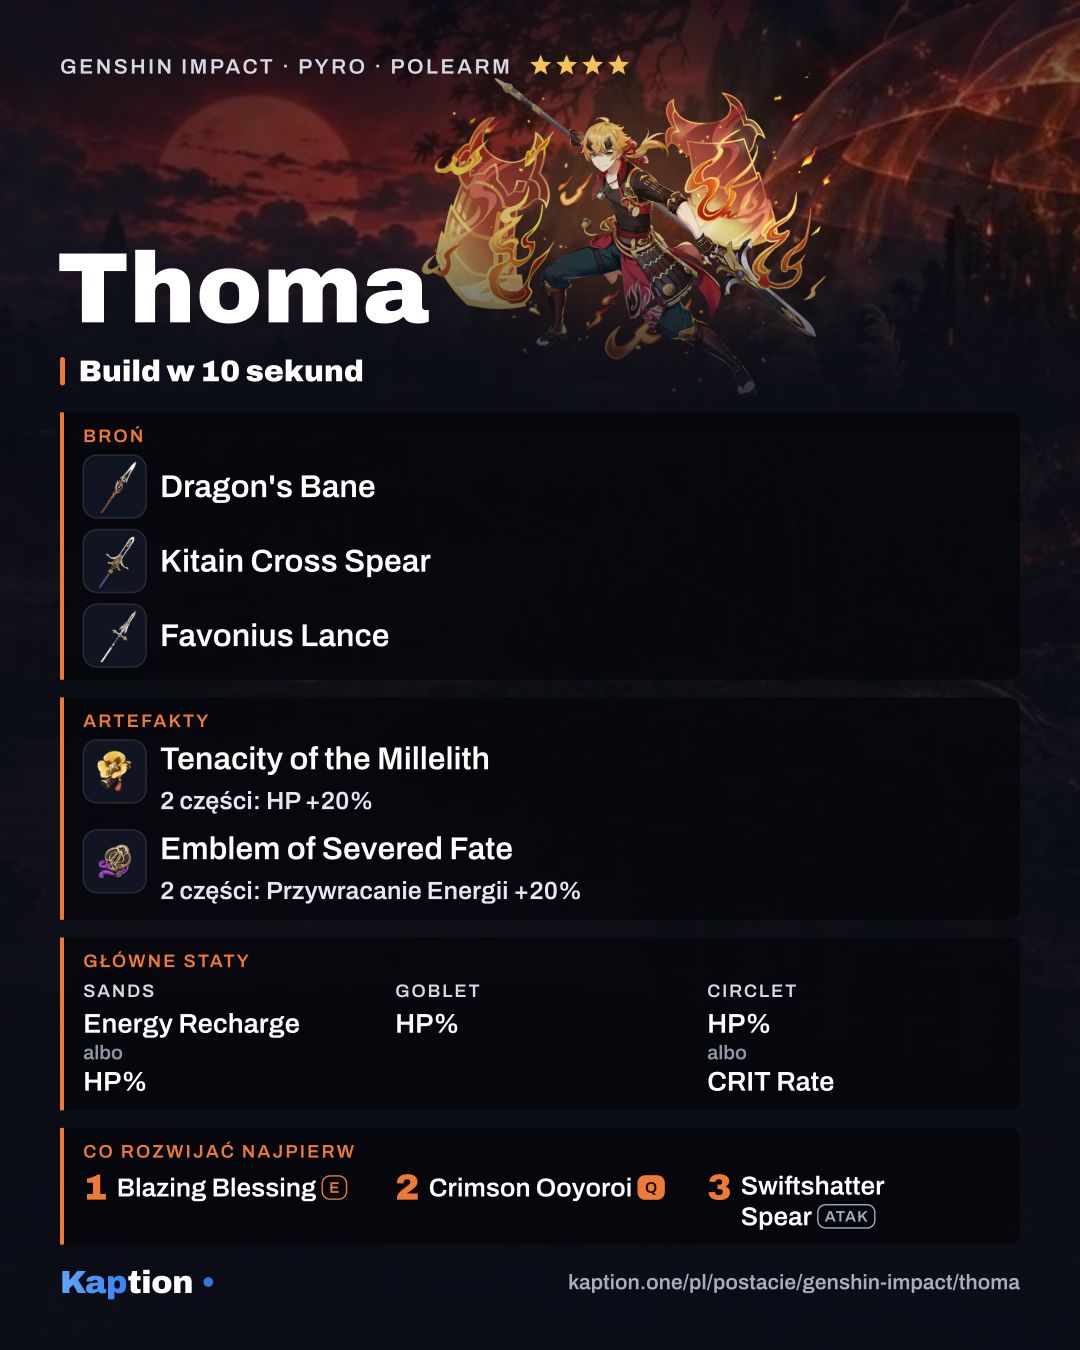
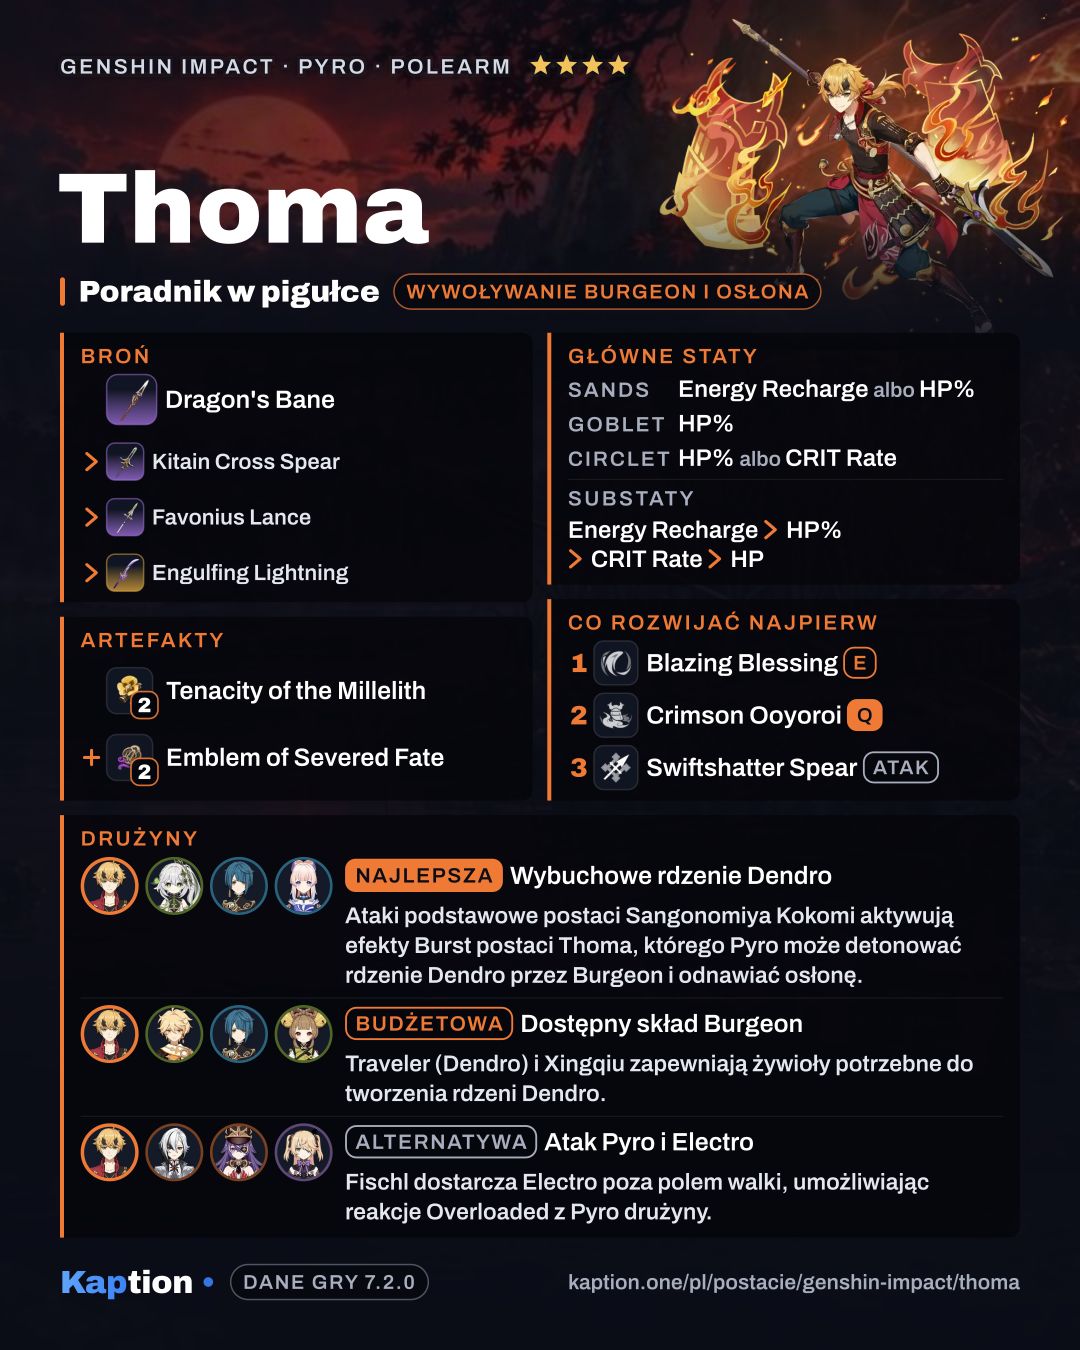
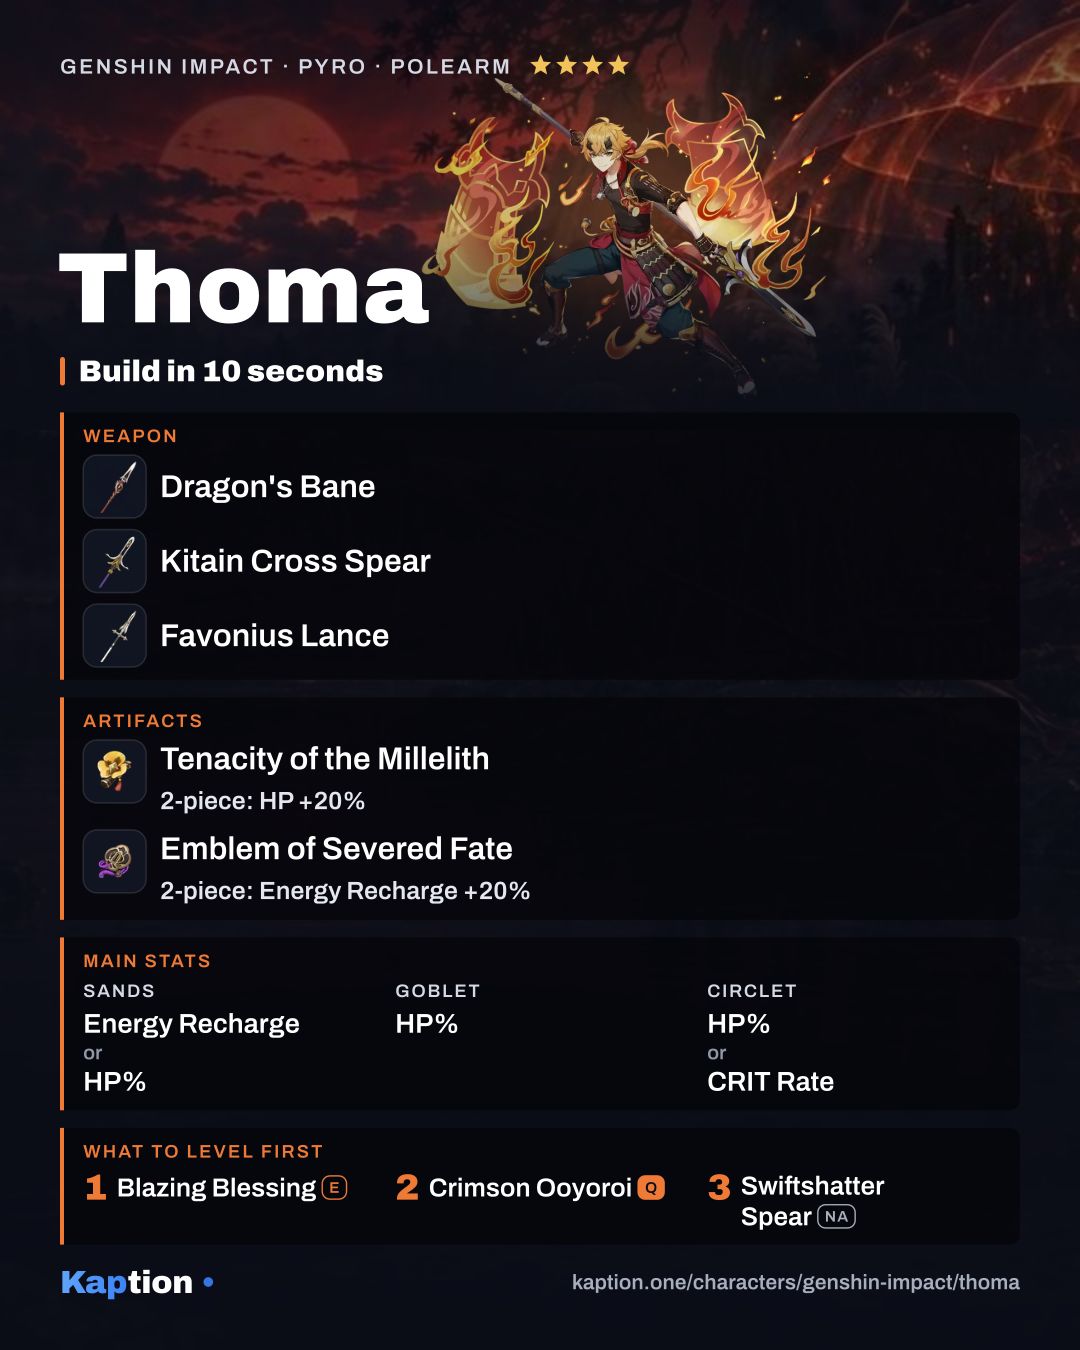
2× Tenacity of the Millelith + 2× Emblem of Severed Fate · Sands Energy Recharge or HP% · Goblet HP% · Circlet HP% or CRIT Rate · substats Energy Recharge > HP% > CRIT Rate > HP

Energy Recharge helps bring Crimson Ooyoroi back, while HP strengthens the shield and Fiery Collapse; Favonius Lance also benefits from CRIT Rate.

Artifacts

Artifact set

Pick one. The first is the top pick.

  1. Flower of Paradise Lost
    Flower of Paradise Lost
    • 2-piece bonus: Increases Elemental Mastery by 80.
    Show effect
    • 4-piece bonus: The equipping character's Bloom, Hyperbloom, and Burgeon reaction DMG are increased by 40%, and their Lunar-Bloom reaction DMG is increased by 10%. Additionally, after the equipping character triggers Bloom, Hyperbloom, Lunar-Bloom, or Burgeon, they will gain another 25% bonus to the effects mentioned prior. Each stack of this lasts 10s. Max 4 stacks simultaneously. This effect can only be triggered once per second. The character who equips this can still trigger its effects when not on the field.
  2. Gilded Dreams
    Gilded Dreams
    • 2-piece bonus: Increases Elemental Mastery by 80.
    Show effect
    • 4-piece bonus: Within 8s of triggering an Elemental Reaction, the character equipping this will obtain buffs based on the Elemental Type of the other party members. ATK is increased by 14% for each party member whose Elemental Type is the same as the equipping character, and Elemental Mastery is increased by 50 for every party member with a different Elemental Type. Each of the aforementioned buffs will count up to 3 characters. This effect can be triggered once every 8s. The character who equips this can still trigger its effects when not on the field.
  3. Wanderer's Troupe
    Wanderer's Troupe
    • 2-piece bonus: Increases Elemental Mastery by 80.
    Show effect
    • 4-piece bonus: Increases Charged Attack DMG by 35% if the character uses a Catalyst or a Bow.

2 + 2 pieces · Artifact set

Wear both sets, 2 pieces each.

  1. Tenacity of the Millelith
    Tenacity of the Millelith
    • 2-piece bonus: HP +20%
  2. Emblem of Severed Fate
    Emblem of Severed Fate
    • 2-piece bonus: Energy Recharge +20%

2 + 2 pieces · Artifact set

Wear both sets, 2 pieces each.

  1. Tenacity of the Millelith
    Tenacity of the Millelith
    • 2-piece bonus: HP +20%
  2. Vourukasha's Glow
    Vourukasha's Glow
    • 2-piece bonus: HP +20%

4 pieces · Artifact set

  1. Noblesse Oblige
    Noblesse Oblige
    • 2-piece bonus: Elemental Burst DMG +20%
    Show effect
    • 4-piece bonus: Using an Elemental Burst increases all party members' ATK by 20% for 12s. This effect cannot stack.

Main stats

Sands
Energy Recharge or HP%
Goblet
HP%
Circlet
HP% or CRIT Rate

Substats

  1. Energy Recharge
  2. HP%
  3. CRIT Rate
  4. HP

Recommended weapons

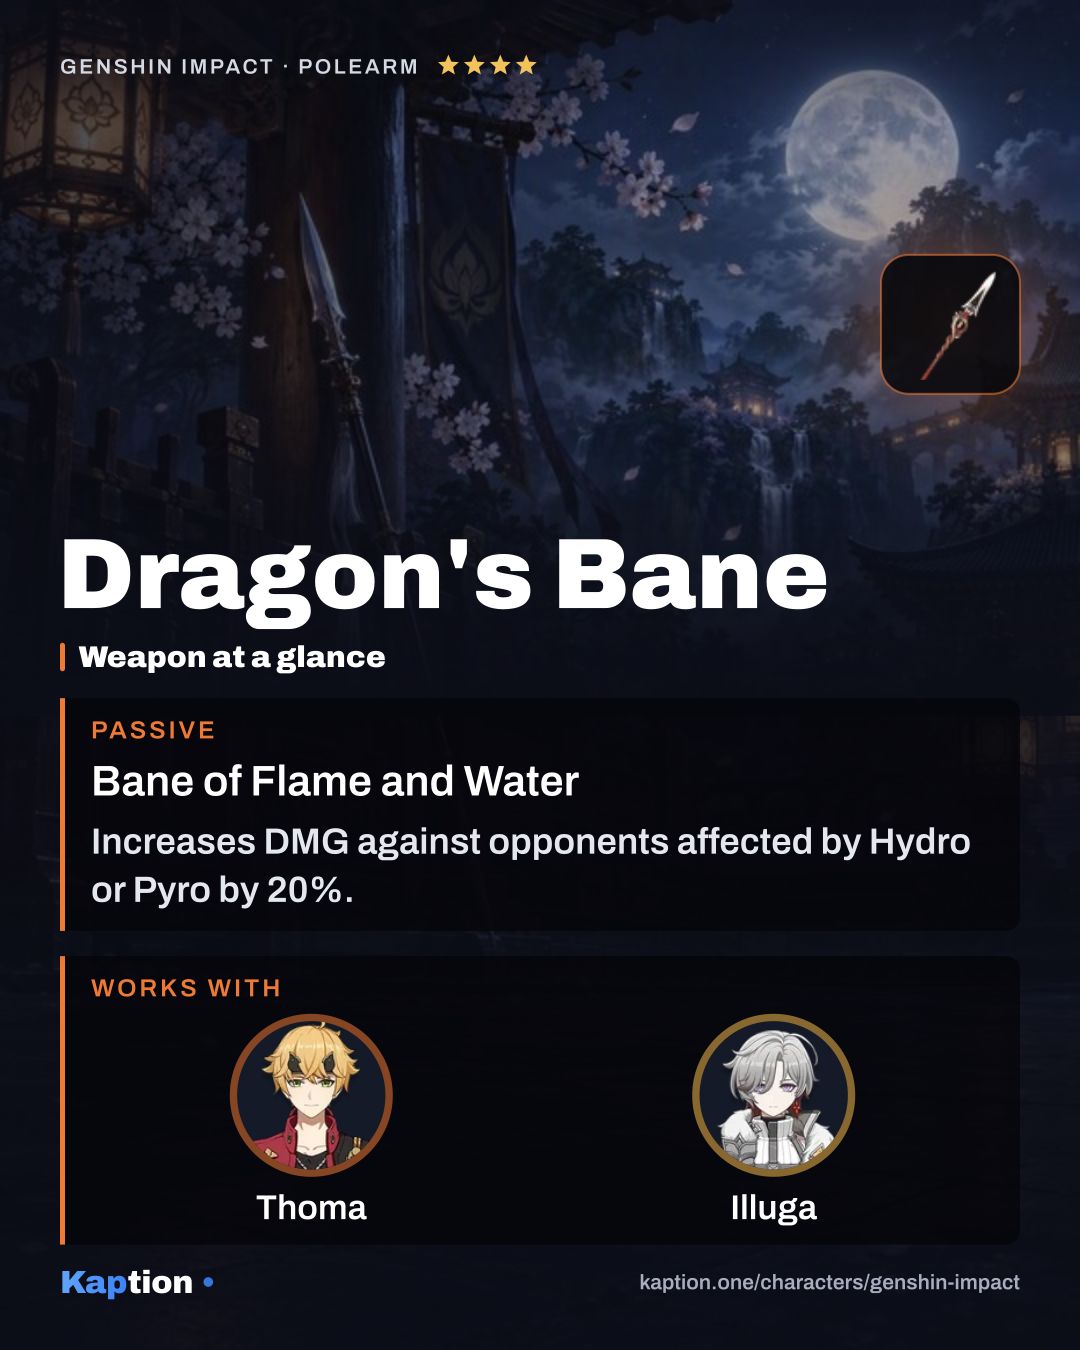
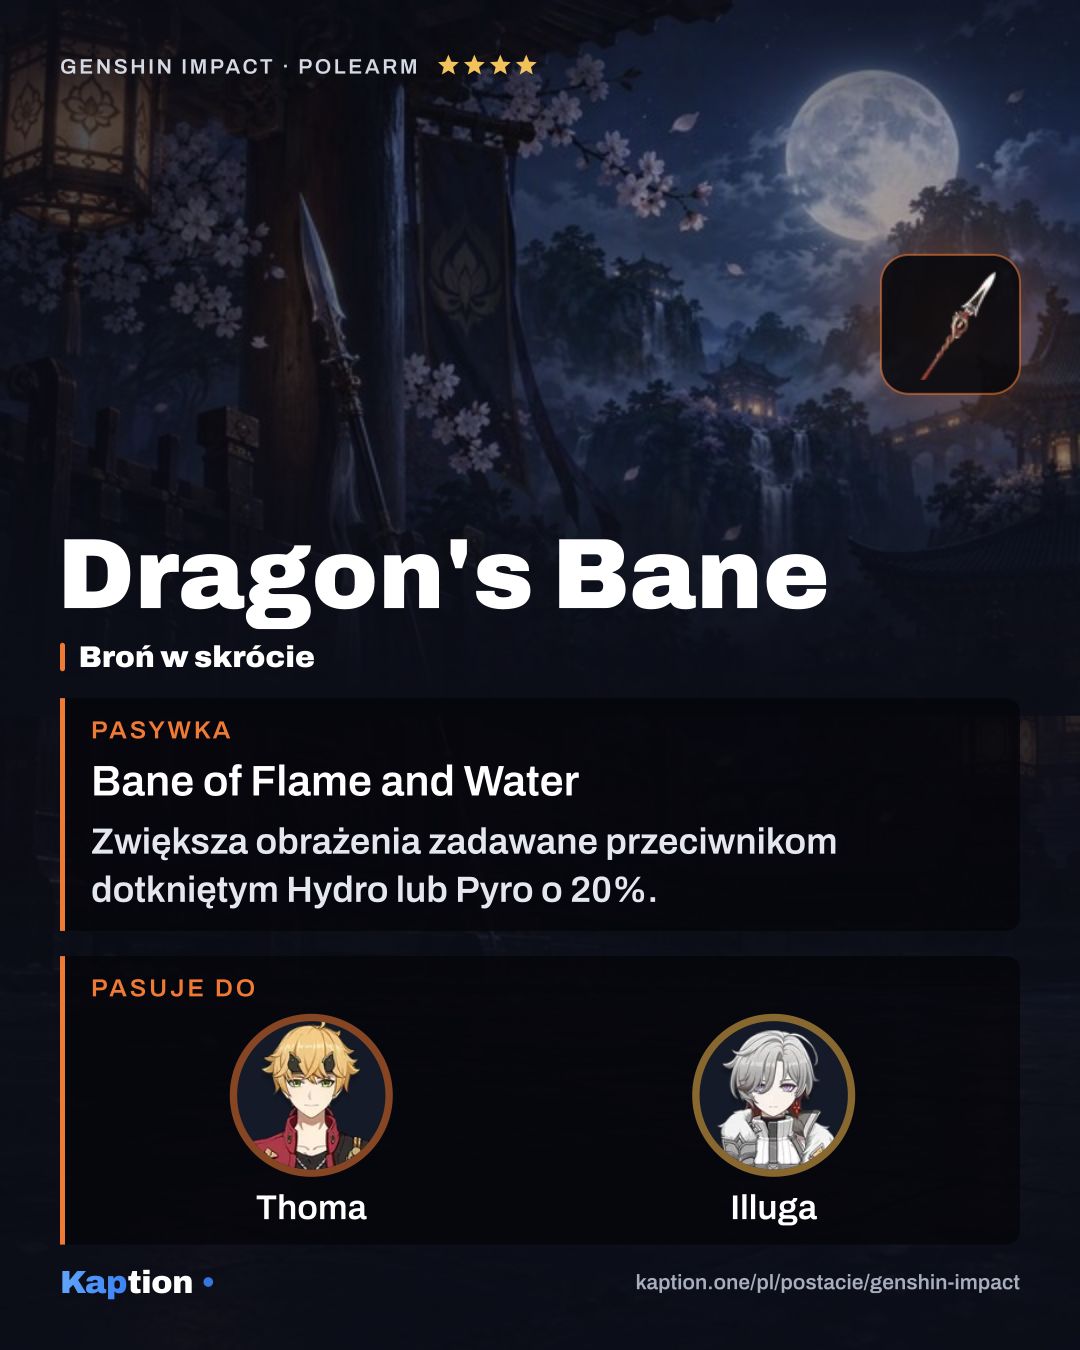
  1. Dragon's Bane
    Dragon's Bane 4-star
    Bane of Flame and Water Show effect

    Increases DMG against opponents affected by Hydro or Pyro by 20%.

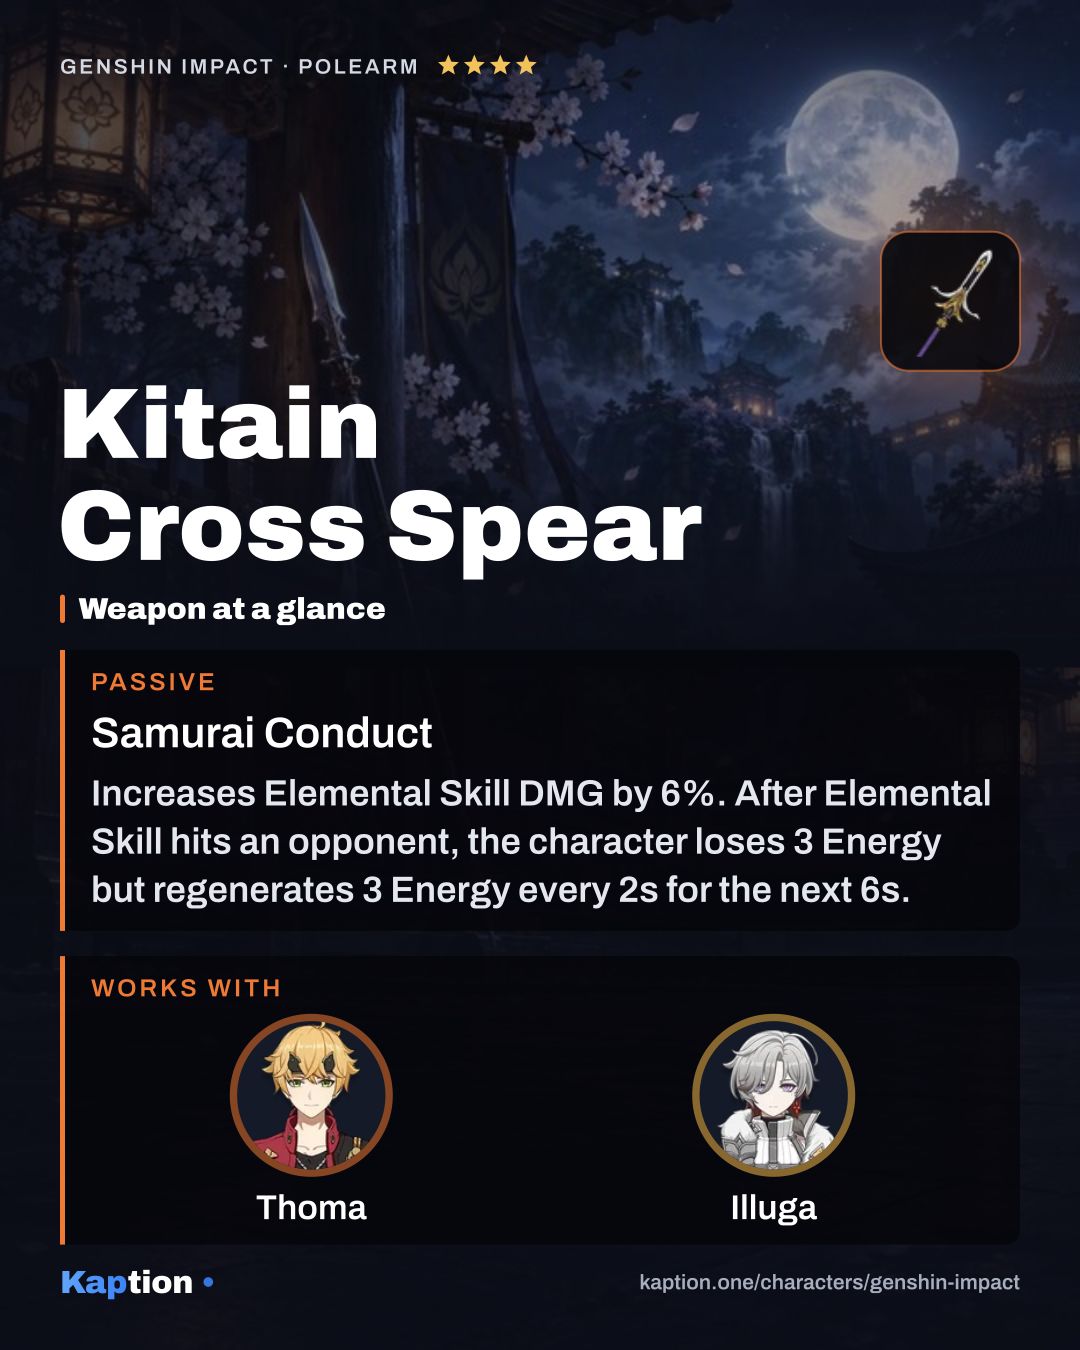
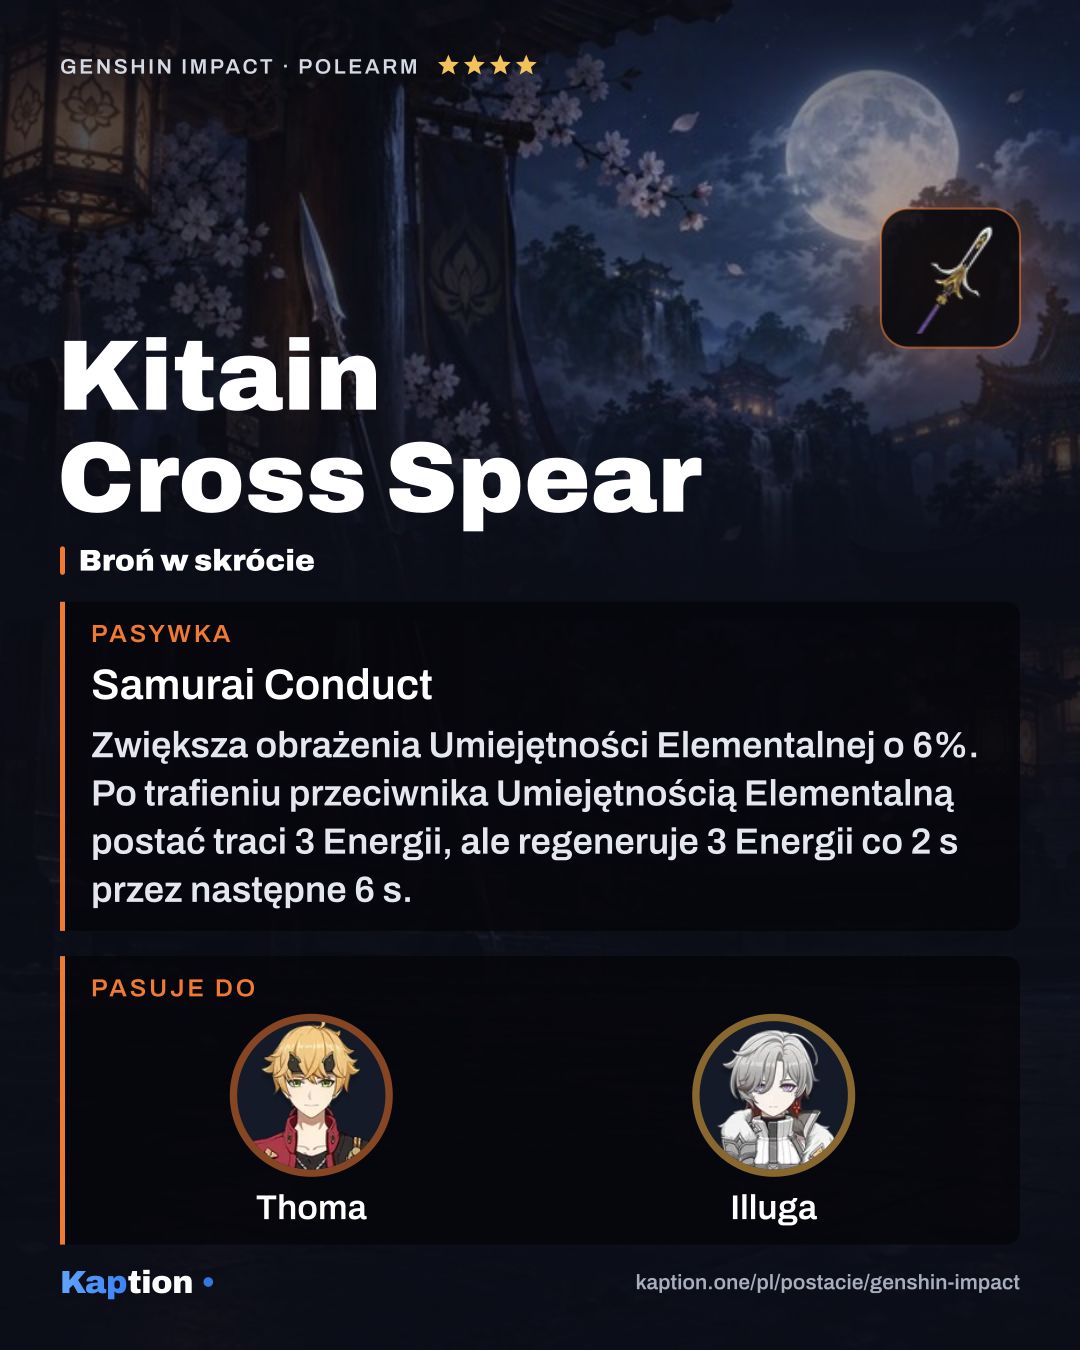
  2. Kitain Cross Spear
    Kitain Cross Spear 4-star
    Samurai Conduct Show effect

    Increases Elemental Skill DMG by 6%. After Elemental Skill hits an opponent, the character loses 3 Energy but regenerates 3 Energy every 2s for the next 6s. This effect can occur once every 10s. Can be triggered even when the character is not on the field.

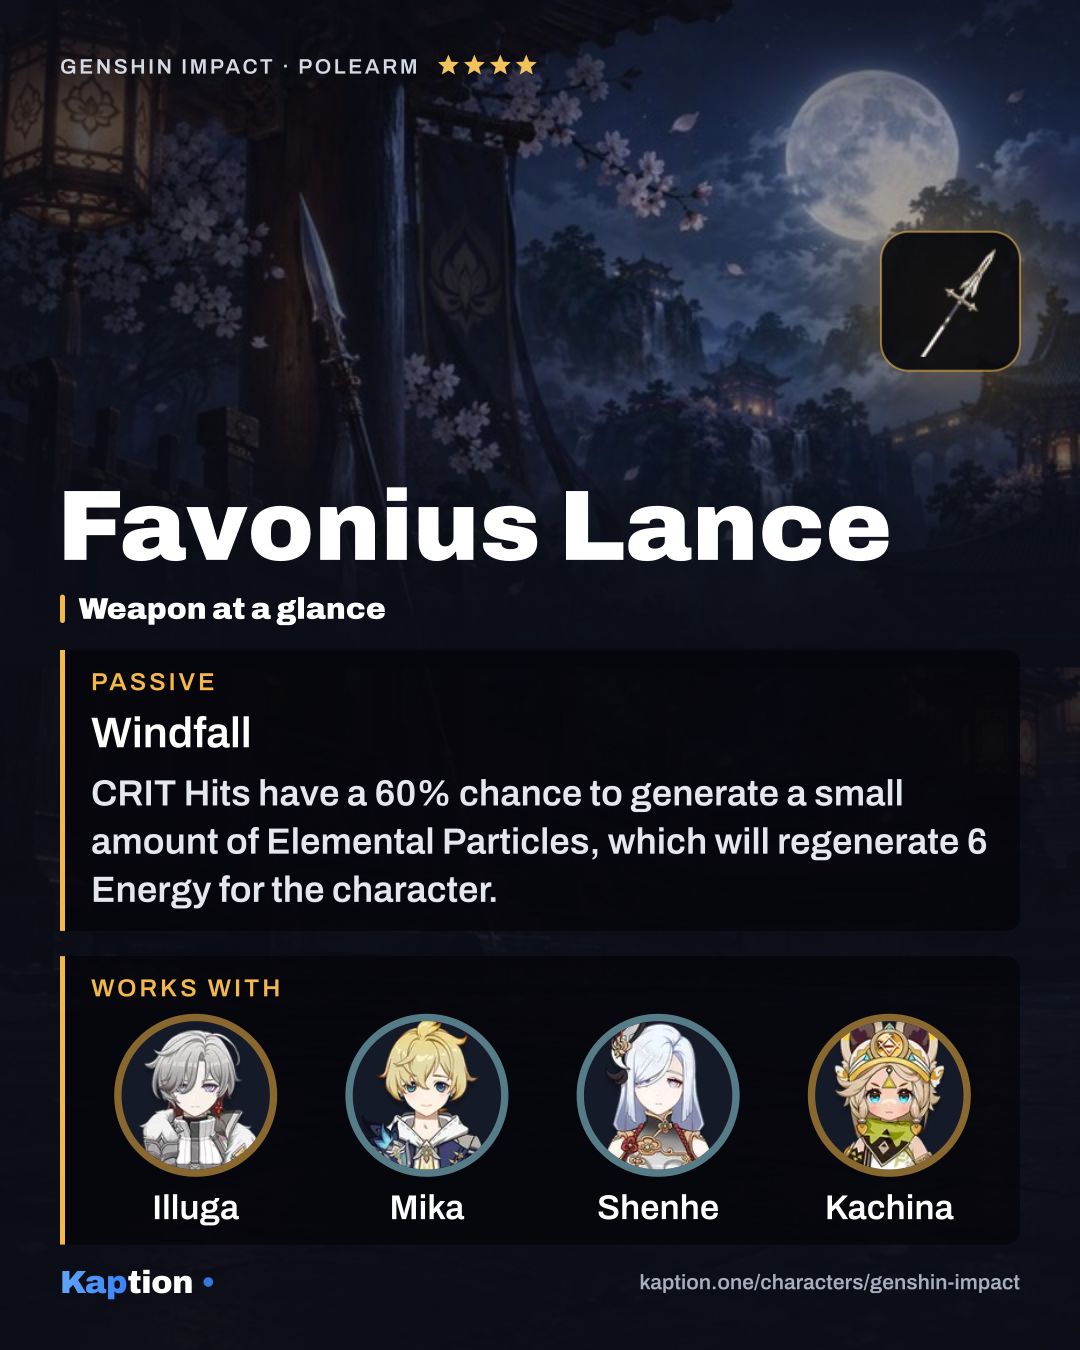
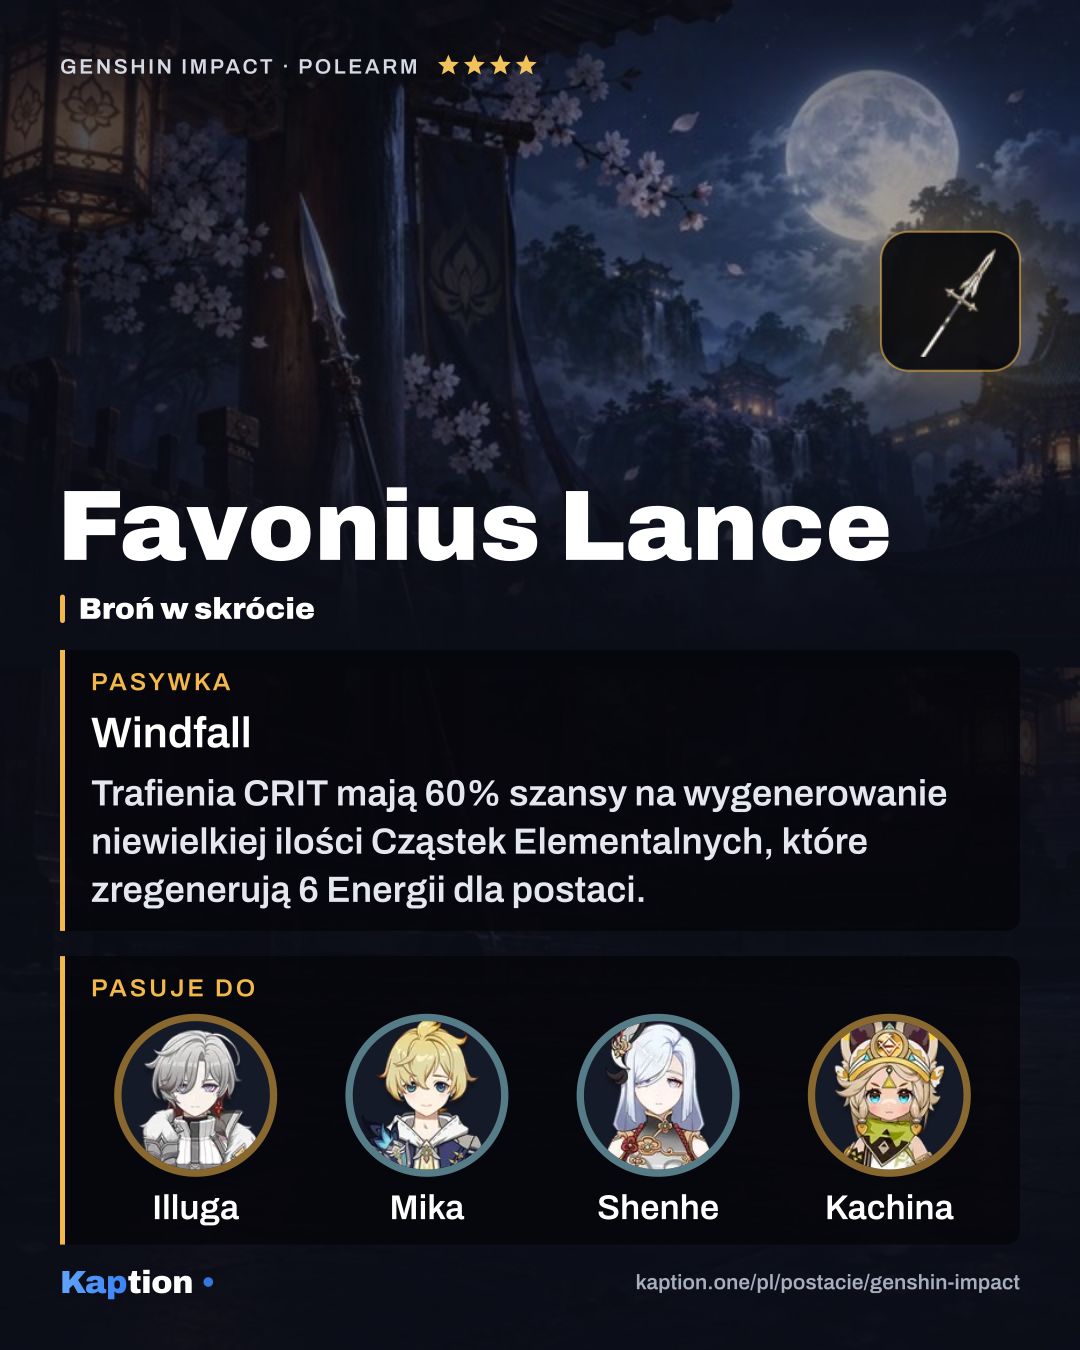
  3. Favonius Lance
    Favonius Lance 4-star
    Windfall Show effect

    CRIT Hits have a 60% chance to generate a small amount of Elemental Particles, which will regenerate 6 Energy for the character. Can only occur once every 12s.

  4. Engulfing Lightning
    Engulfing Lightning 5-star
    Timeless Dream: Eternal Stove Show effect

    ATK increased by 28% of Energy Recharge over the base 100%. You can gain a maximum bonus of 80% ATK. Gain 30% Energy Recharge for 12s after using an Elemental Burst.

  5. Staff of Homa
    Staff of Homa 5-star
    Reckless Cinnabar Show effect

    HP increased by 20%. Additionally, provides an ATK Bonus based on 0.8% of the wielder's Max HP. When the wielder's HP is less than 50%, this ATK Bonus is increased by an additional 1% of Max HP.

  6. Song of the Vigil
    Song of the Vigil 4-star
    Cadence of Days Gone By Show effect

    Triggering an Elemental Reaction regenerates 4 Elemental Energy for the equipping character. This effect can trigger once every 9s. On the other hand, triggering a Stellar Glimmer reaction increases their ATK by 20% for 12s. The aforementioned effects can trigger even when the character is not on the field.

Have this character? Make a card of your own build from your UID Stats, artifacts, weapon and talents from your in-game showcase, as a PNG in a dozen layouts.

Teams

Show more teams (4)Show less

Also plays in

Other characters' teams with a place for Thoma.

  • Hexerei

    Varka

    • Varka
    • Sucrose
    • Thoma
    • Xiangling

    Off-field support and shield

  • Burgeon

    Kinich

    • Kinich
    • Thoma
    • Xingqiu
    • Bennett

    Off-field Pyro and shield

  • Burning

    Emilie

    • Emilie
    • Xiangling
    • Thoma
    • Yaoyao

    Off-field Pyro and shield

  • Overloaded

    Arlecchino

    • Arlecchino
    • Fischl
    • Chevreuse
    • Thoma

    Shield and off-field Pyro

  • Overloaded

    Chevreuse

    • Chevreuse
    • Clorinde
    • Fischl
    • Thoma

    Shield and off-field Pyro

  • Burgeon

    Baizhu

    • Baizhu
    • Thoma
    • Yelan
    • Furina

    Off-field Burgeon trigger

  • Burgeon

    Kaveh

    • Kaveh
    • Xingqiu
    • Thoma
    • Fischl

    Burgeon trigger and shield

  • Burgeon

    Yaoyao

    • Yaoyao
    • Thoma
    • Yelan
    • Nahida

    Burgeon trigger and shield

Show more (6)

Skills

Names in English, as in the game · underlined ones open their card · Priority = level-up order

  1. Basic attack

    Swiftshatter SpearAttack

    Level priority 3 of 3

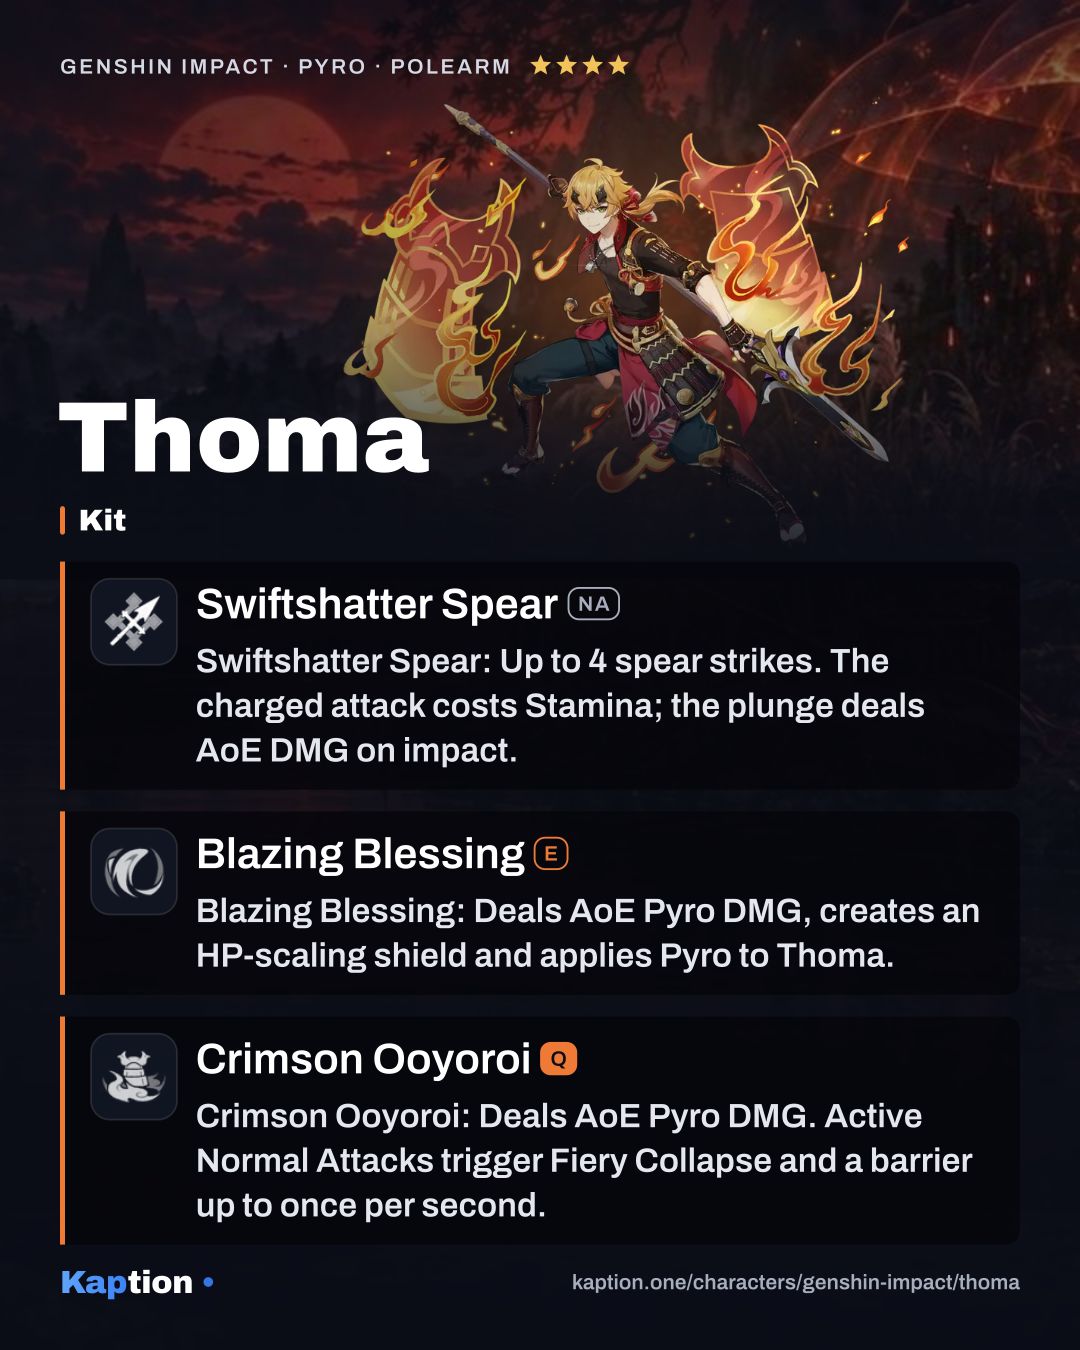
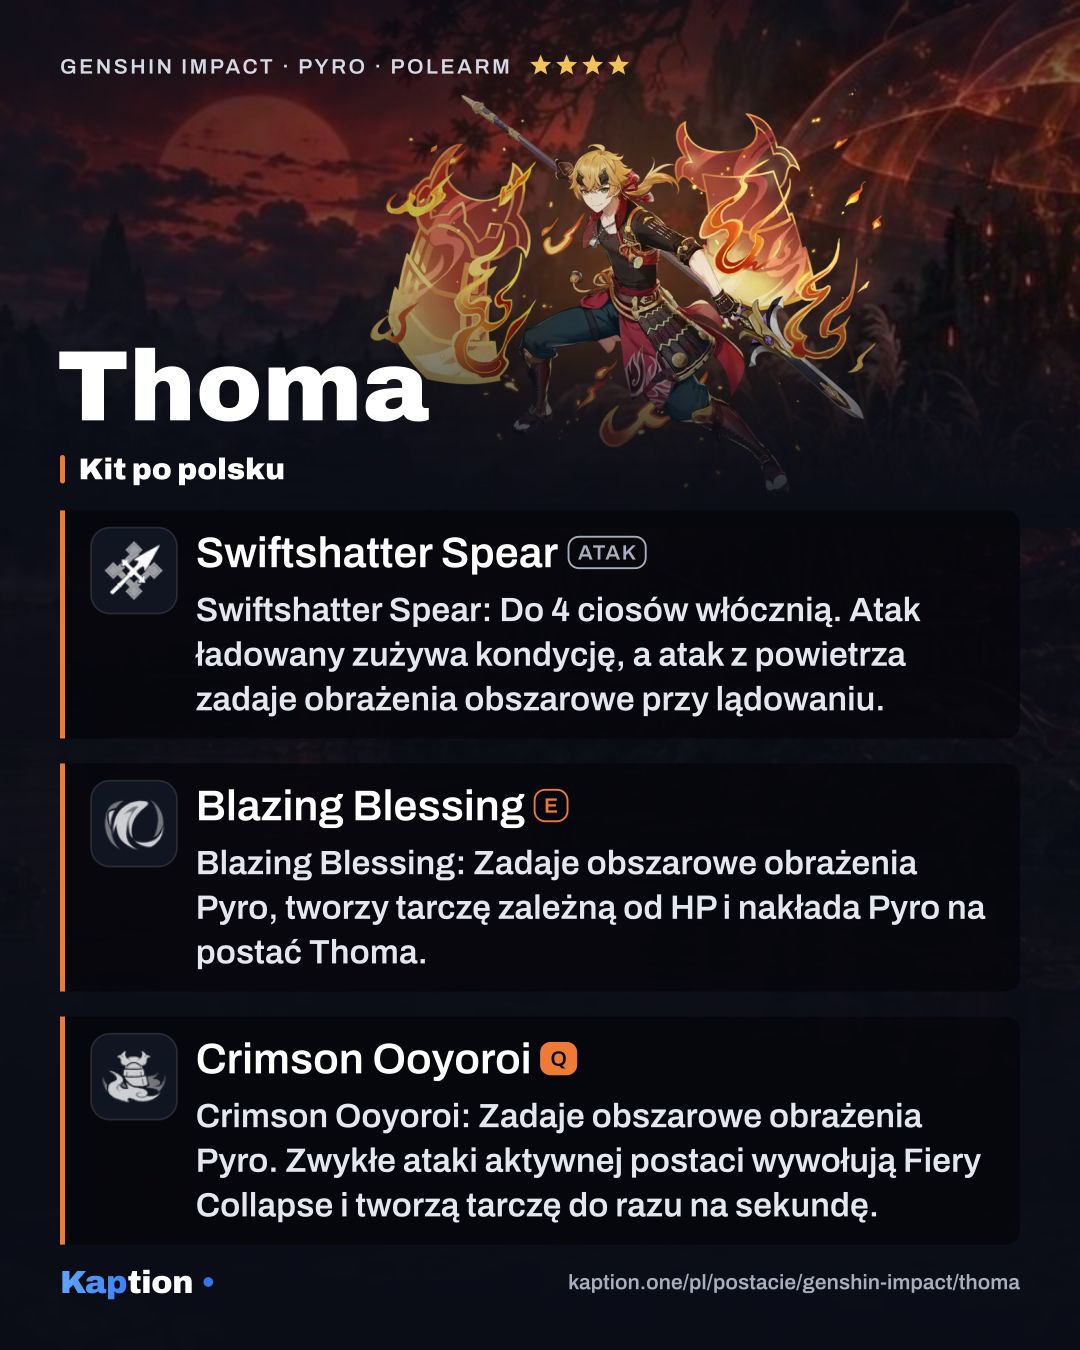
    Swiftshatter Spear (NA): Up to 4 spear strikes. The charged attack costs Stamina; the plunge deals AoE DMG on impact.

    Normal Attack Performs up to 4 consecutive spear strikes. Charged Attack Consumes a certain amount of Stamina to lunge forward, dealing damage to opponents along the way. Plunging Attack Plunges from mid-air to strike the ground below, damaging opponents along the path and dealing AoE DMG upon impact.

  2. Skill

    Blazing BlessingE

    Level priority 1 of 3

    Blazing Blessing (E): Deals AoE Pyro DMG, creates an HP-scaling shield and applies Pyro to Thoma.

    Thoma vaults forward with his polearm and delivers a flame-filled flying kick that deals AoE Pyro DMG, while also summoning a defensive Blazing Barrier. At the moment of casting, Thoma's Elemental Skill applies Pyro to himself. The DMG Absorption of the Blazing Barrier scales off Thoma's Max HP. The Blazing Barrier has the following traits: ·Absorbs Pyro DMG 250% more effectively. ·When a new Blazing Barrier is obtained, the remaining DMG Absorption of an existing Blazing Barrier will stack and its duration will be refreshed. The maximum DMG Absorption of the Blazing Barrier will not exceed a certain percentage of Thoma's Max HP. As a guest from afar, only the most burning passion would allow one to master the pure and precise spear arts of Inazuma. Thoma's mastery, indeed, is not limited to being the "swiftest-studying student" or "a master of the spear," but he has imbued his will to protect others and fend off foes into his art as well.

  3. Ultimate

    Crimson OoyoroiQ

    Level priority 2 of 3

    Crimson Ooyoroi (Q): Deals AoE Pyro DMG. Active Normal Attacks trigger Fiery Collapse and a barrier up to once per second.

    Thoma spins his polearm, slicing at his foes with roaring flames that deal AoE Pyro DMG and weave themselves into a Scorching Ooyoroi. Scorching Ooyoroi While Scorching Ooyoroi is in effect, the active character's Normal Attacks will trigger Fiery Collapse, dealing AoE Pyro DMG and summoning a Blazing Barrier. Fiery Collapse can be triggered once every 1s. Except for the amount of DMG they can absorb, the Blazing Barriers created in this way are identical to those created by Thoma's Elemental Skill, Blazing Blessing: ·Absorbs Pyro DMG 250% more effectively. ·When a new Blazing Barrier is obtained, the remaining DMG Absorption of an existing Blazing Barrier will stack and its duration will be refreshed. The maximum DMG Absorption of the Blazing Barrier will not exceed a certain percentage of Thoma's Max HP. If Thoma falls, the effects of Scorching Ooyoroi will be cleared. "I will not forget my initial promise. Let this burning flame protect those I cherish, and may it never be extinguished."

Passives

  1. Passive

    Imbricated ArmorPassive

    Imbricated Armor: Obtaining or refreshing a Blazing Barrier grants the active character 5% Shield Strength for 6s, up to 5 stacks.

    When your current active character obtains or refreshes a Blazing Barrier, this character's Shield Strength will increase by 5% for 6s. This effect can be triggered once every 0.3s seconds. Max 5 stacks.

  2. Passive

    Flaming AssaultPassive

    Flaming Assault: Fiery Collapse DMG increases by 2.2% of Thoma's Max HP.

    DMG dealt by Crimson Ooyoroi's Fiery Collapse is increased by 2.2% of Thoma's Max HP.

  3. Passive

    Snap and SwingPassive

    Snap and Swing: Successful fishing in Inazuma has a 20% chance to yield a double catch.

    When you fish successfully in Inazuma, Thoma's help grants a 20% chance of scoring a double catch.

Constellations

  1. C1

    A Comrade's Duty

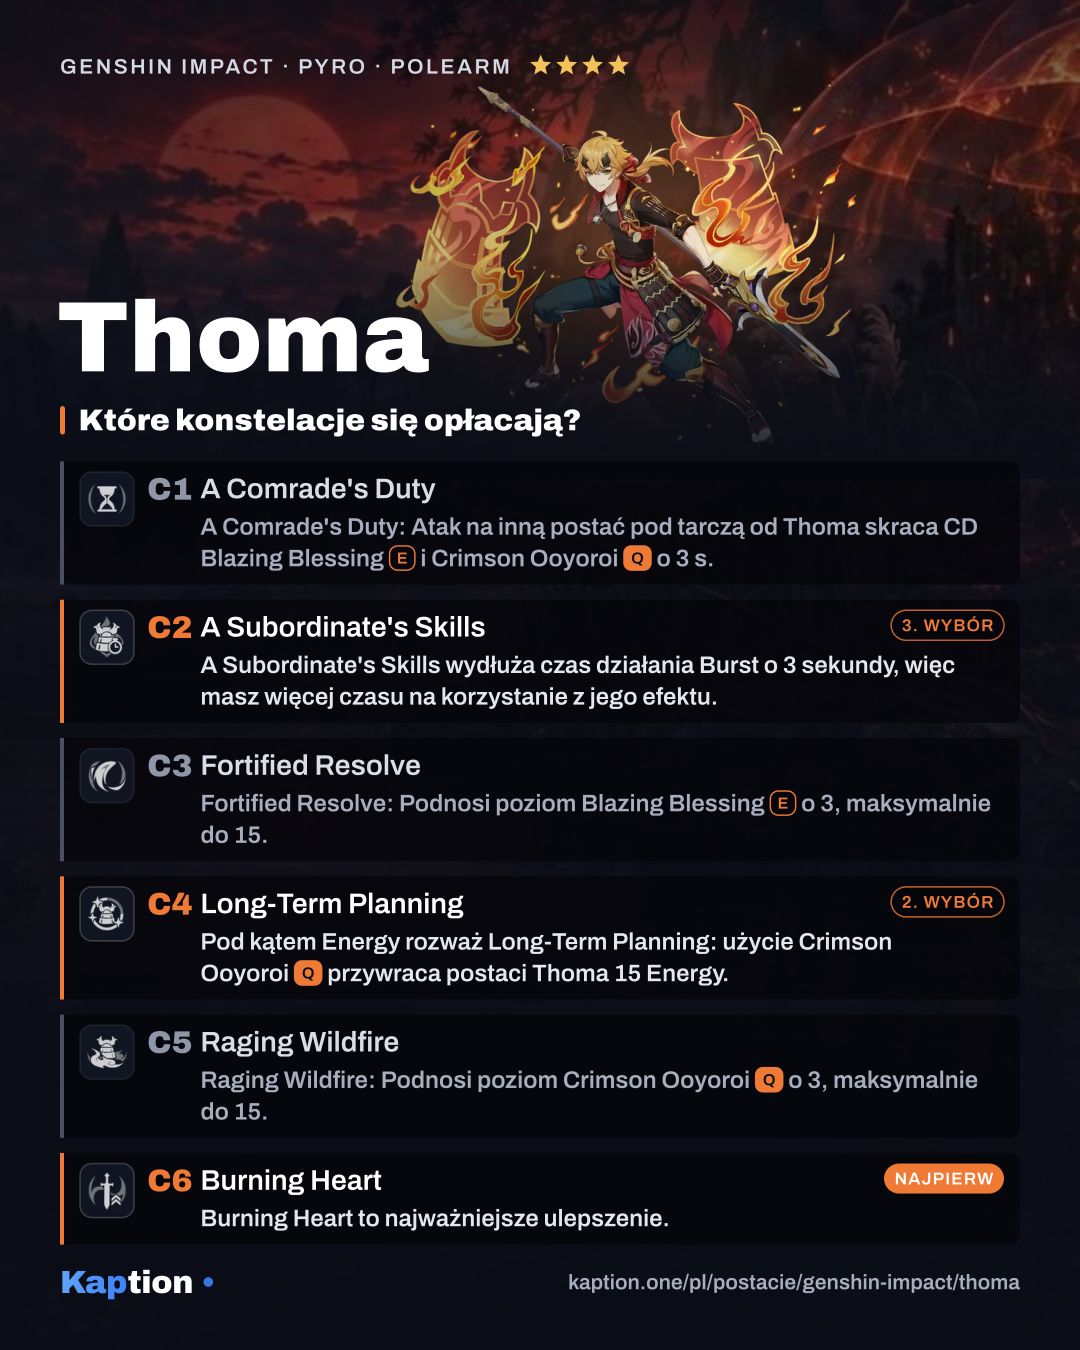
    When a character protected by Thoma's own Blazing Barrier (Thoma excluded) is attacked, Thoma's own Blazing Blessing CD is decreased by 3s, while his own Crimson Ooyoroi's CD is decreased by 3s. This effect can be triggered once every 20s.

  2. C2

    A Subordinate's Skills

    Worth it

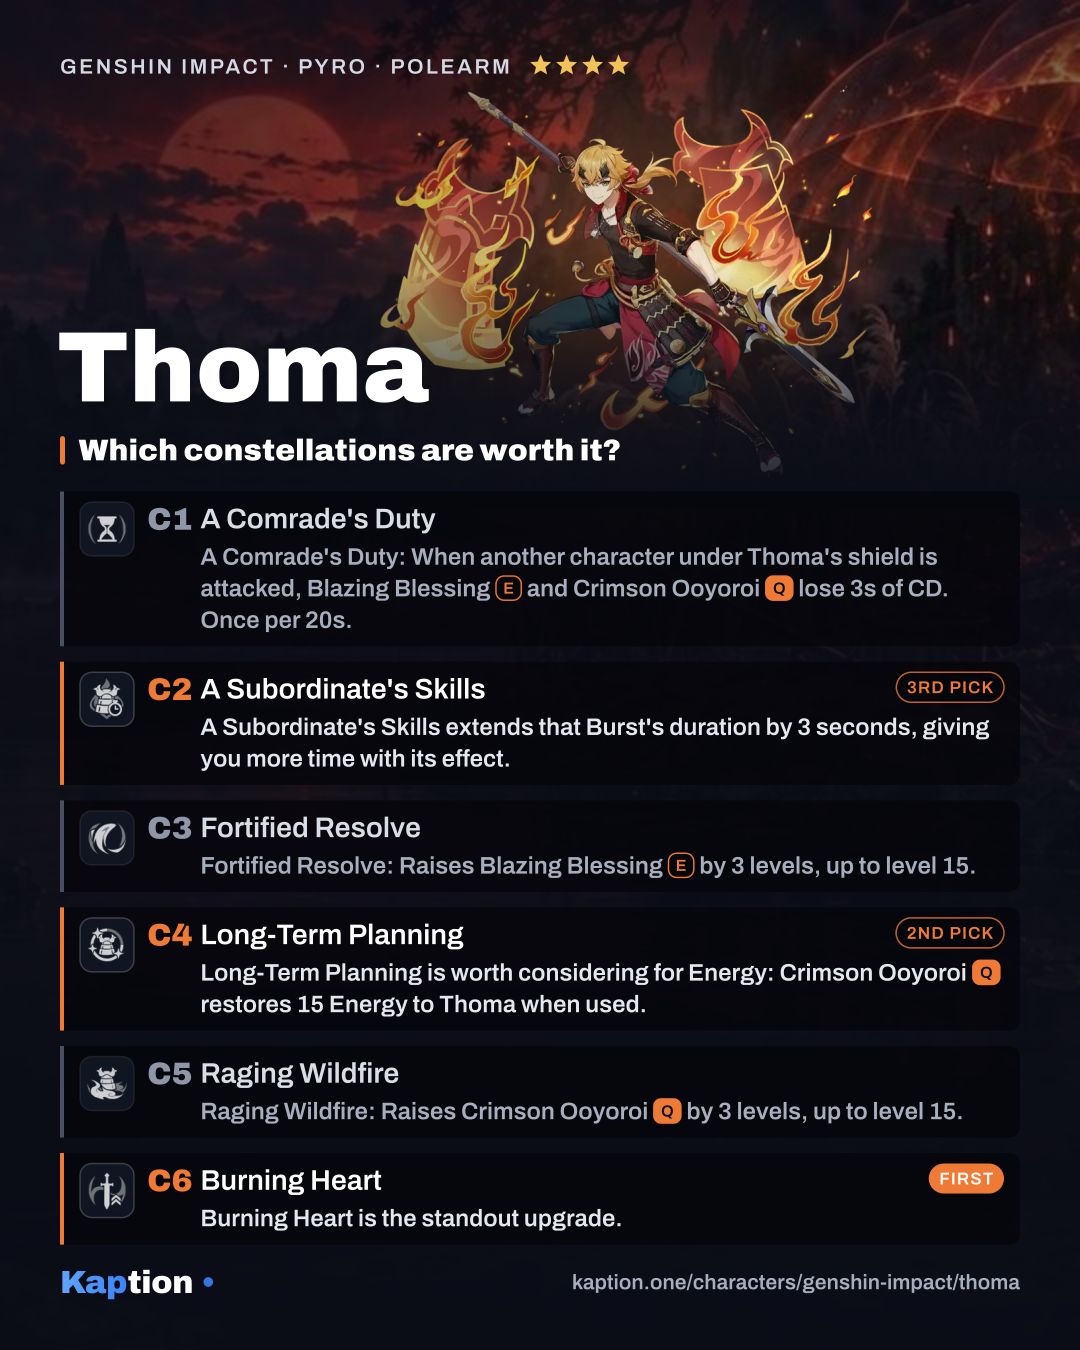
    A Subordinate's Skills (C2) extends that Burst's duration by 3 seconds, giving you more time with its effect.

    Crimson Ooyoroi's duration is increased by 3s.

  3. C3

    Fortified Resolve

    Increases the Level of Blazing Blessing by 3. Maximum upgrade level is 15.

  4. C4

    Long-Term Planning

    Worth it

    Long-Term Planning (C4) is worth considering for Energy: Crimson Ooyoroi restores 15 Energy to Thoma when used.

    After using Crimson Ooyoroi, 15 Energy will be restored to Thoma.

  5. C5

    Raging Wildfire

    Increases the Level of Crimson Ooyoroi by 3. Maximum upgrade level is 15.

  6. C6

    Burning Heart

    Worth it

    Burning Heart (C6) is the standout upgrade.

    When a Blazing Barrier is obtained or refreshed, the DMG dealt by all party members' Normal, Charged, and Plunging Attacks is increased by 15% for 6s.

Materials

Ascension, to max level

  • Mora Mora × 420,000
  • Fluorescent Fungus Fluorescent Fungus × 168
  • Agnidus Agate Sliver Agnidus Agate Sliver × 1
  • Agnidus Agate Fragment Agnidus Agate Fragment × 9
  • Agnidus Agate Chunk Agnidus Agate Chunk × 9
  • Agnidus Agate Gemstone Agnidus Agate Gemstone × 6
  • Treasure Hoarder Insignia Treasure Hoarder Insignia × 18
  • Silver Raven Insignia Silver Raven Insignia × 30
  • Golden Raven Insignia Golden Raven Insignia × 36
  • Smoldering Pearl Smoldering Pearl × 46

All skills to max

  • Mora Mora × 4,957,500
  • Crown of Insight Crown of Insight × 3
  • Teachings of Transience Teachings of Transience × 9
  • Guide to Transience Guide to Transience × 63
  • Philosophies of Transience Philosophies of Transience × 114
  • Treasure Hoarder Insignia Treasure Hoarder Insignia × 18
  • Silver Raven Insignia Silver Raven Insignia × 66
  • Golden Raven Insignia Golden Raven Insignia × 93
  • Hellfire Butterfly Hellfire Butterfly × 18

Guide

How the kit works

Start with Blazing Blessing. Thoma kicks forward, deals AoE Pyro DMG and creates a Blazing Barrier. Its absorption scales with his Max HP, and it absorbs Pyro DMG 250% more effectively. The cast also applies Pyro to Thoma.

Use Crimson Ooyoroi next, then switch to your active attacker. While Scorching Ooyoroi is active, that character's Normal Attacks trigger Fiery Collapse at most once per second. It deals AoE Pyro DMG and creates another Blazing Barrier.

A new barrier adds its absorption to what remains of the old one and refreshes its duration, up to a limit based on Thoma's Max HP. Imbricated Armor gives the active character 5% Shield Strength for 6 seconds when a barrier is obtained or refreshed, up to five stacks. Flaming Assault also increases Fiery Collapse DMG by 2.2% of Thoma's Max HP.

If Thoma falls, Scorching Ooyoroi ends. Swiftshatter Spear (NA) has up to four Normal Attack strikes, plus Charged and Plunging Attacks, but Thoma can leave the field after setting up his Burst.

Build and why

For Burgeon, four pieces of Flower of Paradise Lost are the first set to consider. They increase Burgeon DMG by 40%, and triggering the listed reactions increases the set's bonuses further. Gilded Dreams is another option: its two-piece bonus gives 80 Elemental Mastery, while its four-piece effect grants buffs based on teammates' elements. Two pieces of Wanderer's Troupe also give 80 Elemental Mastery; its four-piece Charged Attack bonus does not work for a Polearm user.

For a shield build, try two pieces of Tenacity of the Millelith with two pieces of Emblem of Severed Fate. They give 20% HP and 20% Energy Recharge. You can replace Emblem with two pieces of Vourukasha's Glow for another 20% HP. Four pieces of Noblesse Oblige are an alternative if you want the Burst to give the party 20% ATK for 12 seconds.

Use Energy Recharge or HP Percentage on the sands, HP Percentage on the goblet, and HP Percentage or CRIT Rate on the circlet. Among substats, look for Energy Recharge first, then HP Percentage, CRIT Rate and HP. Energy Recharge helps bring the Burst back; Max HP supports the barrier and Fiery Collapse.

Kitain Cross Spear is the first weapon to consider: after the Skill hits, it costs Thoma 3 Energy but restores 3 Energy every 2 seconds for 6 seconds. Dragon's Bane increases damage against enemies affected by Hydro or Pyro by 20%. Favonius Lance is another option; its CRIT Hits have a 60% chance to generate particles, so CRIT Rate helps with its effect.

Leveling priority

For a protection build, a good order is Blazing Blessing first, then Crimson Ooyoroi. The Skill creates the initial shield, while the Burst supplies the refreshes. Leave Swiftshatter Spear (NA) until last if Thoma spends most of the fight off the field.

To ascend Thoma fully, you need 420,000 Mora, 168 Fluorescent Fungus, 46 Smoldering Pearl, one Agnidus Agate Sliver, nine Agnidus Agate Fragment, nine Agnidus Agate Chunk and six Agnidus Agate Gemstone. You also need 18 Treasure Hoarder Insignia, 30 Silver Raven Insignia and 36 Golden Raven Insignia.

For all skills at their maximum, the separate total is 4,957,500 Mora, three Crown of Insight, nine Teachings of Transience, 63 Guide to Transience, 114 Philosophies of Transience and 18 Hellfire Butterfly. It also takes 18 Treasure Hoarder Insignia, 66 Silver Raven Insignia and 93 Golden Raven Insignia.

Constellations worth it

Burning Heart is the standout upgrade. Obtaining or refreshing a Blazing Barrier increases the whole party's Normal, Charged and Plunging Attack DMG by 15% for 6 seconds.

Long-Term Planning is worth considering for Energy: Crimson Ooyoroi restores 15 Energy to Thoma when used. A Subordinate's Skills extends that Burst's duration by 3 seconds, giving you more time with its effect.

The others are less necessary for the protection setup. A Comrade's Duty can reduce both skill cooldowns by 3 seconds when a protected teammate is attacked, once every 20 seconds. Fortified Resolve adds three levels to Blazing Blessing, while Raging Wildfire adds three to the Burst. You can play the build without those upgrades.

Teams

Pick an active attacker who uses Normal Attacks so they can trigger Fiery Collapse and refresh the shield. Yoimiya or Wanderer are options named for Thoma. He gives them protection and off-field Pyro damage; at C6 he also increases their attack damage when the barrier is refreshed.

Common mistakes

Do not switch to an attacker and forget Normal Attacks after Crimson Ooyoroi. Charged or Plunging Attacks alone do not trigger its Fiery Collapse. Use Normal Attacks during the Burst effect to create and refresh barriers.

Do not ignore Energy Recharge just to stack HP: the Burst needs to be available for its refreshes. With Favonius Lance, do not neglect CRIT Rate either. In a Burgeon build, check the set bonuses rather than assuming every four-piece effect works for Thoma; Wanderer's Troupe requires a Catalyst or Bow for its Charged Attack bonus.

Finally, remember that the shield has an absorption cap and that the Skill applies Pyro to Thoma. Keep an eye on his survival too, since his Burst effect ends if he falls.
Thoma in Polish

Story lines the way Kaption shows them in Polish, with the English original underneath.

  • Thoma · Ninken by the Shore Wygląda na to, że nie ma żadnego zamiaru jeść jedzenia, które przynieśliśmy... Tylko mi się wydaje, czy wygląda trochę na zdenerwowaną? Looks like it has zero intention of eating the food we brought... Is it just me, or does it look kind of on edge?
  • Thoma · Ninken by the Shore Jesteś wredną małą istotką, co? Prawie mnie znowu ugryzłeś! You're a vicious little thing, aren't you? You almost bit me again!
  • Thoma · Start Spreadin' the News Co tu dużo mówić — będziemy zaszczyceni Twoją obecnością, proszę pana. What can I say — we'll be honored to have you in attendance, Sir.
  • Thoma · Under the Same Shade Po prostu połóż tu jedzenie, a przybędą w mgnieniu oka. Just place some food here, and they'll come running.
  • Thoma · The Lonesome Euthymia Wygląda na to, że wiecie, co robić. Zostawić to wam? Sounds like you guys know what to do. Shall I leave it up to you, then?
  • Thoma · The Wind Settles Właściwie nie widzę sensu kontynuować tej gry... Jestem dość pewien, że nie mam szans na wygraną. Actually, I don't think there's much point continuing that game... I'm pretty sure I don't have a chance of winning.
  • Thoma · The Lonesome Euthymia Ah, cześć wam dwójce. Właśnie rozmawialiśmy o tym, jaki wpływ wy wywarliście w Inazuma. Ah, hello you two. We were just talking about what an impact you've made in Inazuma.
  • Thoma · The Wind Settles Znowu to robisz, panie. Skupiasz uwagę na innych, jednocześnie dyskretnie wykonując swoją pracę bez zarzutu. There you go again, my lord. Placing the focus on other people while discreetly performing your job to perfection.

Frequently asked questions

What's the best build for Thoma?

Artifacts: Flower of Paradise Lost, Tenacity of the Millelith ×2 + Emblem of Severed Fate ×2 or Tenacity of the Millelith ×2 + Vourukasha's Glow ×2. Main stats: Sands: Energy Recharge or HP%, Goblet: HP%, Circlet: HP% or CRIT Rate. Recommended weapons: Dragon's Bane, Kitain Cross Spear or Favonius Lance.

What should I level first on Thoma?

Blazing BlessingE first, then Crimson OoyoroiQ and Swiftshatter SpearAttack.

Which constellations are worth getting for Thoma?

The biggest upgrades: C6 Burning Heart, C4 Long-Term Planning and C2 A Subordinate's Skills.

Who should Thoma team up with?

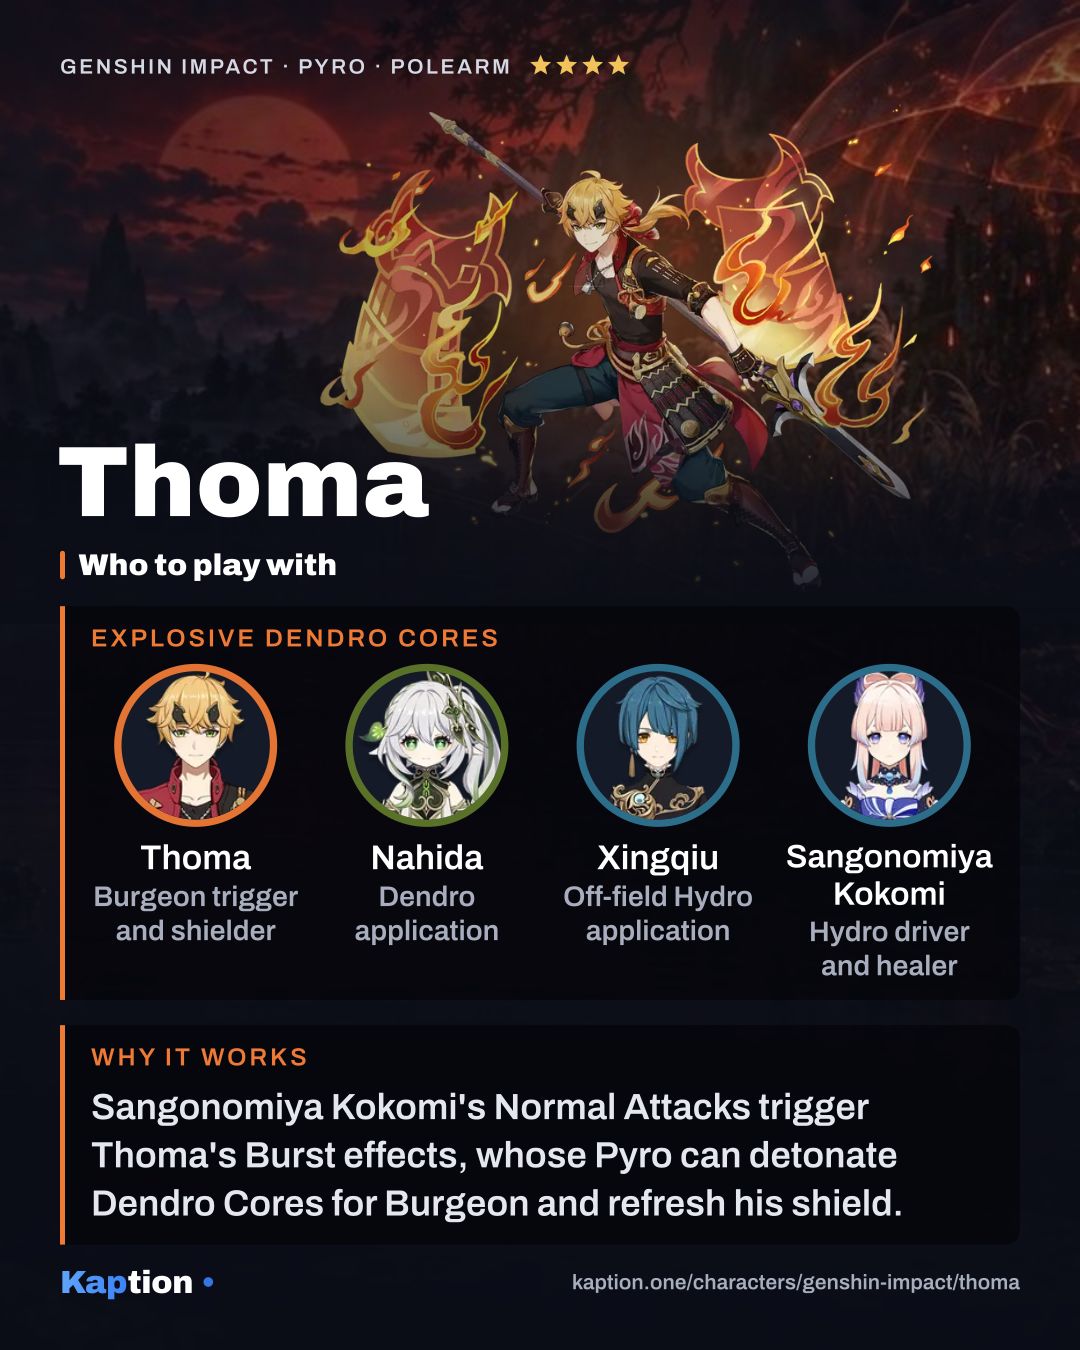
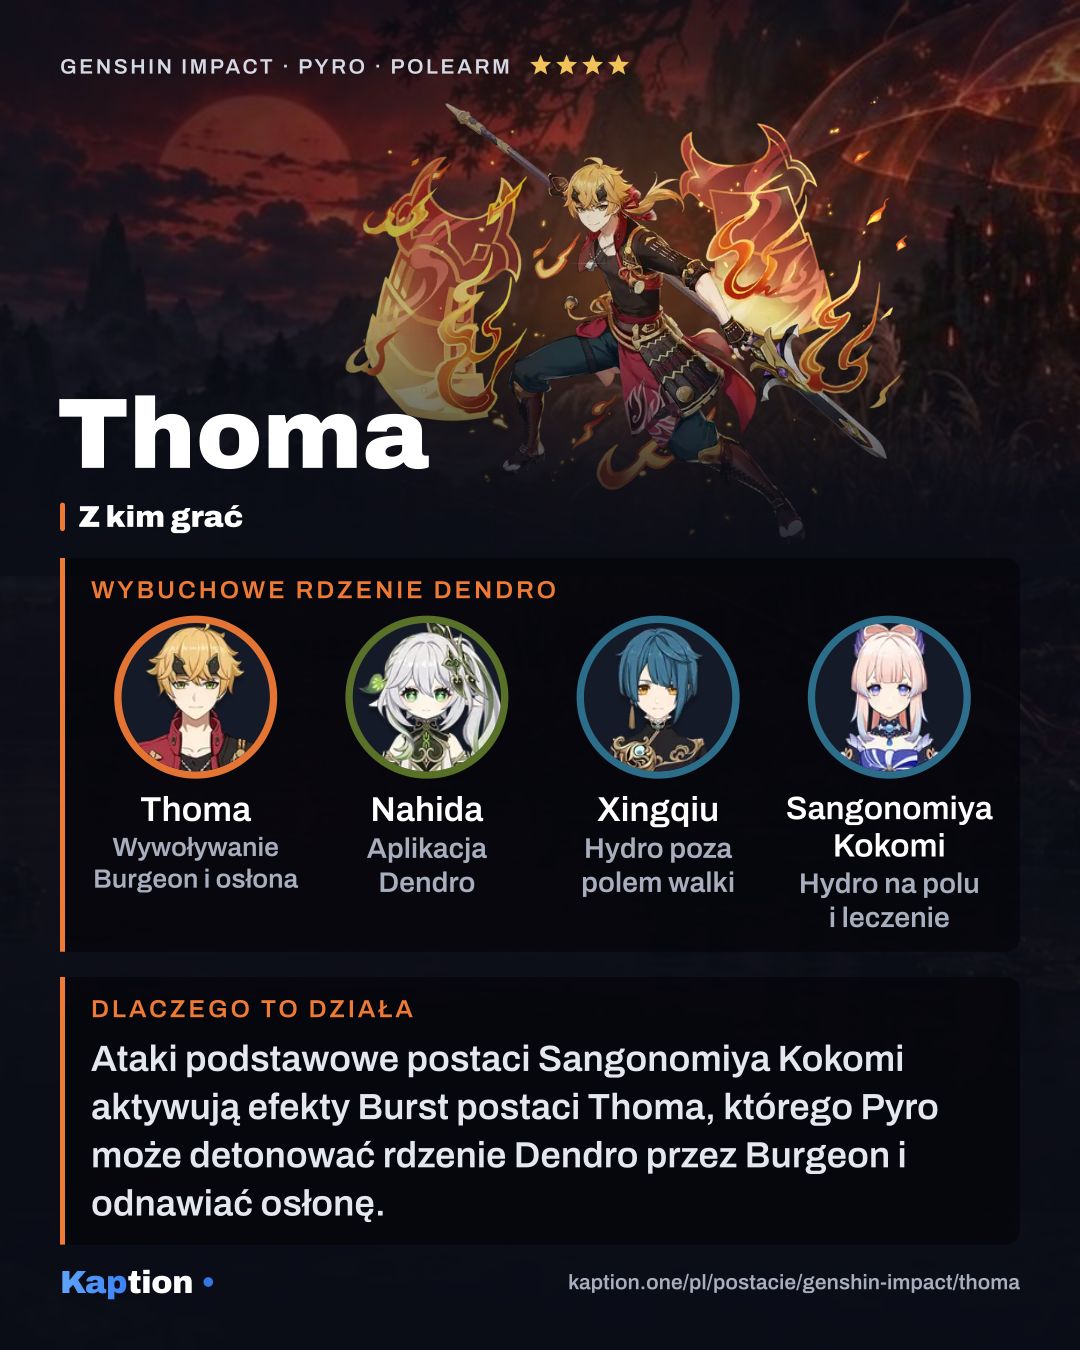
Good teammates: Nahida, Xingqiu and Sangonomiya Kokomi.

Is Thoma in Polish in Genshin Impact?

The game has no Polish language option. Kaption shows Polish subtitles for the dialogue right on the game screen, so Thoma's lines read in Polish. Skill and item names stay in English, as in the game.

Share

Ready-made cards for Instagram, TikTok, X or Discord, in English or Polish.

4:5 for Instagram and Facebook · 9:16 for Stories, TikTok and Shorts · 16:9 for X and Discord

The build cards and quick guides of every Genshin Impact character (131) in one ZIP: 4:5 (45 MB) 9:16 (60 MB) 16:9 (31 MB)

On Discord, paste the copied link or drag the downloaded file into the chat.

Game data version 7.2.0.

← All Genshin Impact characters