



































Guide
How the kit works
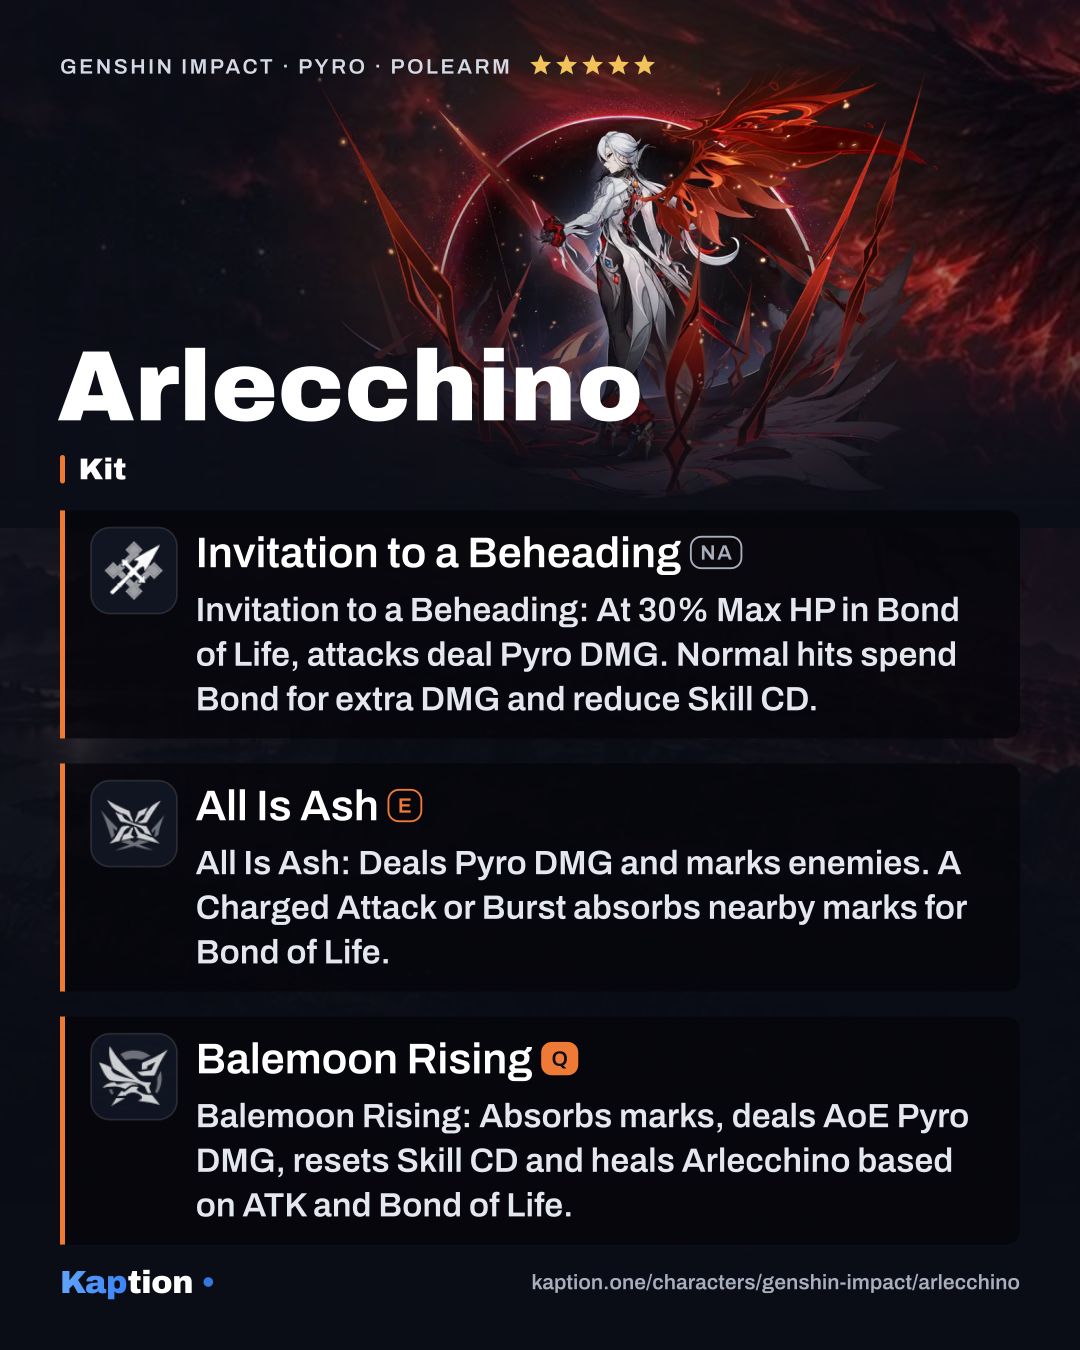
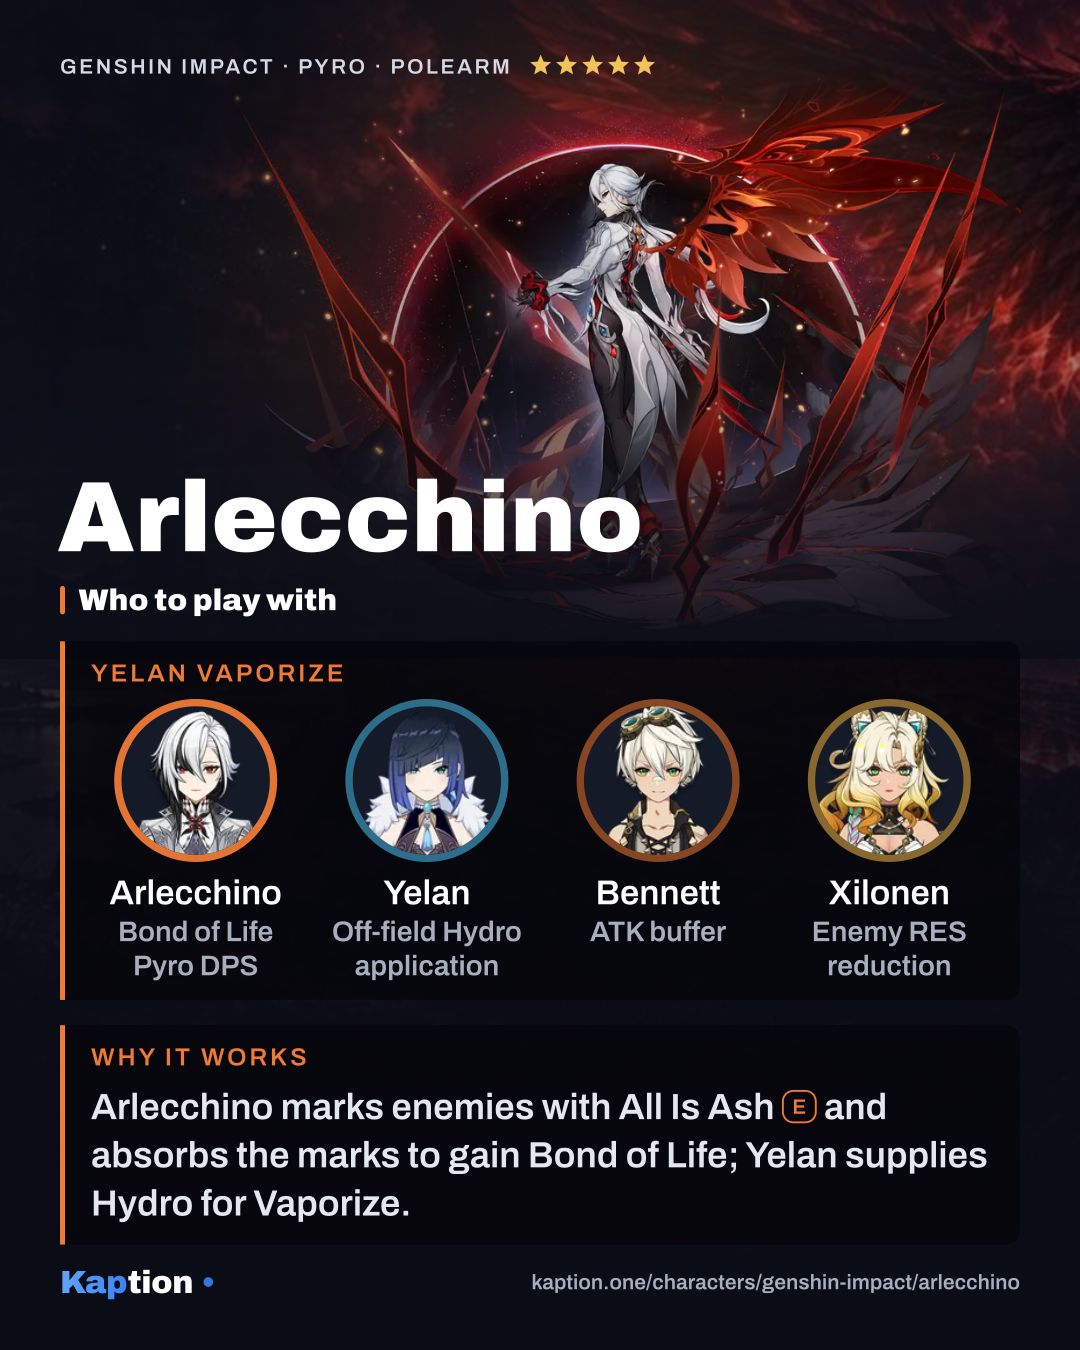
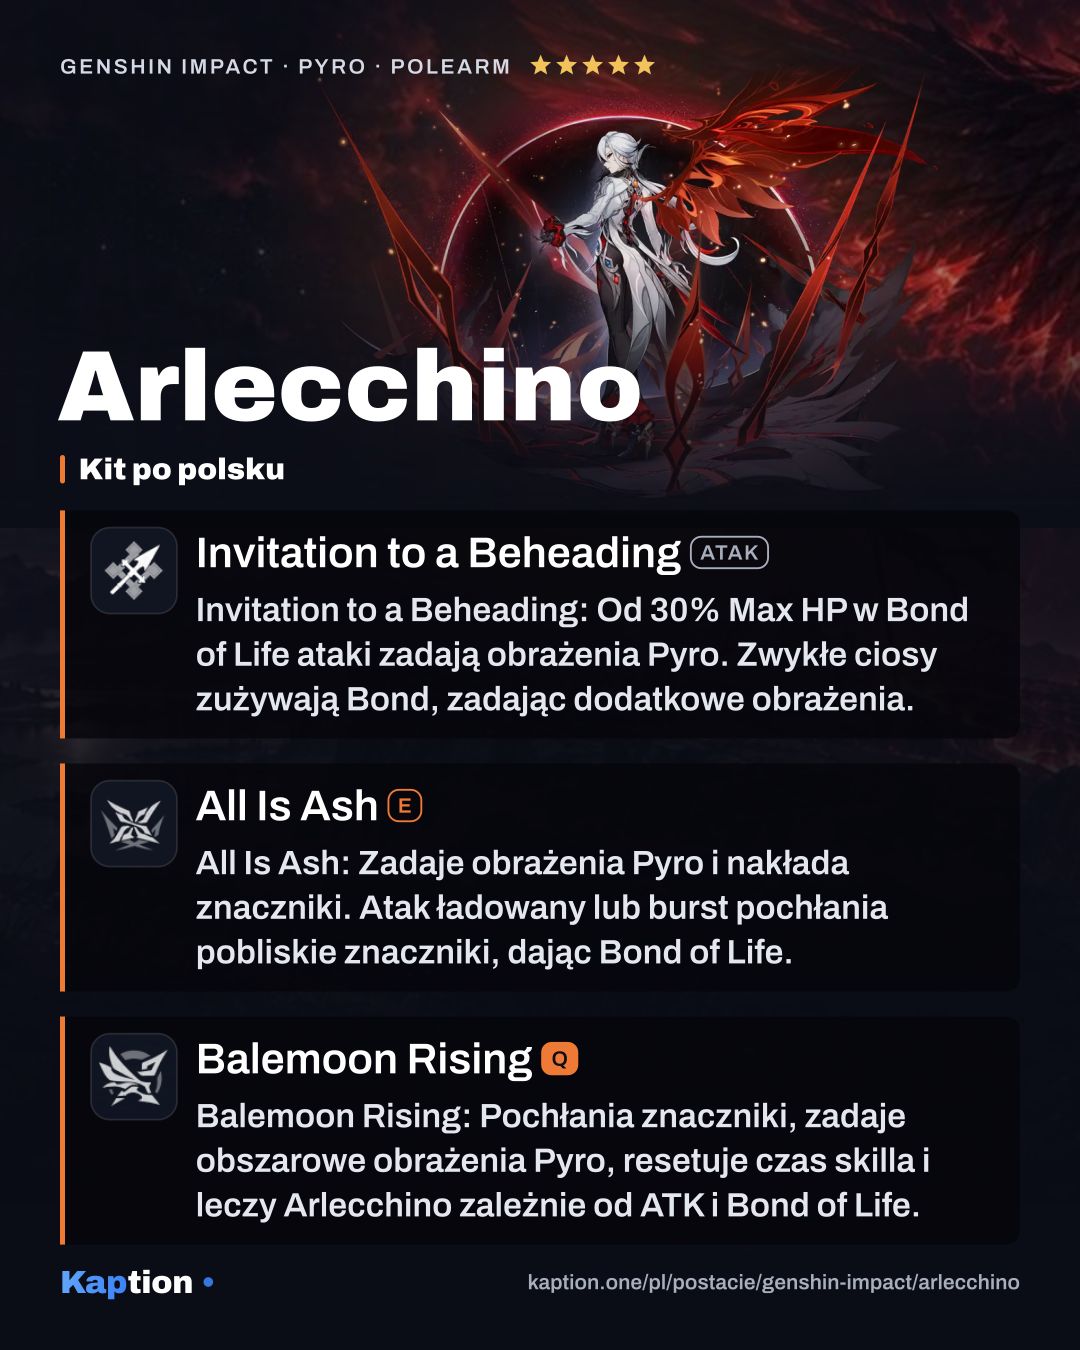
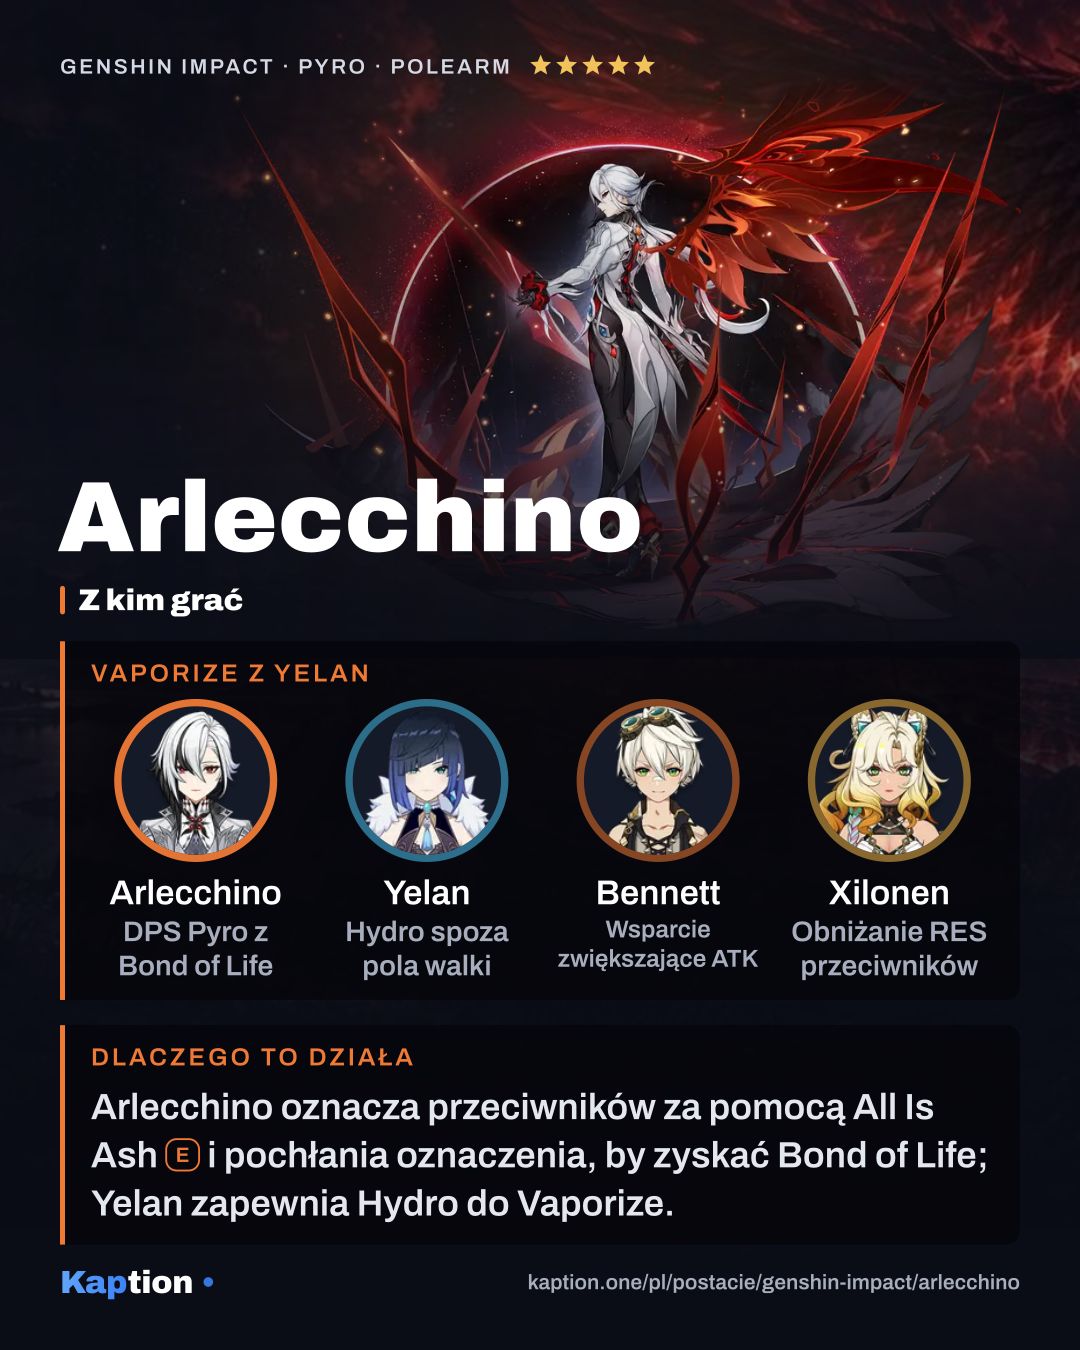
Start with All Is Ash to deal Pyro damage and apply Blood-Debt Directives. A Directive lasts 30s and deals Pyro damage every 5s, up to twice. After 5s it becomes Blood-Debt Due, so you can use that time to bring in teammates before returning to Arlecchino.
Use a Charged Attack to absorb nearby marks. Each Directive gives Bond of Life equal to 65% of Max HP, but a Due gives 130%. Defeating an opponent marked by Arlecchino also grants 130%. Bond gained through these marks is capped at 145% of Max HP within 35s of using the skill; using the skill again resets the window and cap.
With Bond of Life at or above 30% of Max HP, Invitation to a Beheading (NA) converts her Normal, Charged and Plunging Attacks to Pyro. Normal Attacks gain extra damage based on ATK and current Bond of Life. Each qualifying hit consumes 7.5% of the current Bond and reduces the skill cooldown by 0.8s.
Use Balemoon Rising when you need its healing or want to reset the skill cooldown. It absorbs nearby marks, deals AoE Pyro damage and heals based on Bond of Life and ATK. During combat, Arlecchino also has a 40% Pyro DMG Bonus.
Build and why
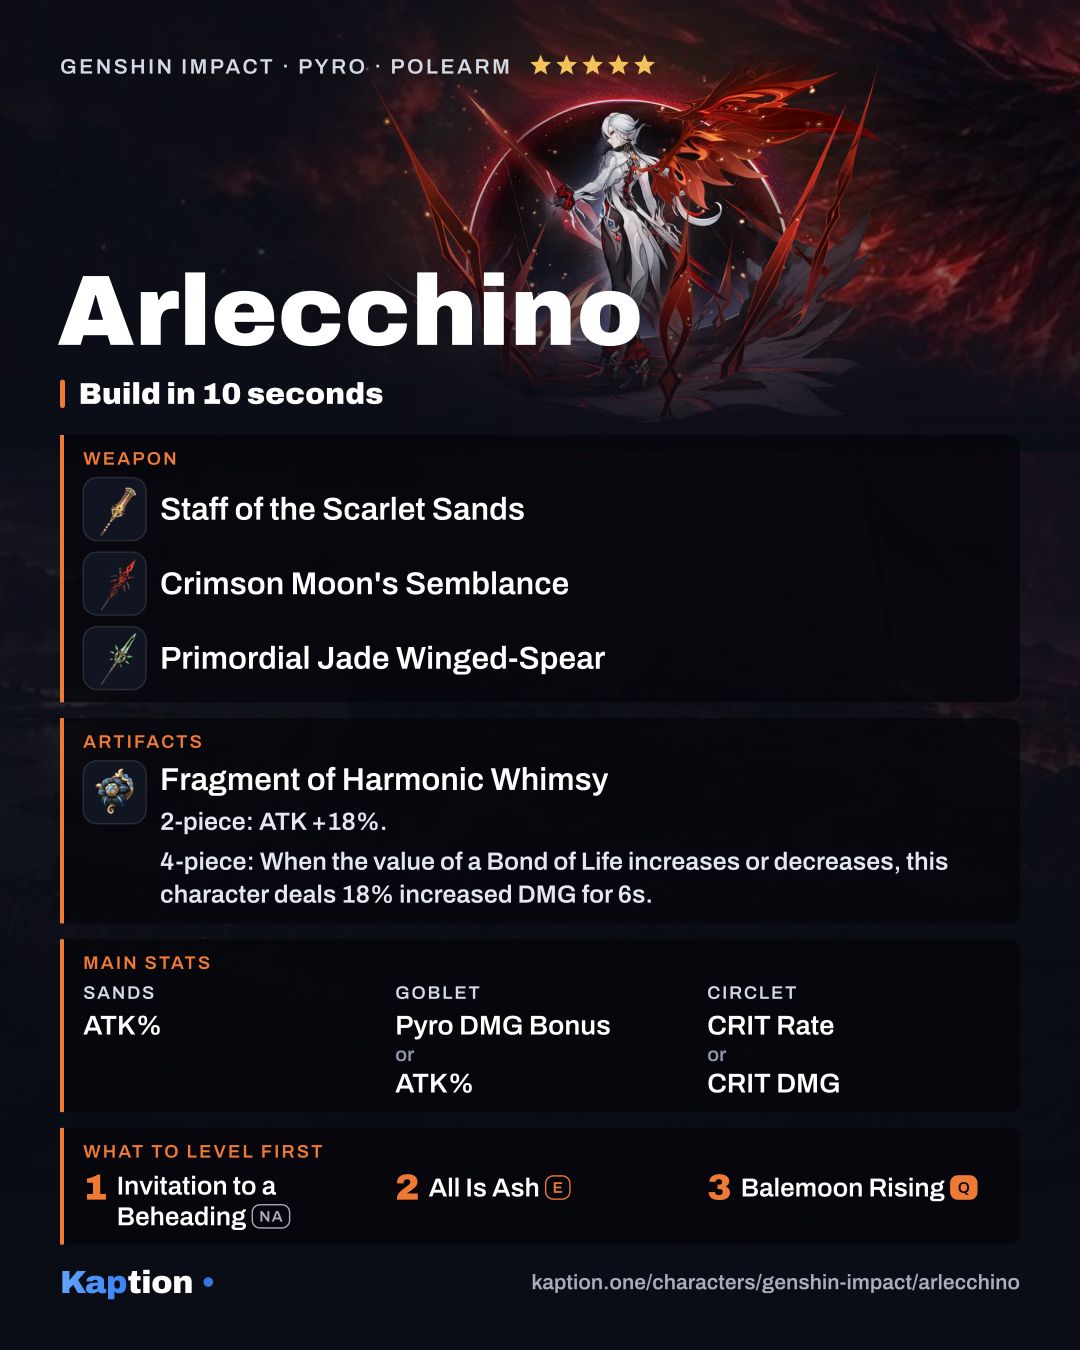
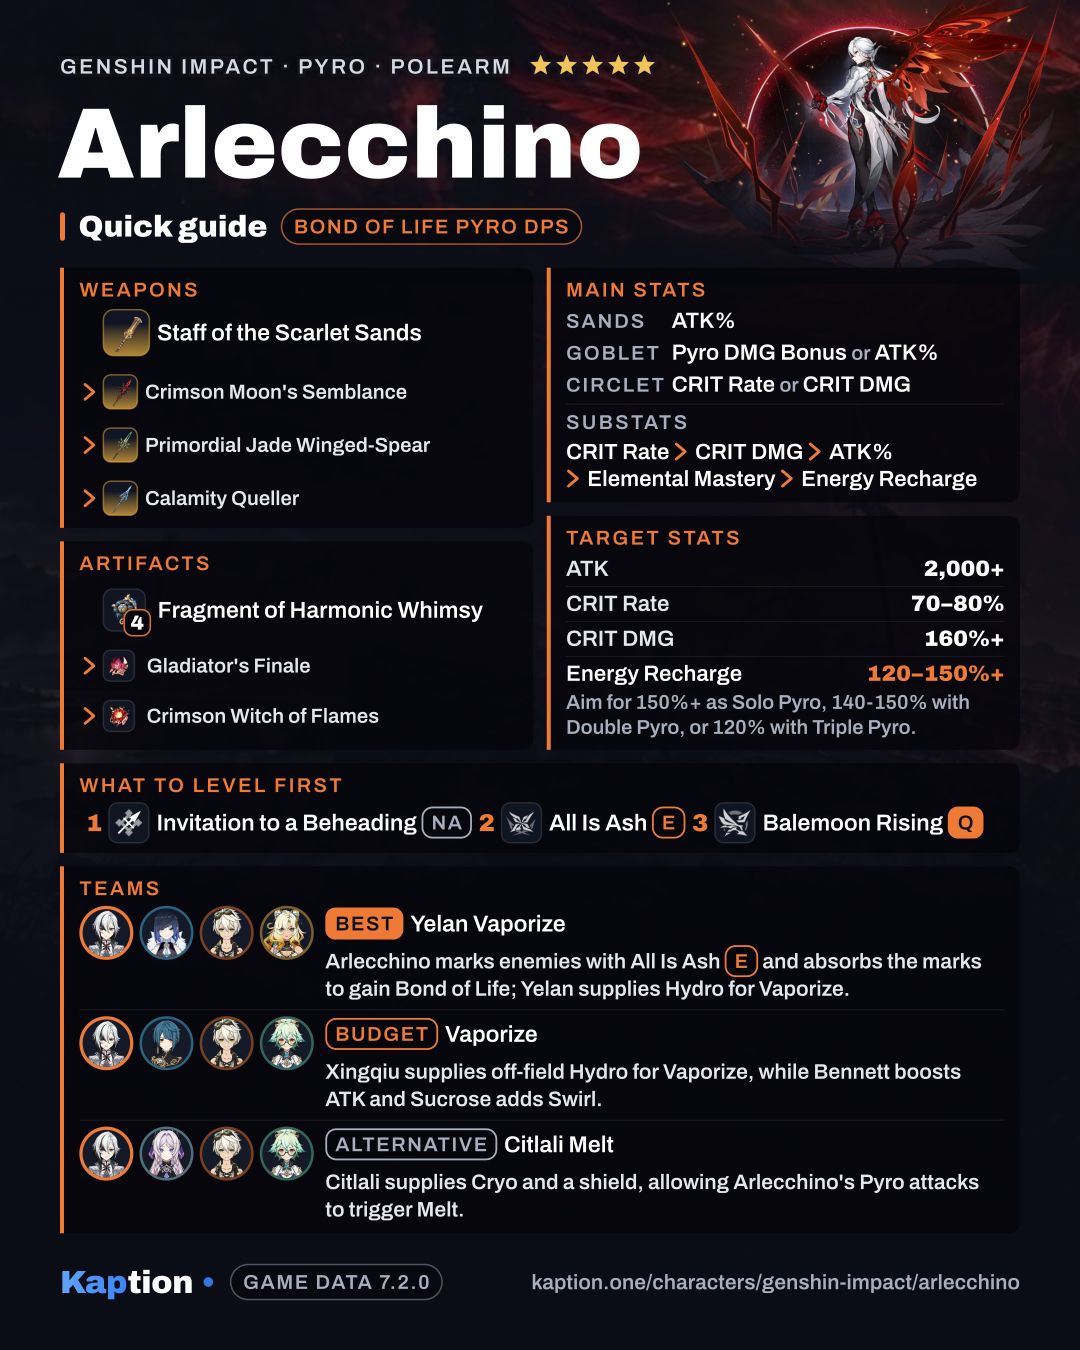
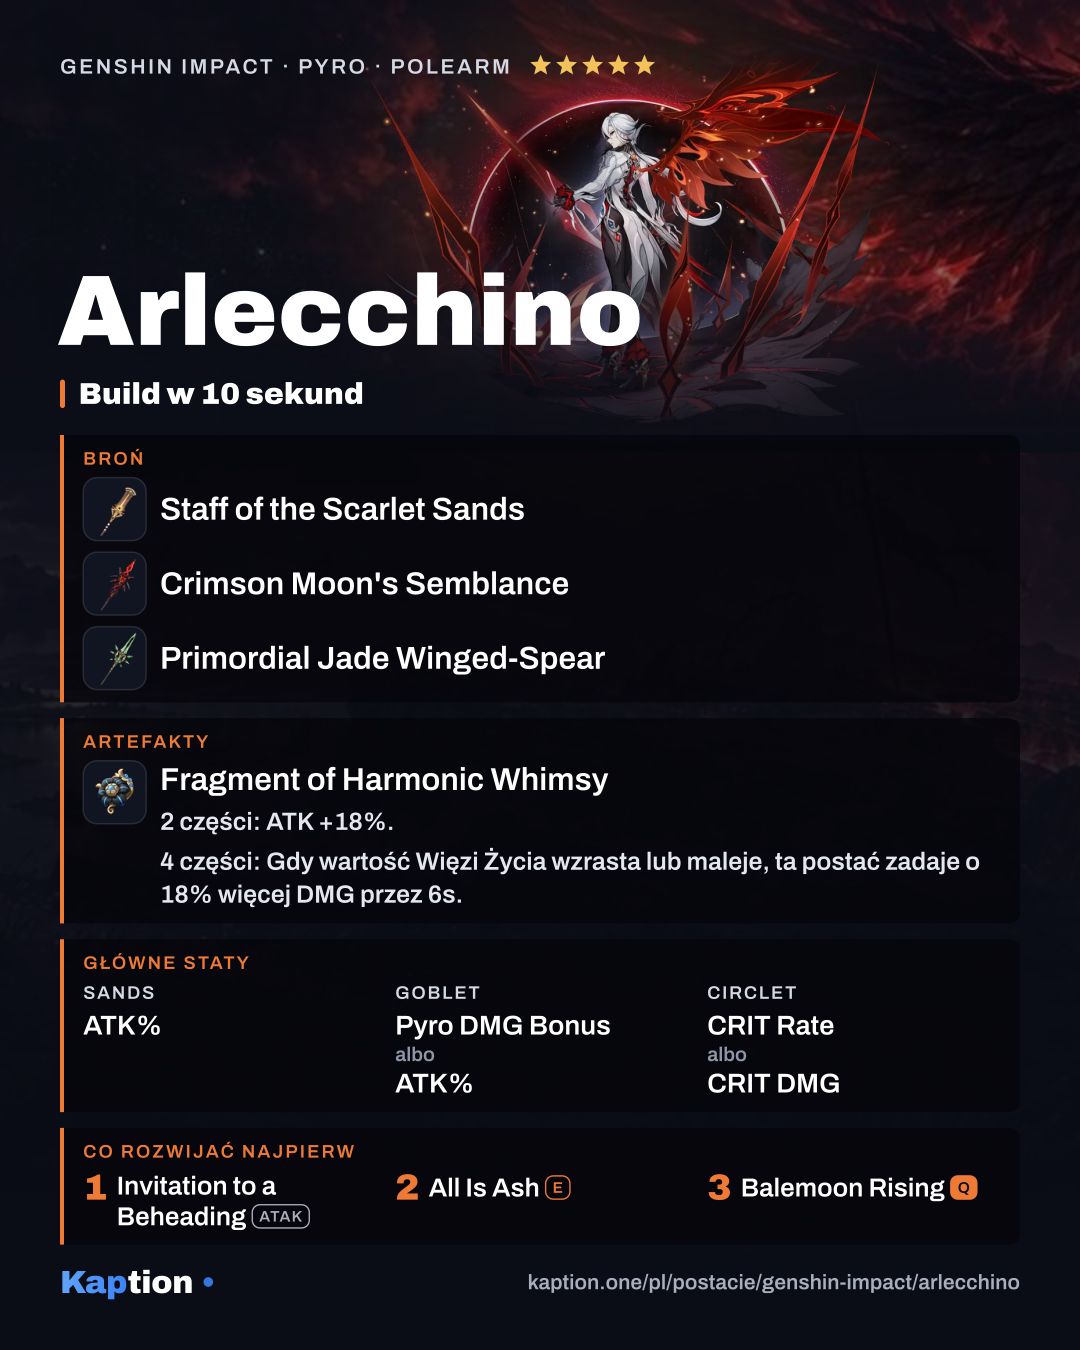
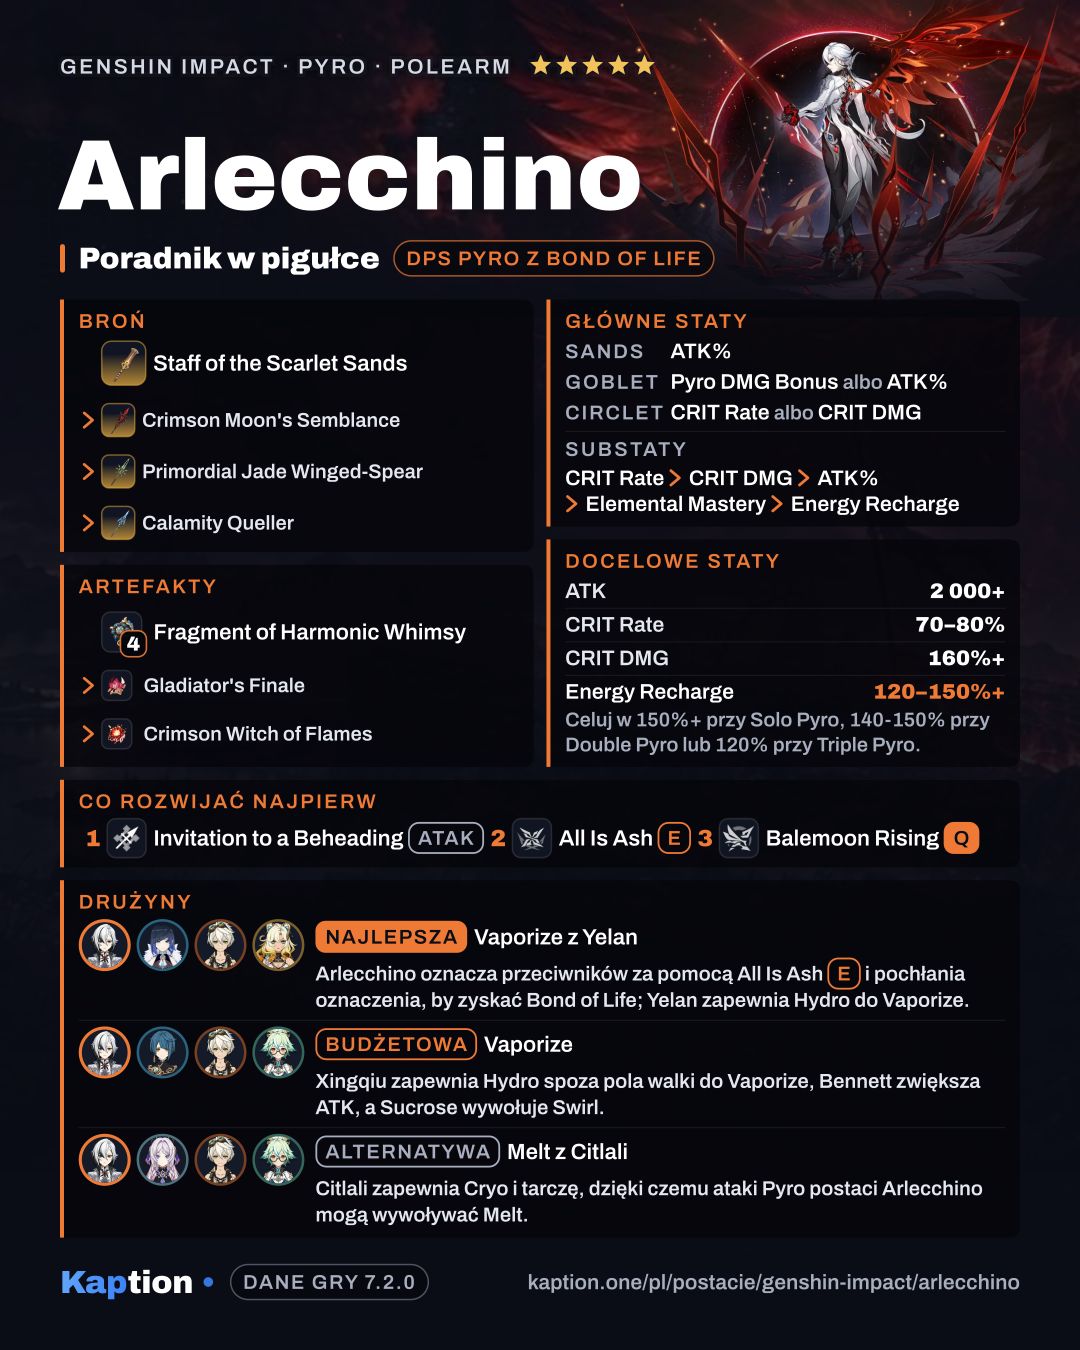
The first set to look for is four pieces of Fragment of Harmonic Whimsy. Its two-piece ATK bonus helps her attack scaling, while changes to Bond of Life grant 18% damage per stack for 6s, up to three stacks. Collecting marks and landing Normal Attacks both change that value.
Night of the Sky's Unveiling is an option for a team that triggers Lunar Reactions. Its four-piece effect gives the on-field wearer CRIT Rate when nearby teammates trigger those reactions; the amount depends on the party's Moonsign. Unfinished Reverie is an option around Burning: its damage bonus falls in combat if no Burning opponents are nearby for more than 6s. For a simpler alternative, Gladiator's Finale boosts Polearm Normal Attack damage by 35% with four pieces.
Use ATK Percentage on the sands, Pyro DMG Bonus or ATK Percentage on the goblet, and CRIT Rate or CRIT DMG on the circlet. Look for CRIT Rate, CRIT DMG and ATK Percentage in substats; Elemental Mastery suits reaction teams, while Energy Recharge helps with Burst availability.
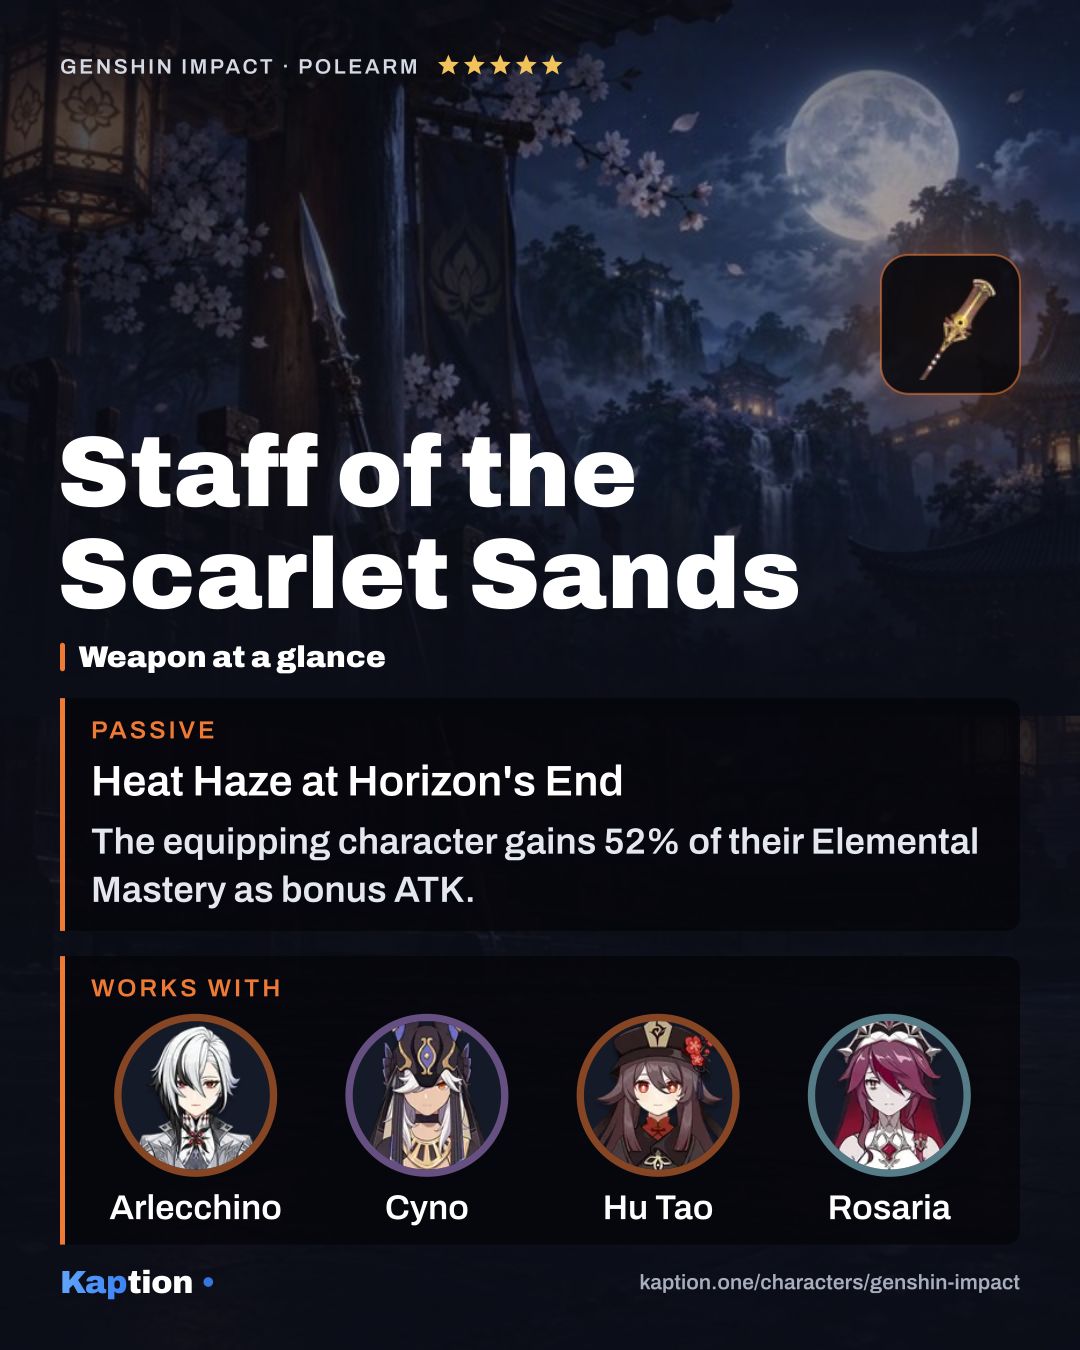
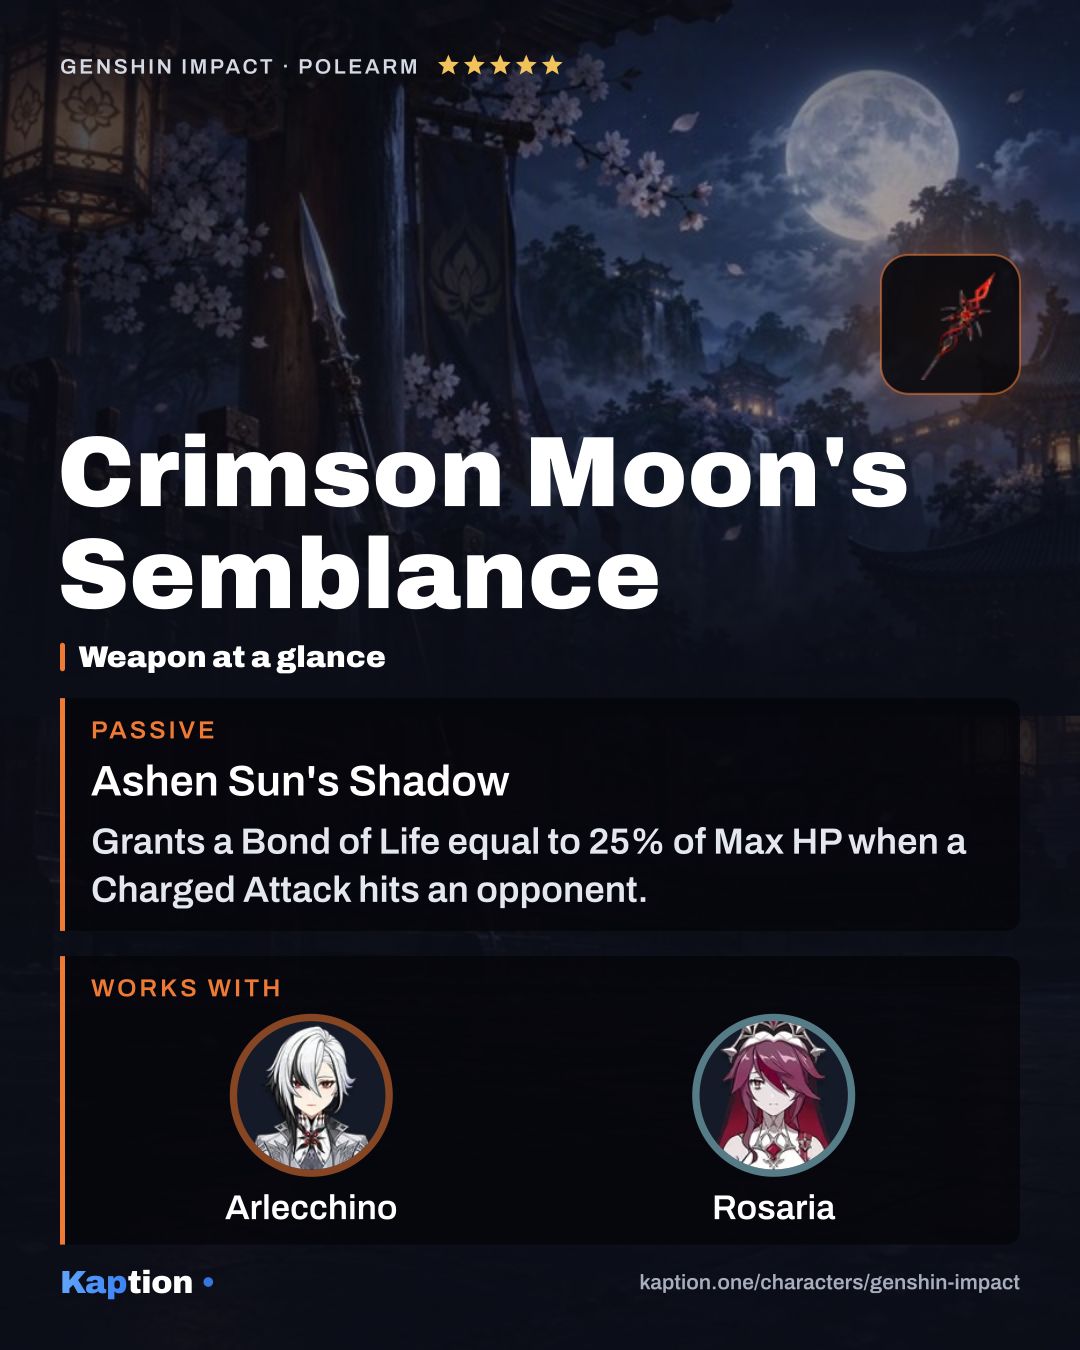
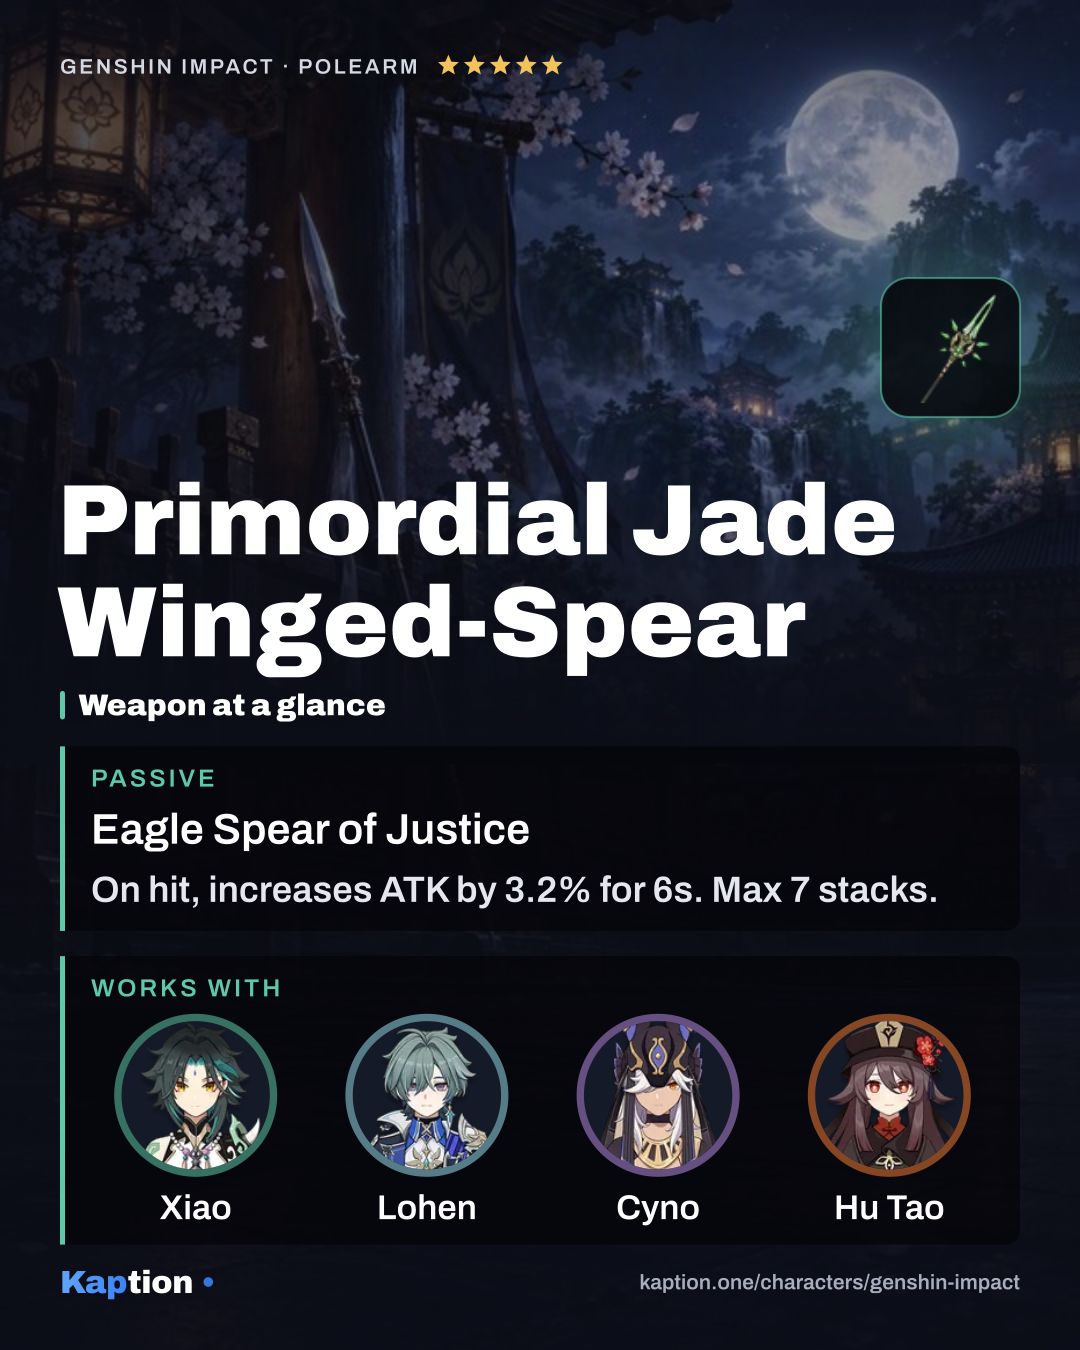
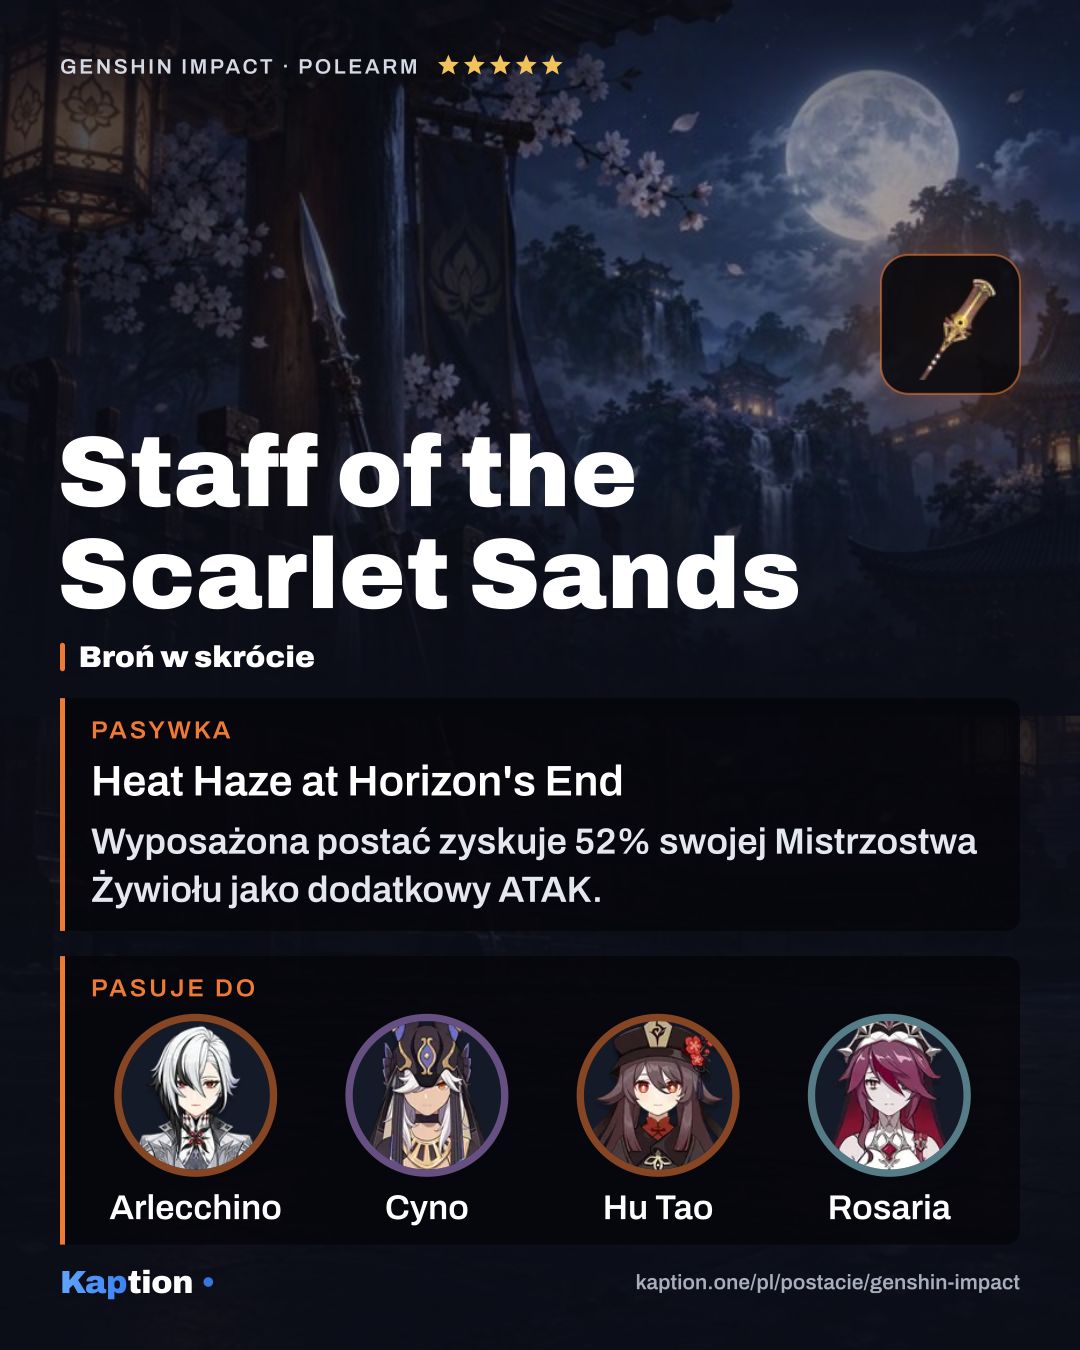
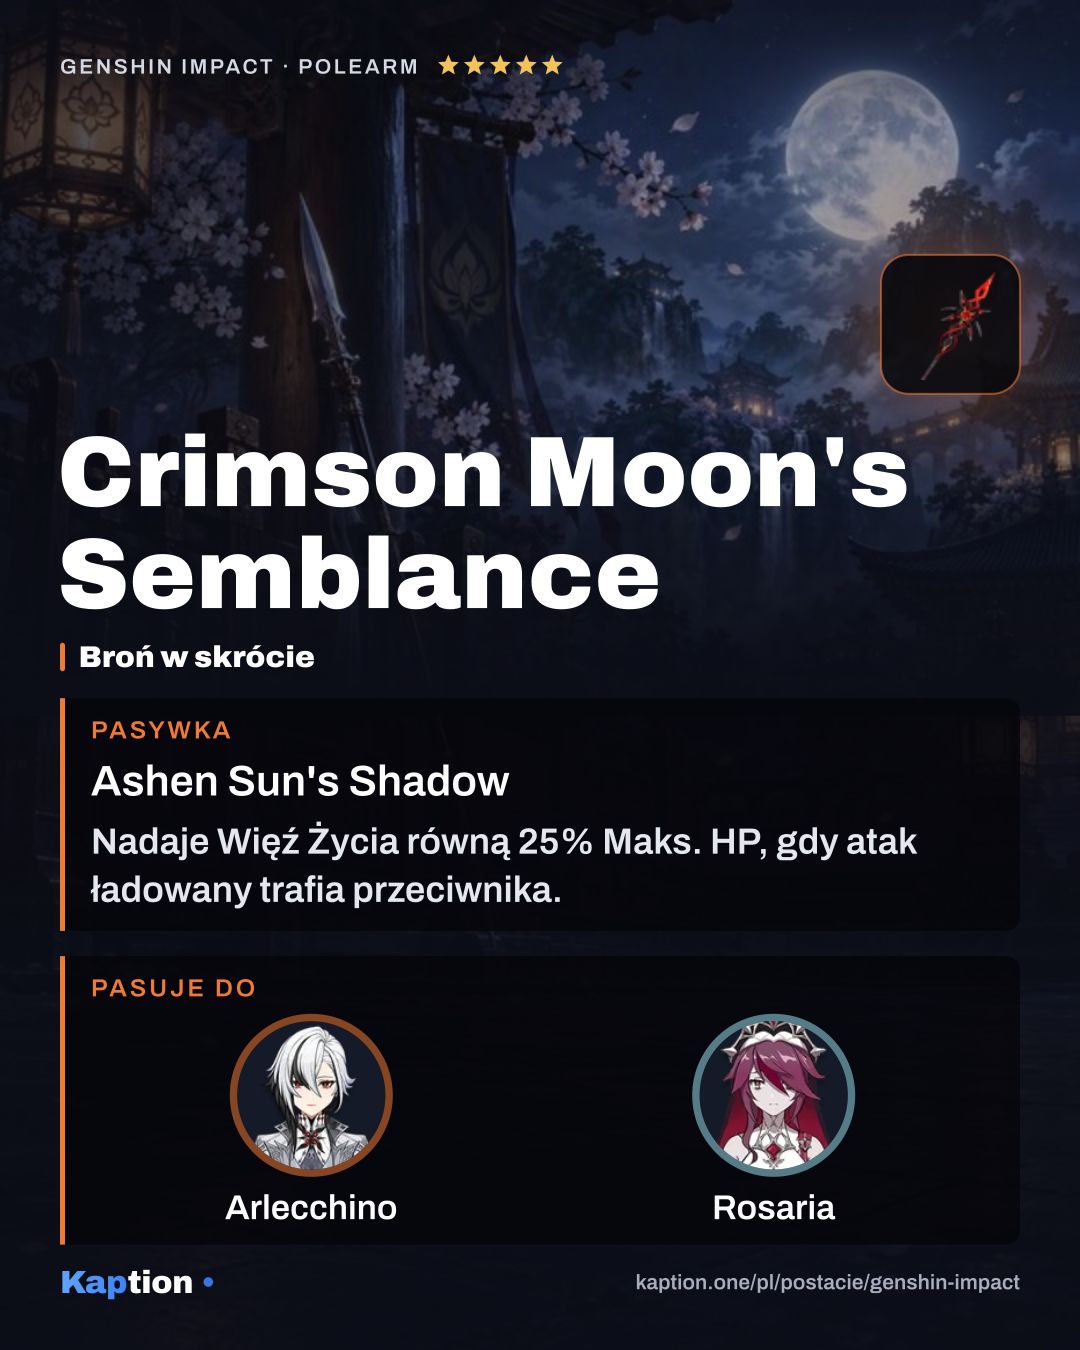
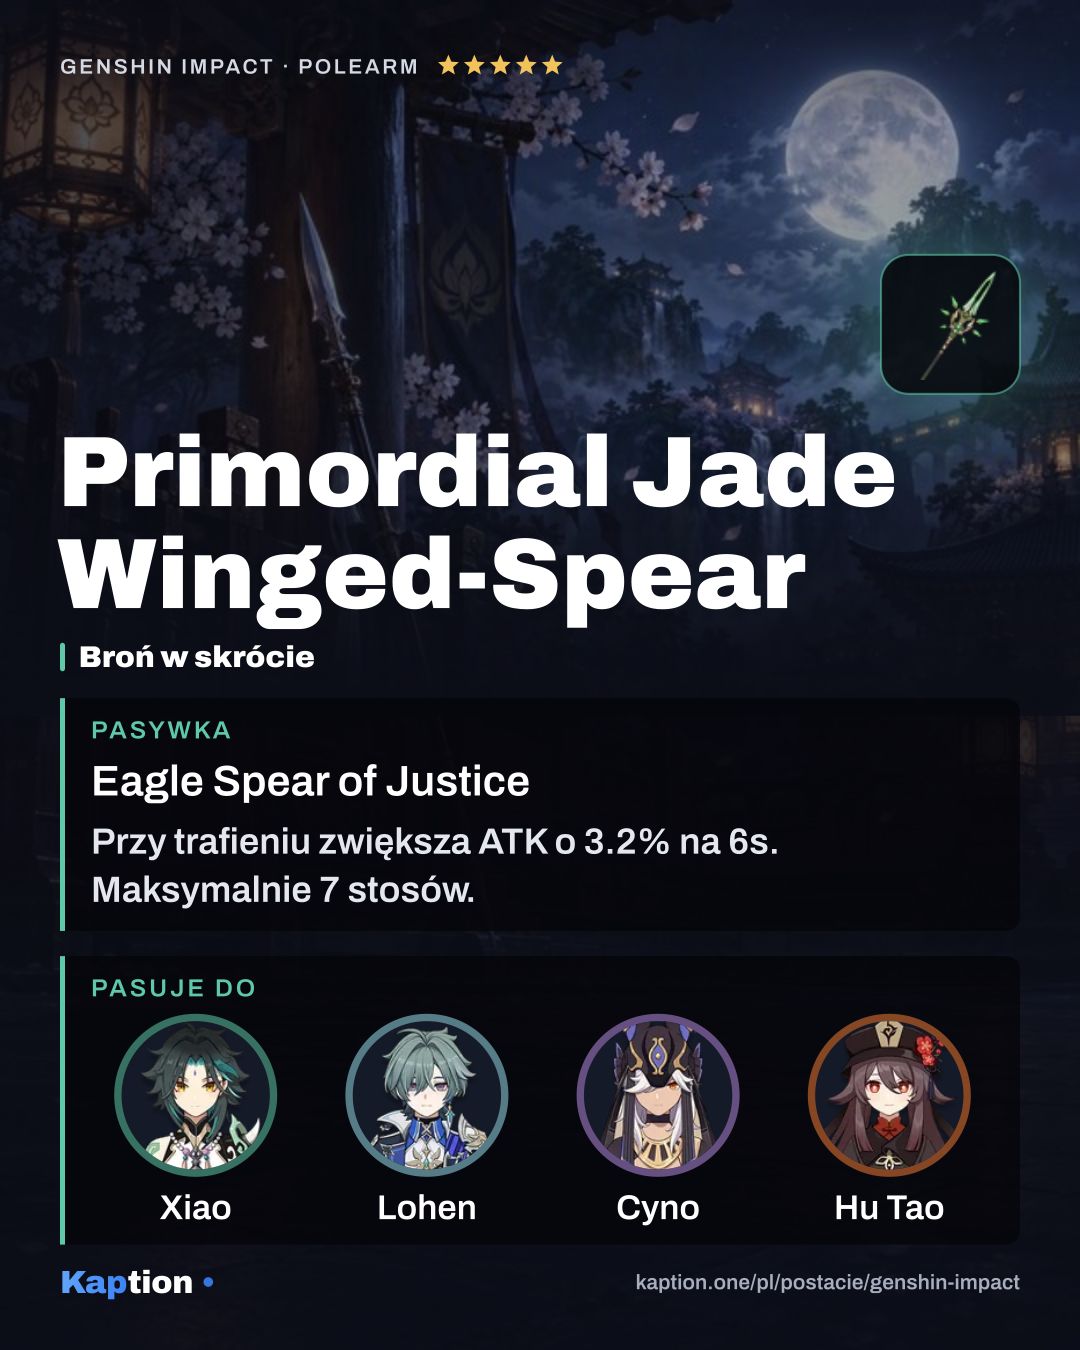
Crimson Moon's Semblance is the first weapon choice. A Charged Attack hit grants Bond of Life, and its damage bonus grows when Bond reaches 30% of Max HP. Primordial Jade Winged-Spear builds ATK on hits and gains a damage bonus at full stacks. Staff of the Scarlet Sands converts Elemental Mastery into ATK, making it worth considering in a reaction build. Deathmatch and White Tassel are alternatives with lower rarity.
Leveling priority
I'd level Invitation to a Beheading (NA) first: empowered Normal Attacks are central to her time on the field. All Is Ash is a good second choice because it applies her marks and deals Pyro damage. Level Balemoon Rising after those; it still matters for damage and healing.
For ascension, gather Rainbow Rose, the Agnidus Agate Sliver, Fragment, Chunk and Gemstone, Recruit's Insignia, Sergeant's Insignia, Lieutenant's Insignia, Fragment of a Golden Melody and Mora.
Her talents use Teachings of Order, Guide to Order, Philosophies of Order, the three Insignia materials, Fading Candle and Mora. Crown of Insight is needed for the final talent levels.
Constellations worth it
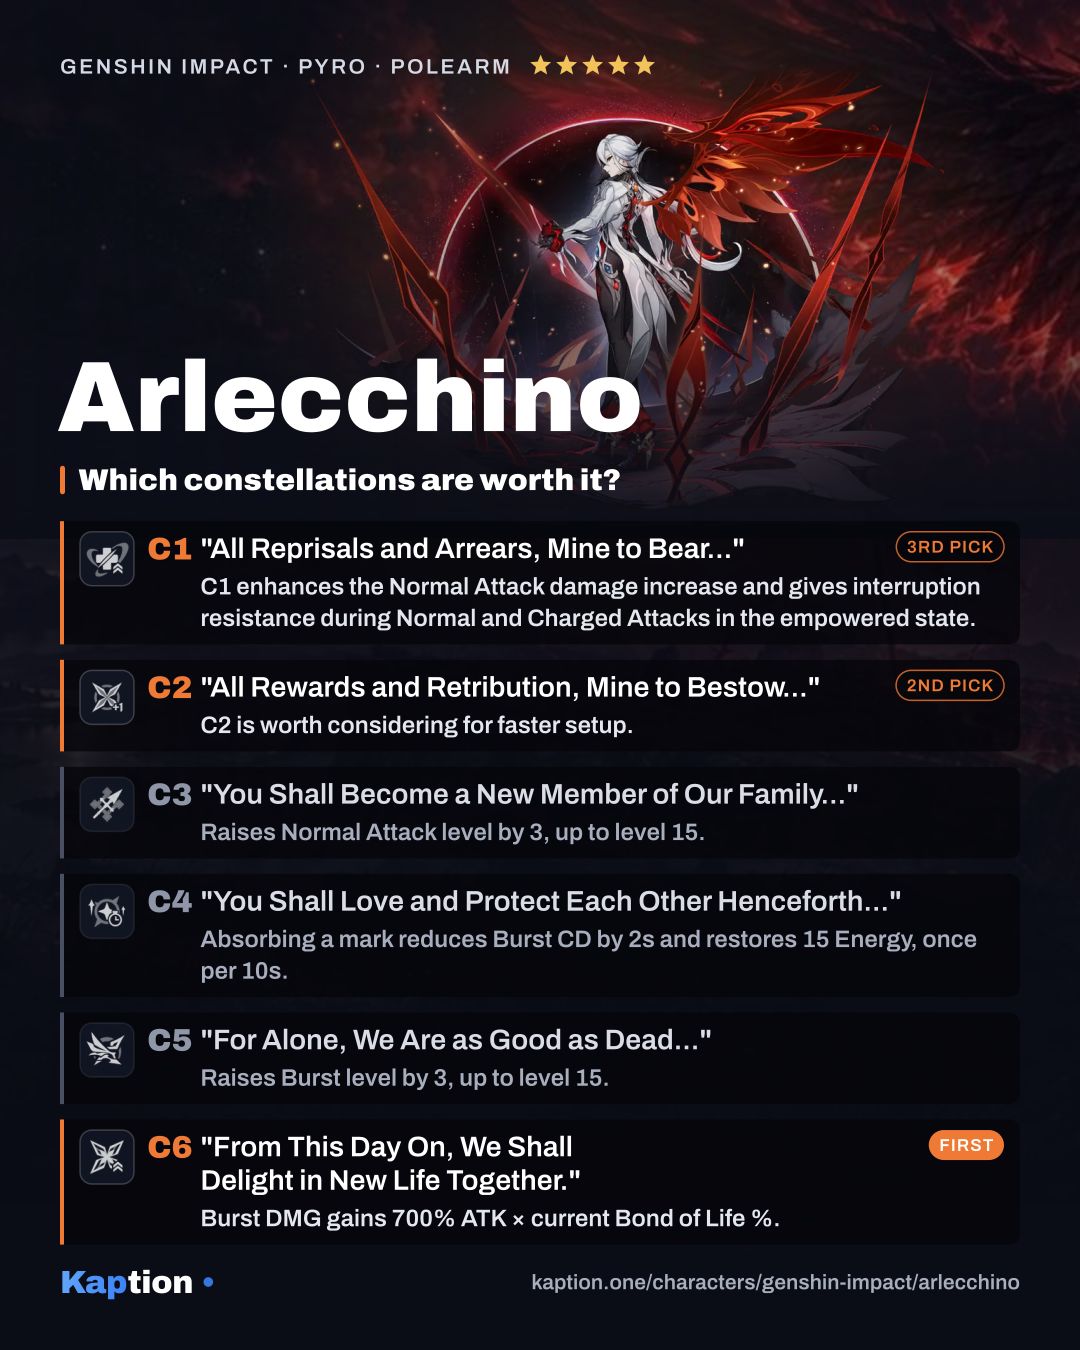
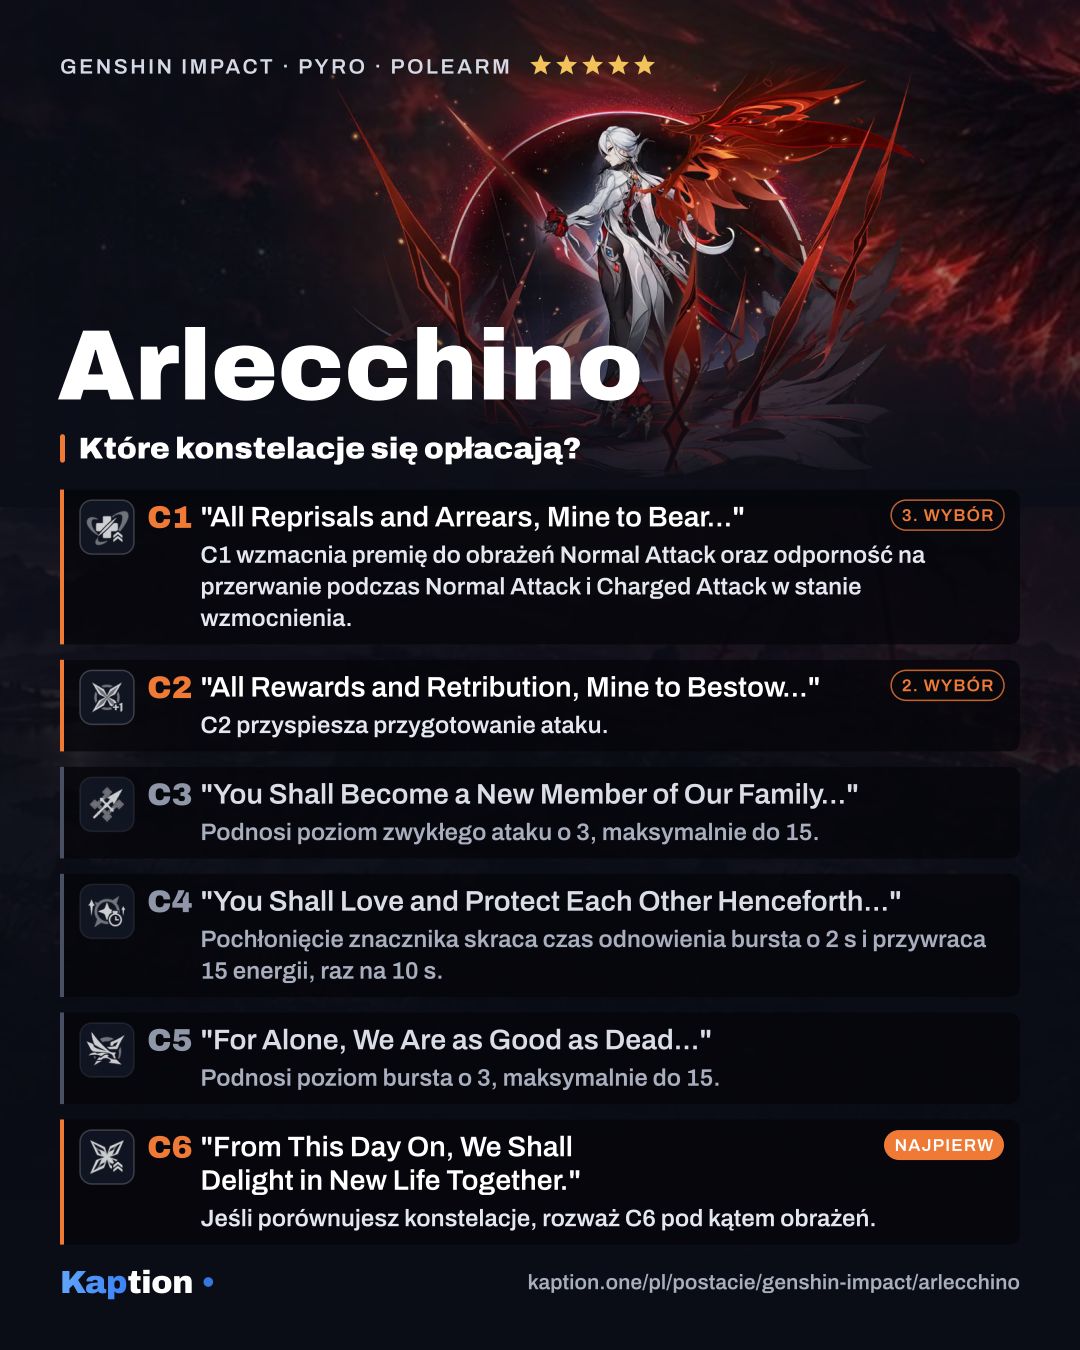
Arlecchino's base kit already has the marks and Pyro conversion needed for her attack cycle. If you are comparing constellations, C6 is an option for a large damage increase: it adds Burst damage based on ATK and current Bond of Life, and gives Normal Attacks and Burst 10% CRIT Rate and 70% CRIT DMG for 20s after the skill.
C2 is worth considering for faster setup. After the required passive is unlocked, marks are immediately Due; absorbing one also deals AoE Pyro damage and grants resistance. C1 enhances the Normal Attack damage increase and gives interruption resistance during Normal and Charged Attacks in the empowered state.
C3 raises the Normal Attack talent level, while C4 helps with Burst cooldown and Energy. C5 raises the Burst talent level. You can leave those later upgrades alone if their effects are less useful to you, but constellations must be unlocked in order to reach C6.
Common mistakes
Don't collect a fresh mark immediately by habit. At C0, waiting 5s for it to become Due gives more Bond of Life per mark. Watch the 145% cap too: several marked enemies do not let you collect an unlimited amount in one skill window.
Don't keep attacking without checking Bond of Life. Normal Attack hits consume it, and below 30% of Max HP the Pyro conversion from her attack talent stops. Reapply the skill and collect marks when you need to build it again.
Don't assume a teammate's healing will save Arlecchino in combat. Keep an eye on her HP, use her Burst when healing is needed, and consider a shield if interruptions or incoming damage are giving you trouble.