



























Guide
How the kit works
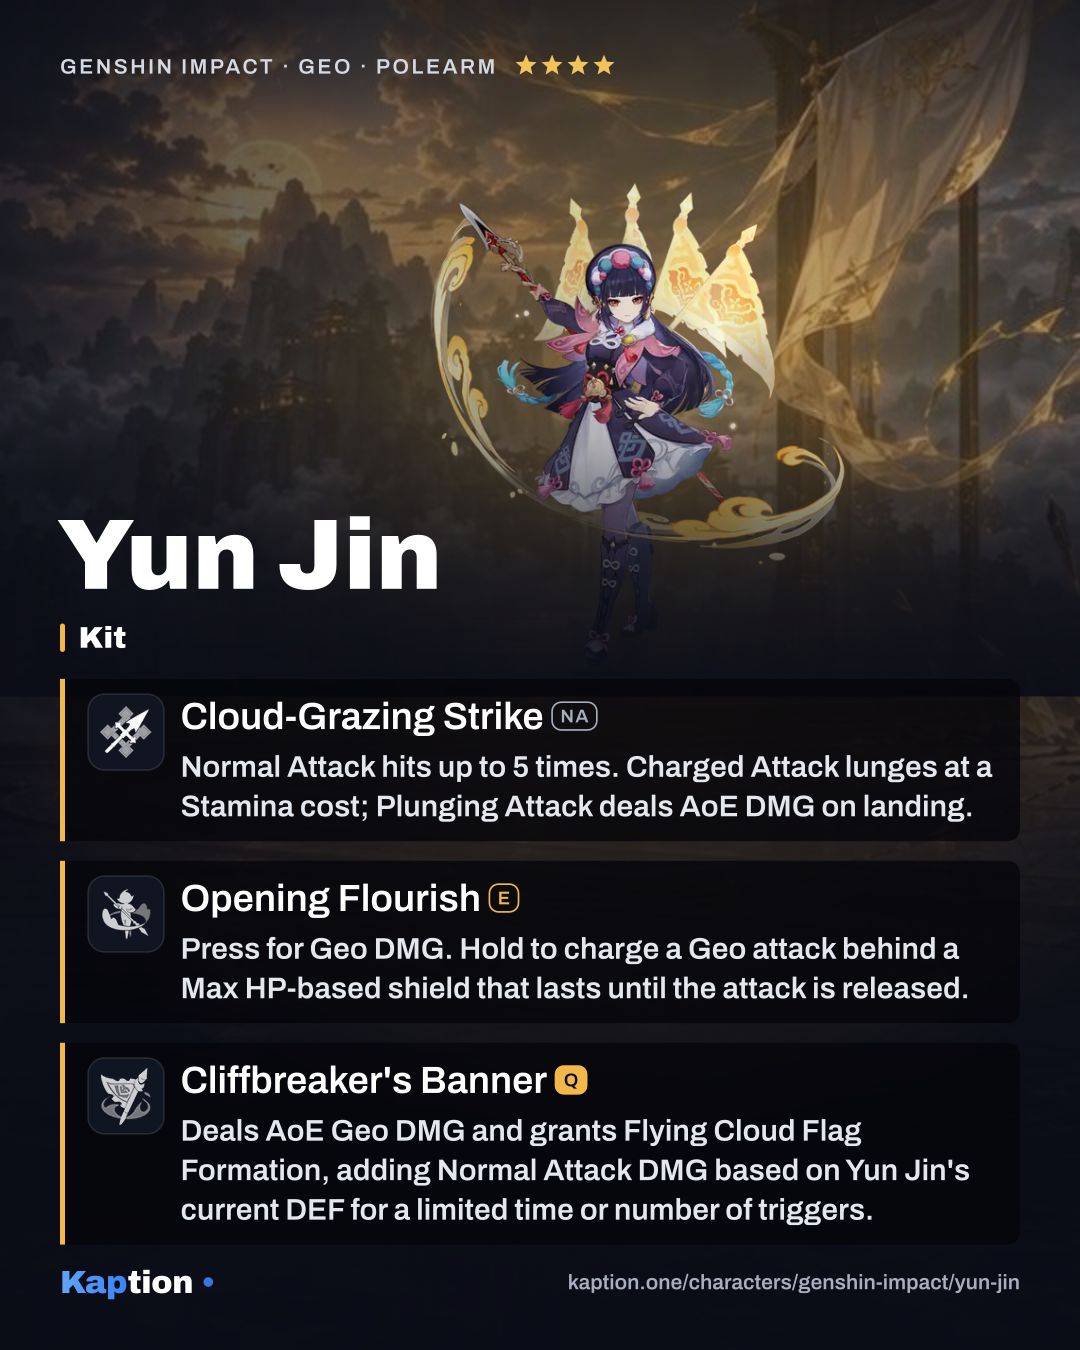
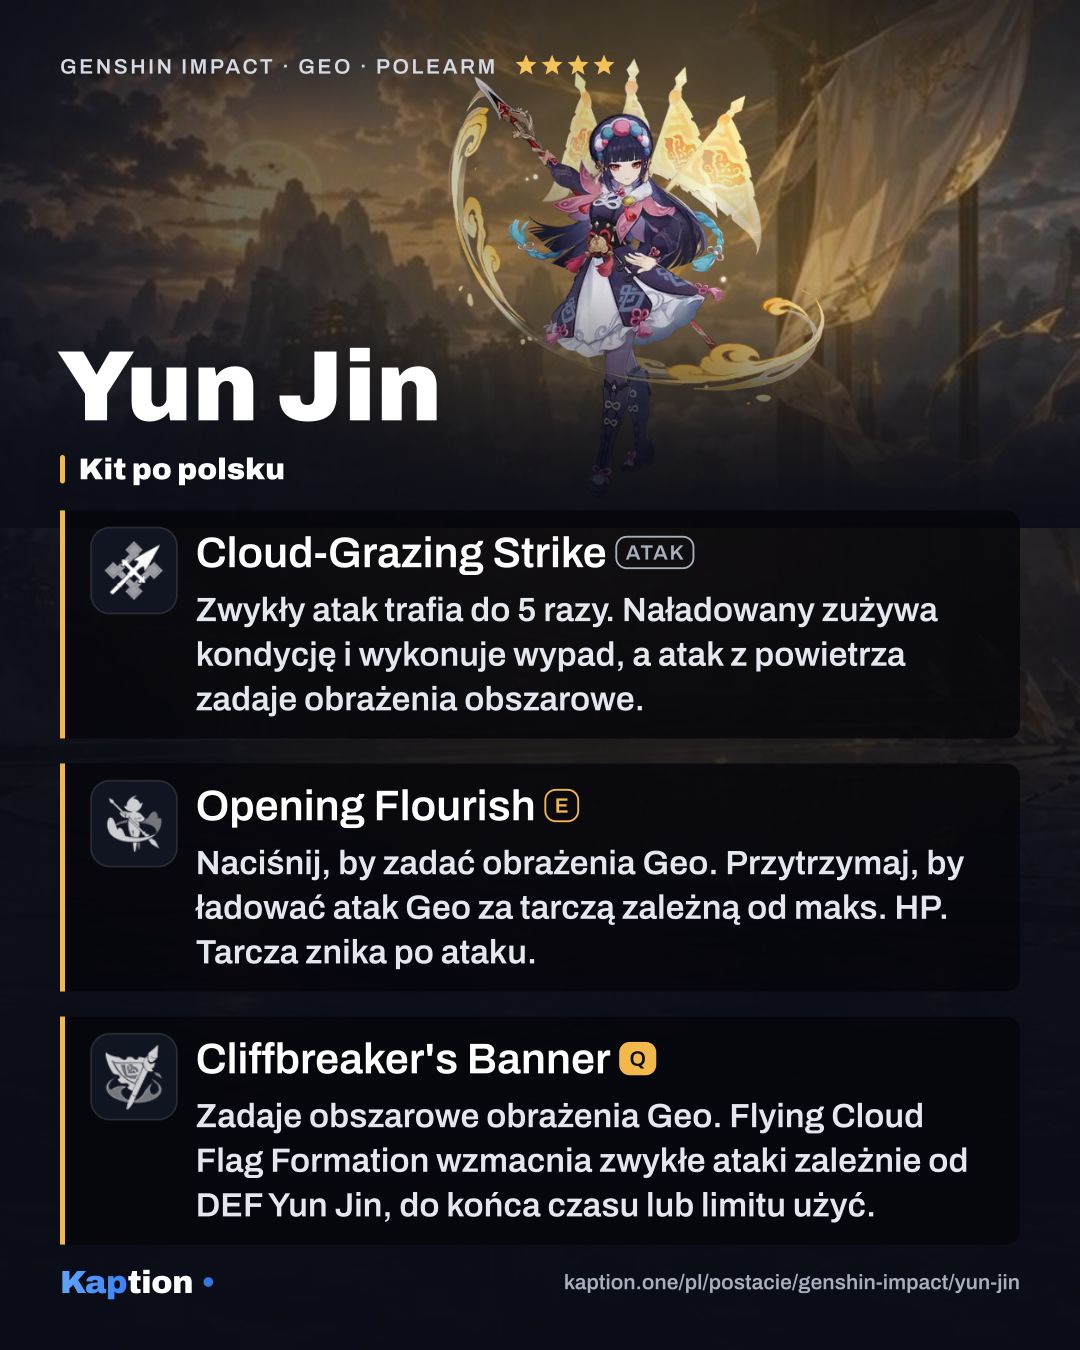
Start with Opening Flourish. A press deals Geo DMG; holding it creates a shield and charges the attack. The shield scales with Max HP, has 150% effectiveness against Elemental and Physical DMG, and lasts only until the Skill is unleashed. Releasing it, reaching the end of its duration or having the shield broken sends out the attack.
The held attack has two charge levels. With True to Oneself, using Opening Flourish at the precise moment Yun Jin is attacked unleashes the Level 2 version without waiting for a full charge.
Use Cliffbreaker's Banner, then switch to a character who uses Normal Attacks. The Burst deals AoE Geo DMG and grants Flying Cloud Flag Formation to nearby party members. Its bonus ends after a set duration or a set number of triggers. Hitting several enemies with one Normal Attack uses a trigger for each enemy, and each party member has a separate count.
Breaking Conventions increases the bonus according to the number of different elements in the party: 2.5% of Yun Jin's DEF with one element, rising to 11.5% with four. Cloud-Grazing Strike (NA) gives Yun Jin her own spear attacks, but the Burst also lets other party members use the bonus.
Build and why
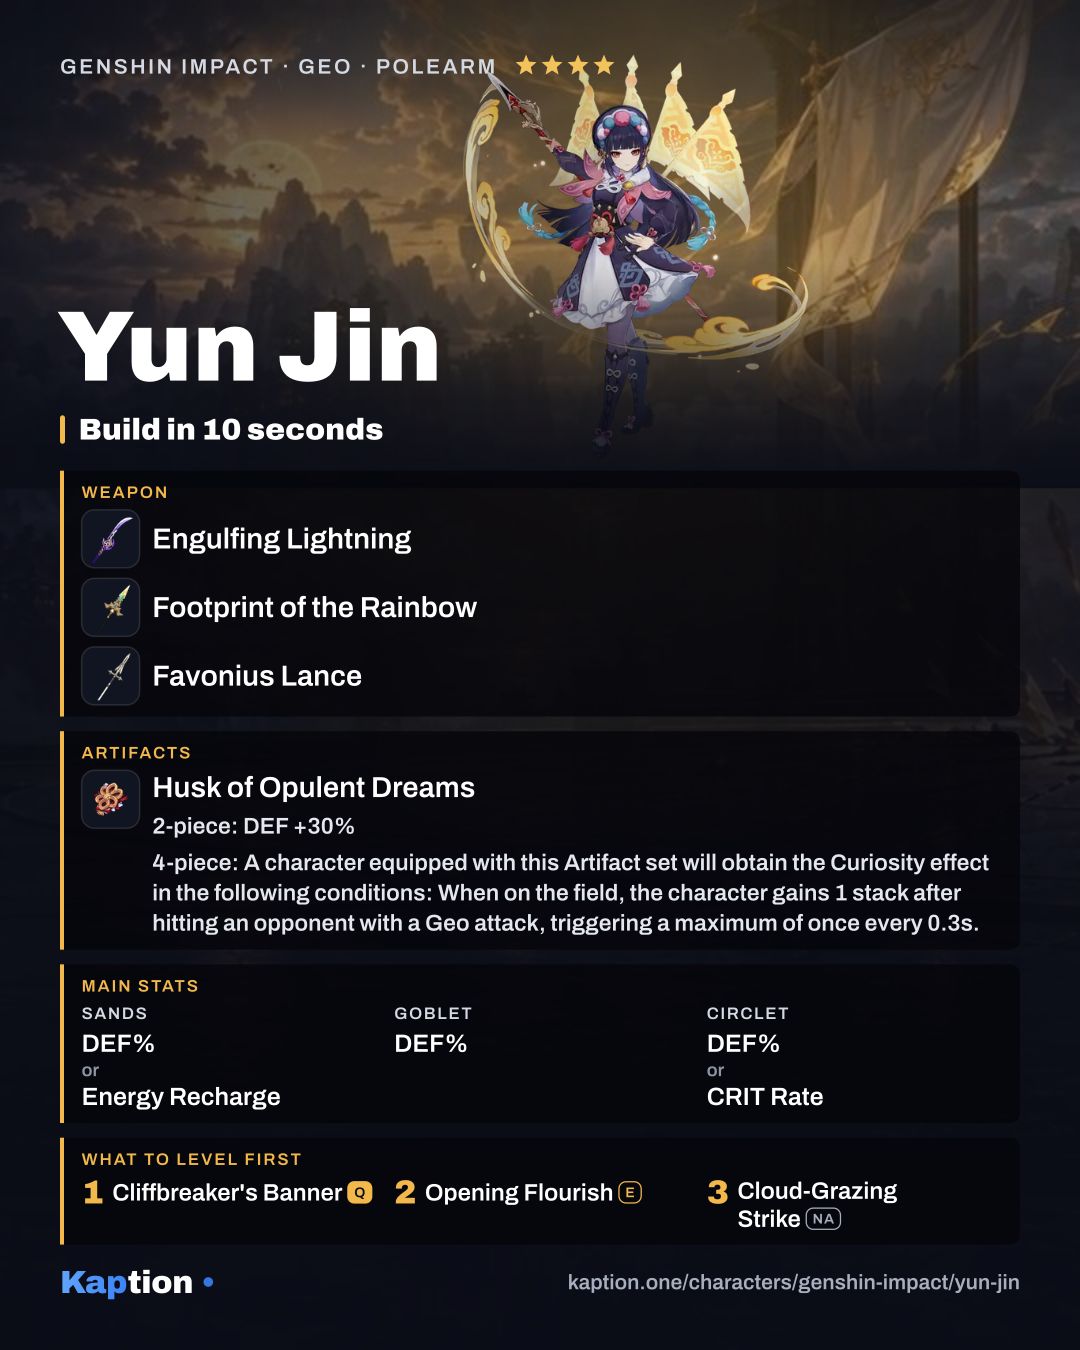
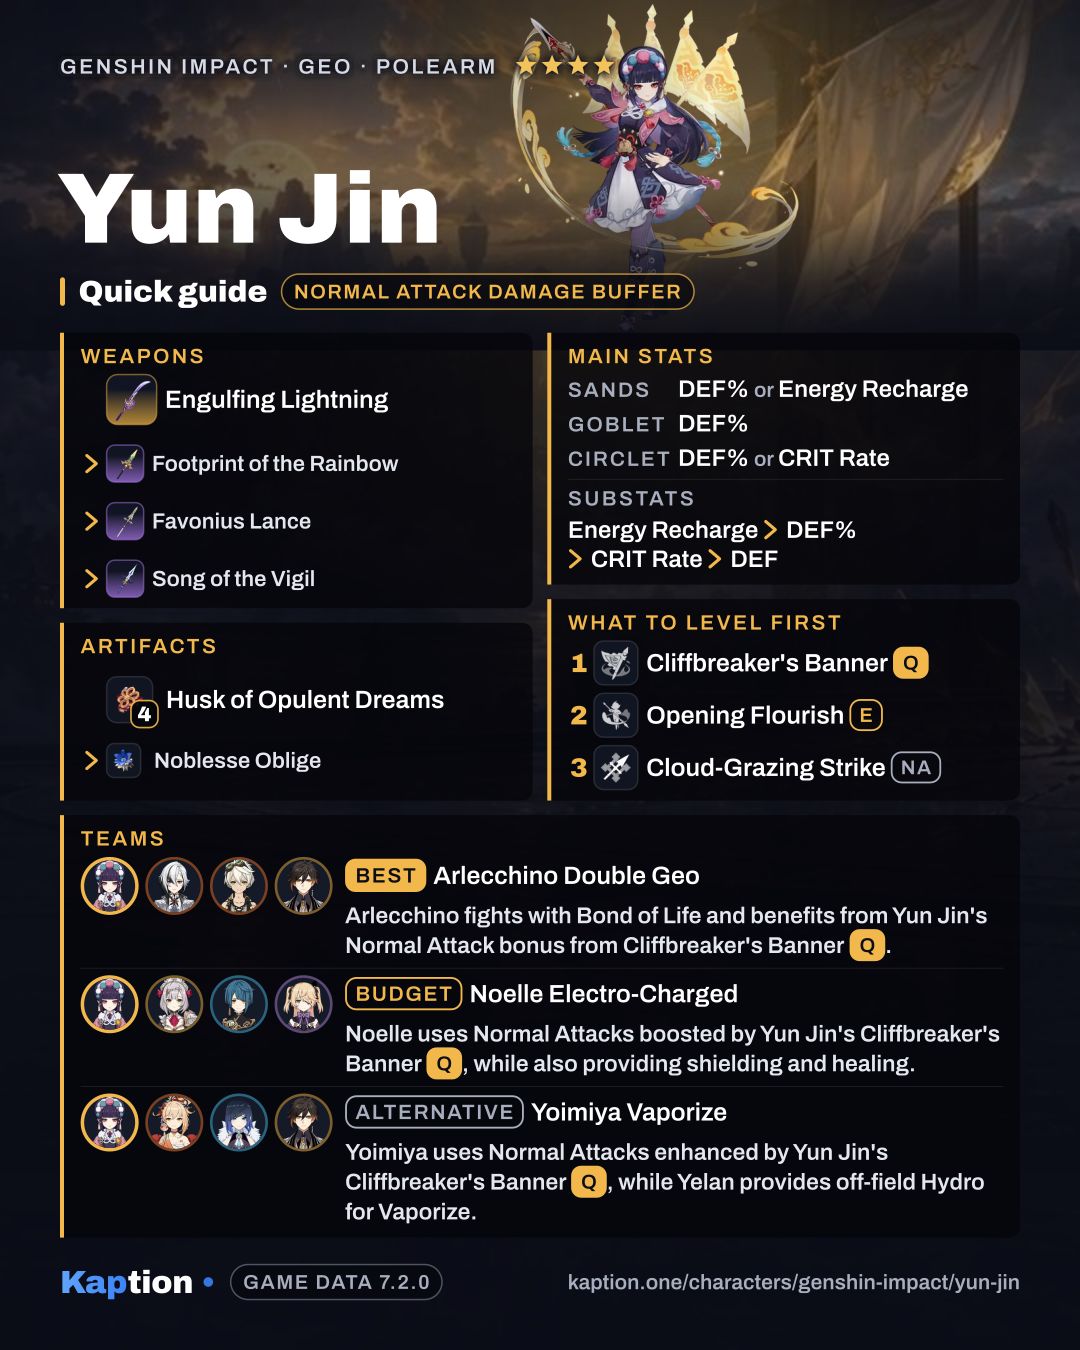
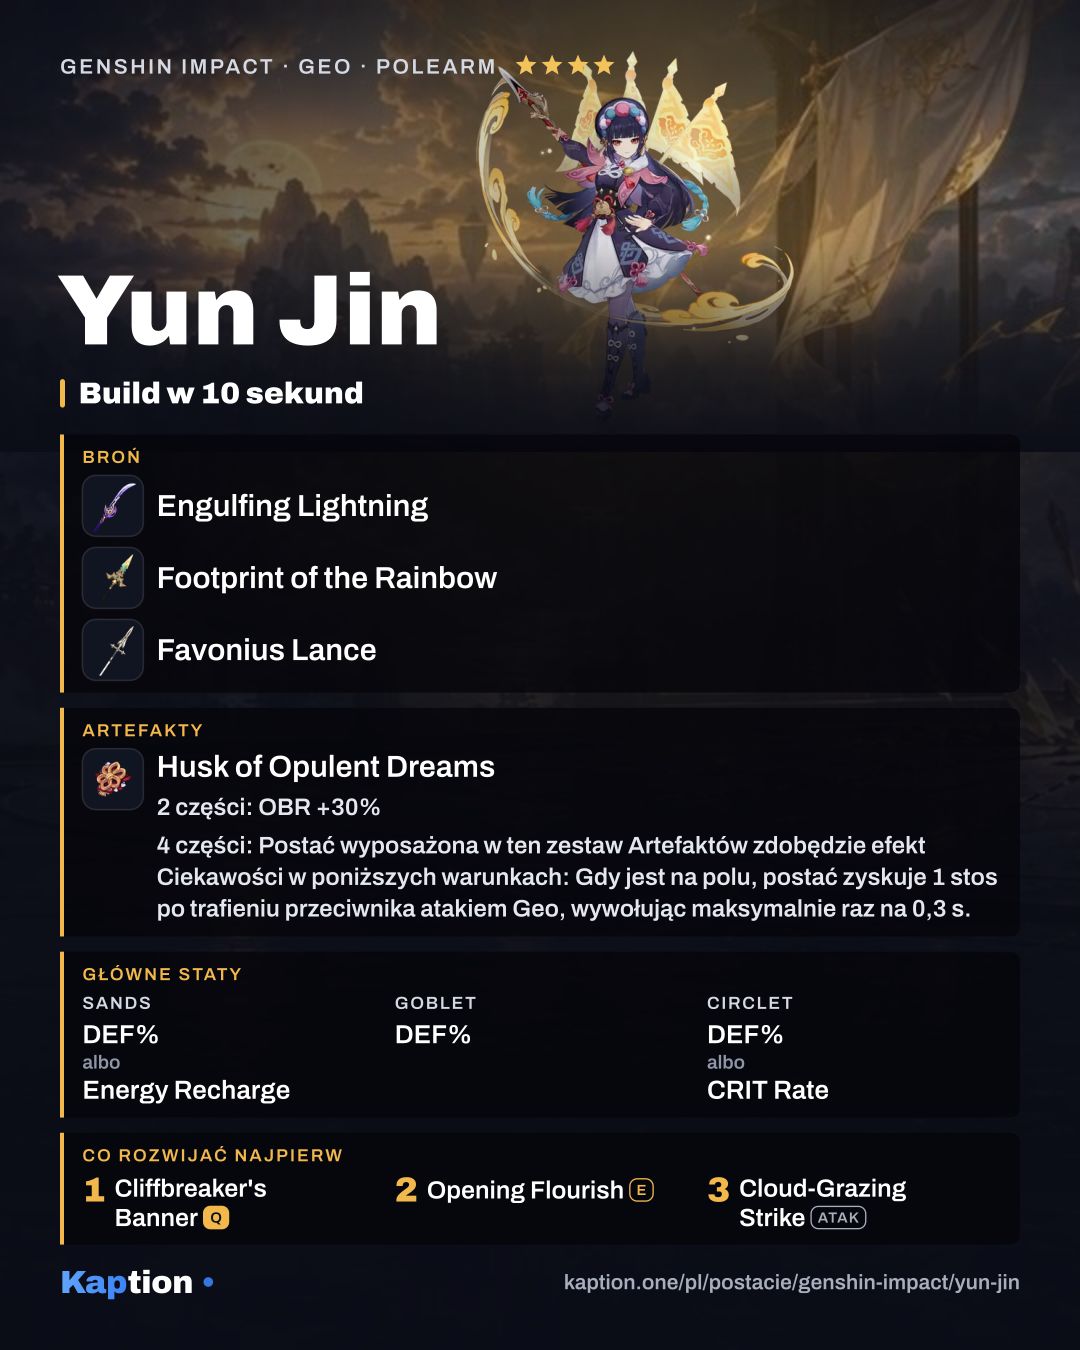
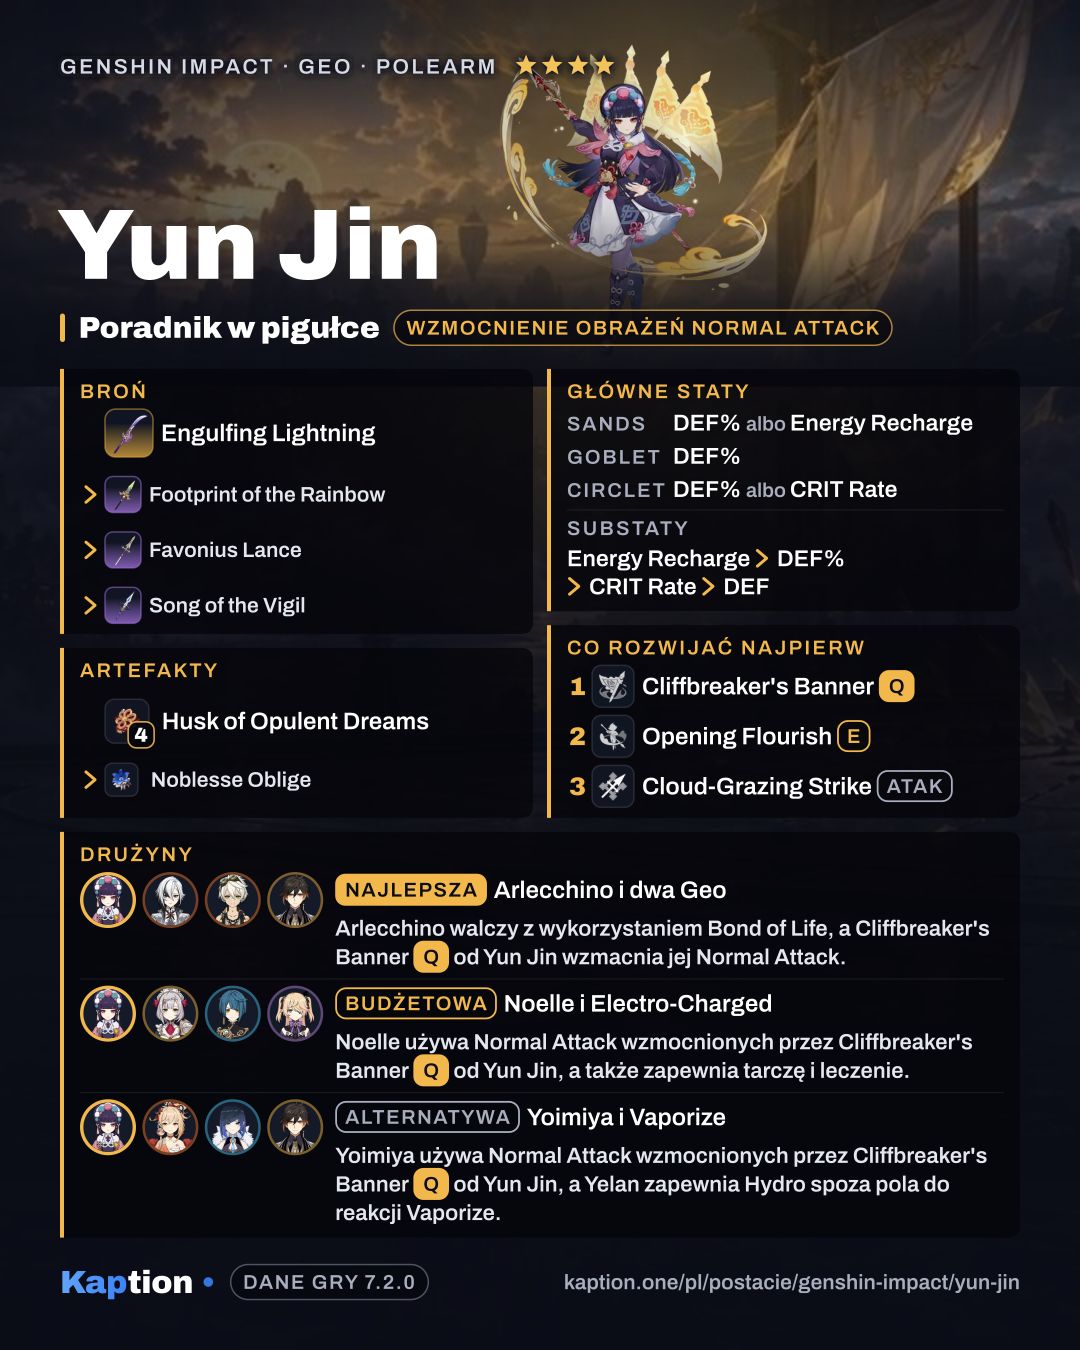
Use four pieces of Husk of Opulent Dreams. Two pieces give 30% DEF; the four-piece effect builds up to four Curiosity stacks, each adding 6% DEF and 6% Geo DMG Bonus. Yun Jin can gain stacks off-field, while the DEF improves her Normal Attack bonus.
Four-piece Noblesse Oblige is another option: using the Burst gives the party 20% ATK for 12 seconds. Scroll of the Hero of Cinder City is worth considering for a reaction team; its four-piece effect gives a 12% Elemental DMG Bonus for the elements involved after Yun Jin triggers a related reaction. For a mixed set, two pieces of Defender's Will and two of The Exile give DEF and Energy Recharge.
For main stats, choose DEF Percentage or Energy Recharge on the sands, DEF Percentage on the goblet, and DEF Percentage or CRIT Rate on the circlet. Prioritize Energy Recharge and DEF Percentage in substats, followed by CRIT Rate and DEF. CRIT Rate is useful with Favonius Lance.
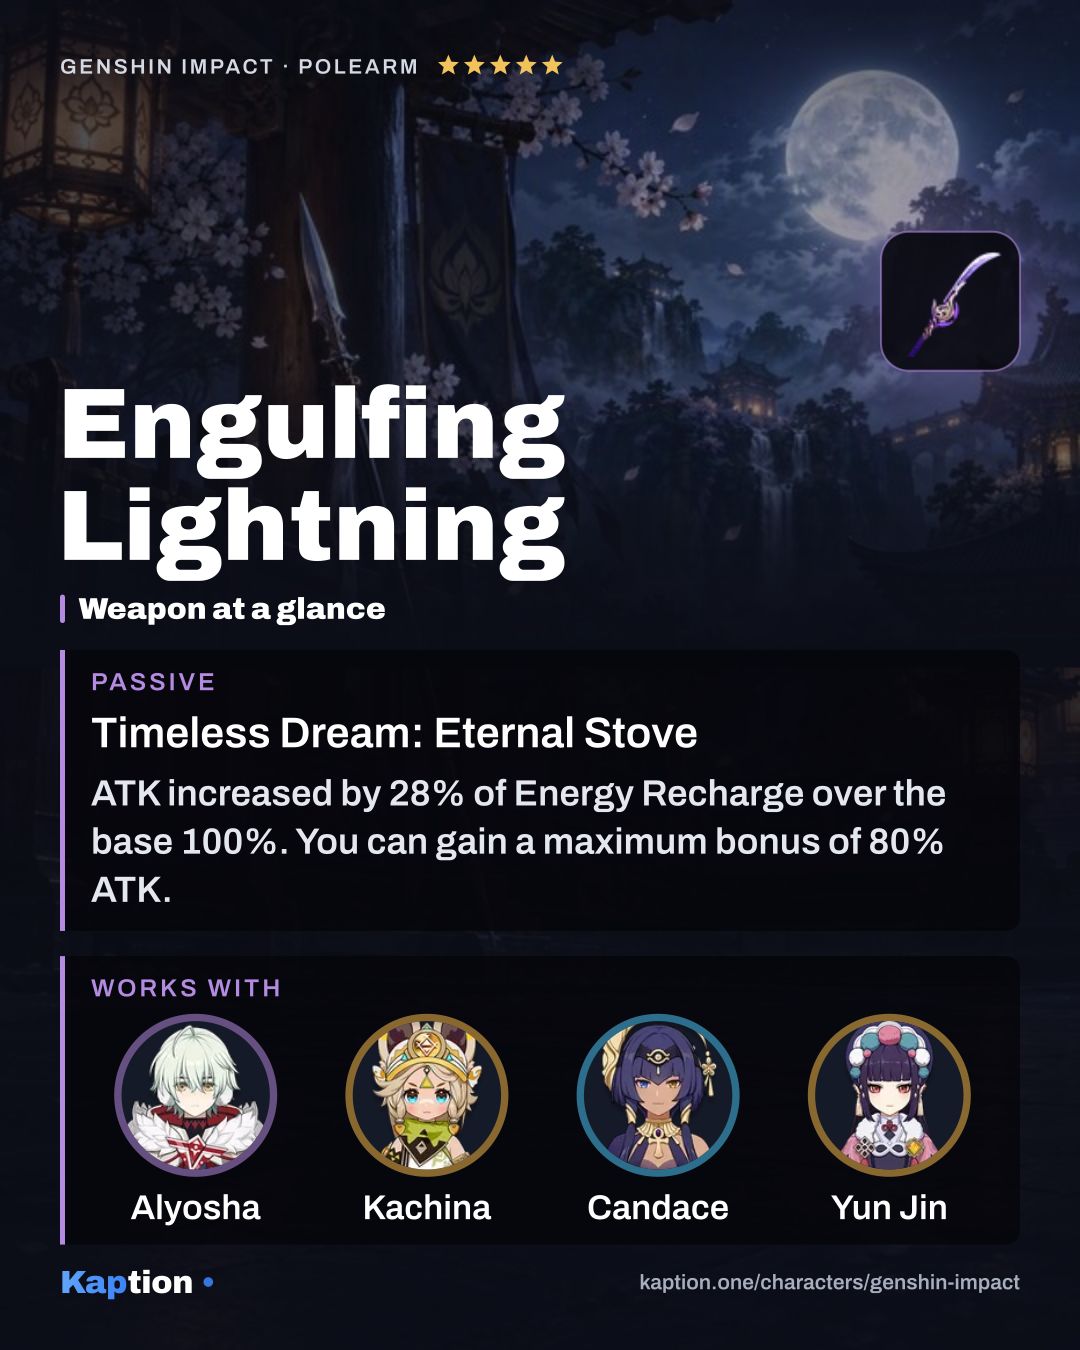
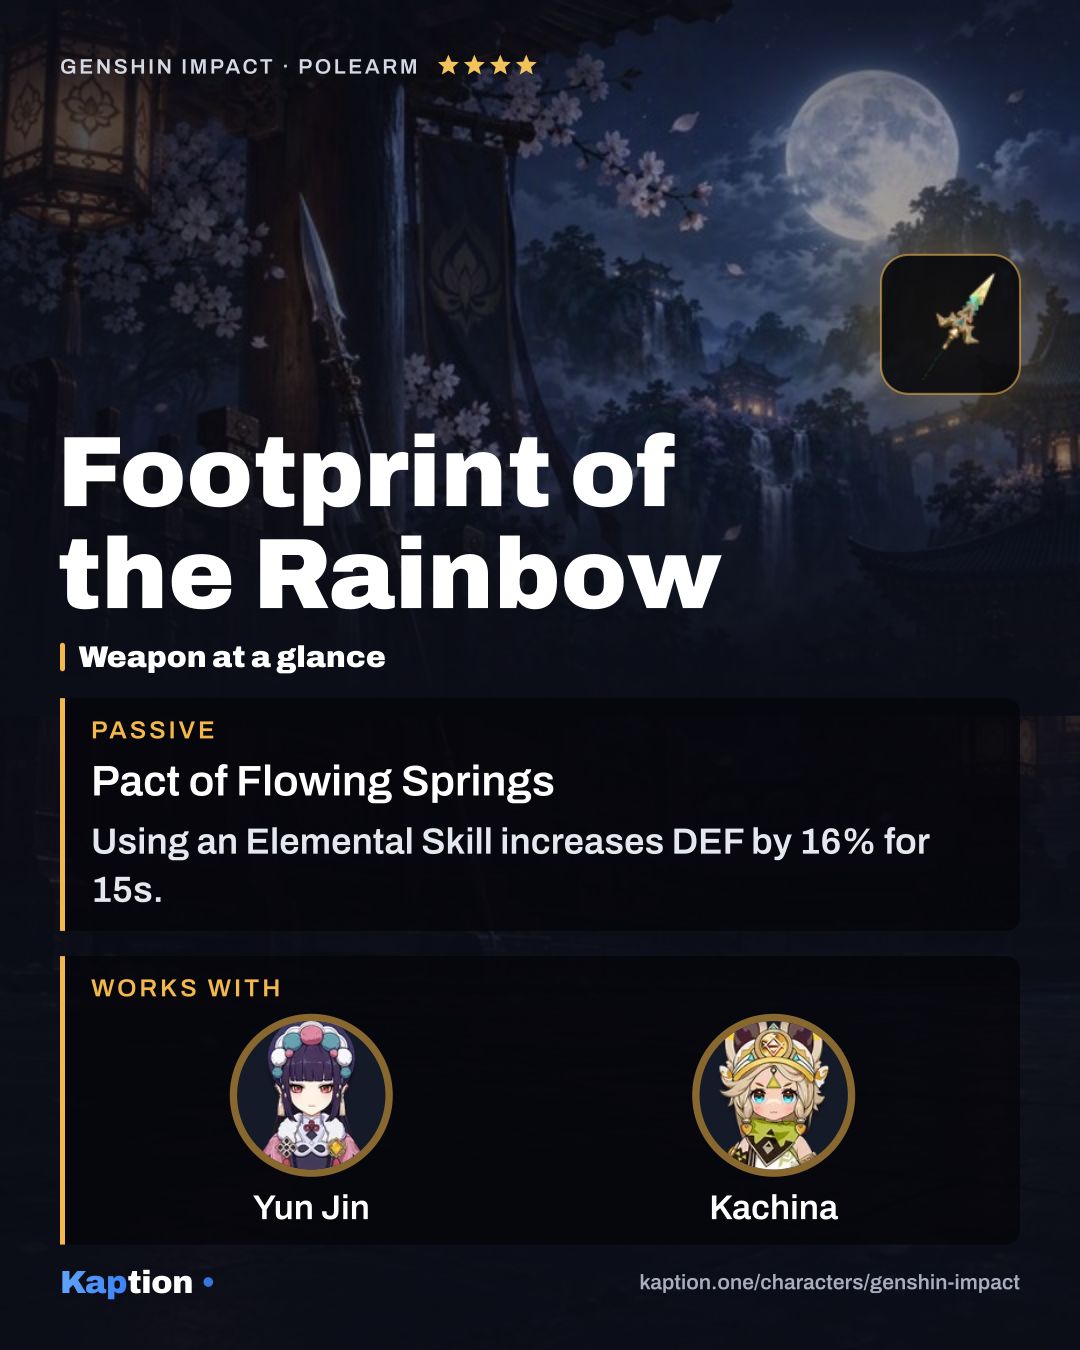
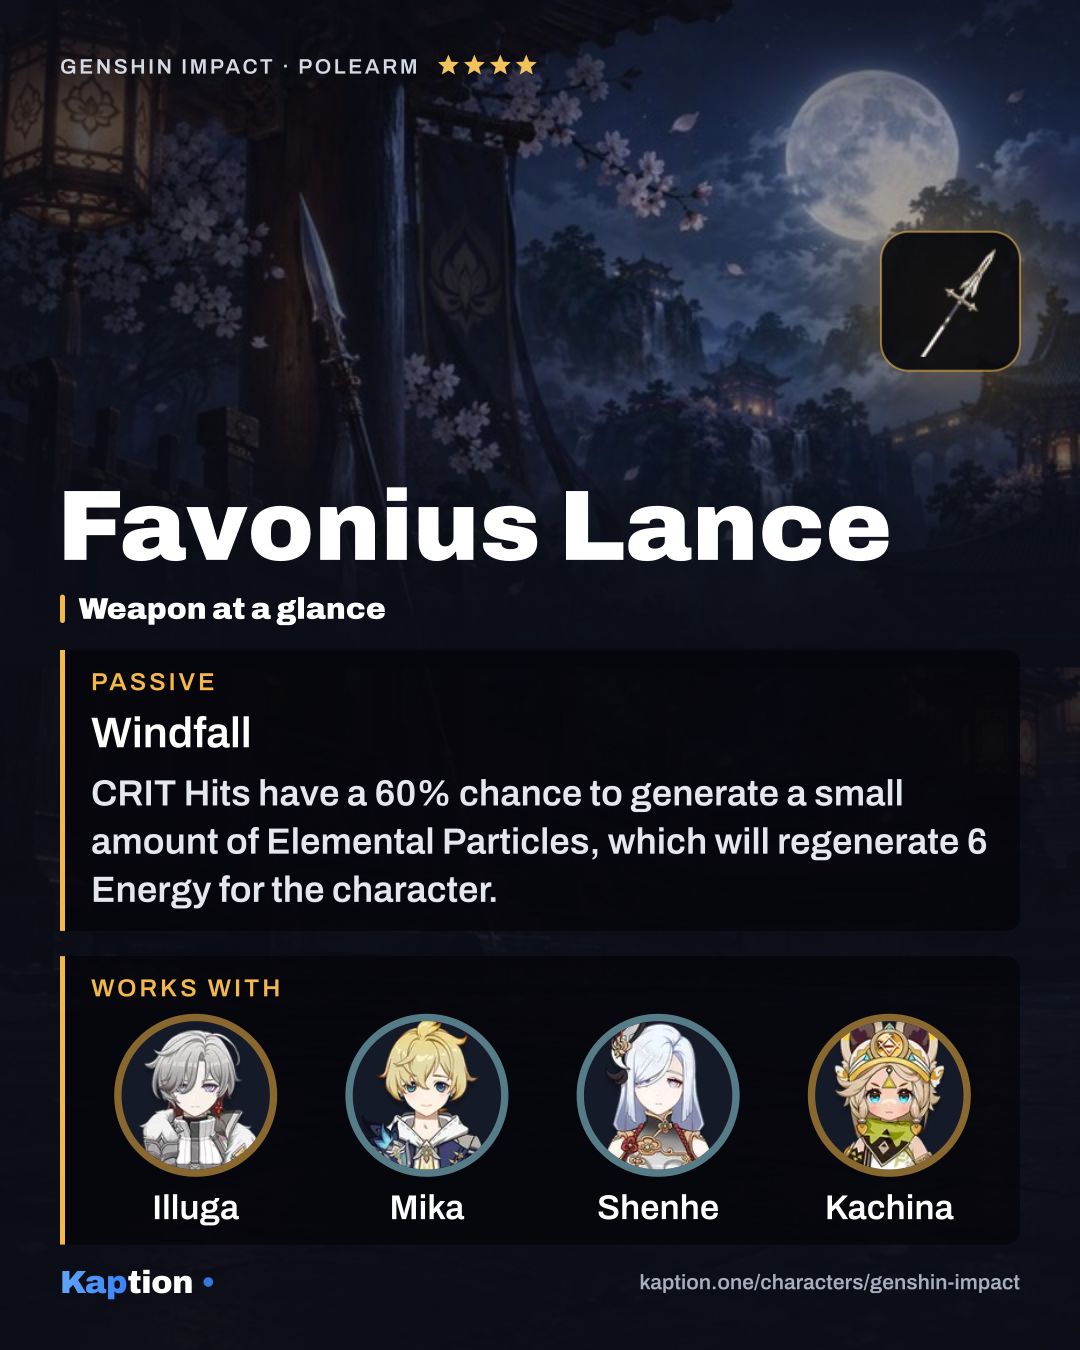
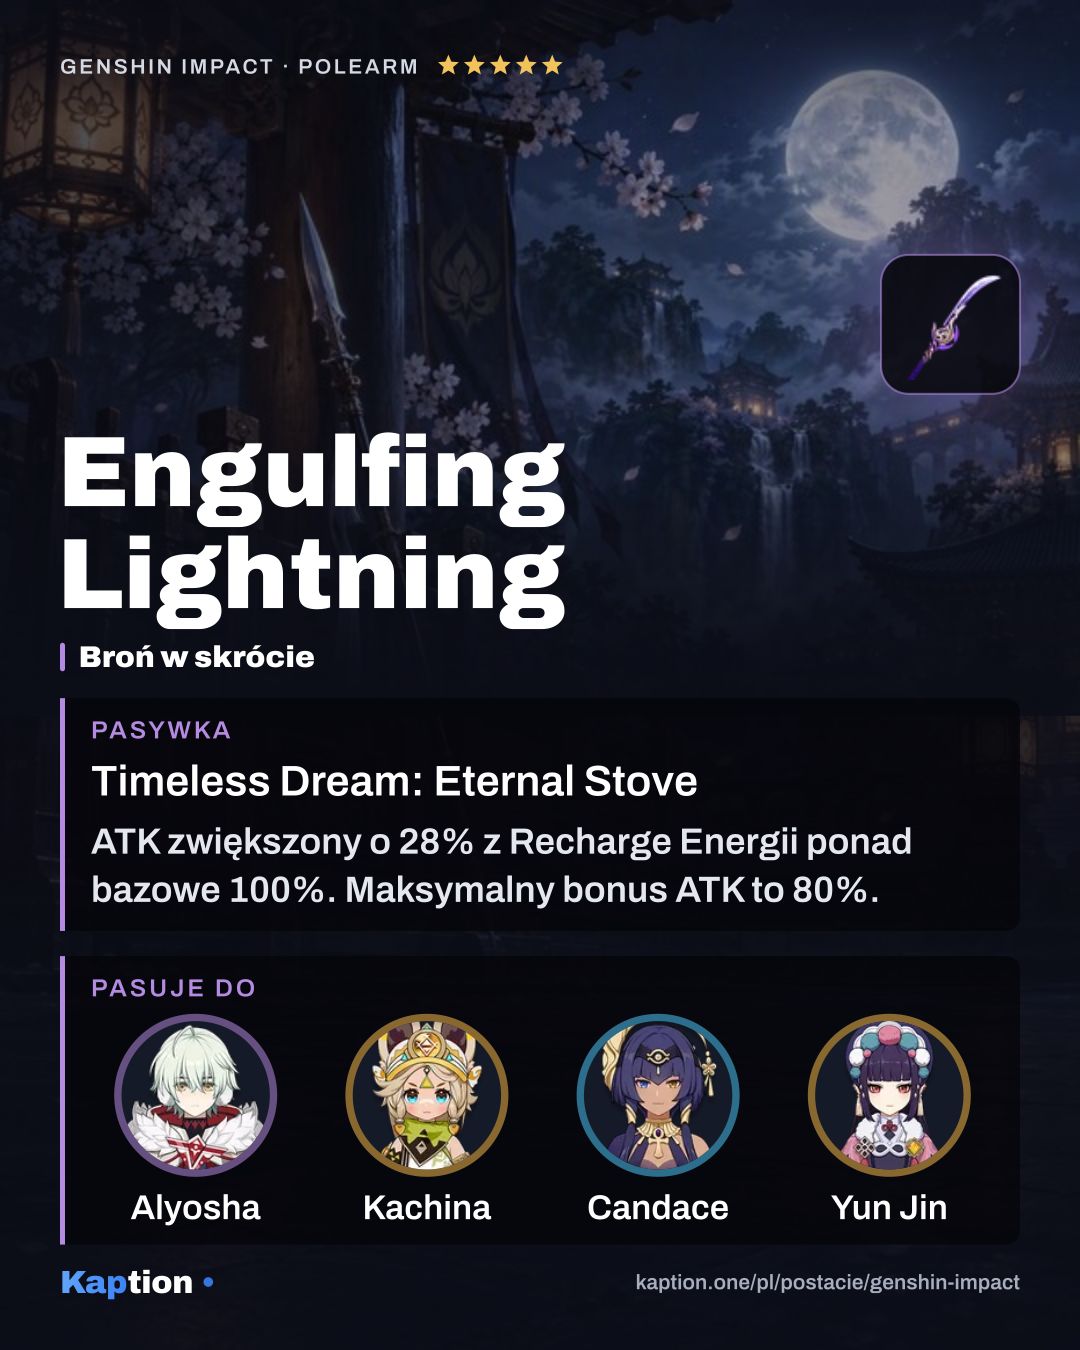
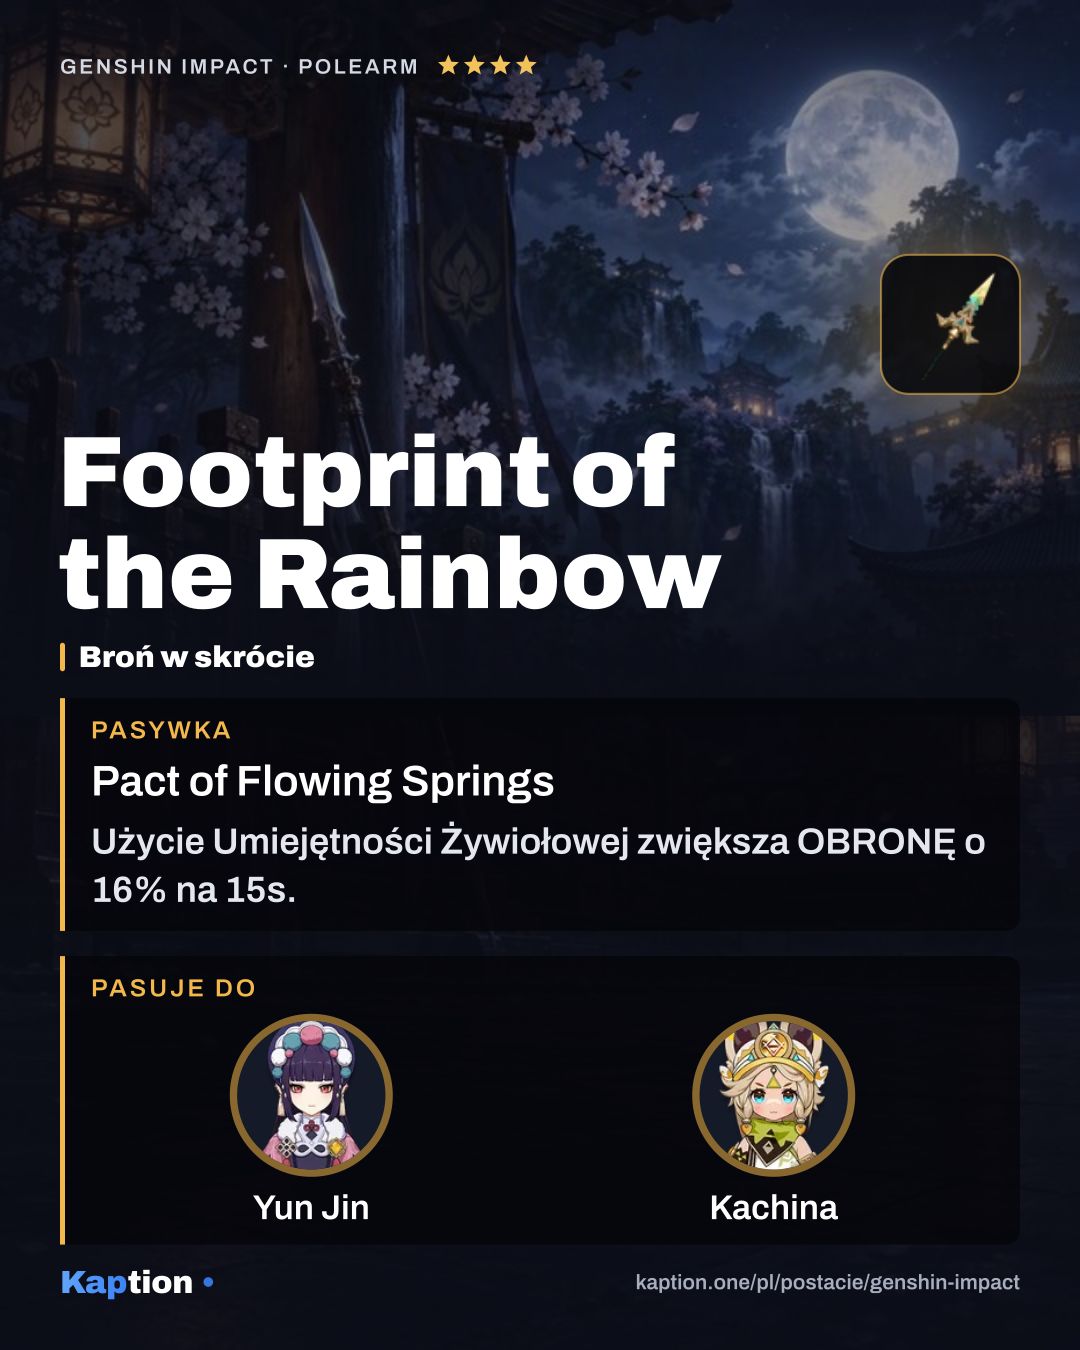
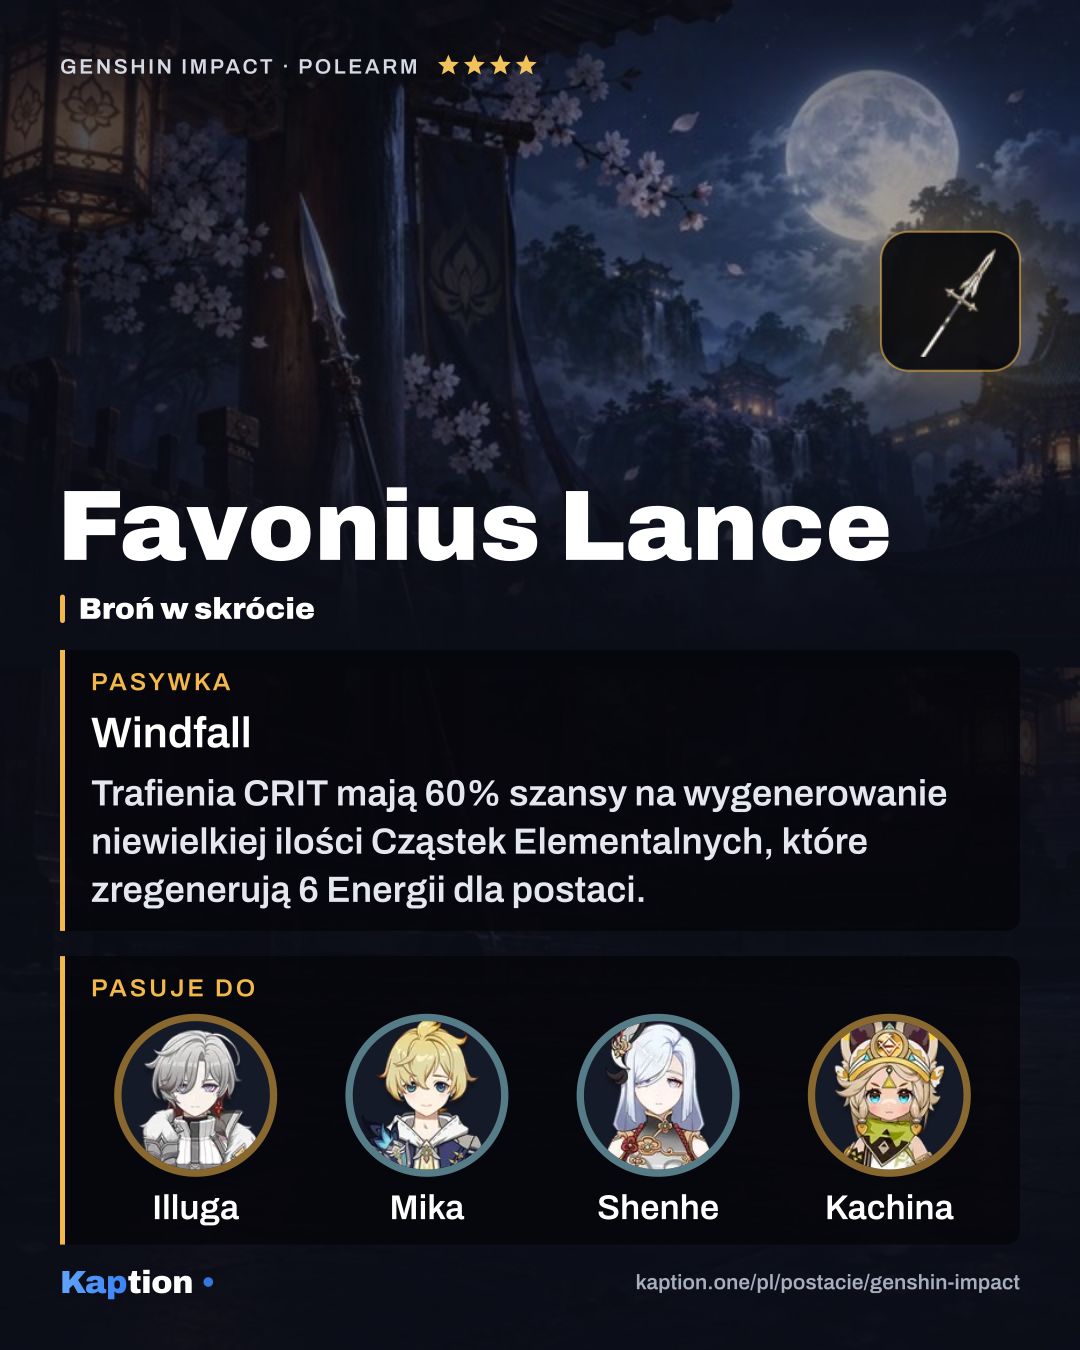
Engulfing Lightning is the first weapon choice: it grants 30% Energy Recharge for 12 seconds after a Burst. Footprint of the Rainbow is next; using the Skill gives 16% DEF for 15 seconds. Favonius Lance is another good option: CRIT Hits have a 60% chance to generate particles that restore 6 Energy to the character, once every 12 seconds.
Leveling priority
A good leveling order is Cliffbreaker's Banner first, since its Normal Attack bonus is Yun Jin's main contribution. Raise Opening Flourish next for its Geo attack, and leave Cloud-Grazing Strike (NA) until last if she spends little time attacking on-field.
For ascension, you need Mora, Glaze Lily, the Prithiva Topaz Sliver, Fragment, Chunk and Gemstone materials, Damaged Mask, Stained Mask, Ominous Mask and Riftborn Regalia.
Talent upgrades use Mora, Teachings of Diligence, Guide to Diligence, Philosophies of Diligence, the same three Mask materials, Ashen Heart and Crown of Insight. The listed talent materials cover all three skills, so you do not need the full amount if you leave one unlevelled.
Constellations worth it
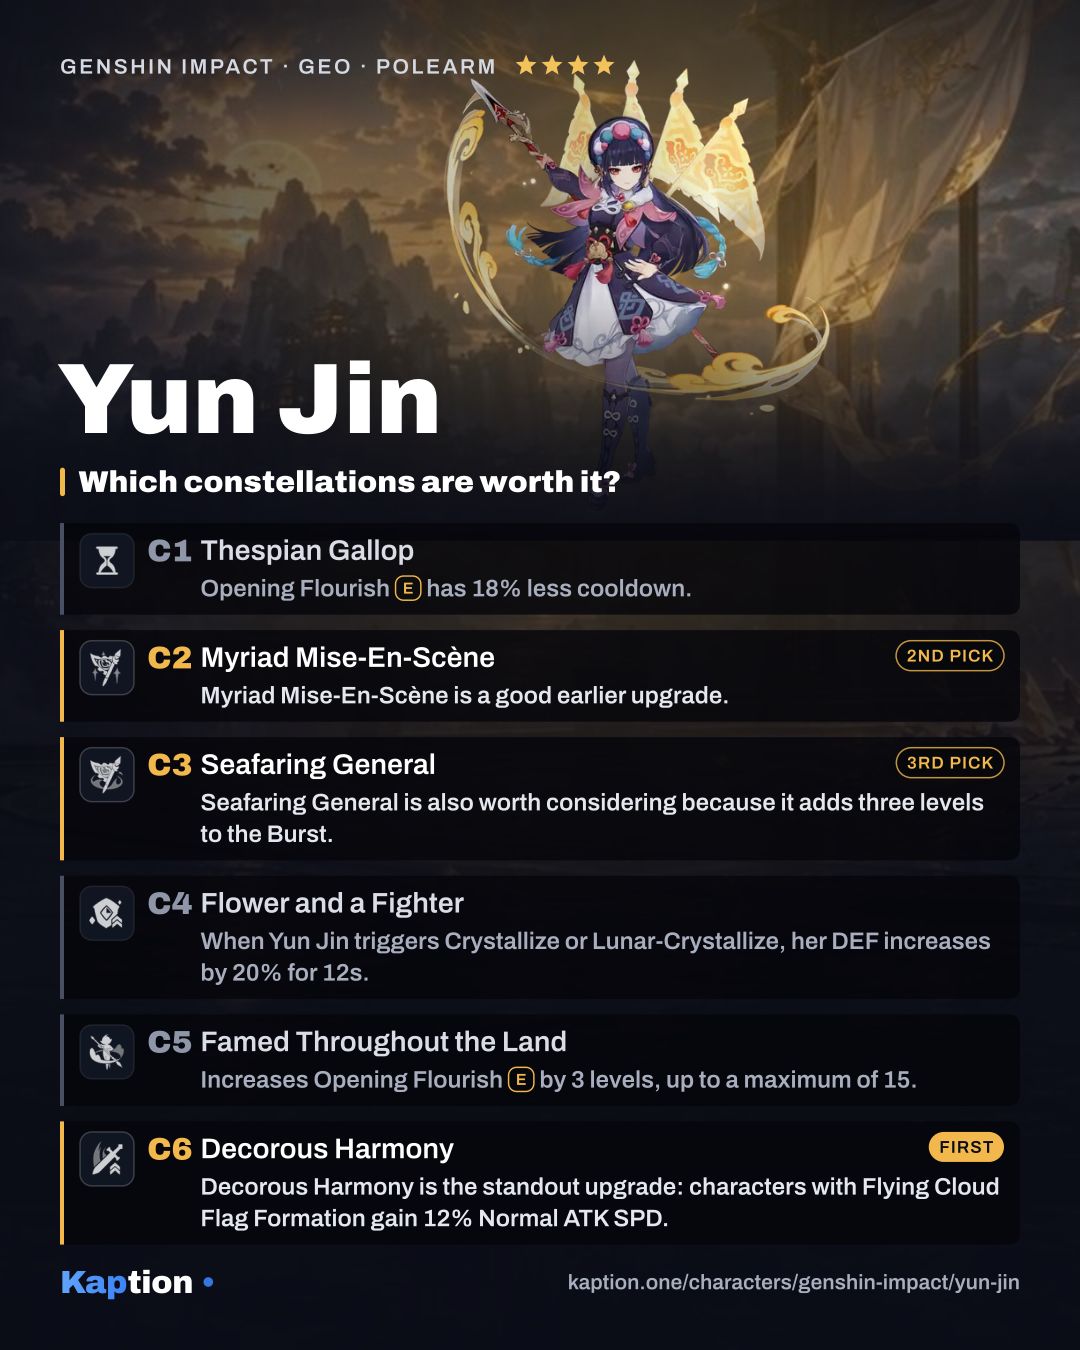
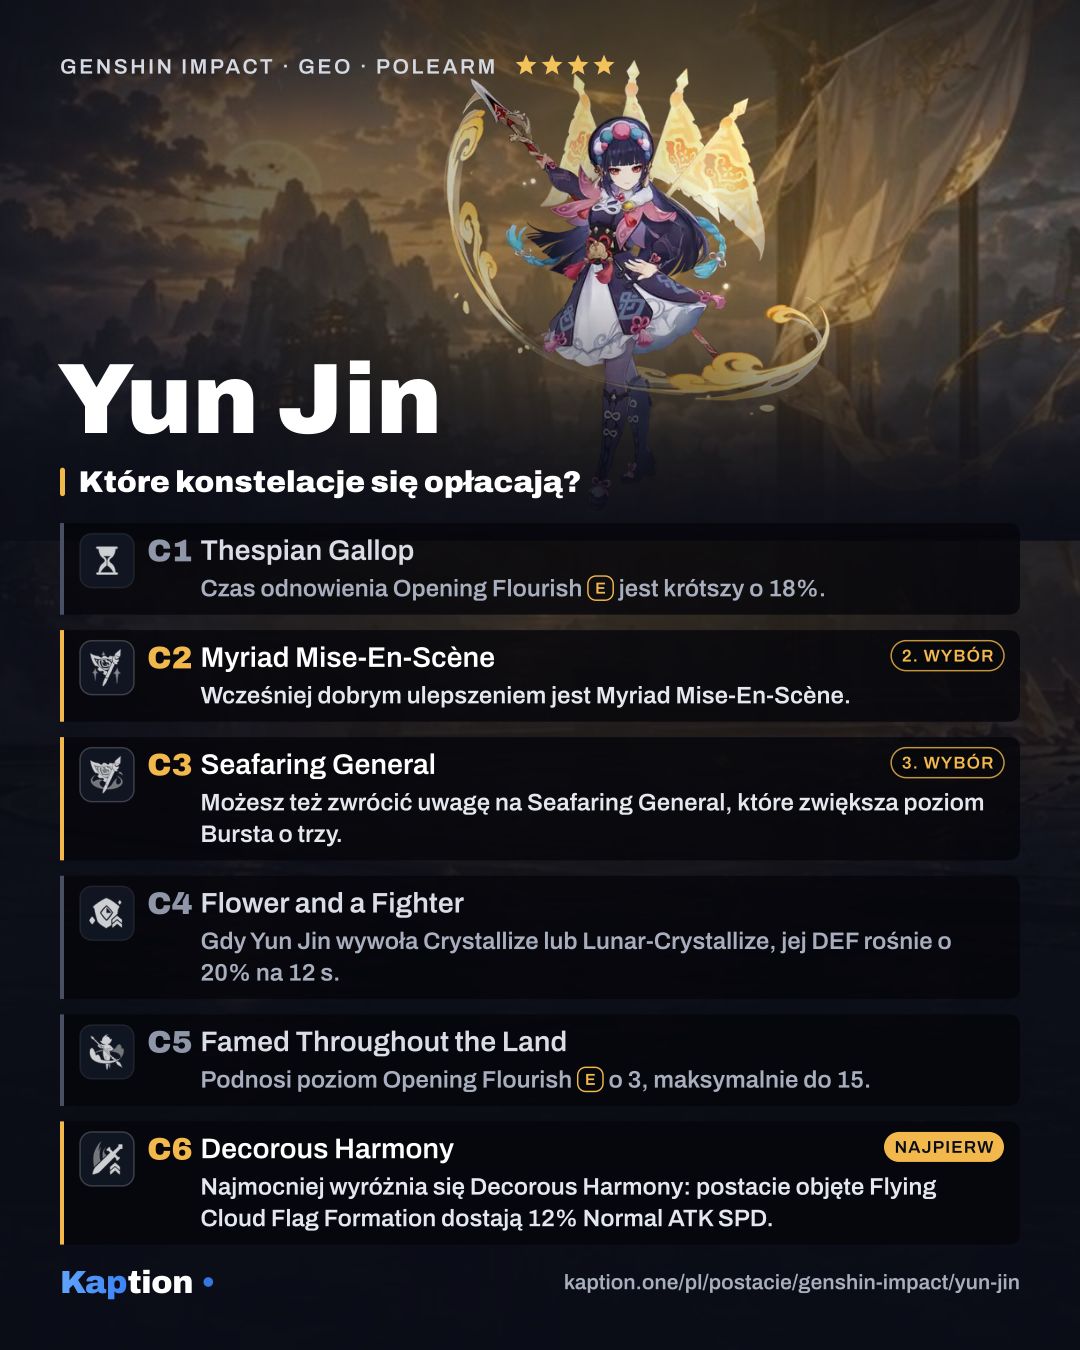
Decorous Harmony is the standout upgrade: characters with Flying Cloud Flag Formation gain 12% Normal ATK SPD. It helps the characters Yun Jin is already there to support.
Myriad Mise-En-Scène is a good earlier upgrade. After her Burst, nearby party members gain 15% Normal Attack DMG for 12 seconds. Seafaring General is also worth considering because it adds three levels to the Burst.
Flower and a Fighter gives Yun Jin 20% DEF for 12 seconds when she triggers Crystallize or Lunar-Crystallize. Thespian Gallop reduces her Skill cooldown by 18%, while Famed Throughout the Land adds three Skill levels. These are useful effects, but you can leave them aside if your focus is the Normal Attack support gained from C2, C3 and C6. Her core Burst support works without any constellation.
Teams
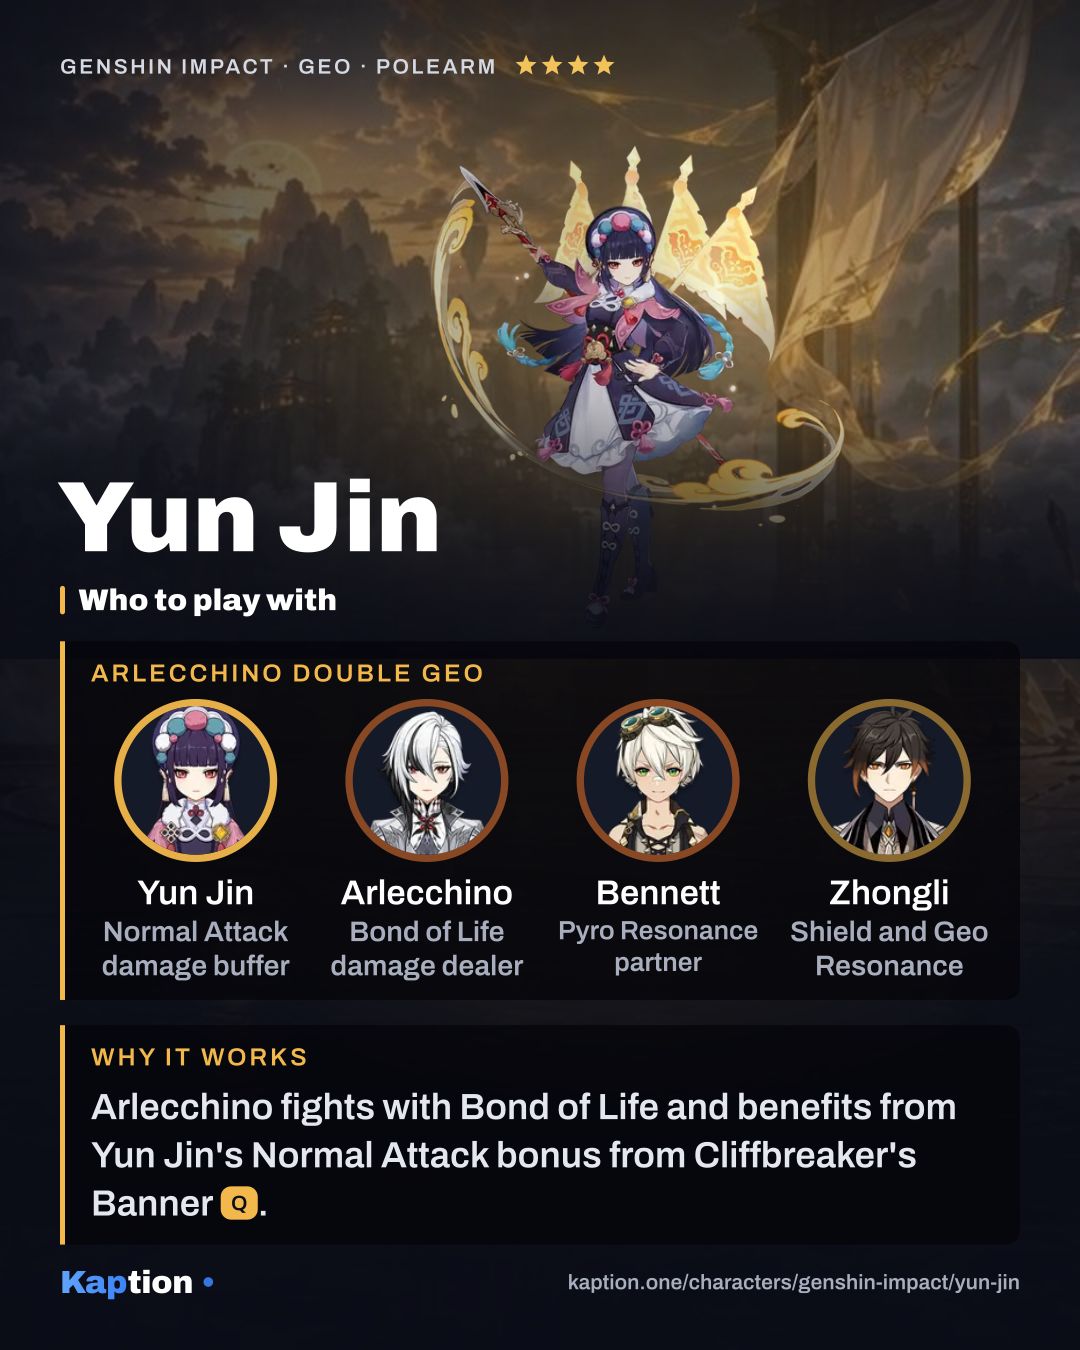
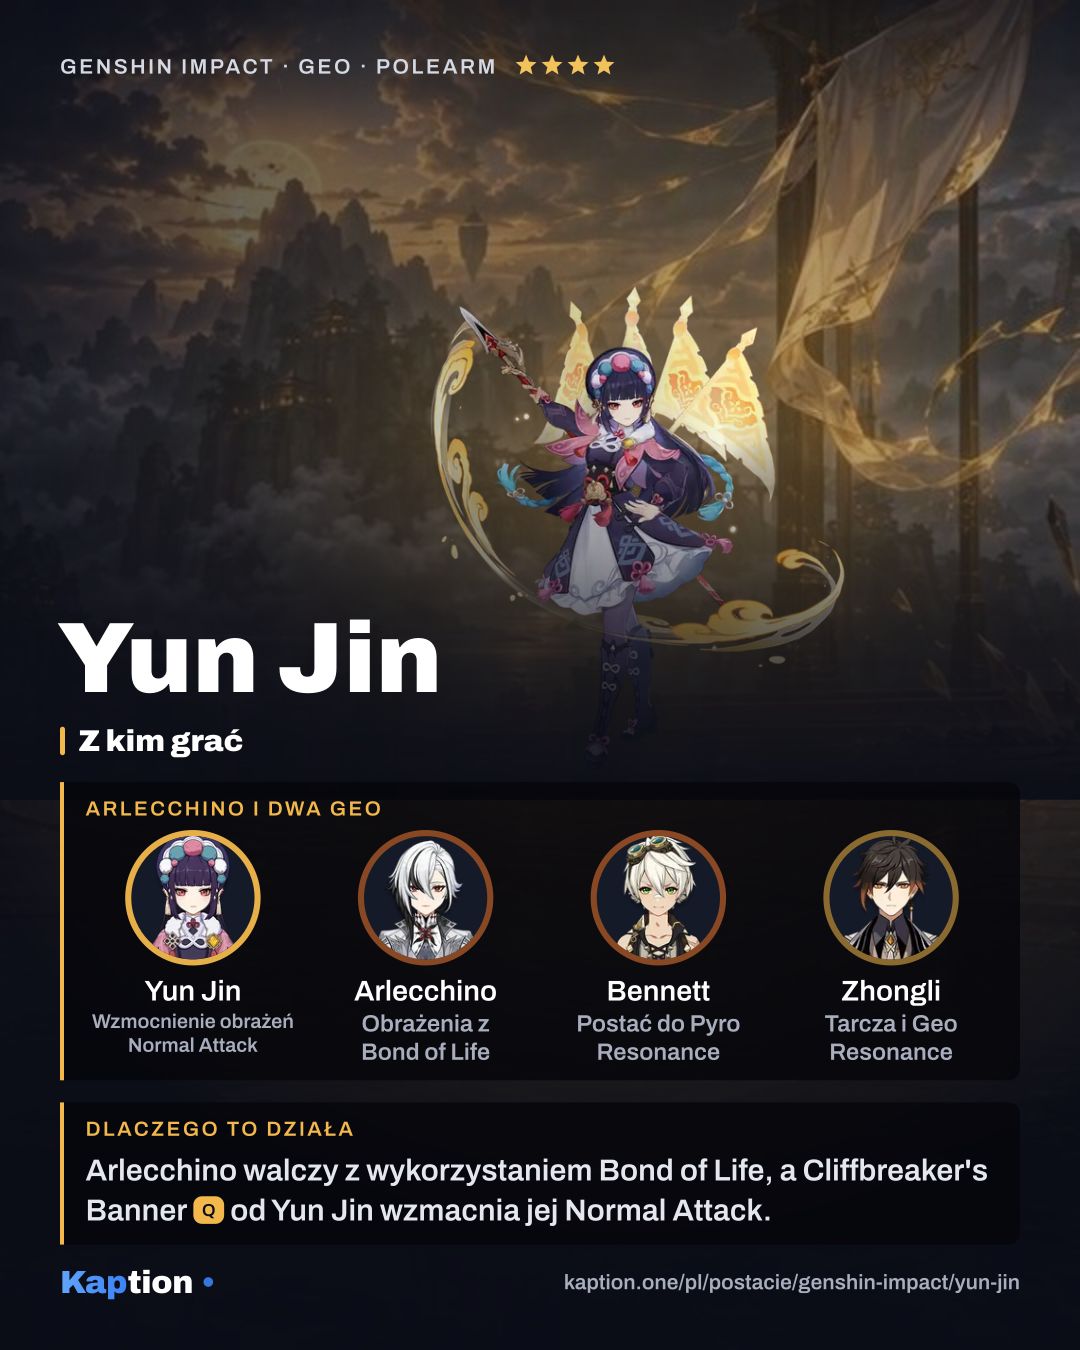
Put Yun Jin beside an on-field character who uses Normal Attacks. Yoimiya, Arlecchino and Wanderer are teammates worth trying; switch to them after Yun Jin uses her Burst so their Normal Attack hits can use the bonus.
Different elements increase the bonus from Breaking Conventions. Four elements give the largest passive bonus, but you can still use another Geo character if their role fits the team. Choose the remaining slots around the protection and other support your active character needs.
Common mistakes
Do not expect the Burst bonus to apply to every kind of hit. Flying Cloud Flag Formation triggers when Normal Attack DMG is dealt, so a character relying on Charged or Plunging Attacks will not use it in the same way.
Do not treat the held Skill's shield as lasting party protection. It ends when the Skill is unleashed. Its absorption uses Max HP, but building HP does not increase the DEF-based Burst bonus.
Avoid stacking DEF while ignoring Energy Recharge: the bonus matters when you can use the Burst. Against groups, watch the trigger limit too, since one Normal Attack hitting several opponents consumes multiple triggers.