


































Guide
How the kit works
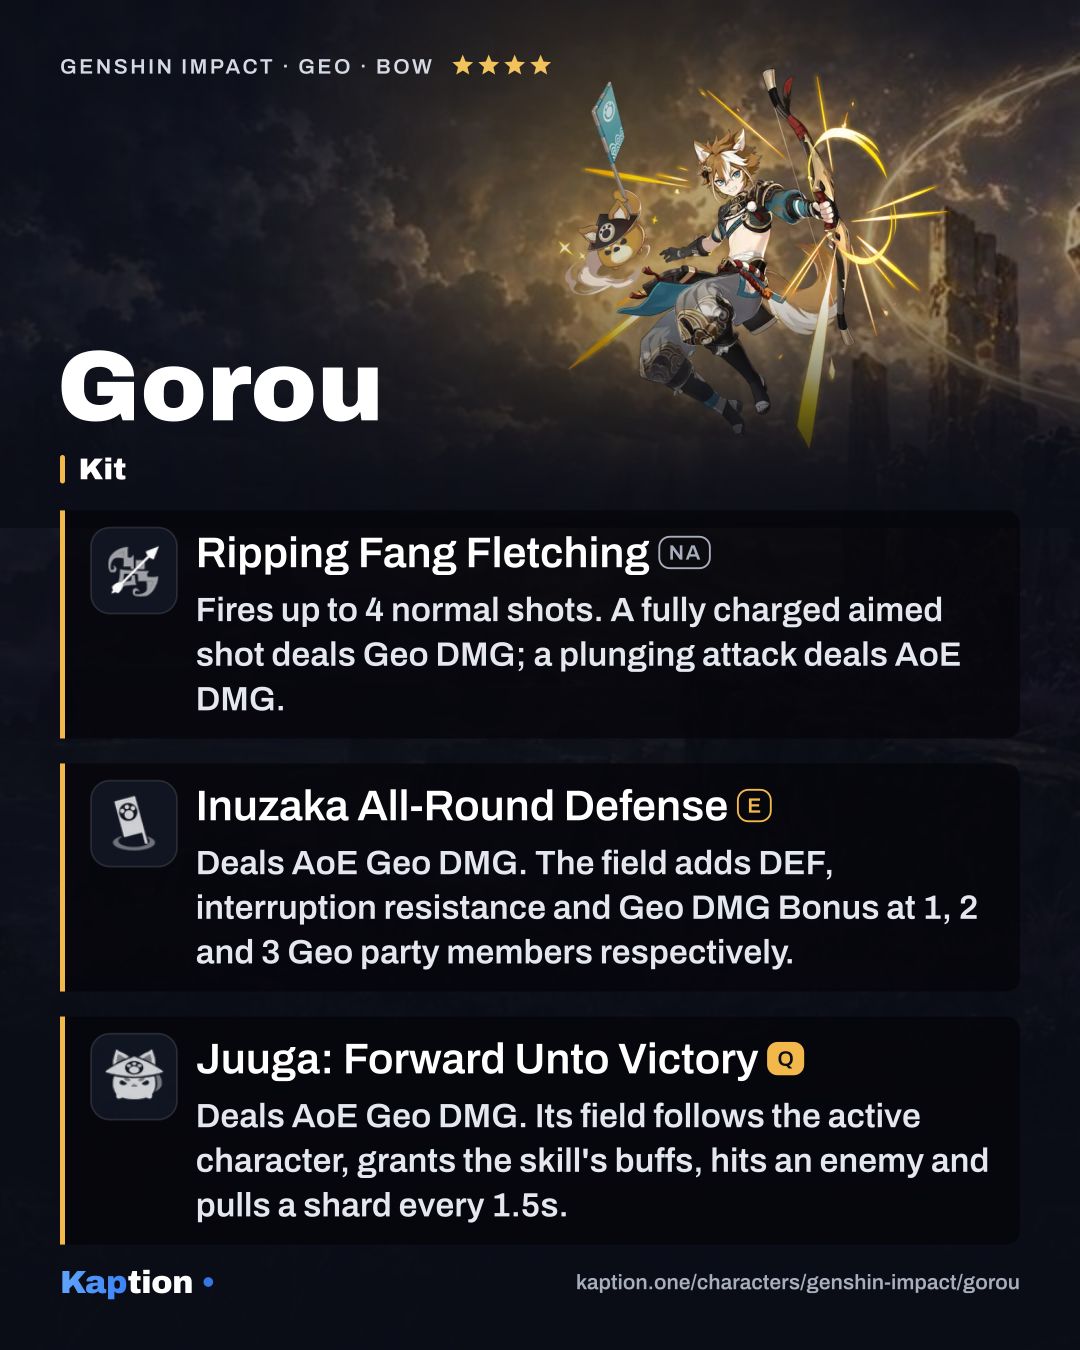
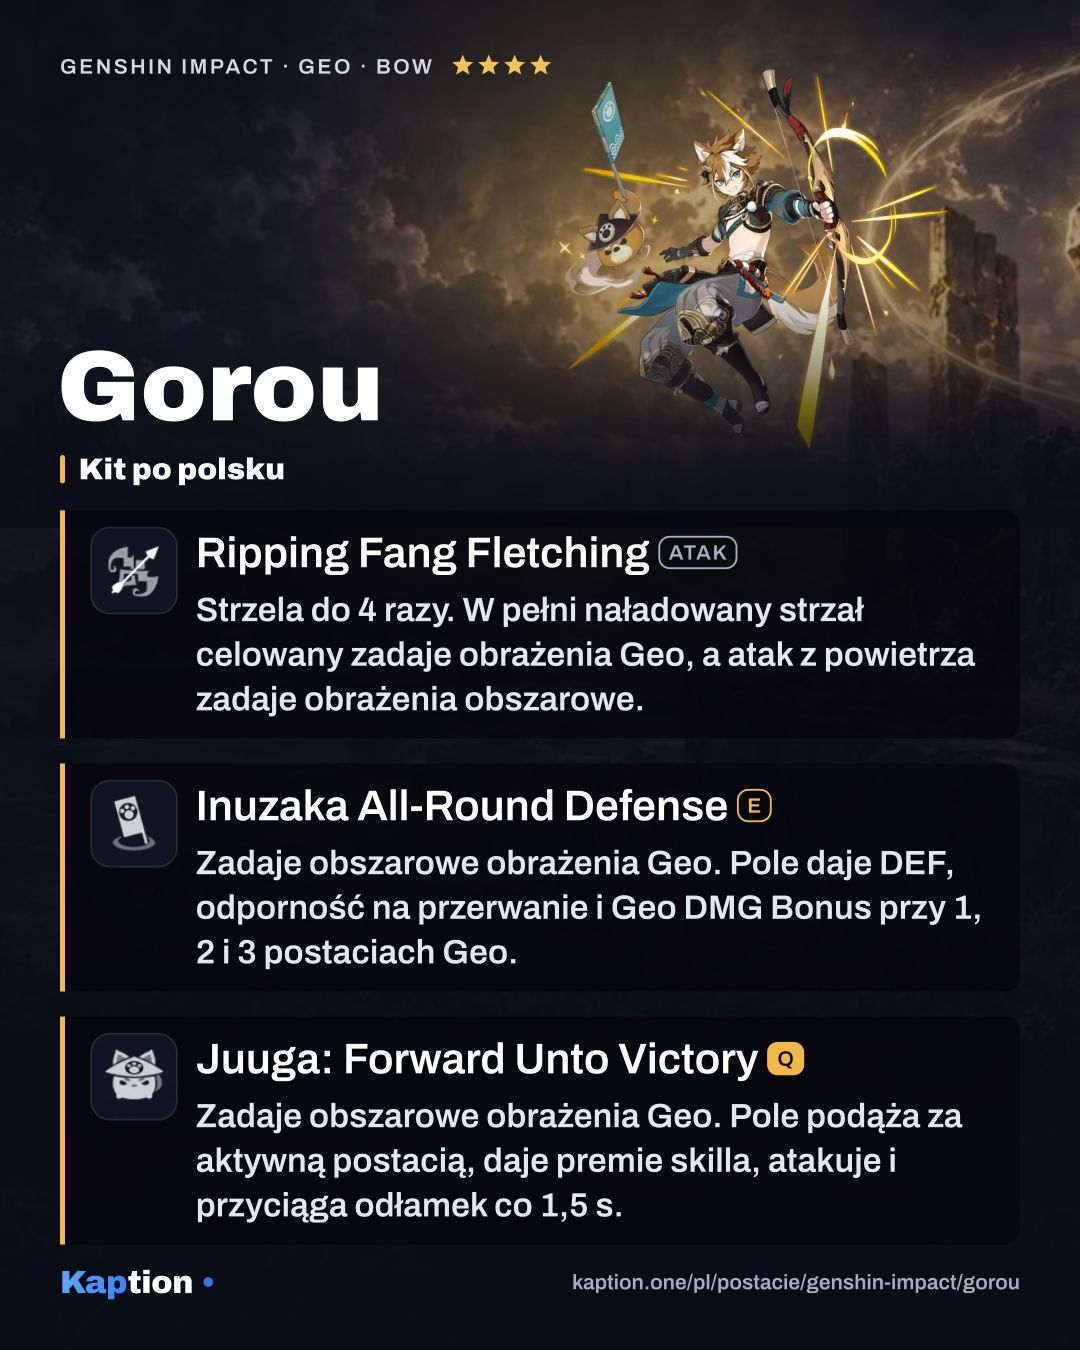
Start with Inuzaka All-Round Defense. It deals AoE Geo damage and places a General's War Banner. Hold the skill if you need to choose its position. With one Geo character in the party, the banner gives the active character a DEF Bonus. Two add resistance to interruption, and three add a Geo DMG Bonus.
Use Juuga: Forward Unto Victory when you want its moving field. It deals AoE Geo damage and creates General's Glory, which gives the same kinds of buffs based on your Geo party count. It also deals AoE Geo damage to an opponent and pulls one Crystallize shard toward the active character every 1.5 seconds.
The Burst destroys an existing banner, and the skill cannot create another one while General's Glory is active. Stay inside whichever field is available. After a party member leaves the field, the active buff lasts another 2 seconds. Heedless of the Wind and Weather also gives nearby party members 25% DEF for 12 seconds after Gorou uses his Burst.
A Favor Repaid adds damage to the skill, Burst and Crystal Collapse based on Gorou's DEF. Ripping Fang Fletching (NA) fires up to four normal shots; a fully charged aimed shot deals Geo damage. You can use it when needed, but his fields are the reason to bring him.
Build and why
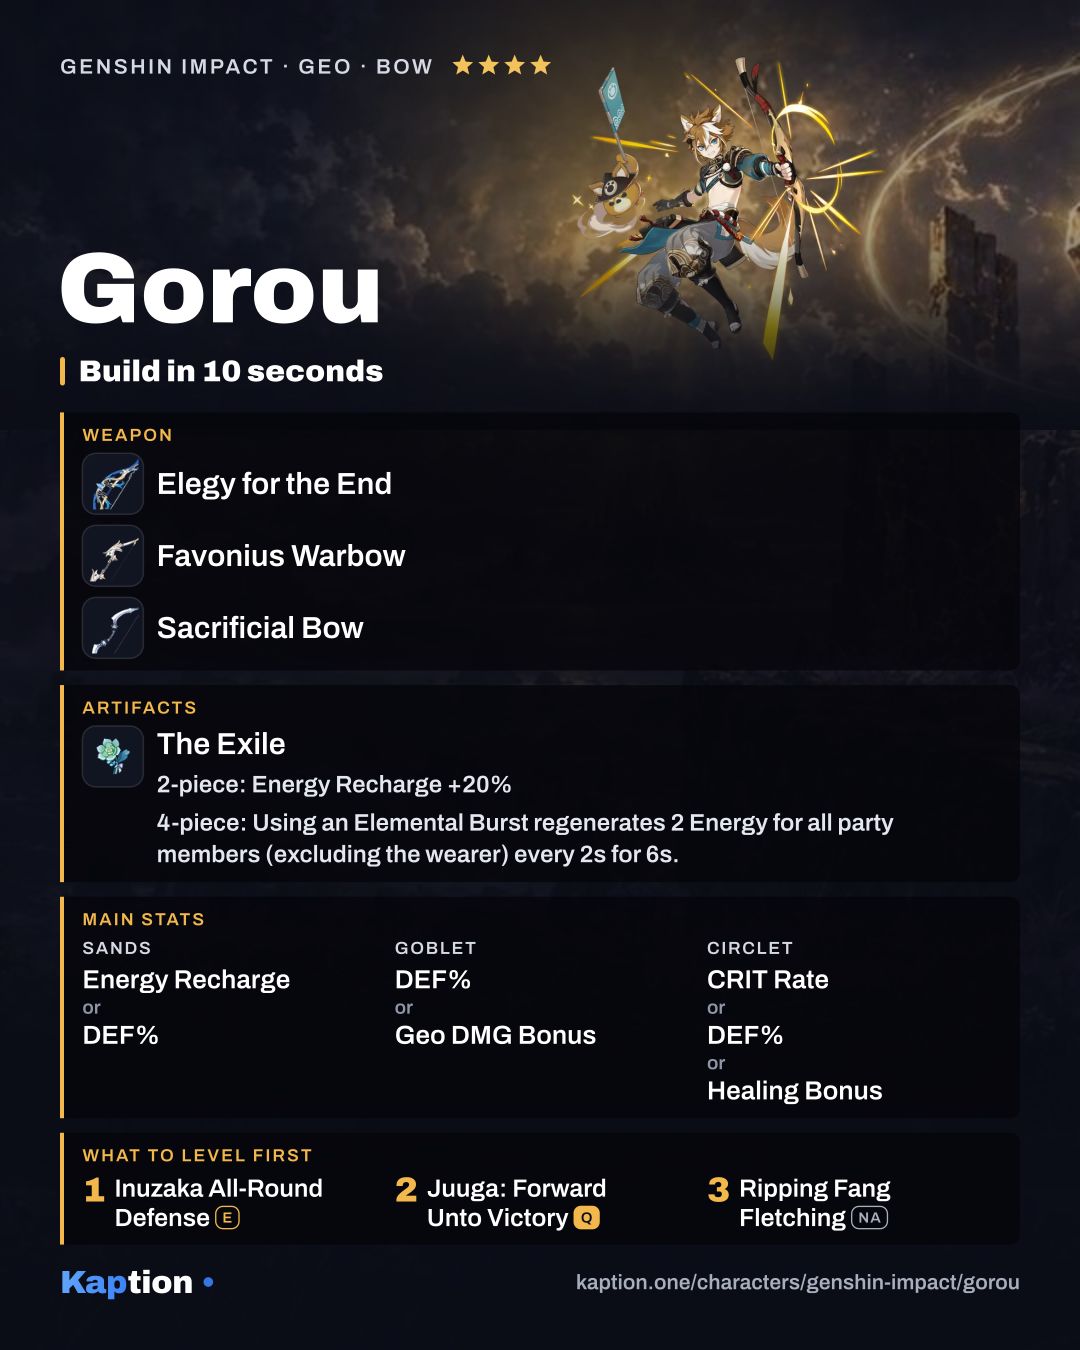
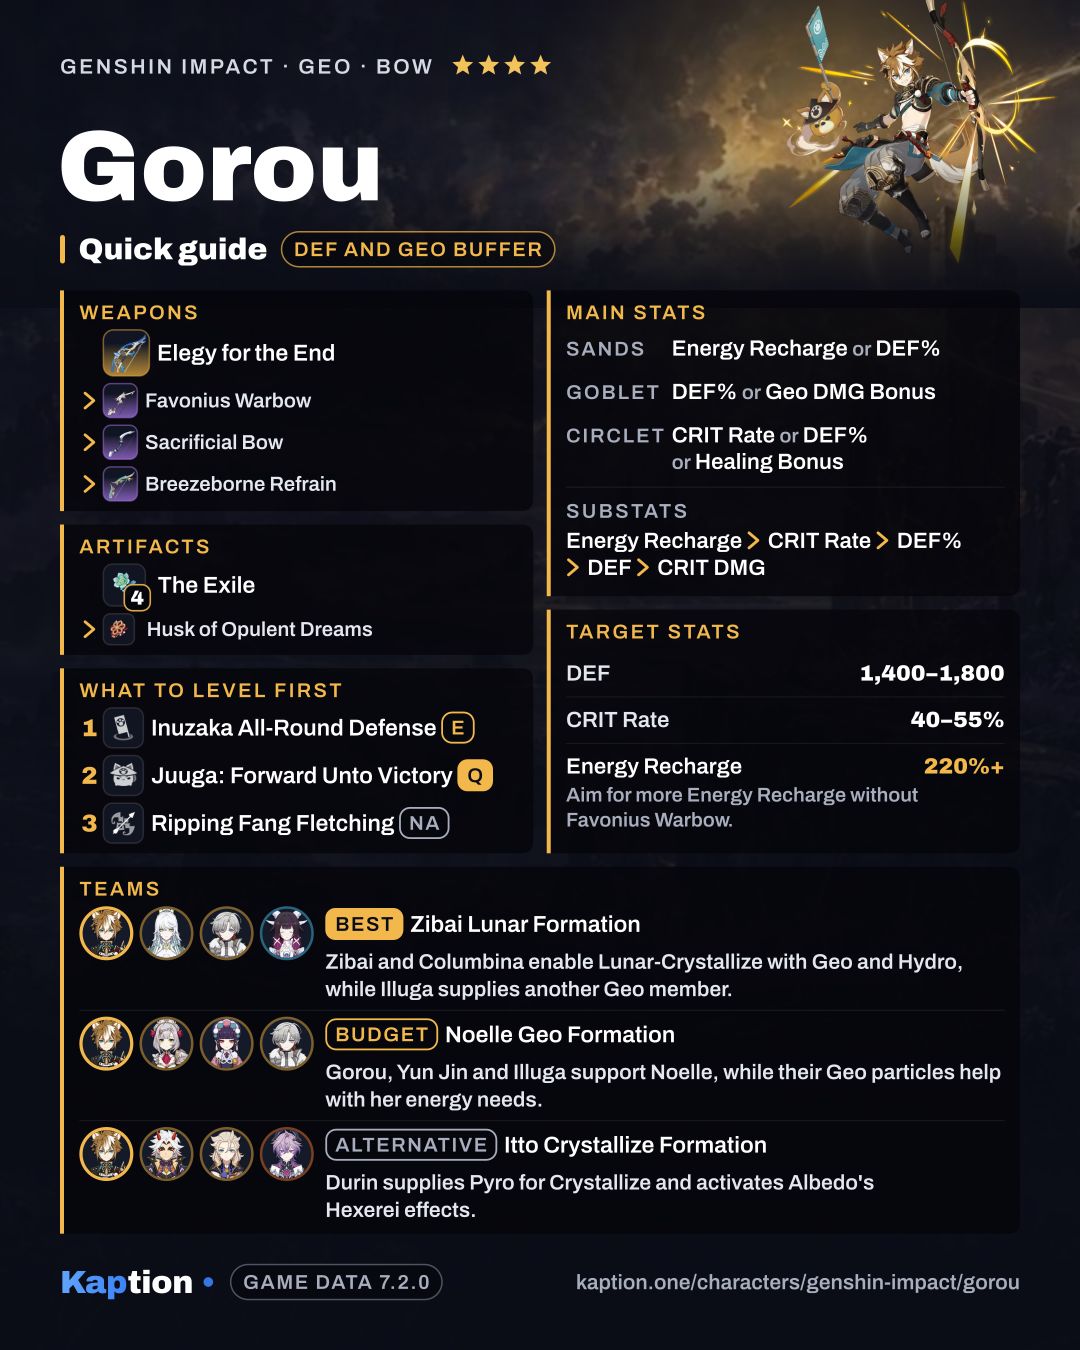
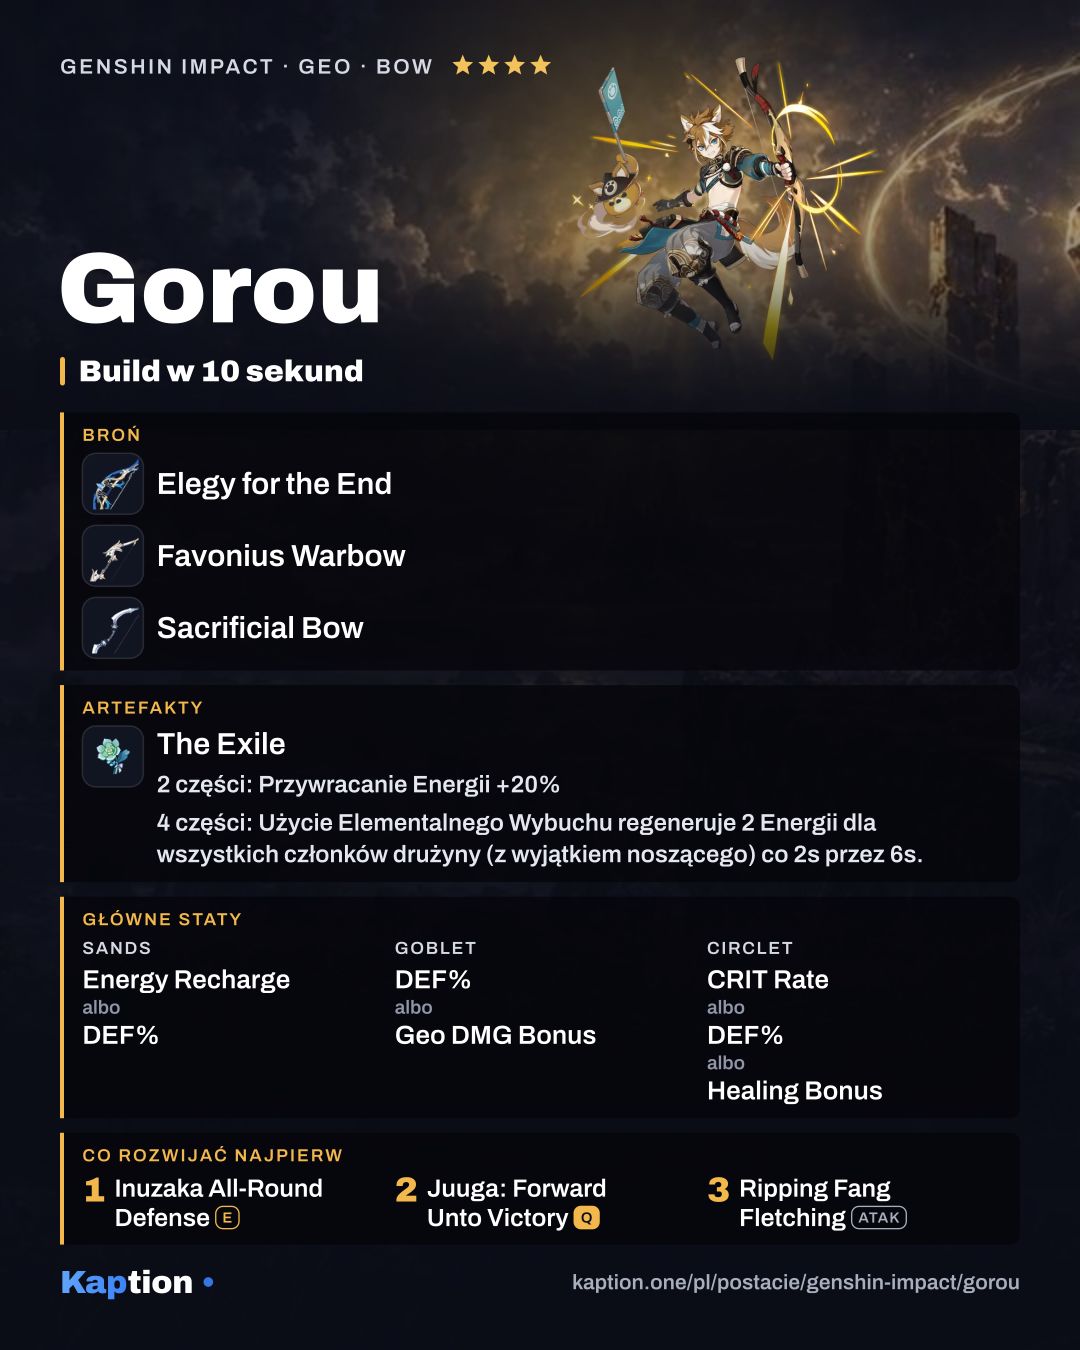
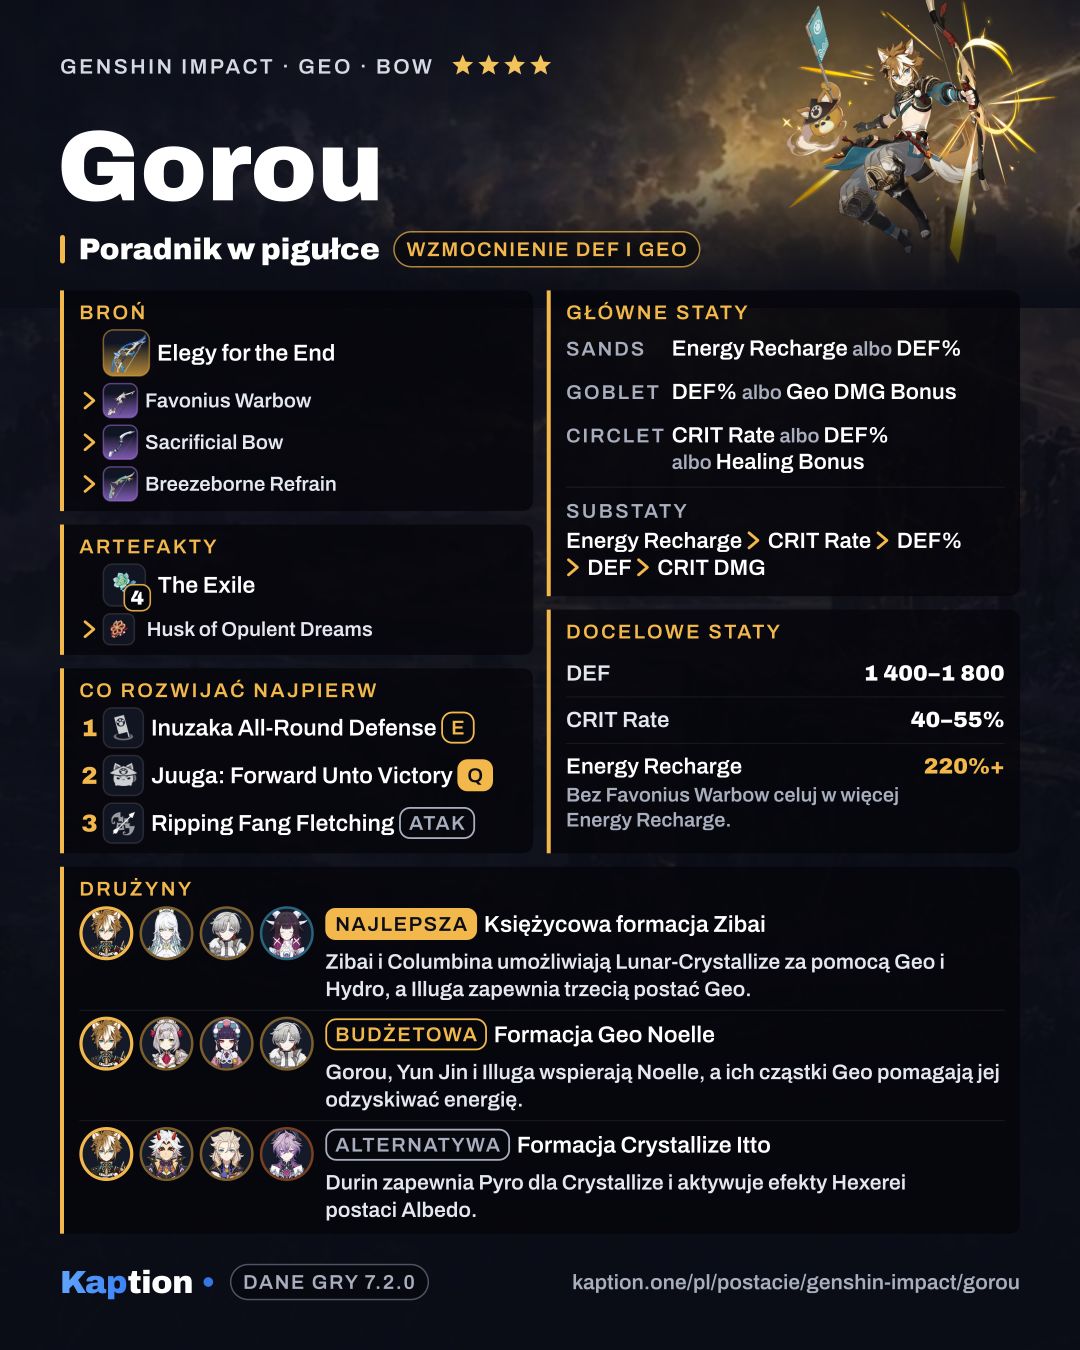
Use four pieces of The Exile for team Energy. Its two-piece bonus gives 20% Energy Recharge, and after Gorou uses his Burst, the four-piece effect restores 2 Energy to each other party member every 2 seconds for 6 seconds. The effect cannot stack.
Four pieces of Husk of Opulent Dreams are another option if you want Gorou's own DEF and Geo damage. Its two-piece bonus gives 30% DEF. Curiosity can reach four stacks, each giving 6% DEF and 6% Geo DMG Bonus. You can also combine two pieces of Husk of Opulent Dreams with two of The Exile. Scroll of the Hero of Cinder City is worth considering for its four-piece reaction buff: after Gorou triggers a reaction related to Geo, nearby party members get a 12% Elemental DMG Bonus for the elements involved for 15 seconds.
For the sands, choose Energy Recharge or DEF Percentage. Use DEF Percentage or Geo DMG Bonus on the goblet. On the circlet, choose CRIT Rate, DEF Percentage or Healing Bonus. Prioritize substats in this order: Energy Recharge, CRIT Rate, DEF Percentage, DEF and CRIT DMG. Energy Recharge helps with his Burst, while his own DEF supports his damage and C4 healing.
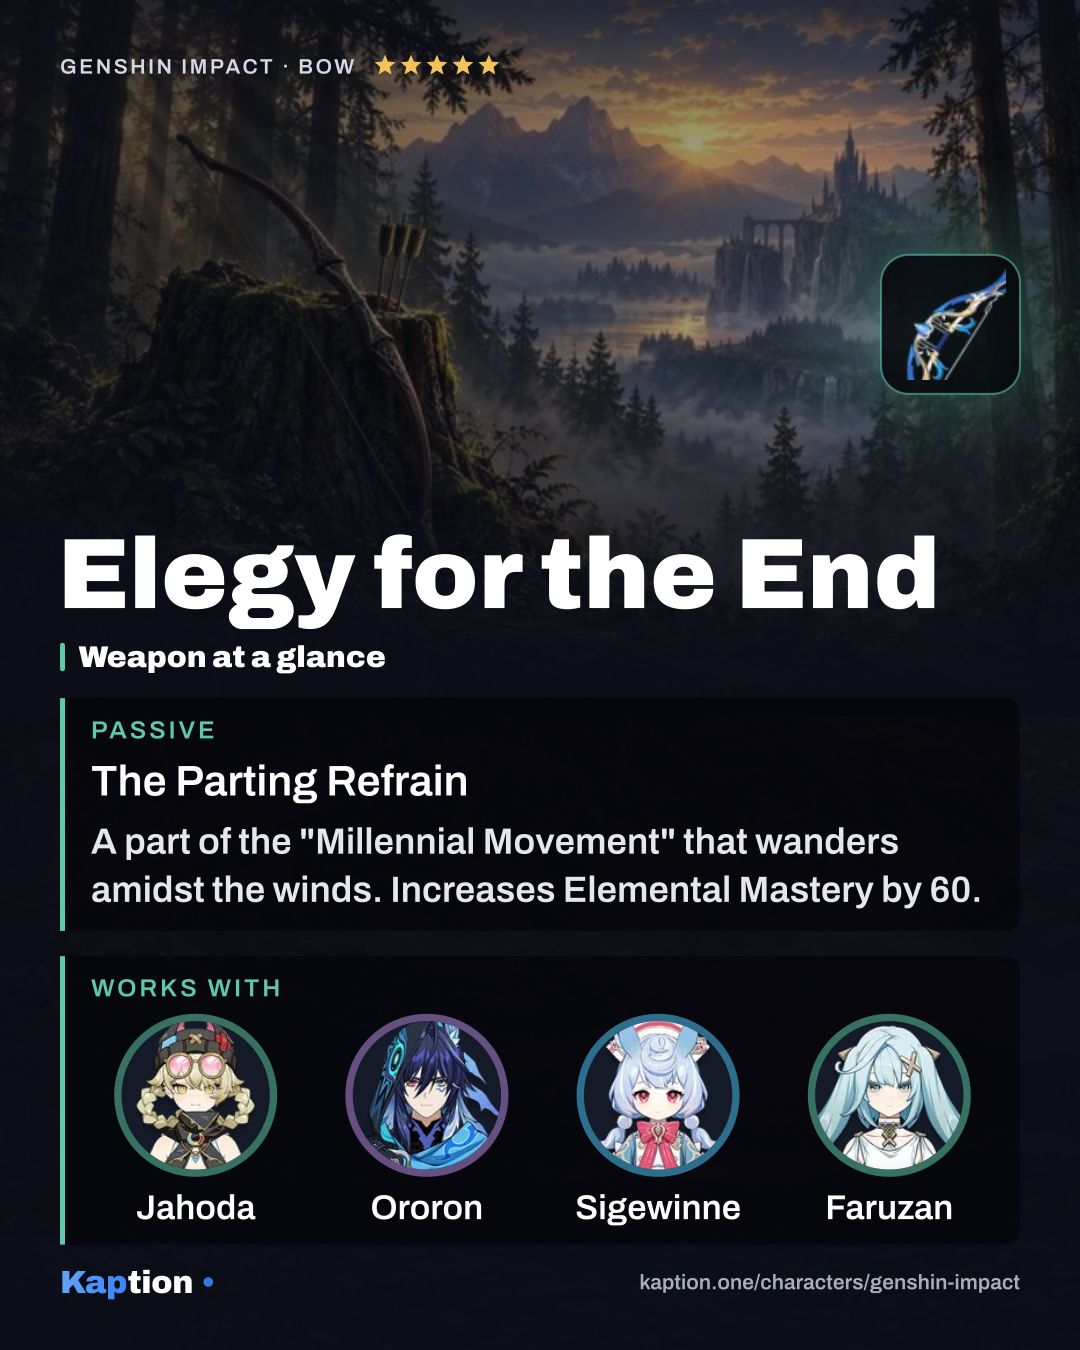
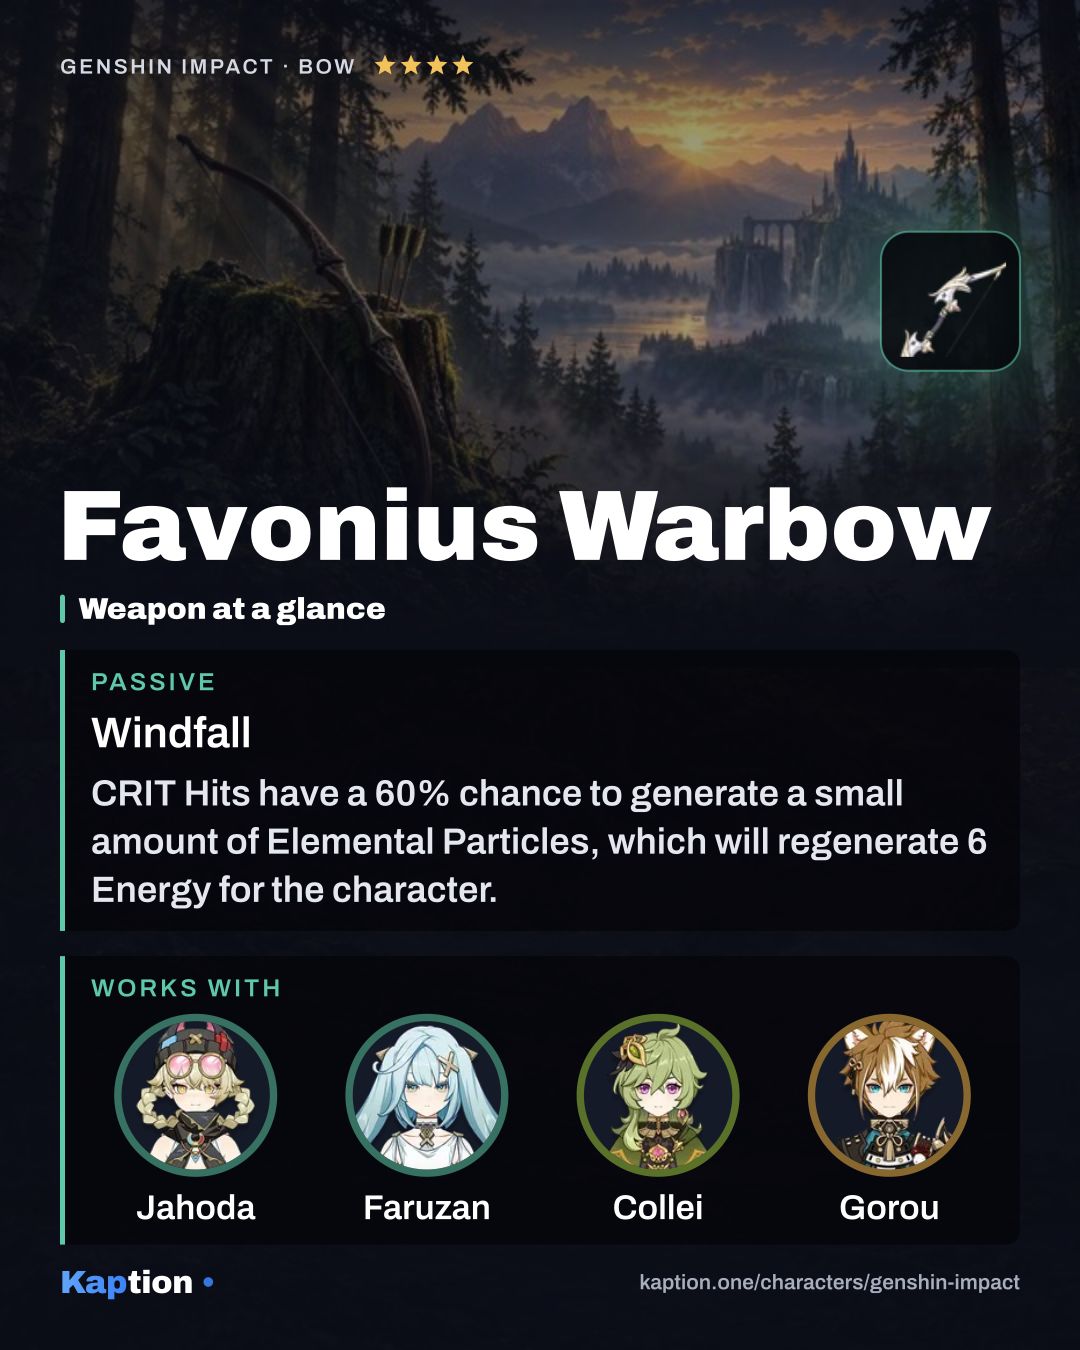
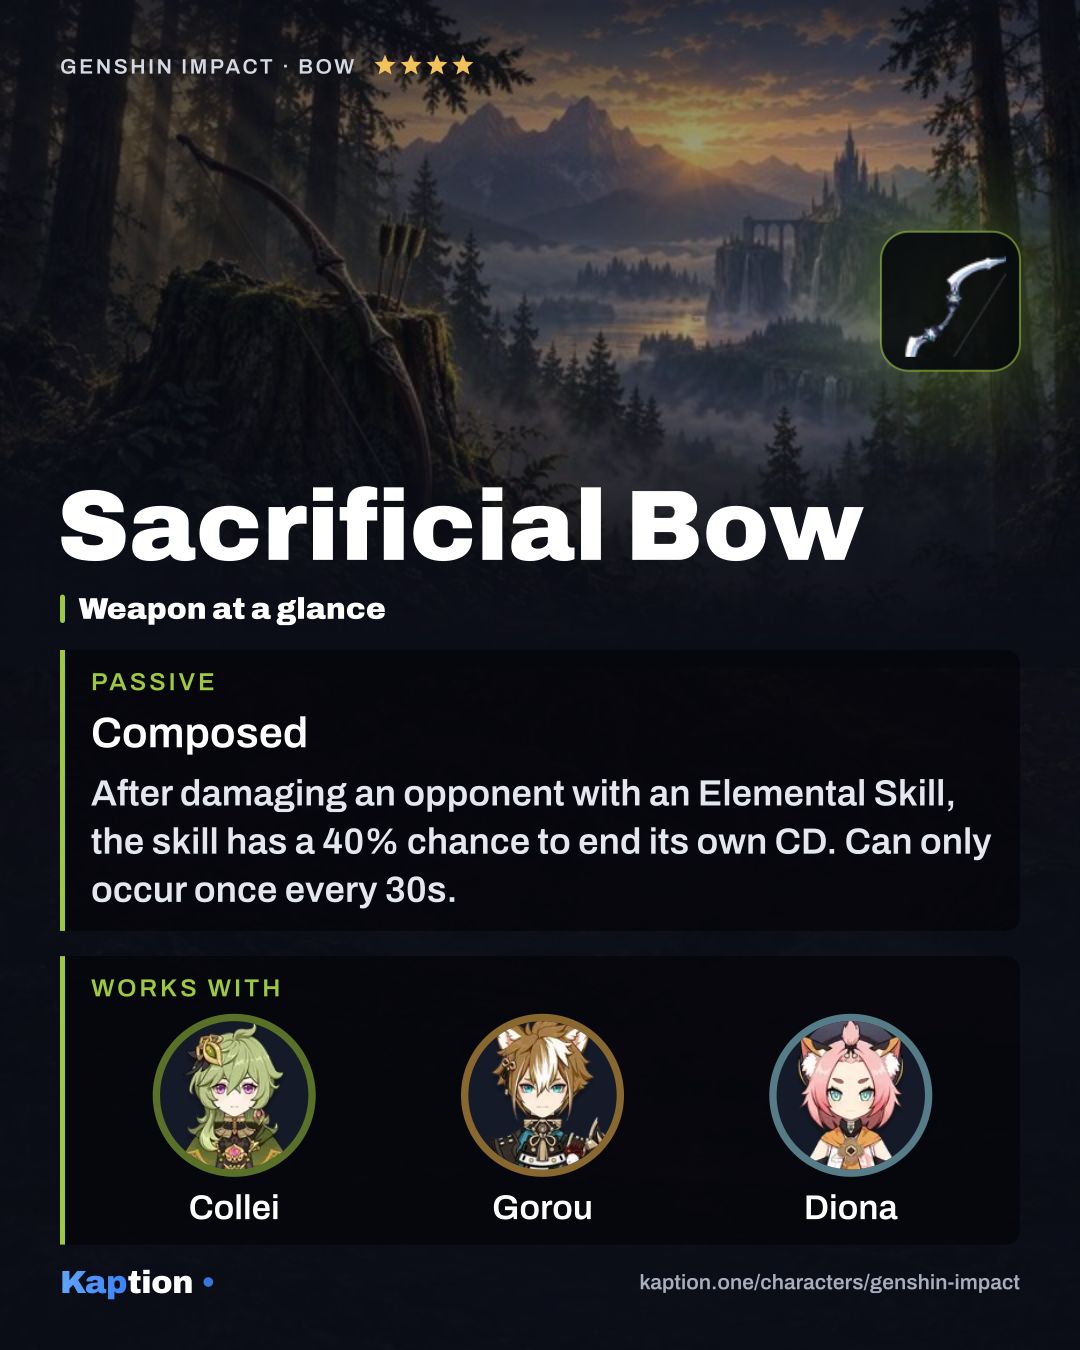
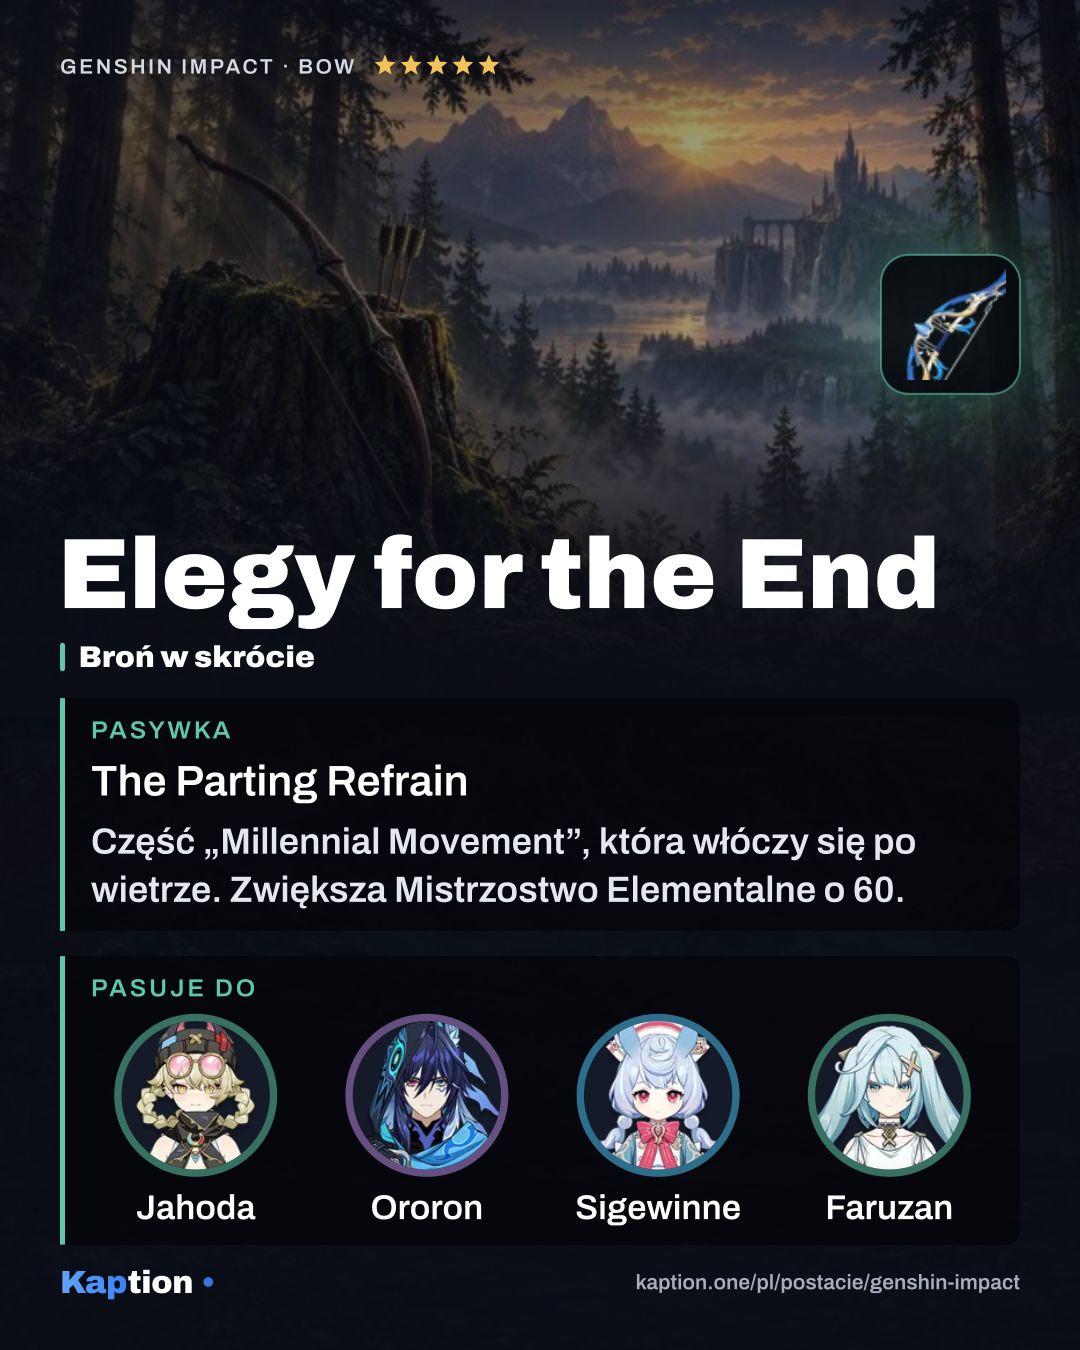
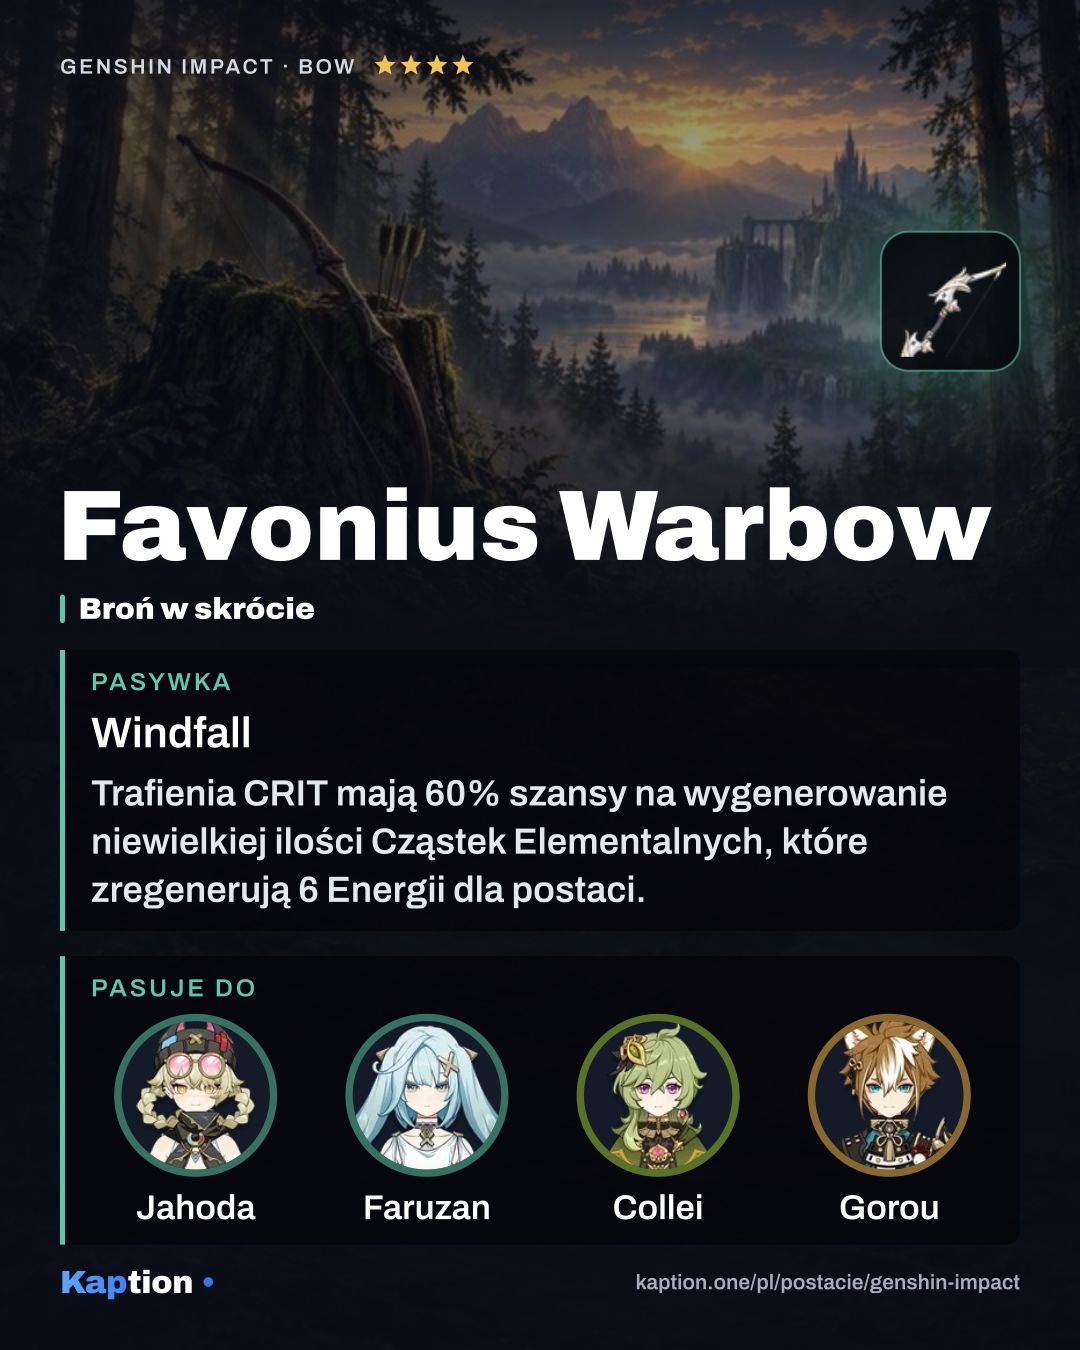
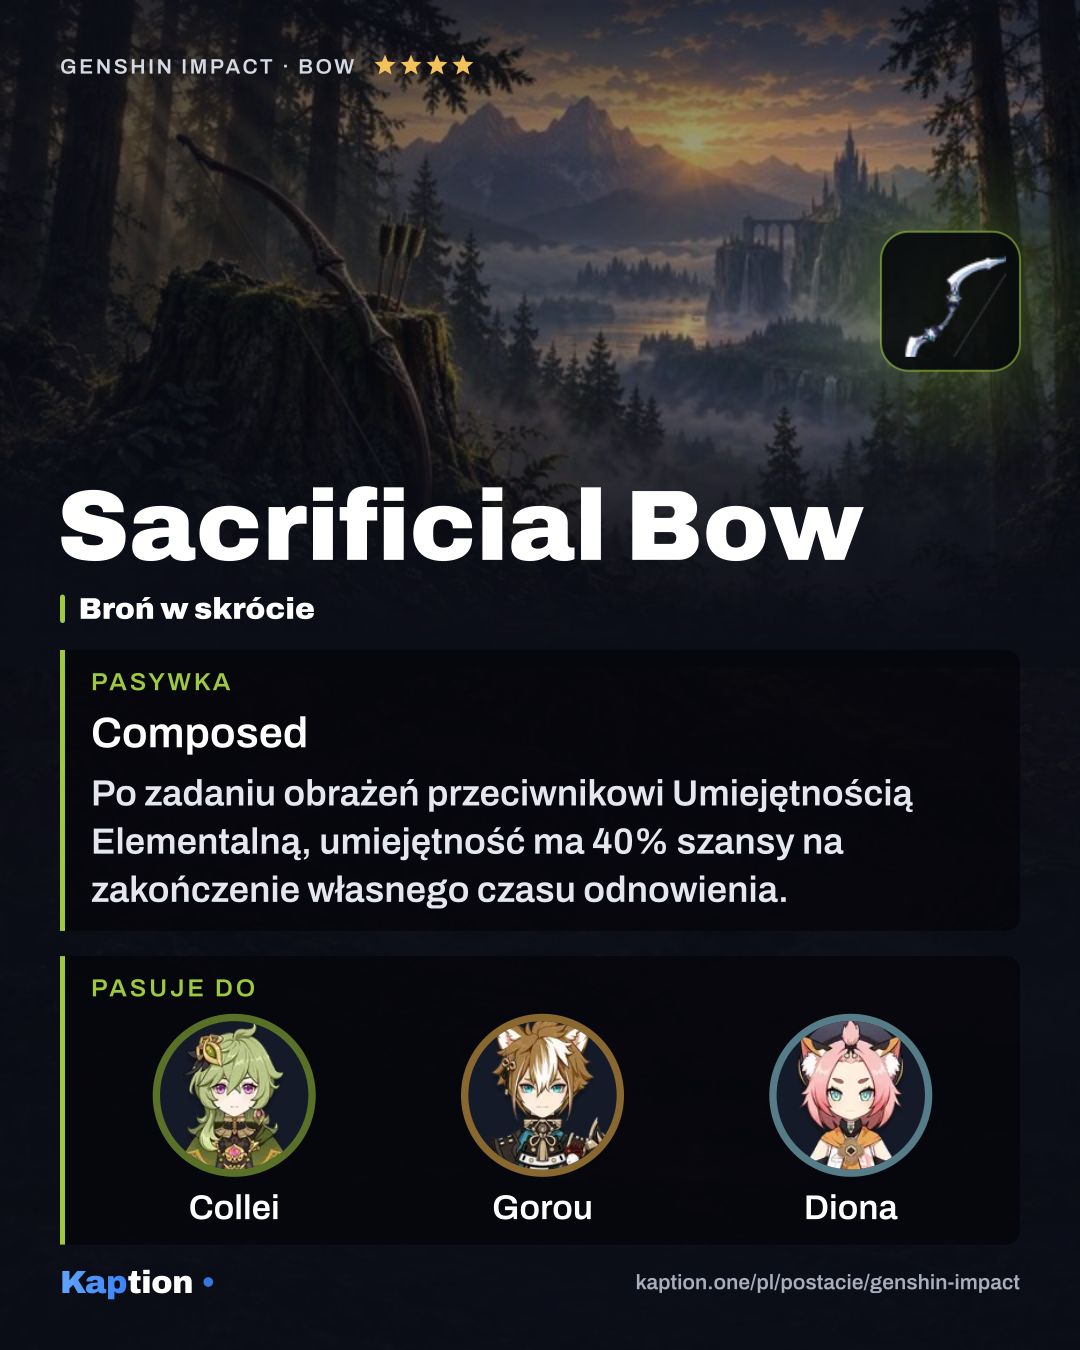
Favonius Warbow is the first weapon to try. Its listed effect gives CRIT Hits a 60% chance to generate particles that restore 6 Energy to the character, once every 12 seconds, so CRIT Rate is useful. Elegy for the End gives 60 Elemental Mastery and builds Sigils when the skill or Burst hits, even off-field. Sacrificial Bow is another option: its listed effect has a 40% chance to end the skill's cooldown after it damages an opponent, once every 30 seconds.
Leveling priority
A good leveling order is Inuzaka All-Round Defense first, because its field is central to Gorou's support. Follow with Juuga: Forward Unto Victory for its damage and moving field. Leave Ripping Fang Fletching (NA) until last if you mainly switch to Gorou to use his abilities.
For ascension, gather Mora, Sango Pearl, Prithiva Topaz Sliver, Prithiva Topaz Fragment, Prithiva Topaz Chunk, Prithiva Topaz Gemstone, Spectral Husk, Spectral Heart, Spectral Nucleus and Perpetual Heart.
Talent upgrades also use Mora, Spectral Husk, Spectral Heart and Spectral Nucleus, along with Teachings of Light, Guide to Light, Philosophies of Light, Molten Moment and Crown of Insight. You do not need to raise all three talents equally if you rarely use his normal attacks.
Constellations worth it
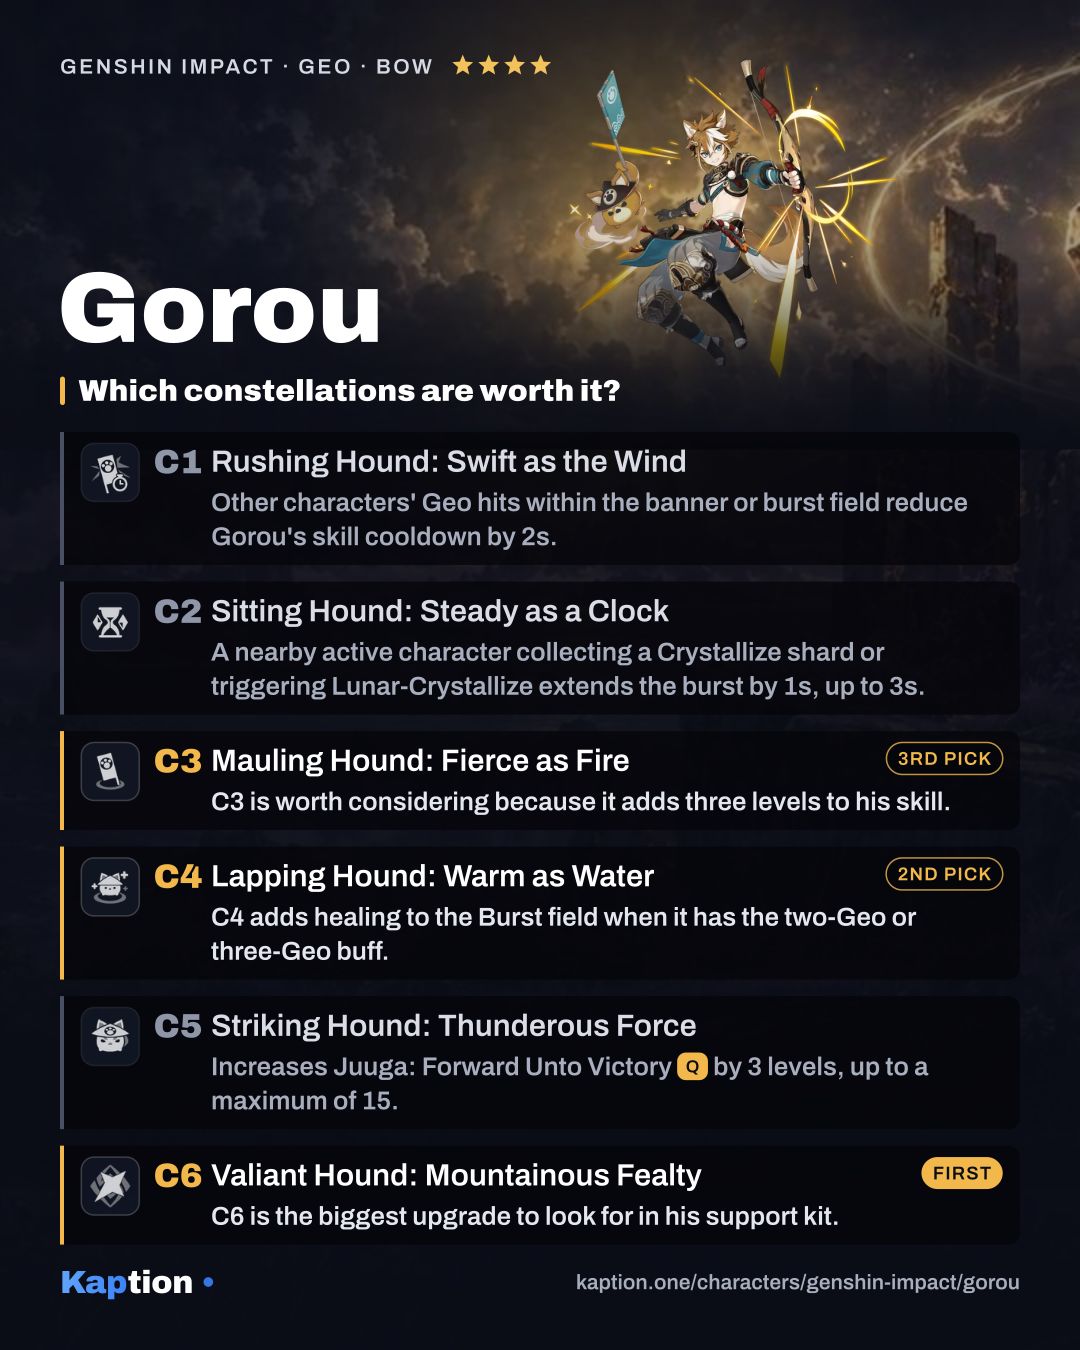
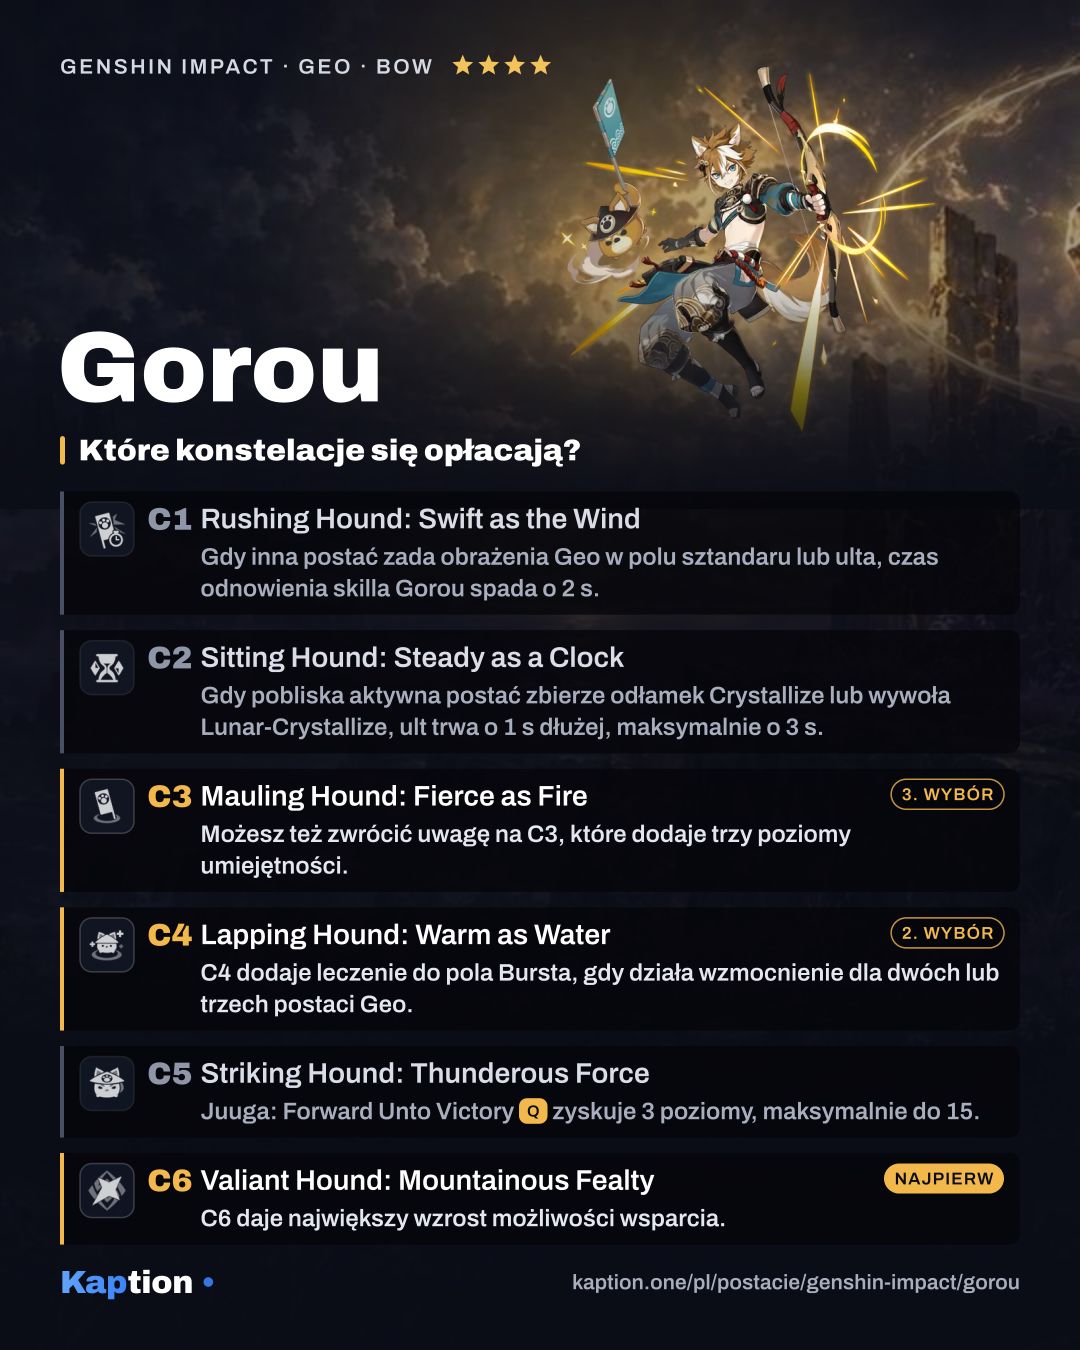
C6 is the biggest upgrade to look for in his support kit. For 12 seconds after the skill or Burst, it increases nearby party members' Geo damage CRIT DMG by 10%, 20% or 40%, depending on the field's buff level. The 40% bonus needs the three-Geo level. The effect cannot stack, and the latest trigger determines its value.
C4 adds healing to the Burst field when it has the two-Geo or three-Geo buff. It heals the active character inside the field by 50% of Gorou's DEF every 1.5 seconds. This can help with survival, though you still need to stay in the field.
C3 is worth considering because it adds three levels to his skill. C2 can extend the Burst field by up to 3 seconds when the active character picks up Crystallize shards or triggers Lunar-Crystallize. C1 and C5 are lower priorities: C1 can shorten the skill cooldown, while C5 adds Burst levels. Neither is needed for Gorou's basic buffing job.
Teams
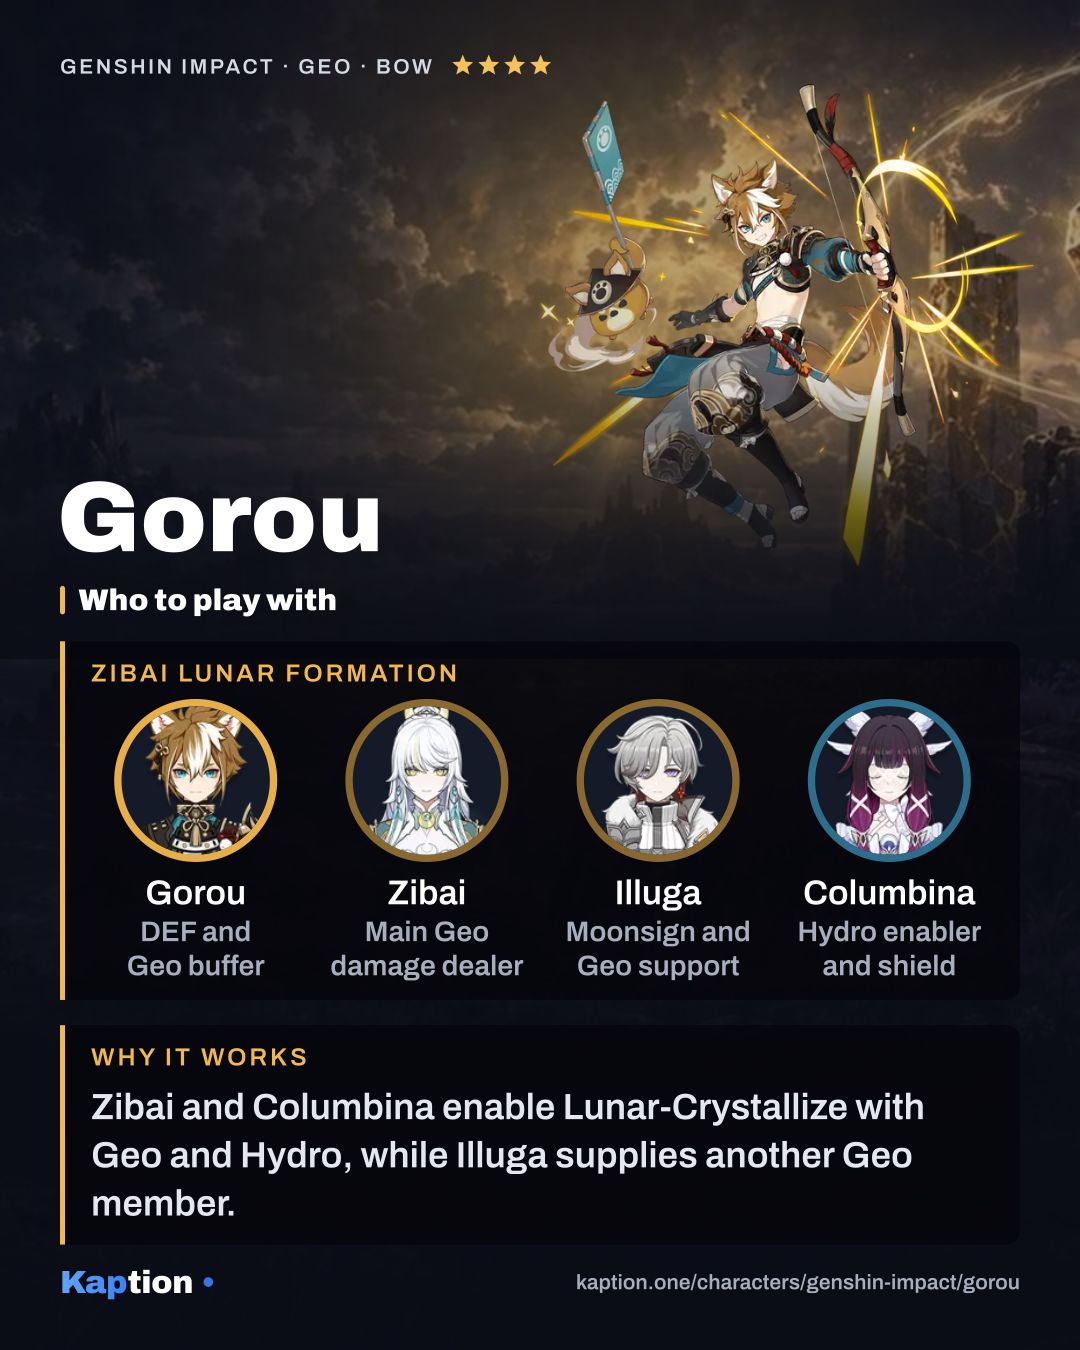
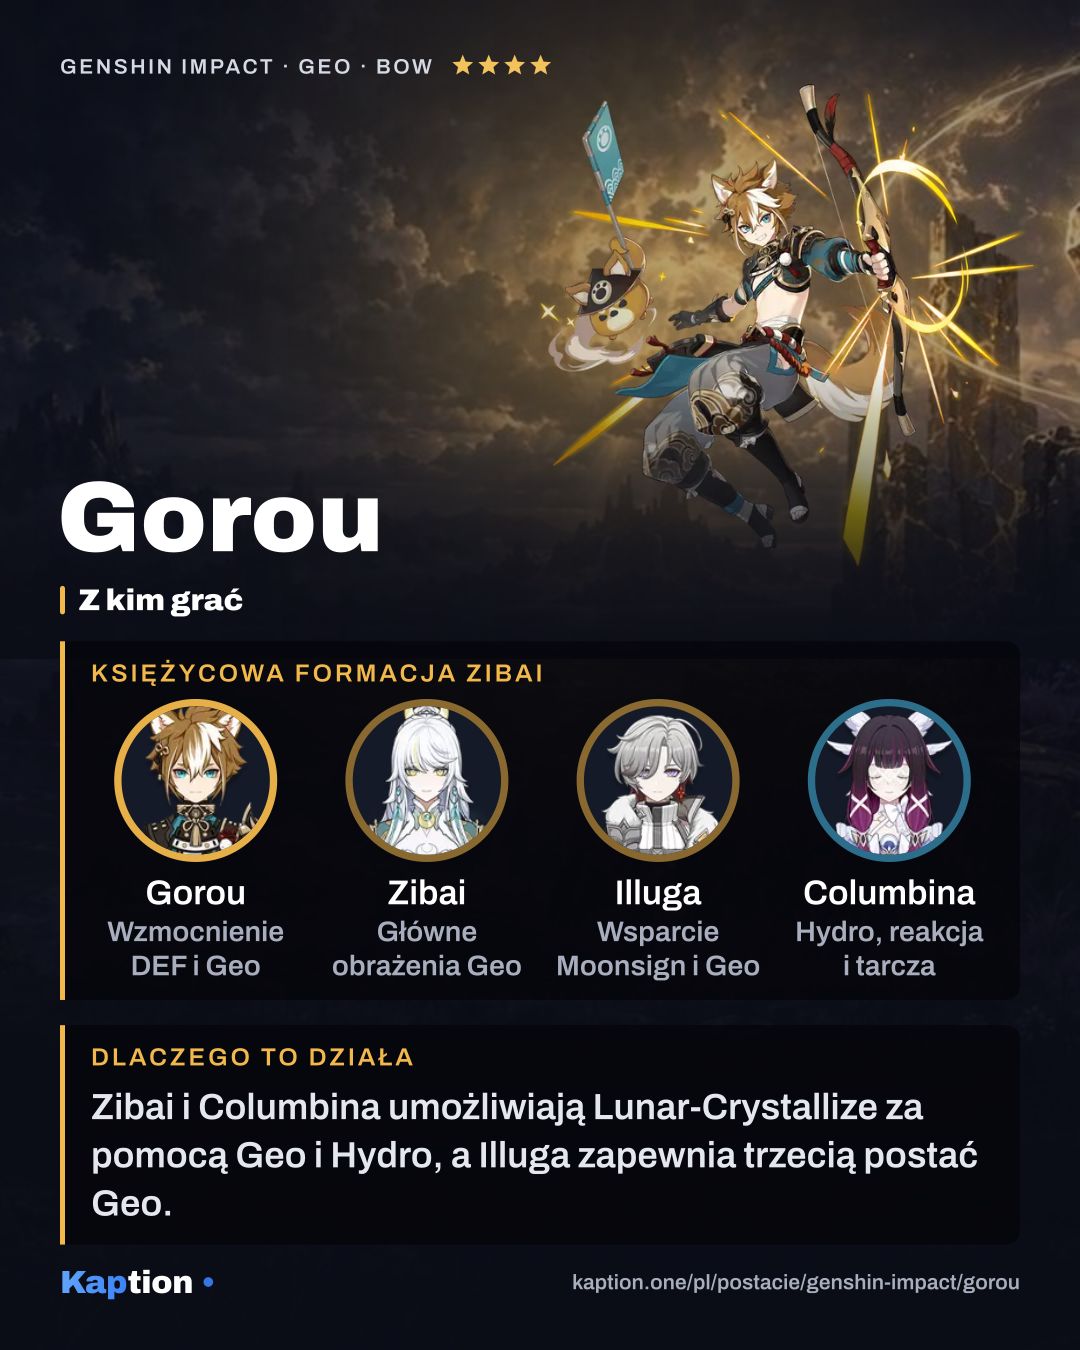
Before C4, arrange healing or protection elsewhere if the team needs it. At C4, Gorou can heal the active character inside his Burst field, but the healing depends on his DEF and the field's Geo-count condition.
Common mistakes
Do not count on the banner and Burst field existing together. The Burst removes the banner, so use the moving field while it lasts and place a banner again afterward when needed. A teammate outside the field also cannot keep its active buff indefinitely.
Do not assume that stacking Gorou's own DEF increases every buff he gives. The listed DEF scaling applies to his damage and C4 healing. Energy Recharge matters if you want to use his Burst, and CRIT Rate matters when you equip Favonius Warbow.
Check the party's Geo count before fighting. Gorou alone gives access to the DEF Bonus, but the interruption resistance needs two Geo characters and the Geo DMG Bonus needs three. Also avoid relying on C4 healing outside the Burst field or with only one Geo character.