












































Guide
How the kit works
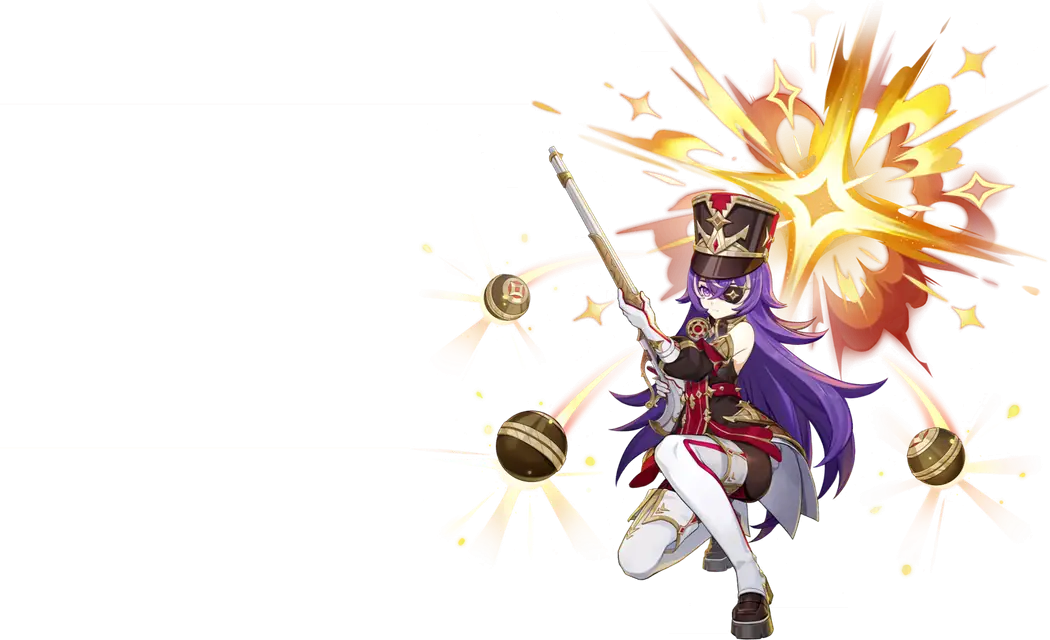
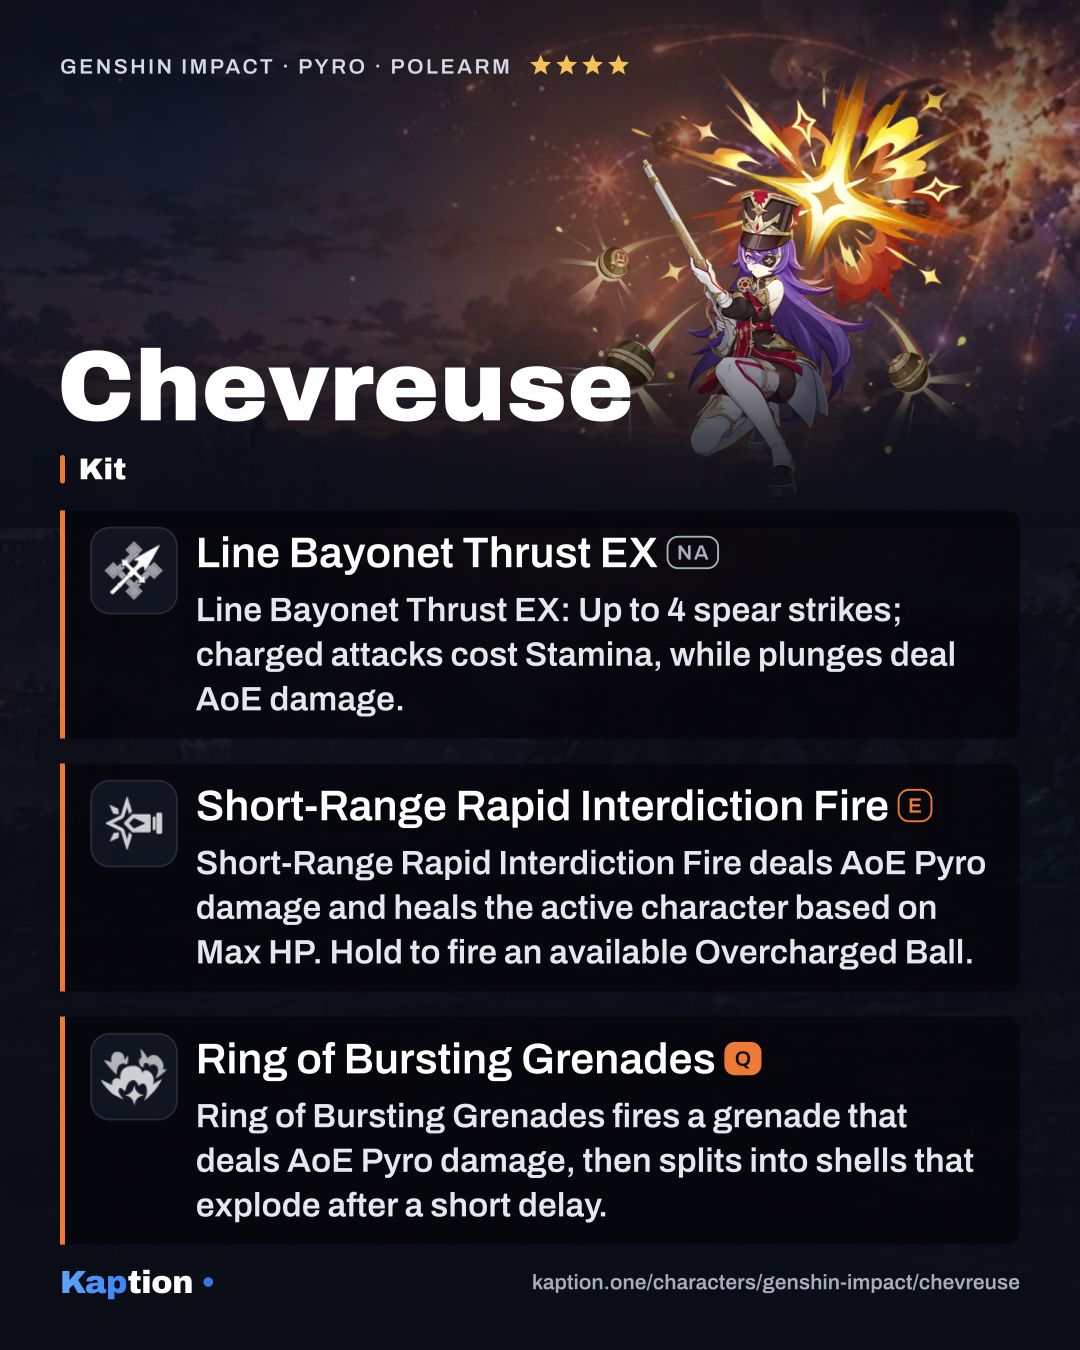
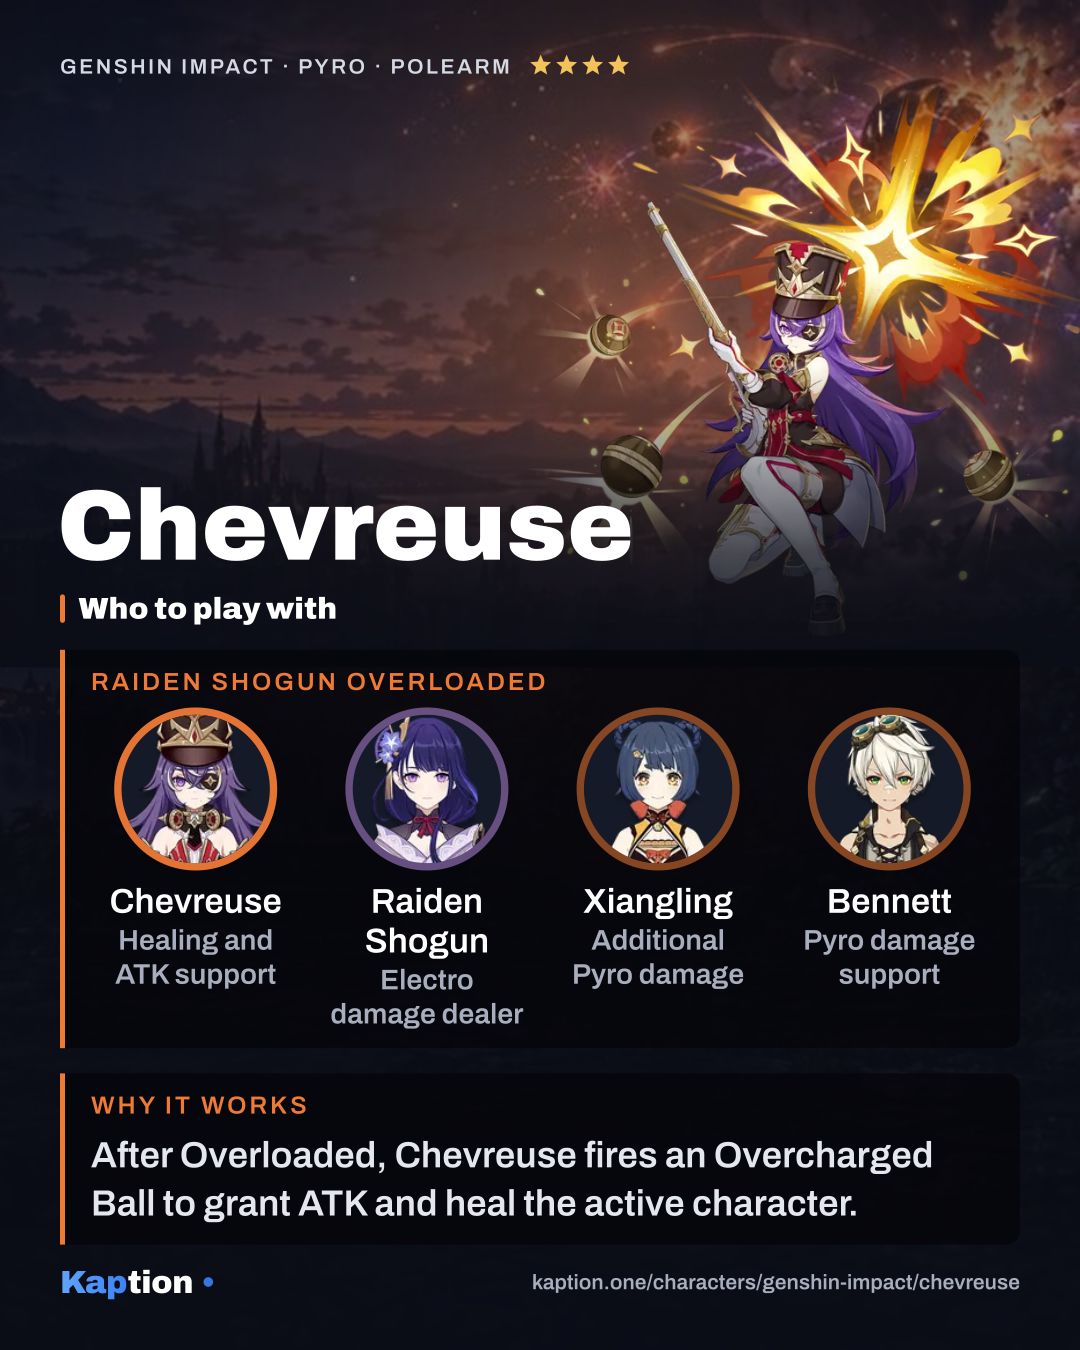
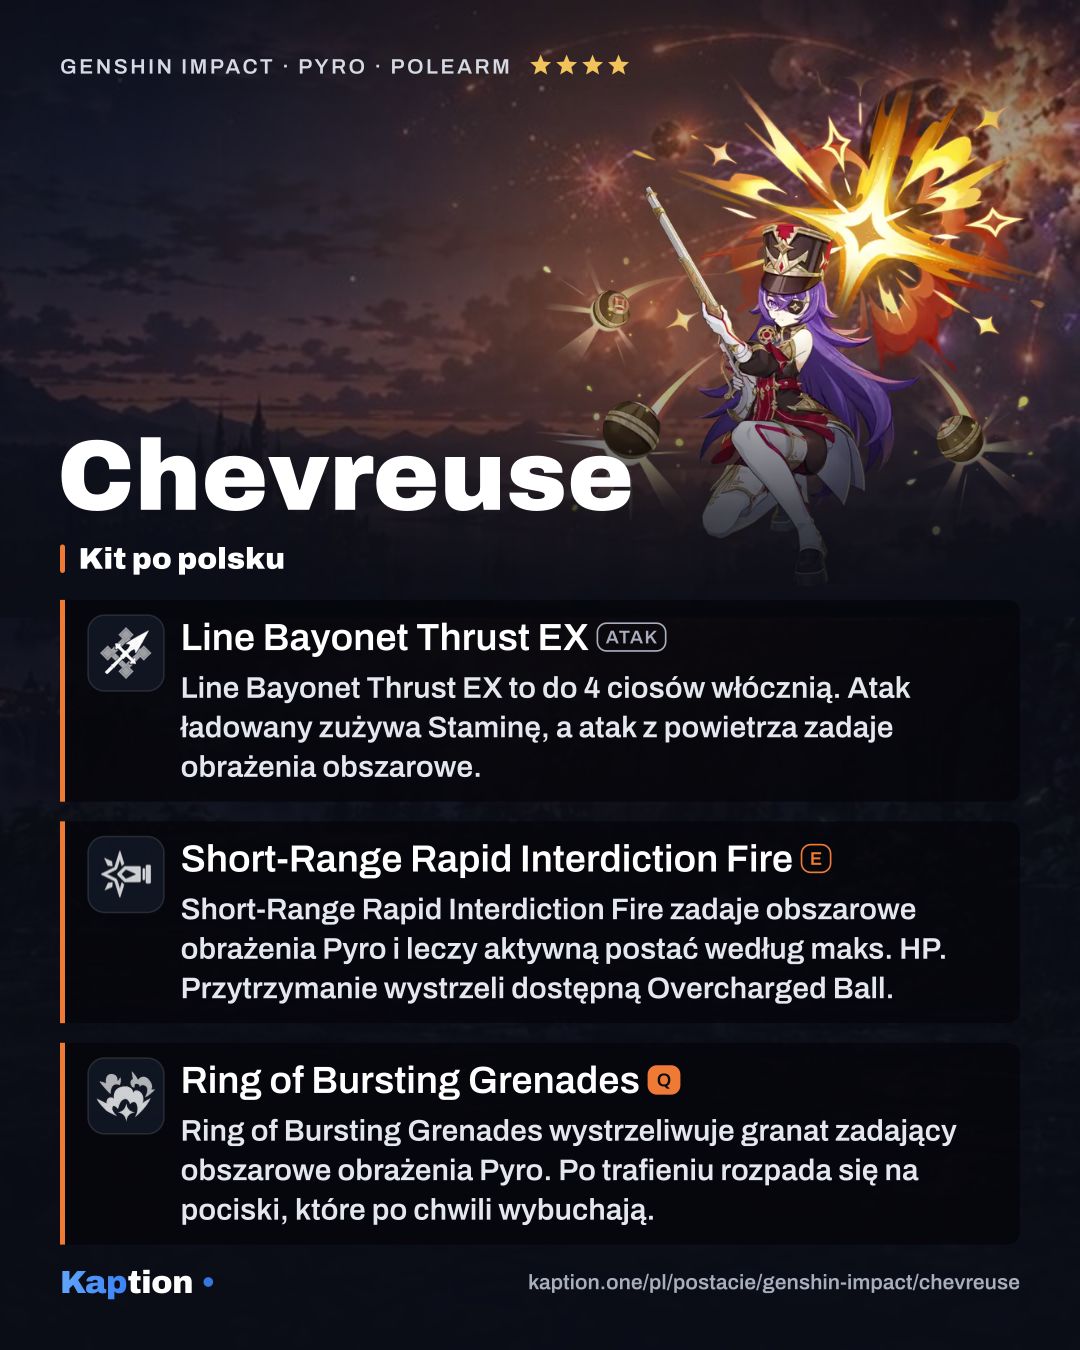
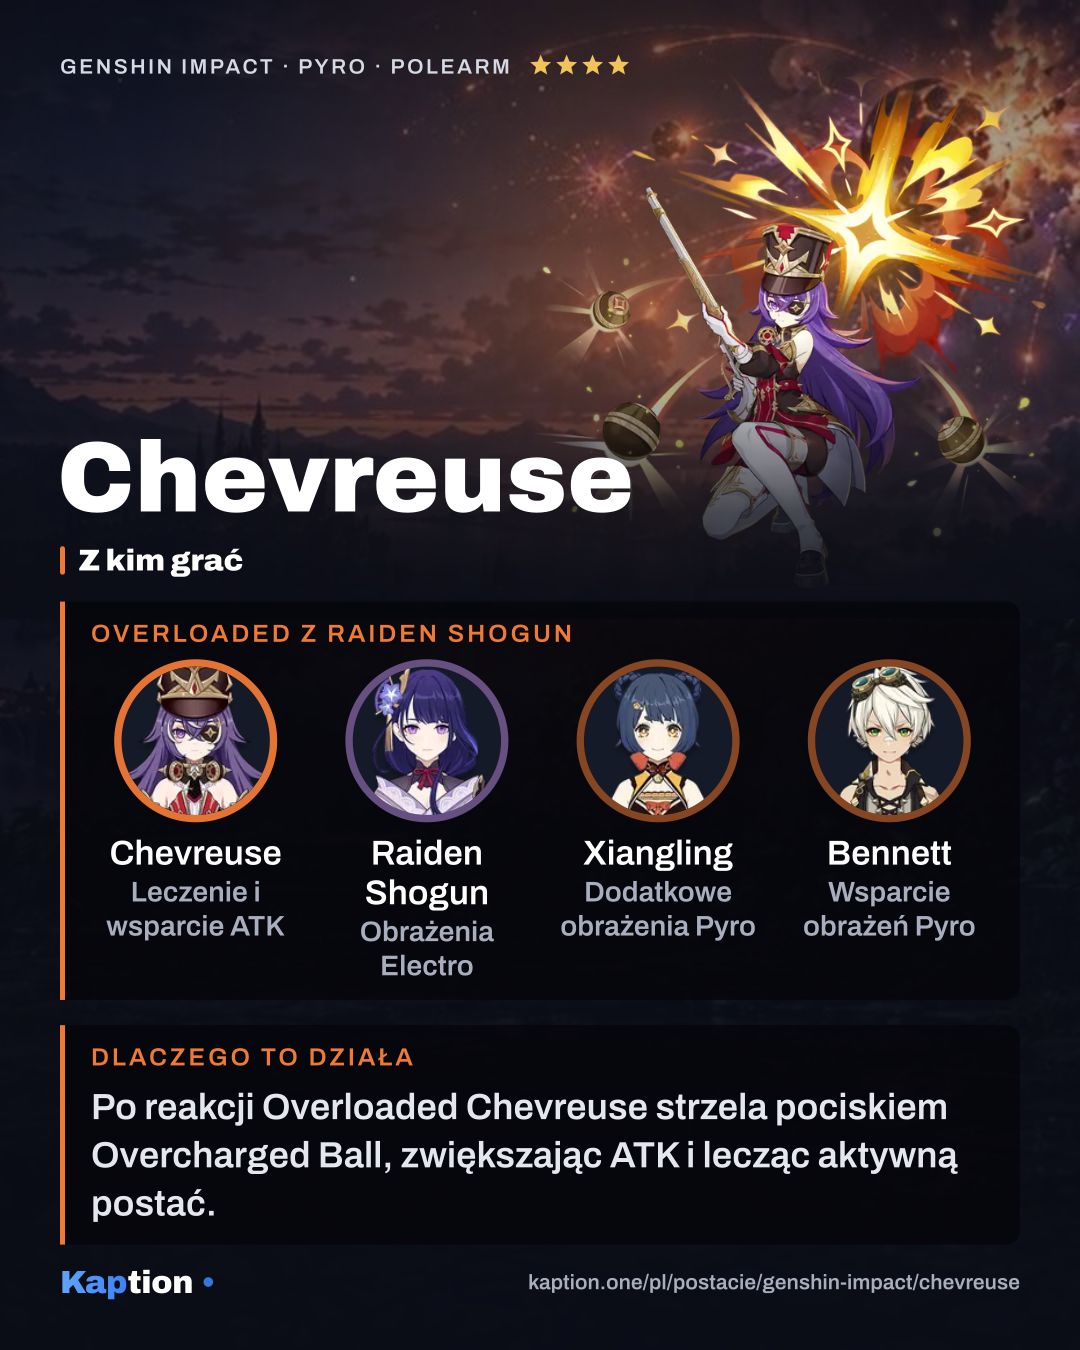
Start by triggering Overloaded with a nearby party member. This gives Chevreuse one Overcharged Ball, with a maximum of one held at a time. If your party contains only Pyro and Electro characters and has at least one of each, Vanguard's Coordinated Tactics also lowers the affected opponents’ Pyro and Electro RES by 40% for 6 seconds.
Next, hold Short-Range Rapid Interdiction Fire and aim at an opponent. If Chevreuse has an Overcharged Ball, she fires it for greater Pyro damage in a larger area. The shot also activates Vertical Force Coordination: nearby Pyro and Electro party members gain 1% ATK per 1,000 of her Max HP for 30 seconds, up to 40%. The skill heals the active character for a short time after firing, based on her Max HP.
Use Ring of Bursting Grenades when you want extra Pyro damage. Its grenade deals area damage, then splits into shells that explode after a short delay. A tap of the skill is useful for healing when you do not have a ball, but only a held shot fires one. The skill can also periodically call a Surging Blade that deals Ousia-aligned Pyro damage.
Build and why
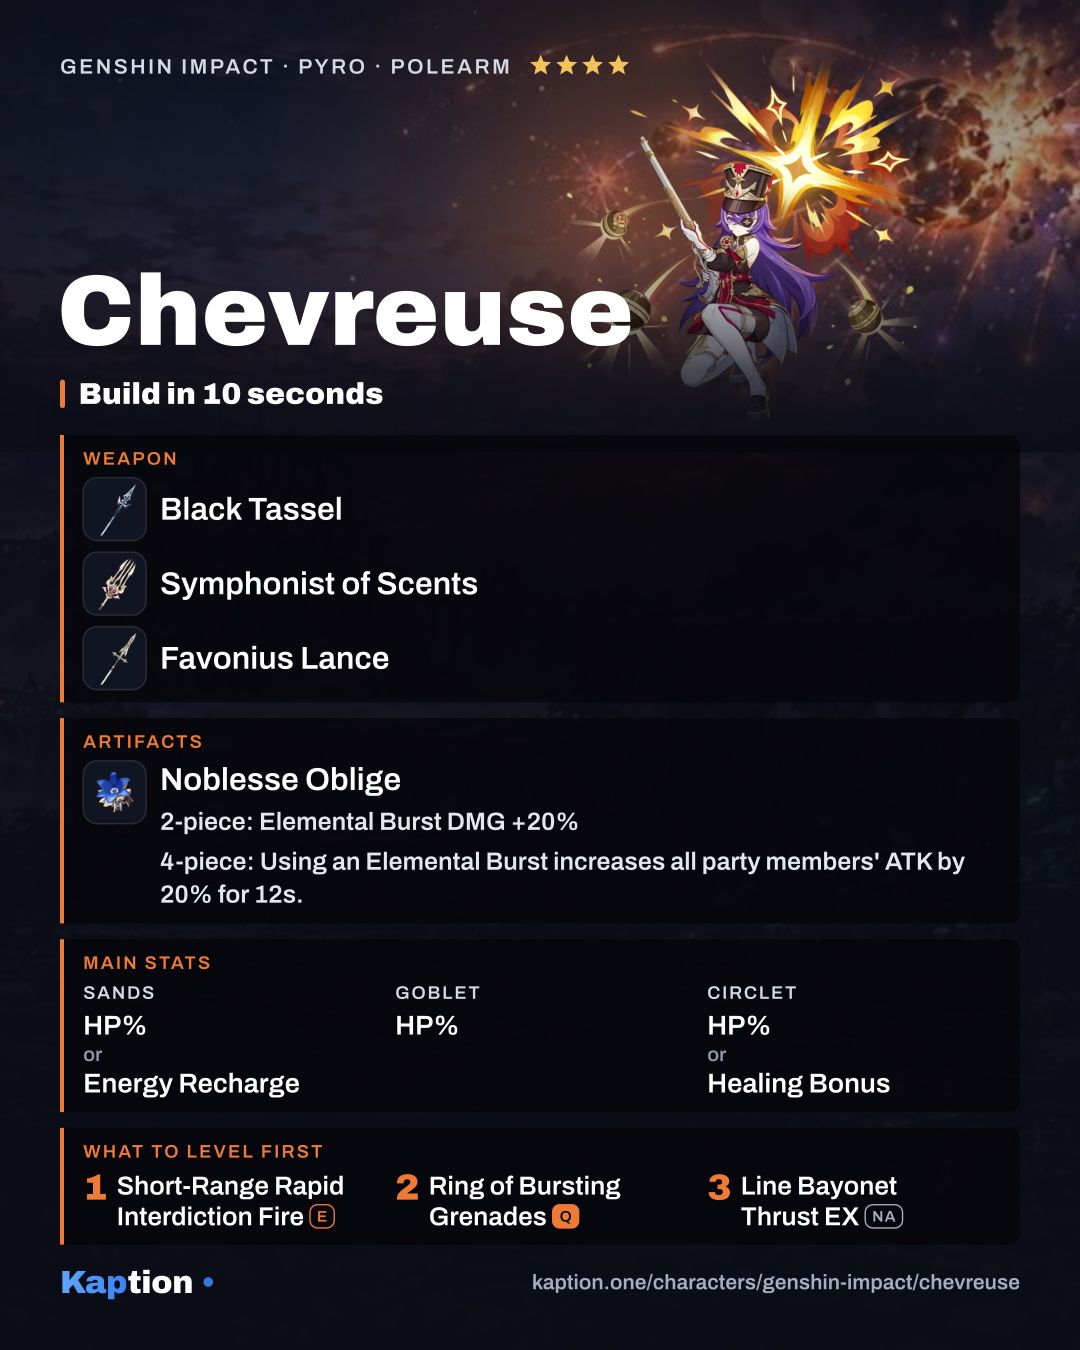
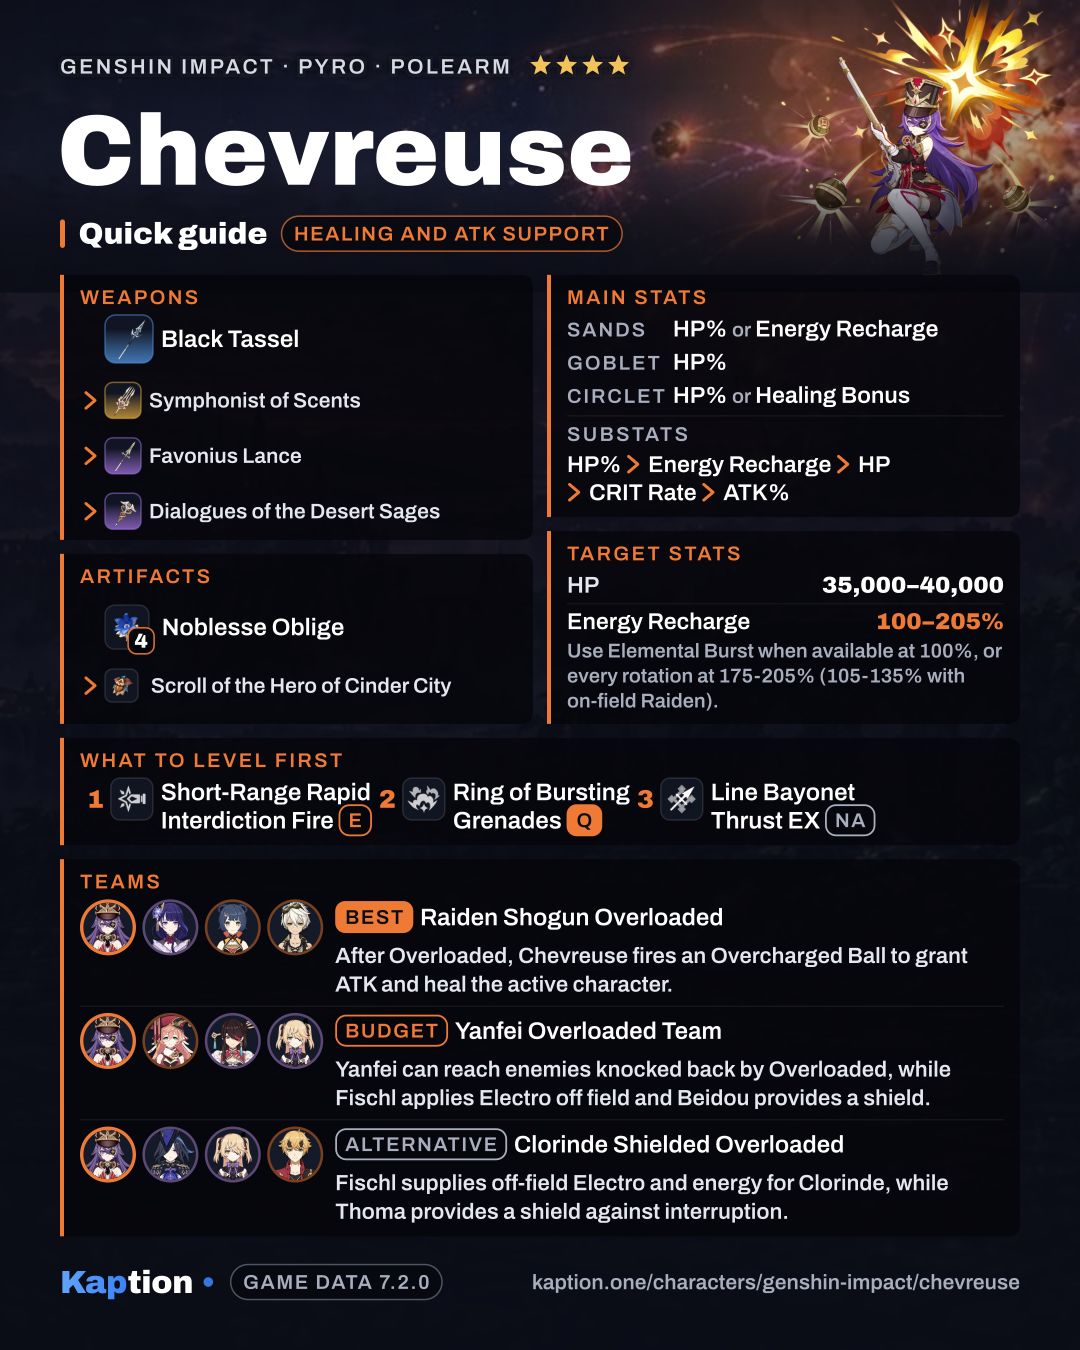
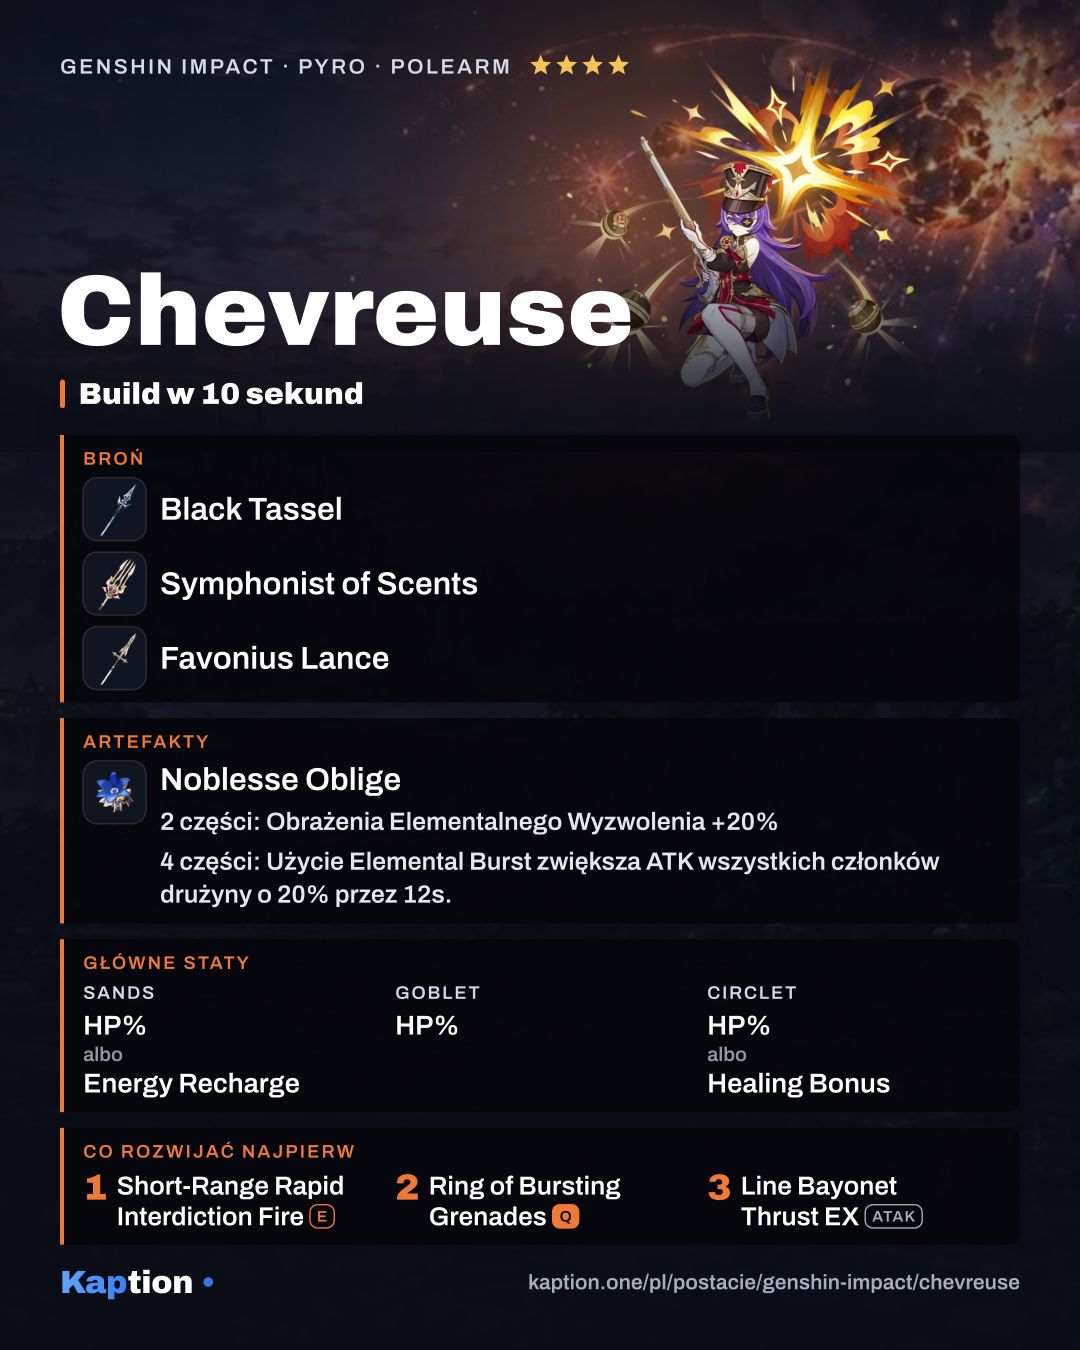
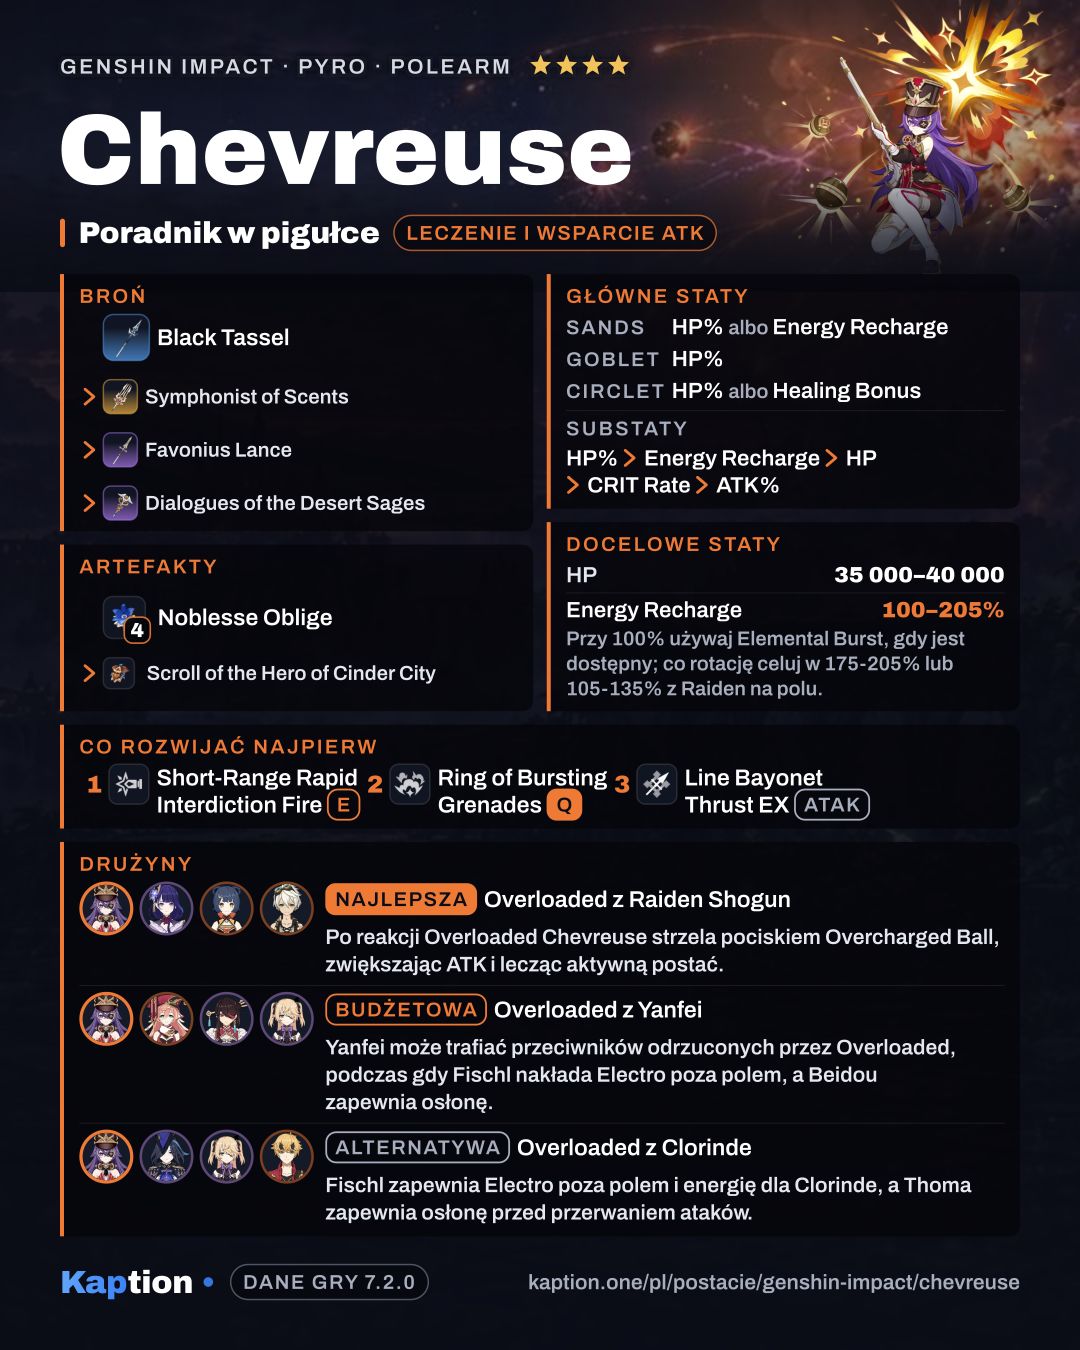
For team support, use four pieces of Noblesse Oblige. Using Chevreuse’s Burst gives the whole party 20% ATK for 12 seconds; this set effect cannot stack. Four pieces of Song of Days Past are another option: her healing is recorded for 6 seconds, then adds damage to the active character’s hits based on 8% of the recorded healing. The effect ends after five hits or 10 seconds.
Four pieces of Scroll of the Hero of Cinder City are also worth considering. Chevreuse must trigger the reaction herself to grant the 12% Elemental DMG Bonus for the elements involved for 15 seconds. Her kit does not list a way to enter Nightsoul's Blessing, so do not count on the set’s extra 28% from her alone. For a simpler HP setup, combine two pieces each of Tenacity of the Millelith and Vourukasha's Glow for a total of 40% HP.
Use HP Percentage on the sands and goblet. On the circlet, choose HP Percentage or Healing Bonus. Energy Recharge is an alternative on the sands if you need more Burst uptime. For substats, look for HP Percentage, then Energy Recharge, followed by HP, CRIT Rate and ATK Percentage. Her Max HP increases the ATK buff up to its 40% cap.
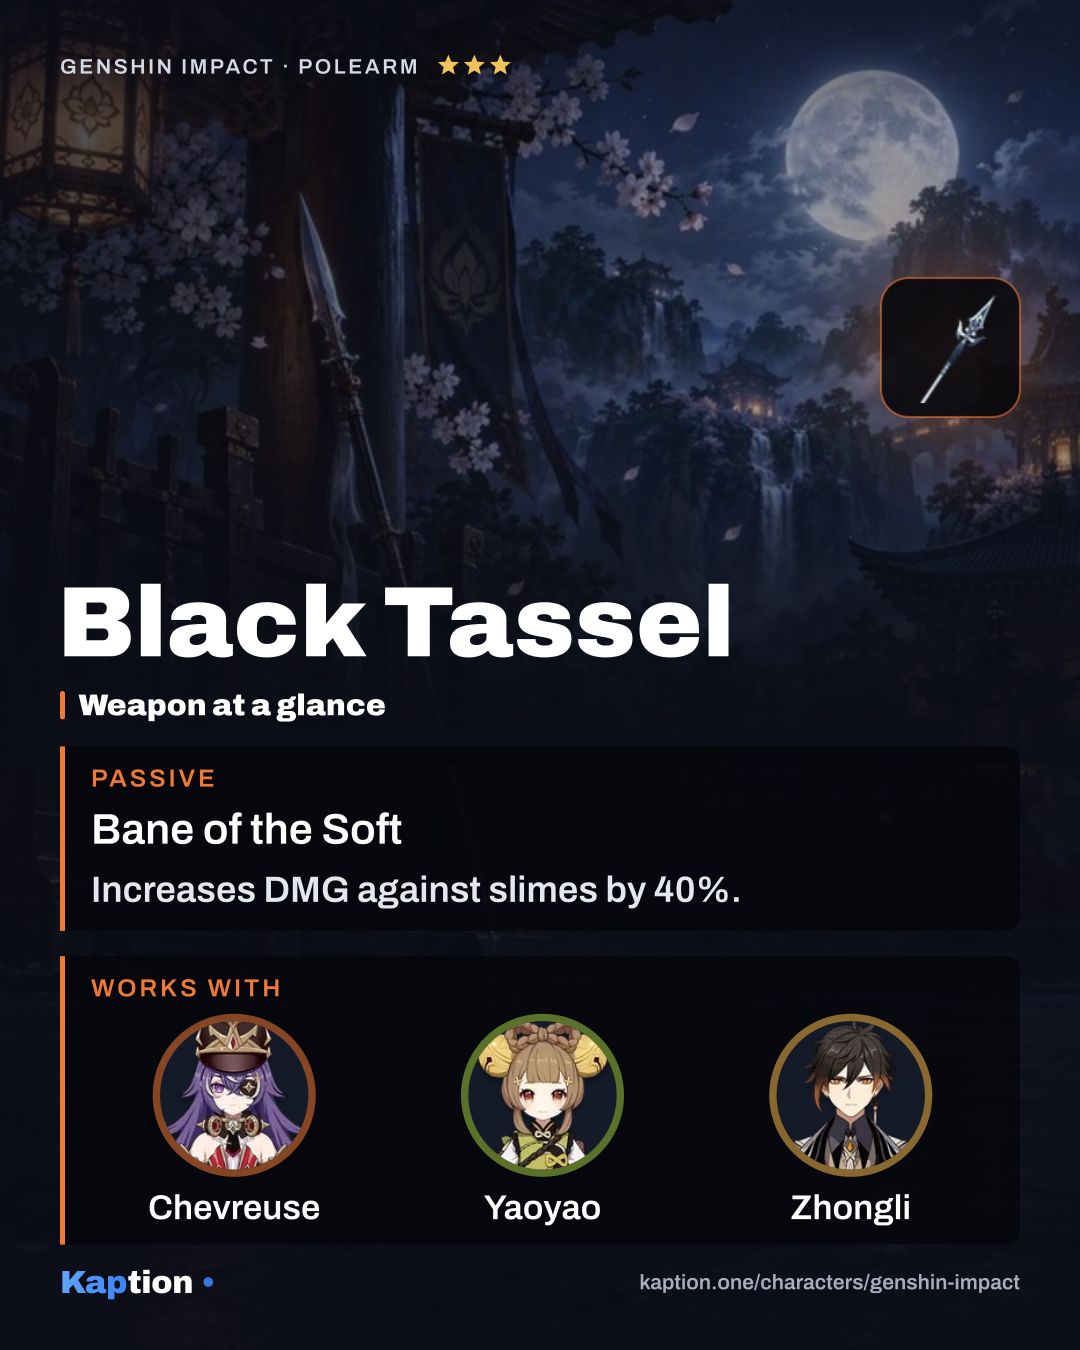
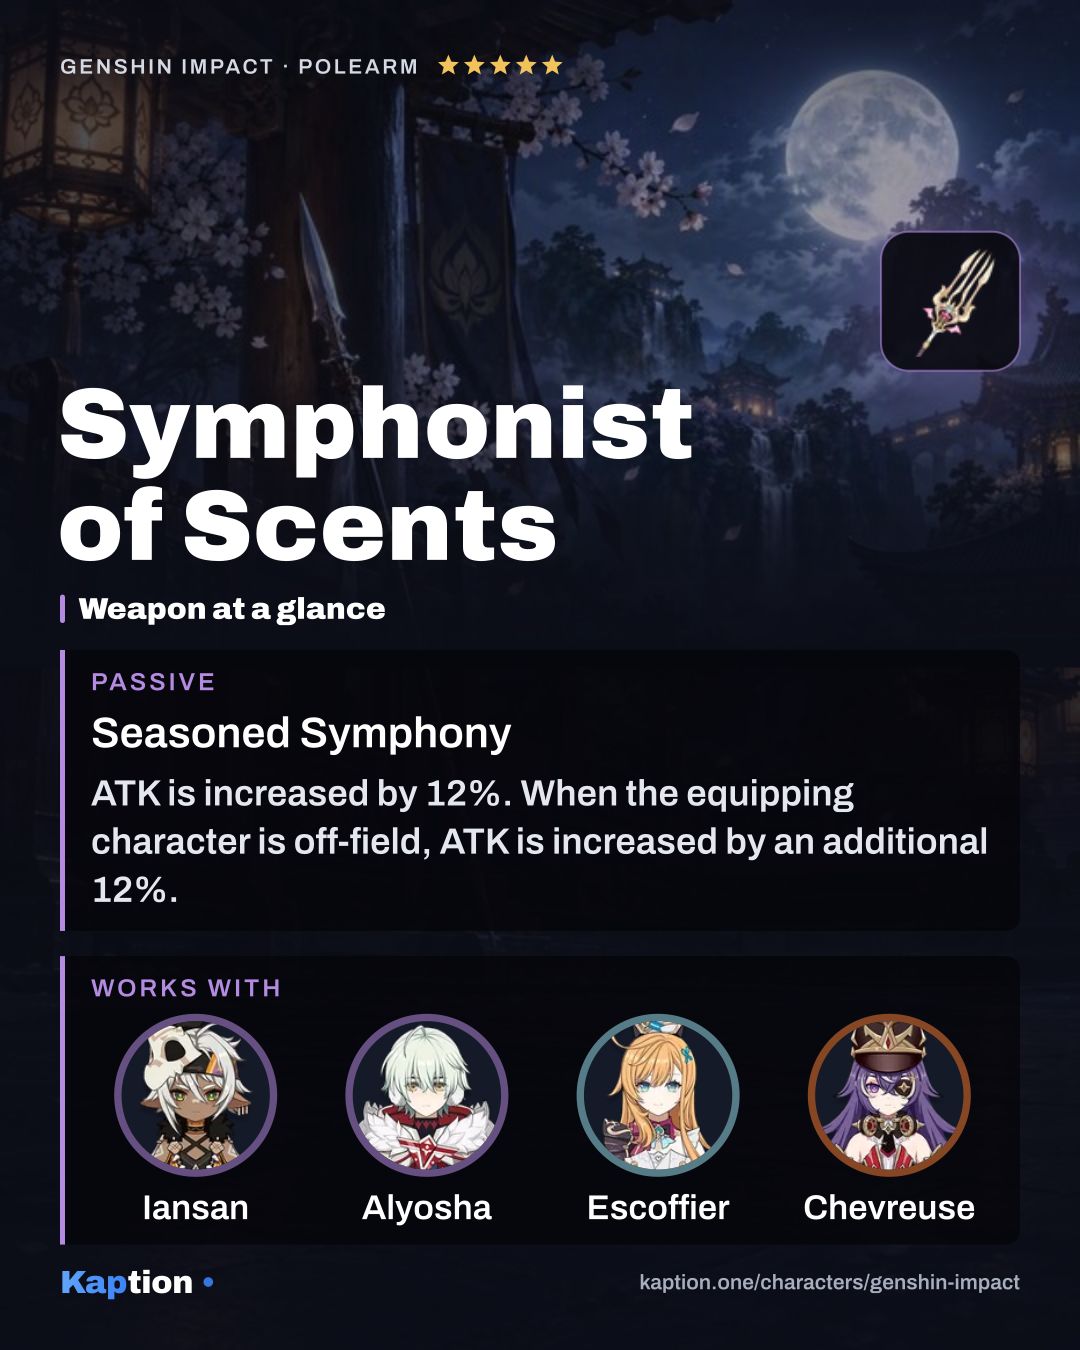
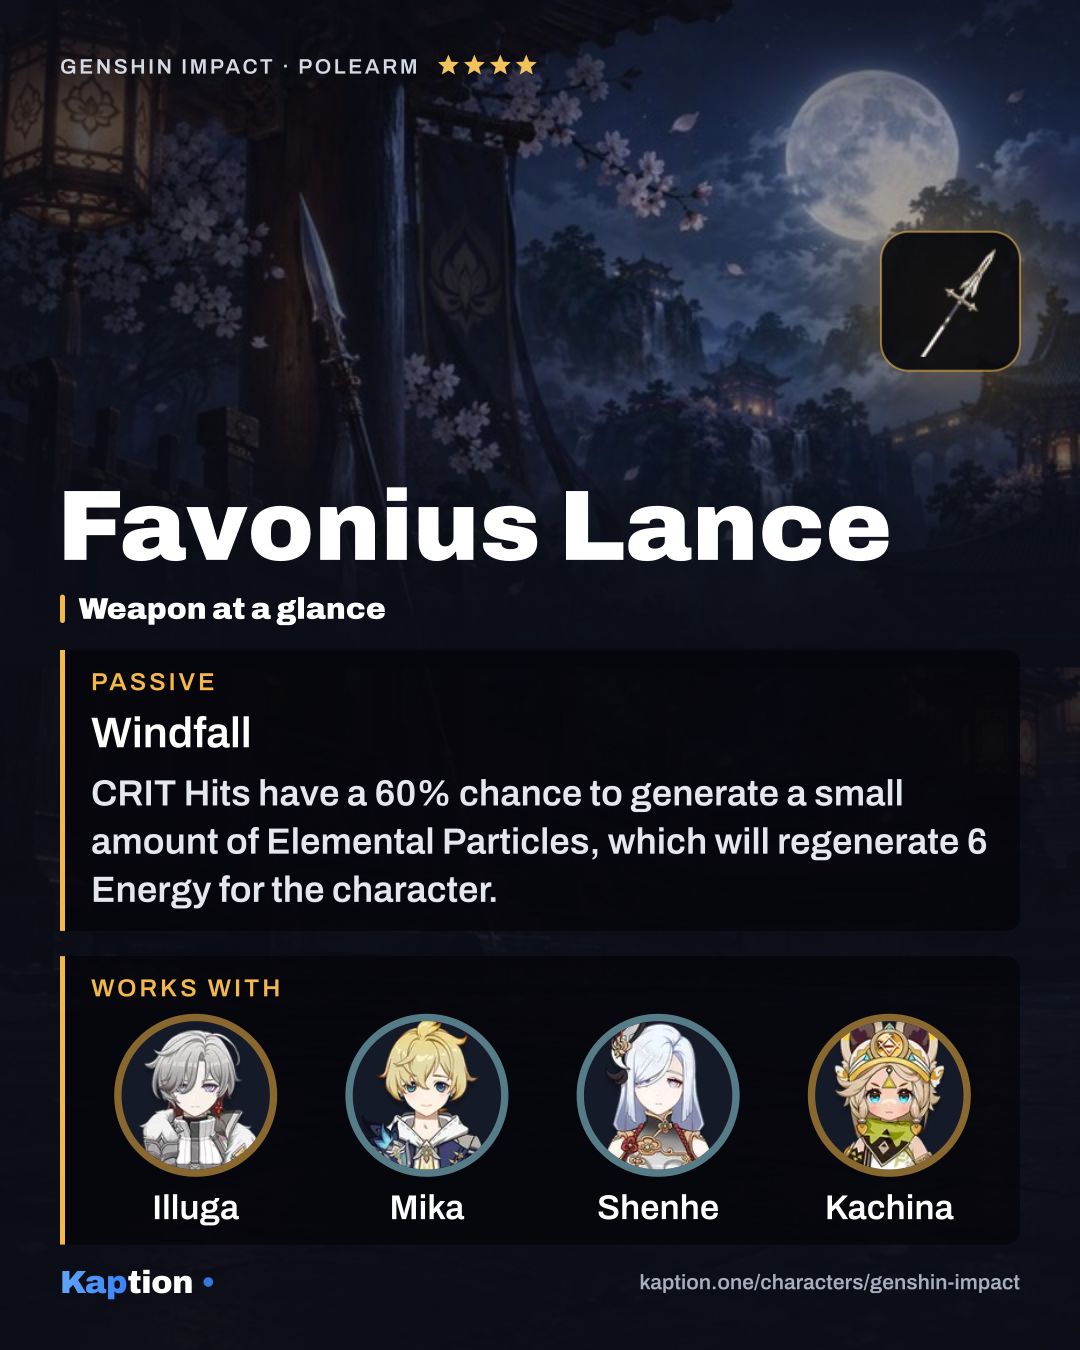
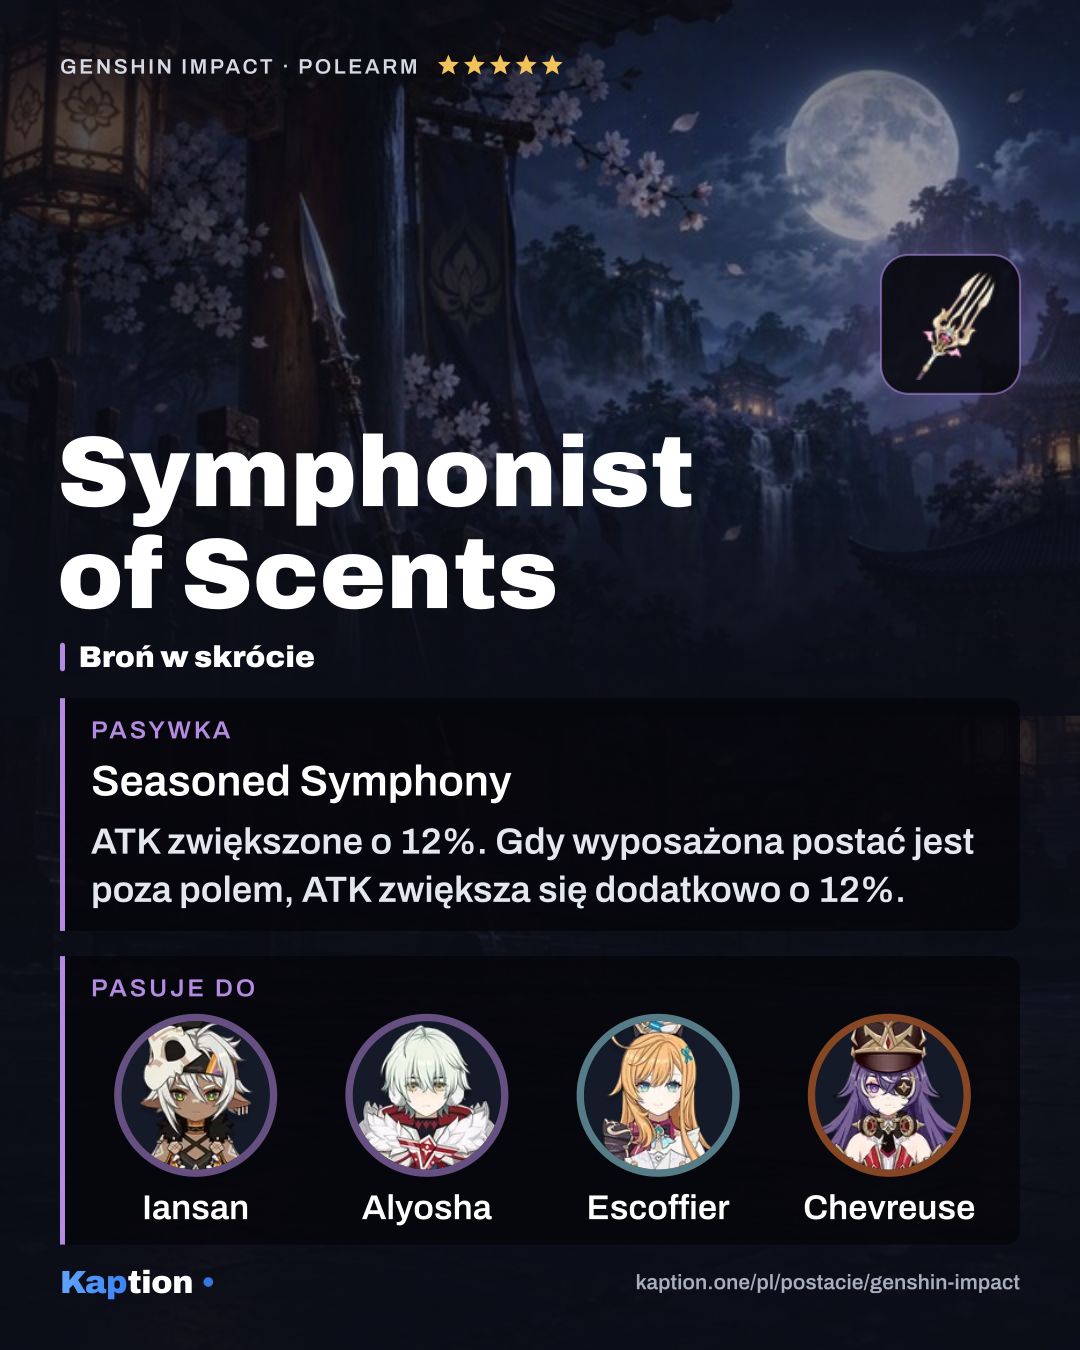
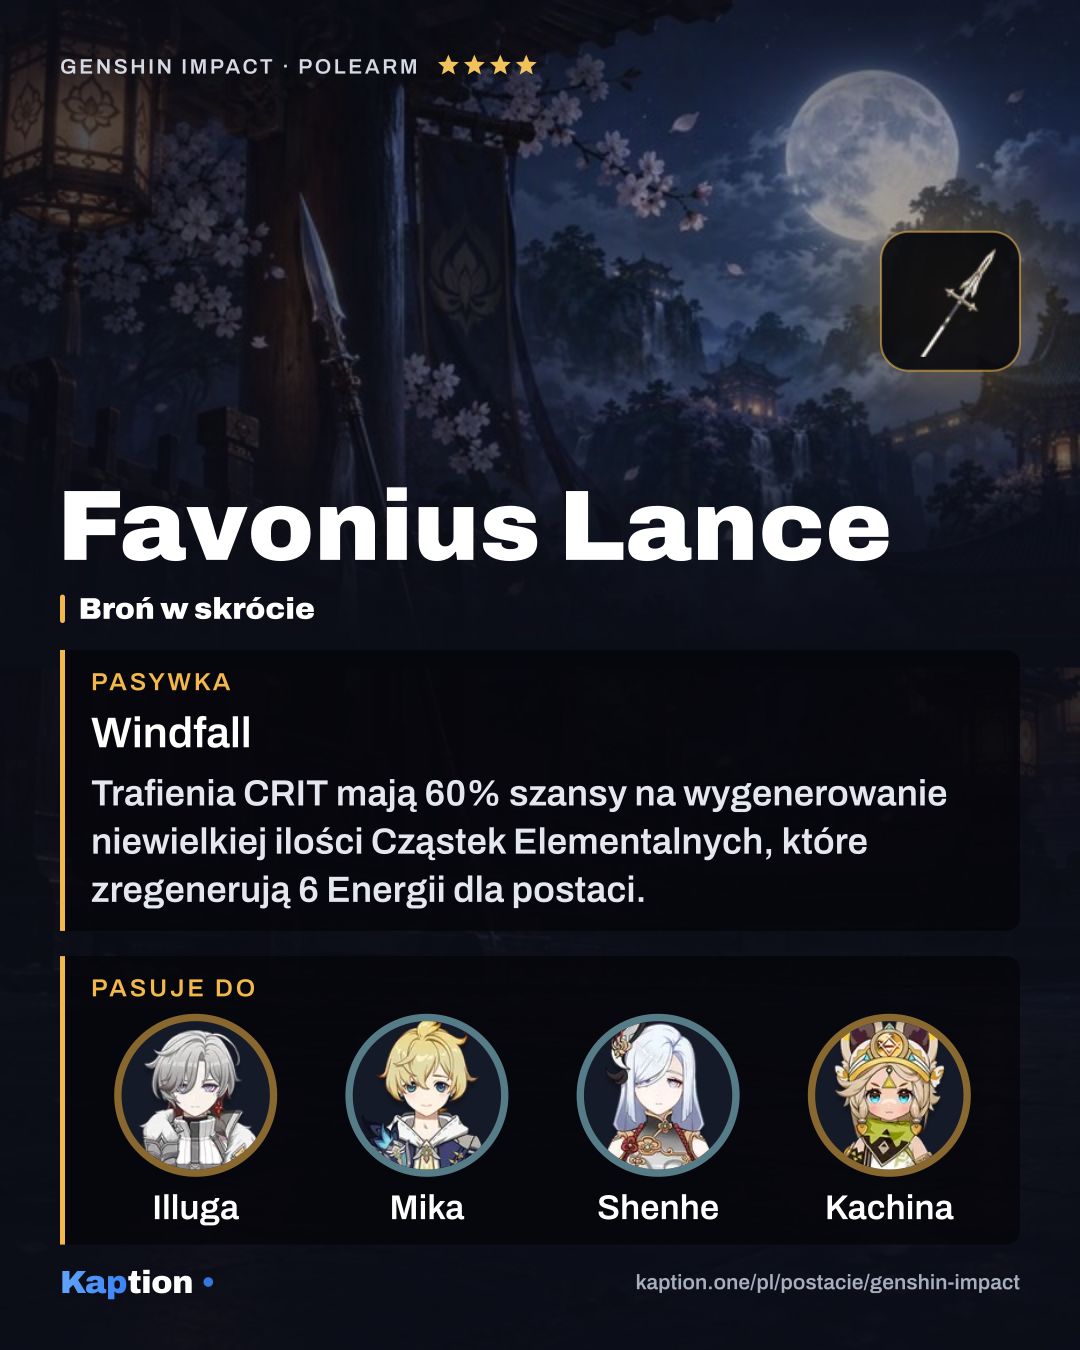
Symphonist of Scents is the first weapon choice here: after Chevreuse initiates healing, it gives her and the healed character 32% ATK for 3 seconds. Favonius Lance is another strong support option; its CRIT Hits can generate particles, so give Chevreuse some CRIT Rate if you use it. Black Tassel is another guide-listed option, though the supplied weapon effect only describes extra damage against slimes. Dialogues of the Desert Sages restores 8 Energy when its wielder heals, once every 10 seconds.
Leveling priority
A sensible support order is Short-Range Rapid Interdiction Fire first, Ring of Bursting Grenades second, and Line Bayonet Thrust EX (NA) last. The skill handles healing and the Overcharged Ball shot, while the Burst adds damage. Normal Attacks matter less if Chevreuse spends little time attacking on field.
For maximum ascension, collect 420,000 Mora, 168 Lumidouce Bell and 46 Fontemer Unihorn. You also need 1 Agnidus Agate Sliver, 9 Agnidus Agate Fragment, 9 Agnidus Agate Chunk and 6 Agnidus Agate Gemstone, plus 18 Meshing Gear, 30 Mechanical Spur Gear and 36 Artificed Dynamic Gear.
Maxing all three talents takes 4,957,500 Mora and 3 Crown of Insight. The talent materials are 9 Teachings of Order, 63 Guide to Order, 114 Philosophies of Order and 18 Lightless Eye of the Maelstrom, along with 18 Meshing Gear, 66 Mechanical Spur Gear and 93 Artificed Dynamic Gear. You can save resources by leaving Normal Attacks for later.
Constellations worth it
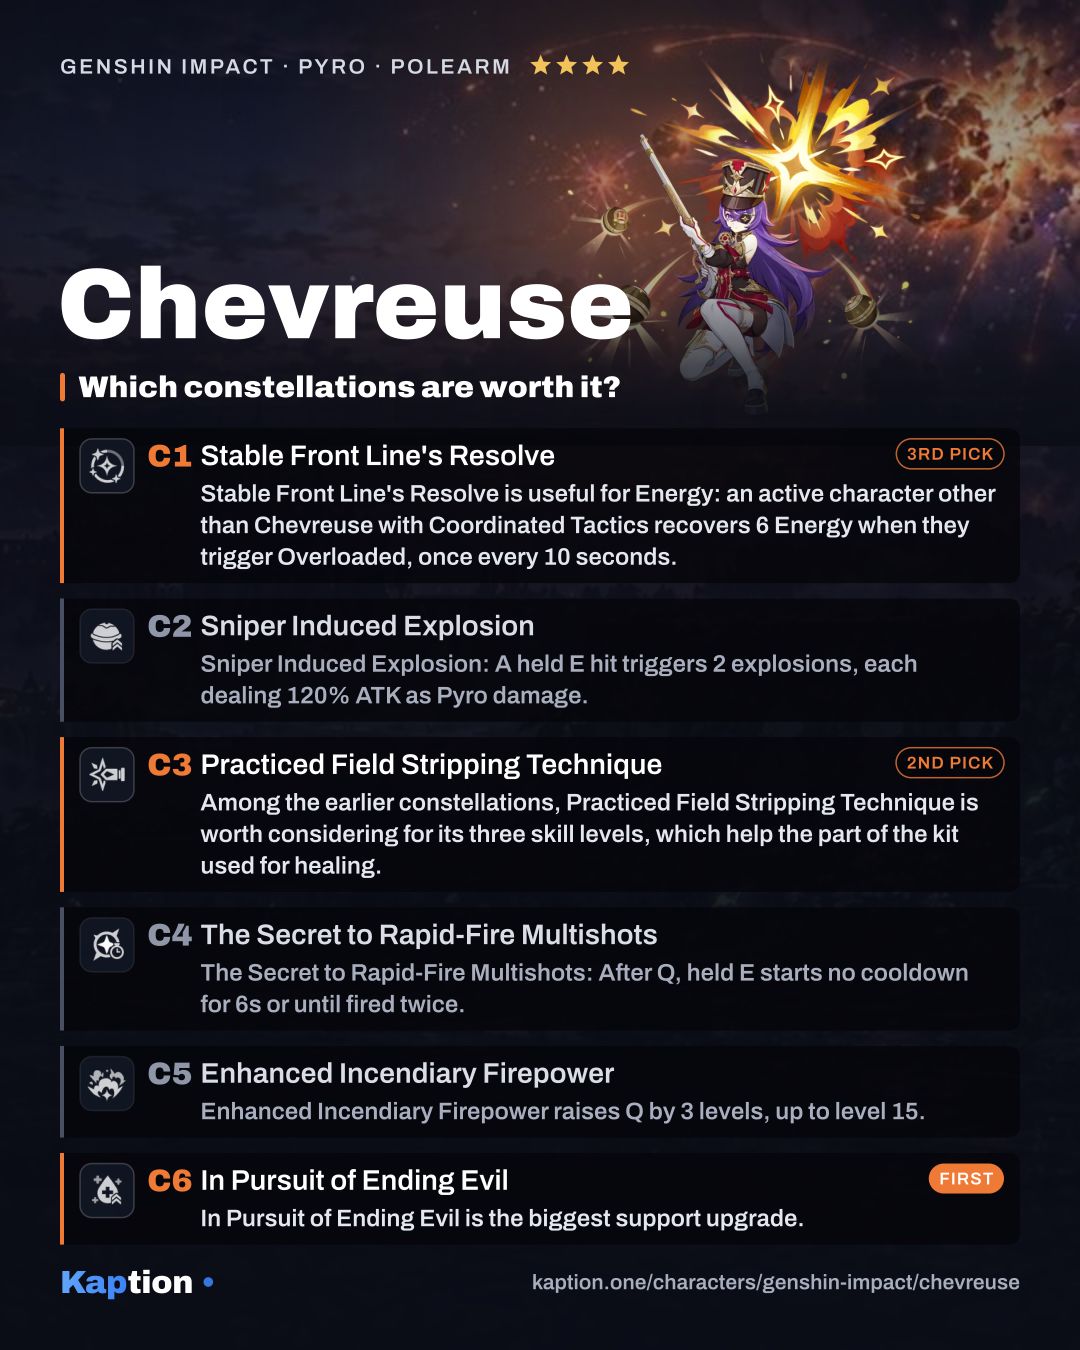
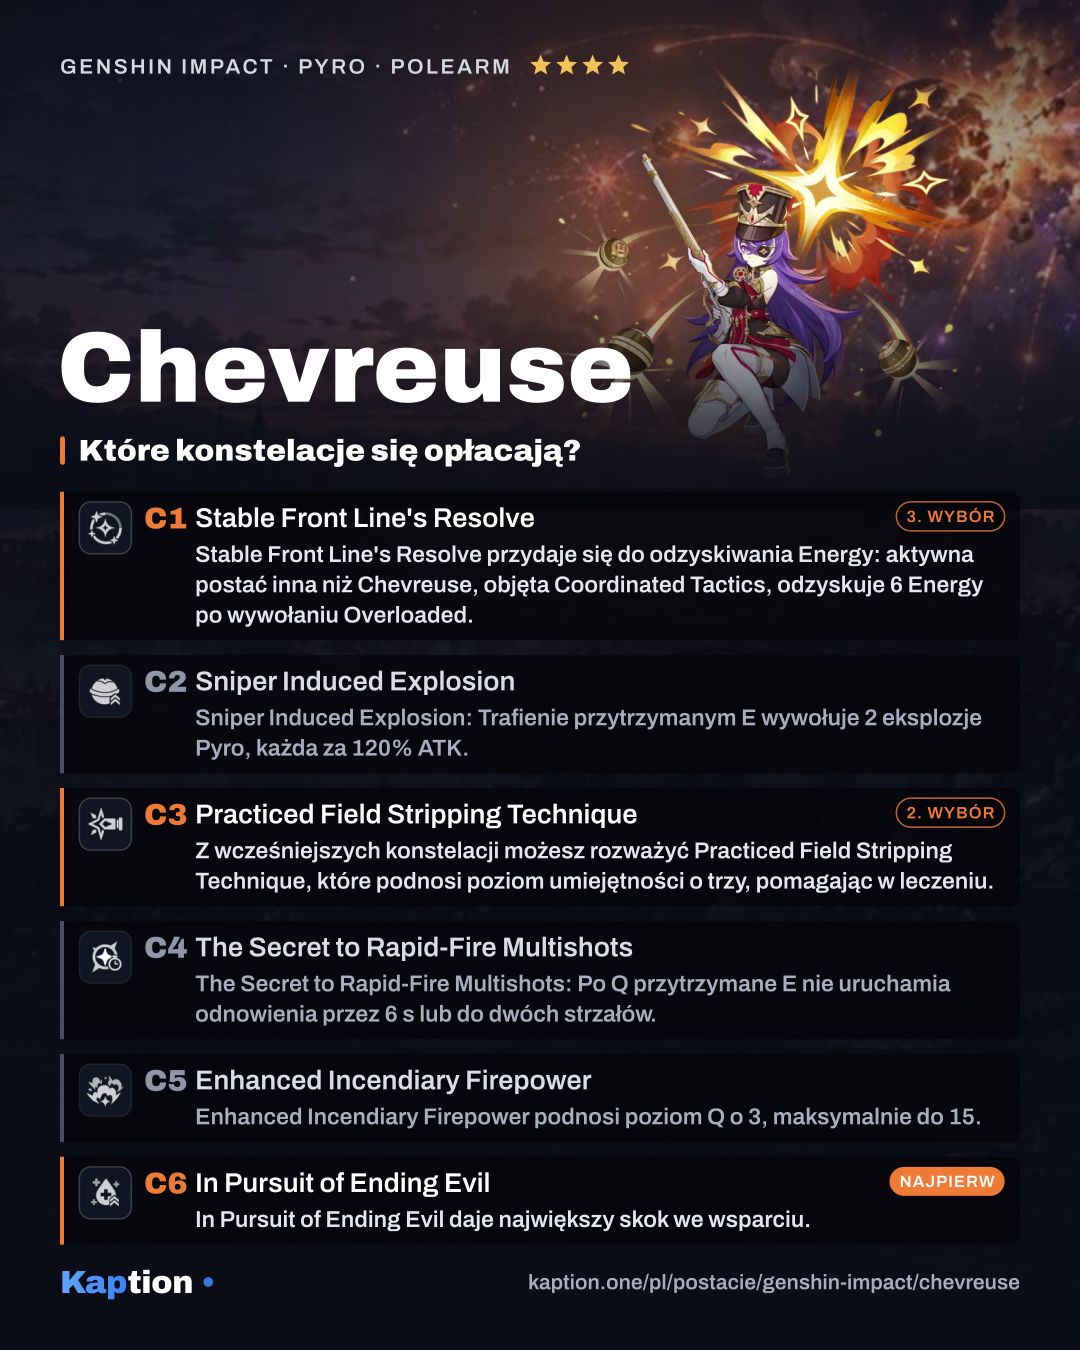
In Pursuit of Ending Evil is the biggest support upgrade. After a party member is healed by her skill, they gain 20% Pyro DMG Bonus and Electro DMG Bonus for 8 seconds, stacking up to three times with separate durations. After 12 seconds of the skill’s healing effect, nearby party members also recover HP equal to 10% of Chevreuse’s Max HP once.
Among the earlier constellations, Practiced Field Stripping Technique is worth considering for its three skill levels, which help the part of the kit used for healing. Stable Front Line's Resolve is useful for Energy: an active character other than Chevreuse with Coordinated Tactics recovers 6 Energy when they trigger Overloaded, once every 10 seconds.
Sniper Induced Explosion adds damage, while The Secret to Rapid-Fire Multishots allows extra held shots after the Burst and Enhanced Incendiary Firepower raises the Burst level. You do not need to pursue those for a working support build, though reaching C6 requires the earlier constellations.
Teams
Keep the entire party Pyro and Electro if you want Chevreuse’s RES reduction. You need at least one character of each element, and the reduction applies after Overloaded to the opponents affected by that reaction. A character of another element removes Coordinated Tactics, even if the rest of the party can still trigger Overloaded.
You can also consider Yoimiya or Mavuika as Pyro teammates, or Clorinde as an Electro teammate. Keep reactions going, fire the held Overcharged Ball shot, and switch to the character you want healed. Reapply Overloaded during the fight because the RES reduction lasts only 6 seconds.
Common mistakes
Do not fire a held shot expecting the ATK buff before the party has triggered Overloaded. Check that Chevreuse has an Overcharged Ball first. A tap heals, but it does not fire the ball or activate the ATK buff tied to that shot.
Do not treat the 40% RES reduction as permanent. It lasts 6 seconds on opponents affected by Overloaded, so trigger the reaction again as you fight. The 30-second ATK buff has a different duration.
Do not build only for Chevreuse’s damage if you need her support. Max HP affects both healing and the ATK buff, while Energy Recharge helps her use her Burst. Also avoid relying on a second copy of Noblesse Oblige for another stack of its party ATK effect.