









































Guide
How the kit works
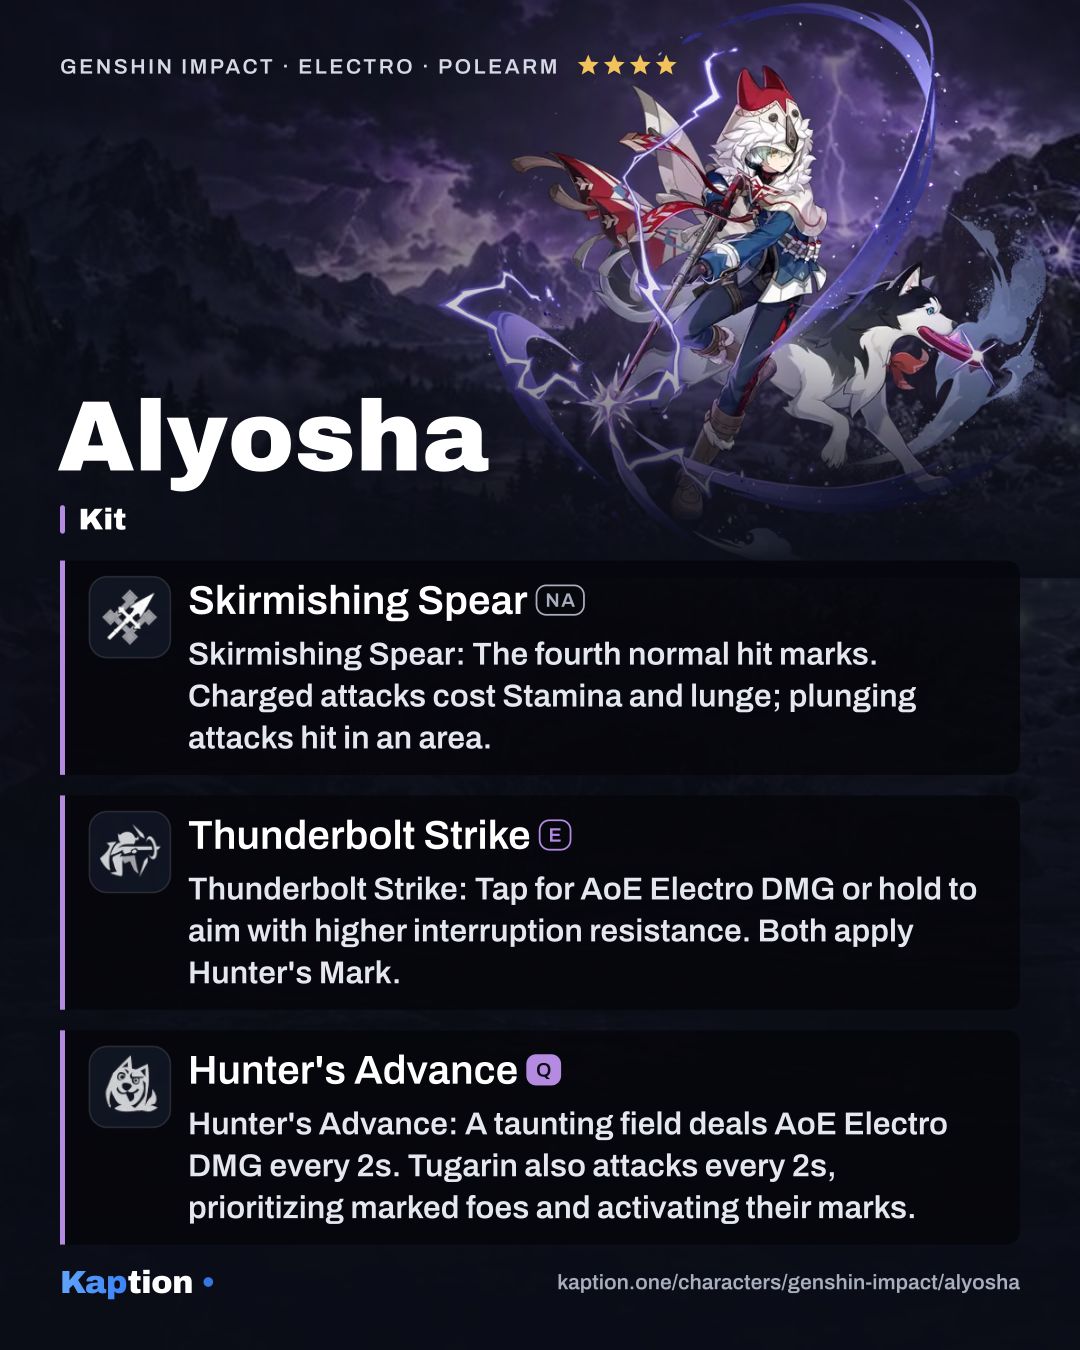
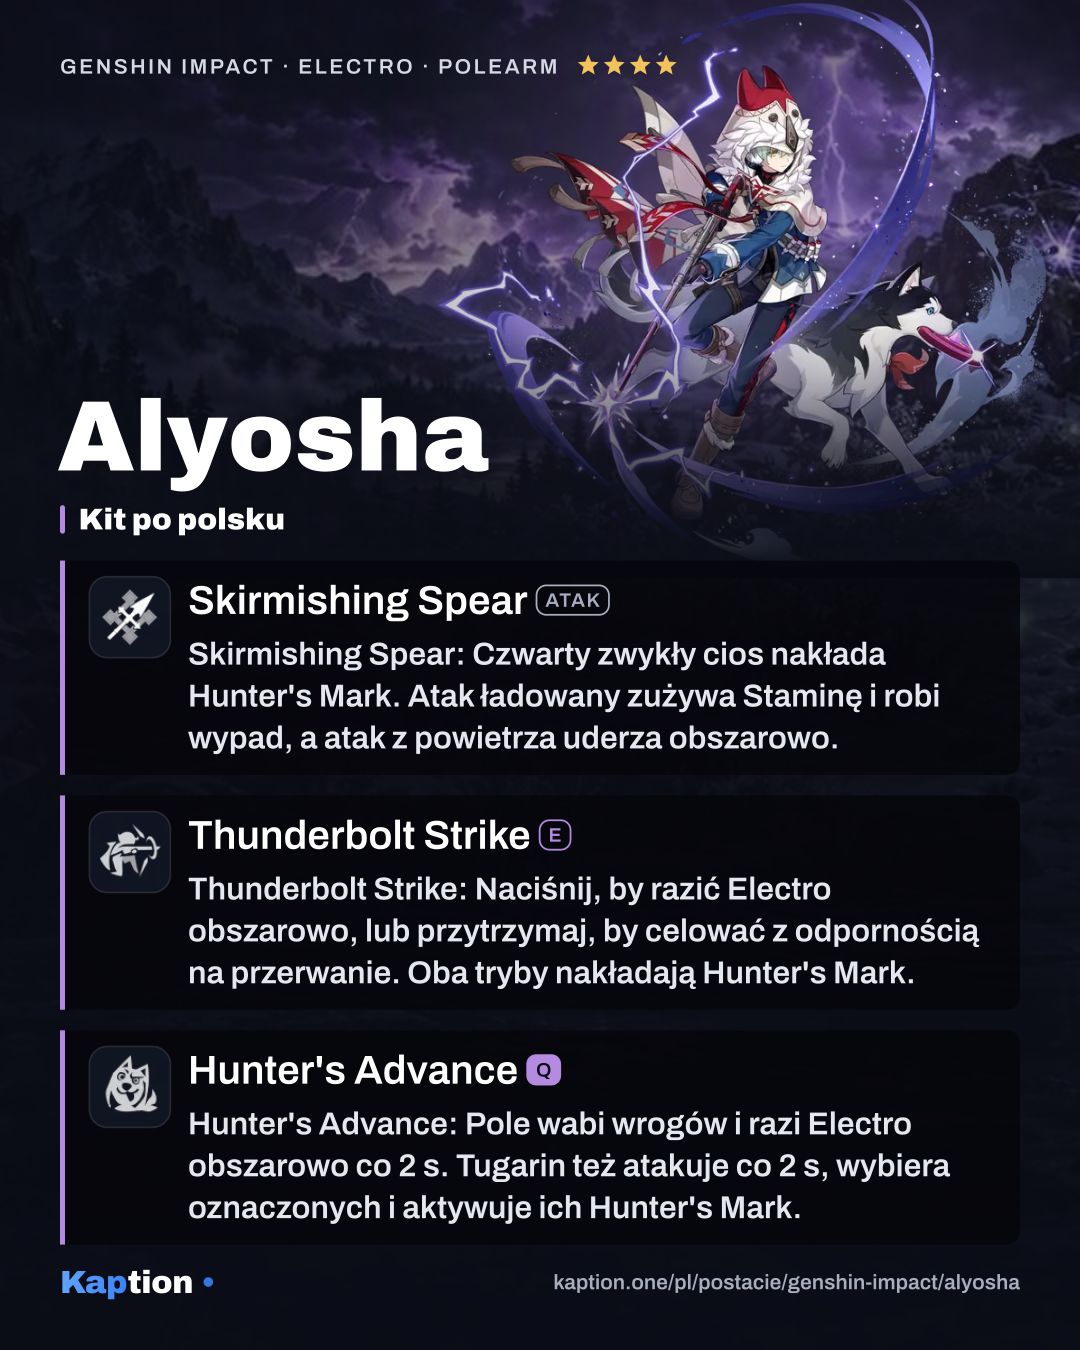
Start by applying Hunter's Mark with Thunderbolt Strike. A tap deals AoE Electro DMG in front of Alyosha. Holding it enters aiming mode, increases his Interruption RES and lets you target opponents in an area before releasing the attack.
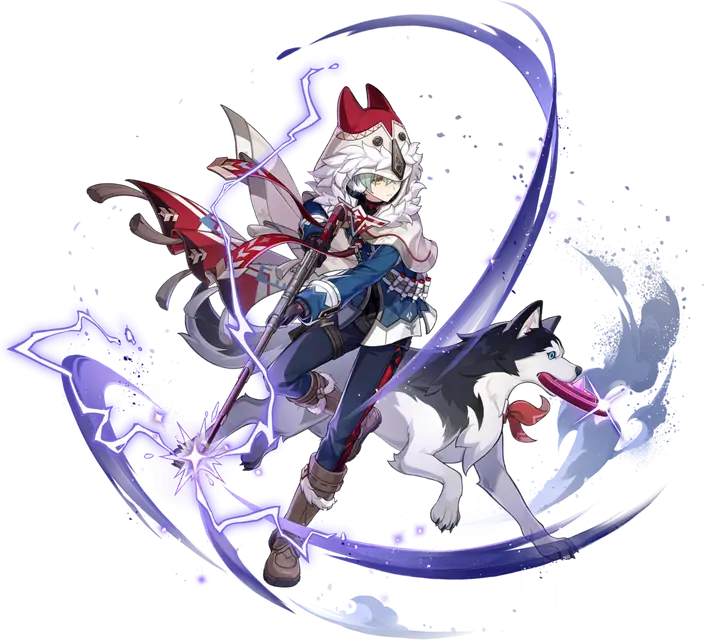
Use Hunter's Advance to summon Tugarin and create a Fulgurite Hunting Field in front of Alyosha. The field taunts nearby opponents and deals AoE Electro DMG every 2 seconds to opponents that enter it. Tugarin moves toward nearby enemies and attacks every 2 seconds, preferring marked targets.
When Tugarin hits a marked opponent, he activates Hunter's Mark. Each attack also heals nearby active characters for 120% of Alyosha's ATK. You can then switch to the character you want on the field. The supplied skill description does not explain the base effect of Hunter's Precision, so do not assume an extra bonus from it.
Skirmishing Spear (NA) can apply Hunter's Mark with the final hit of its four-strike Normal Attack sequence. The Skill is a more direct way to mark targets without completing that sequence.
Build and why
Use four pieces of Noblesse Oblige for a team-focused build. Its two-piece bonus gives 20% Elemental Burst DMG, and using the Burst gives all party members 20% ATK for 12 seconds. That four-piece ATK effect cannot stack with itself.
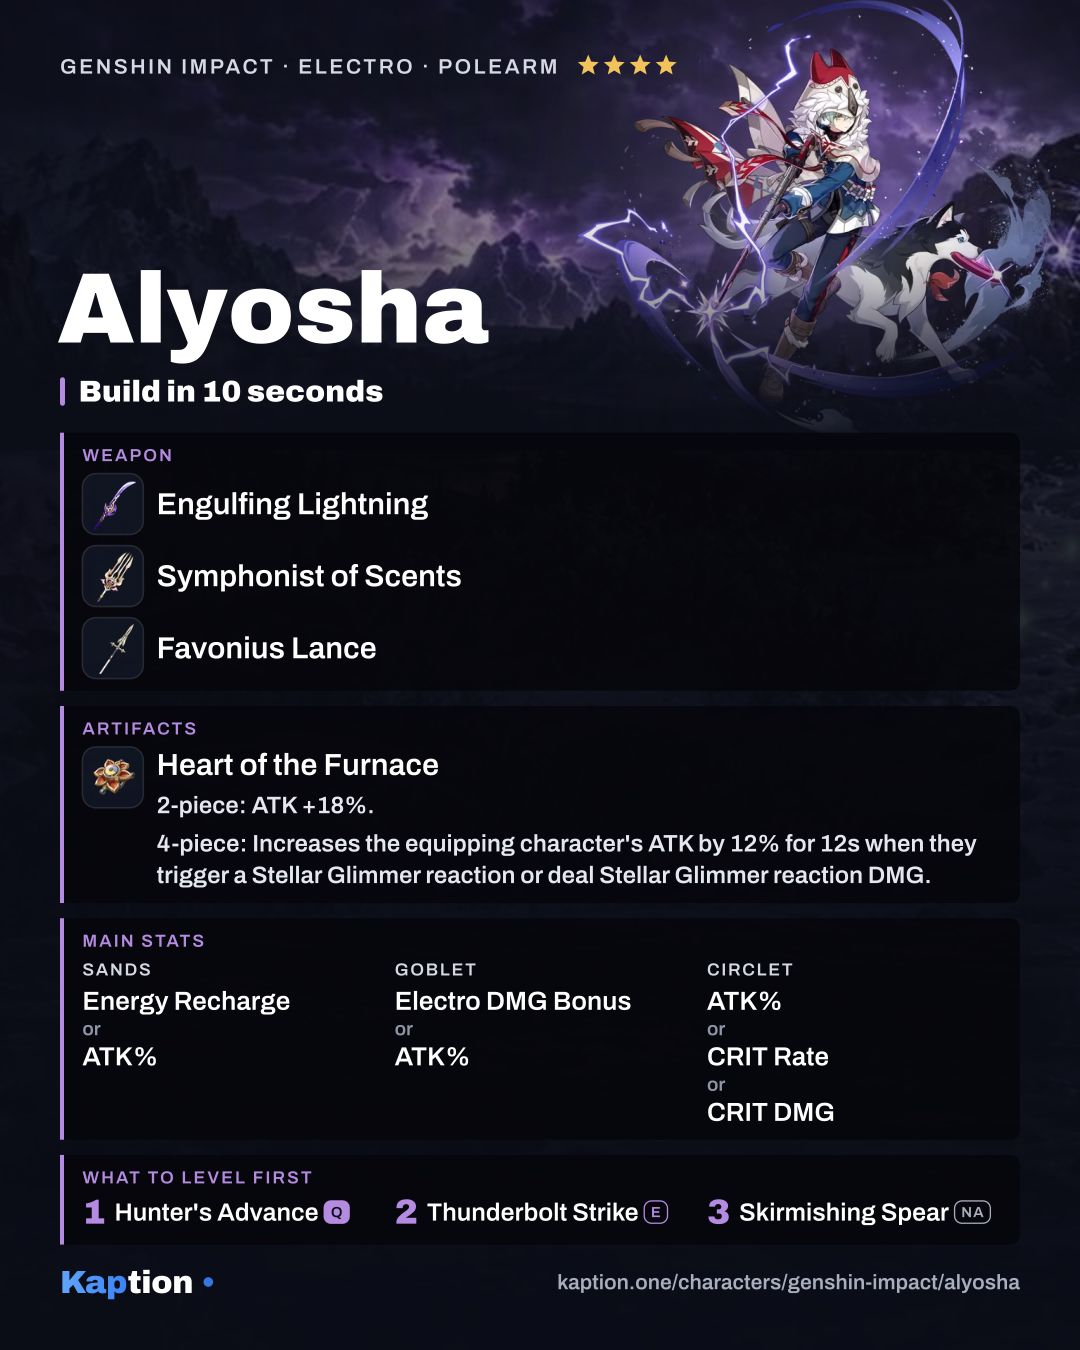
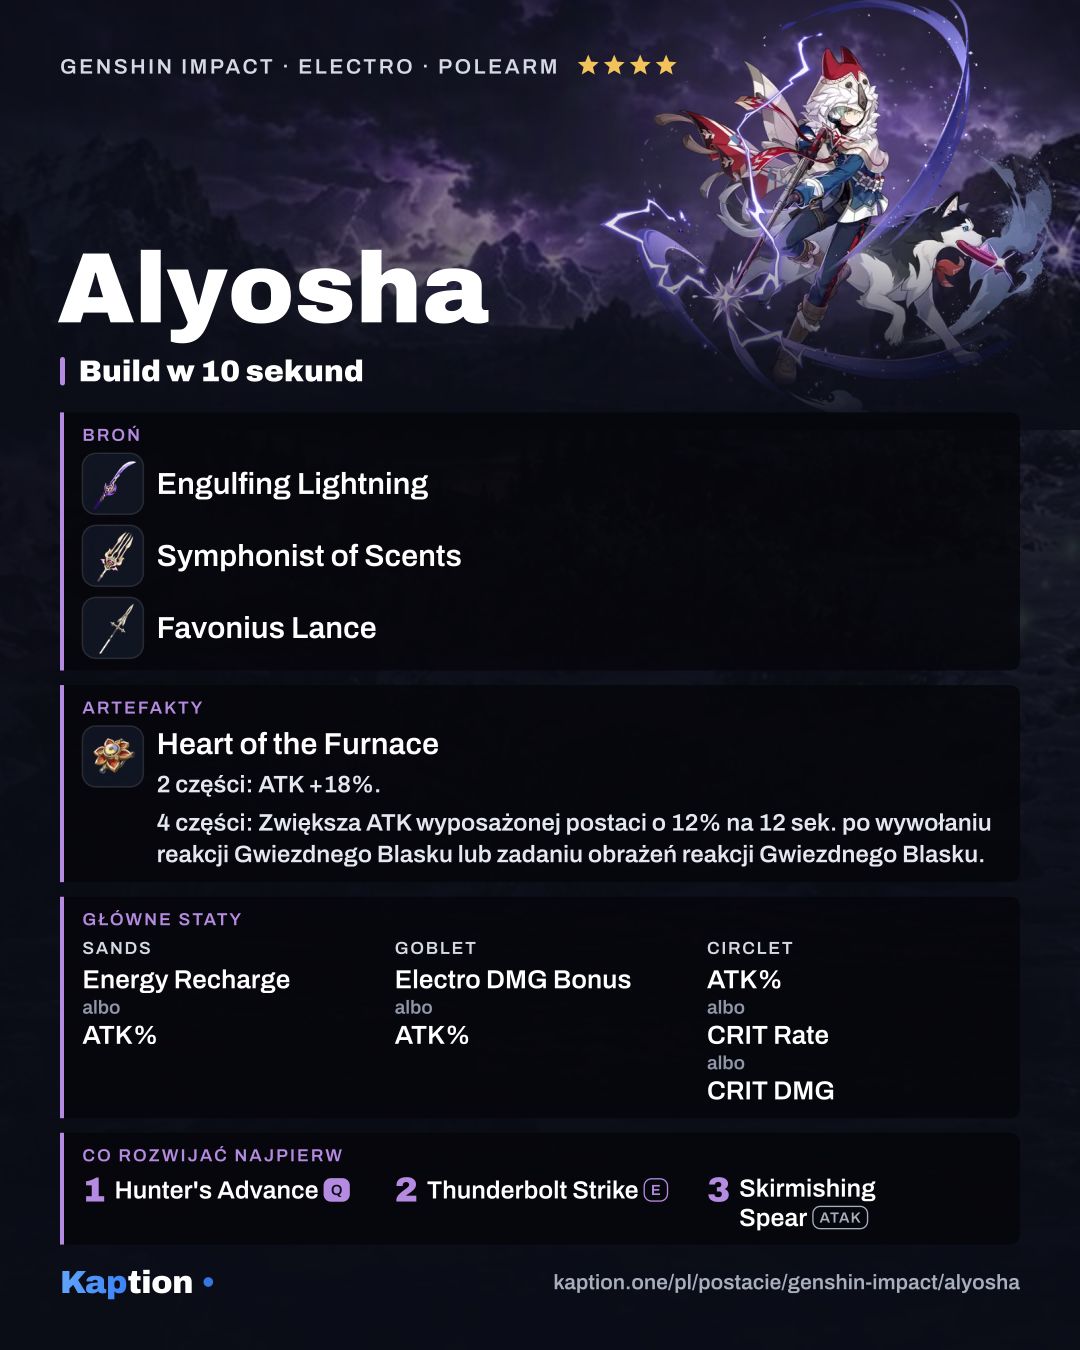
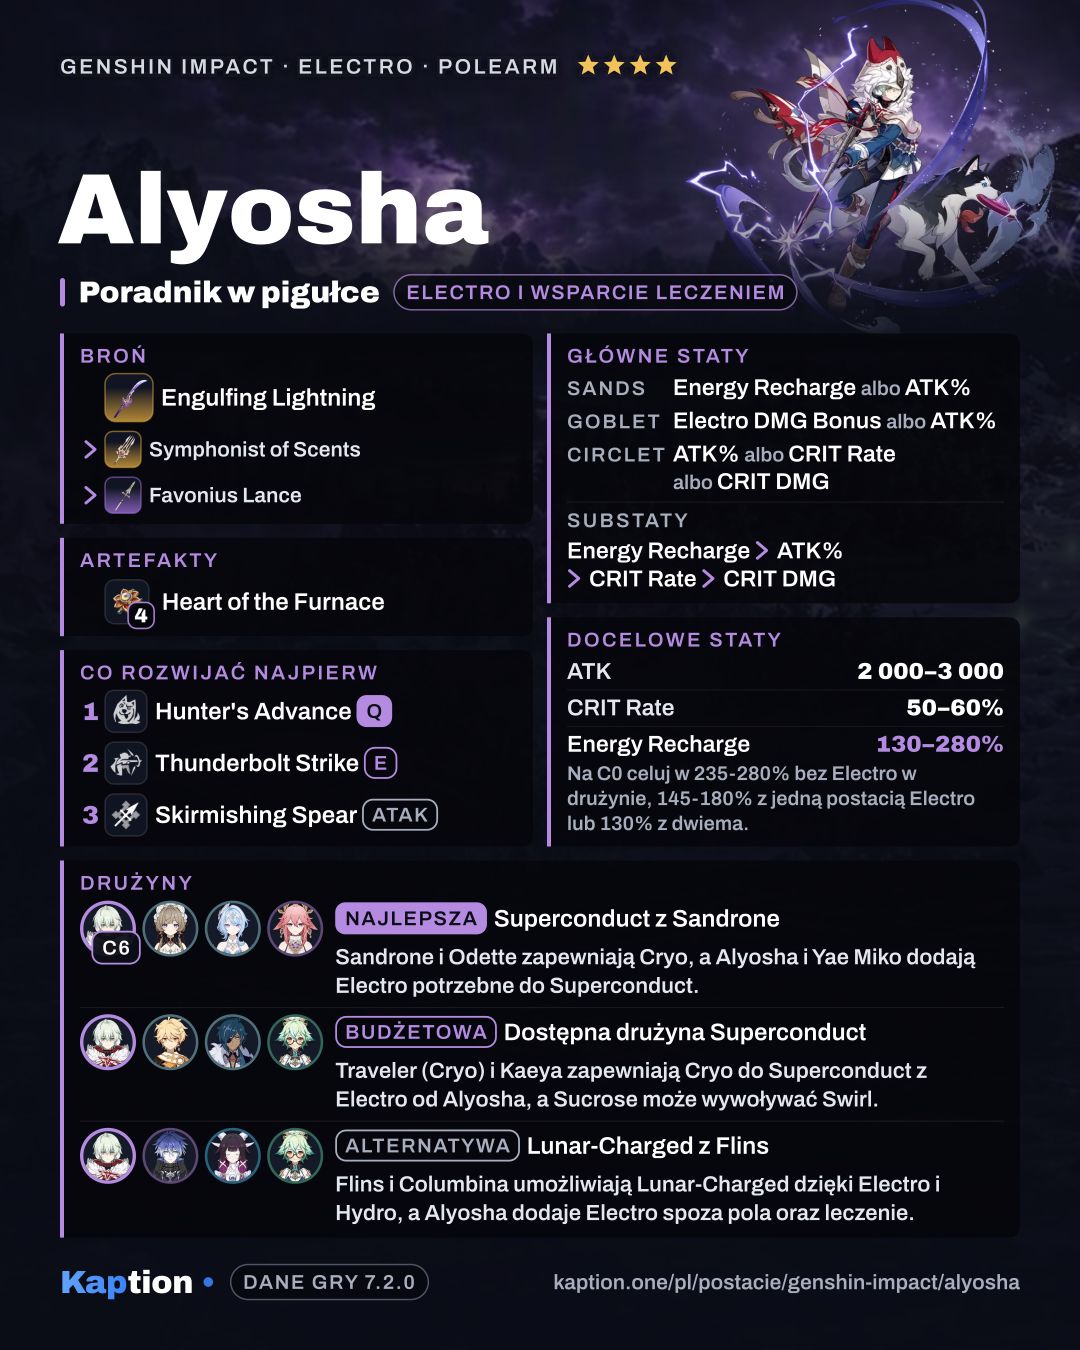
Four pieces of Heart of the Furnace suit a Stellar Glimmer team. The set gives 18% ATK from two pieces and 50% Stellar Glimmer reaction DMG to nearby party members from four. Triggering the reaction or dealing its damage also gives the wearer 12% ATK for 12 seconds, even off-field.
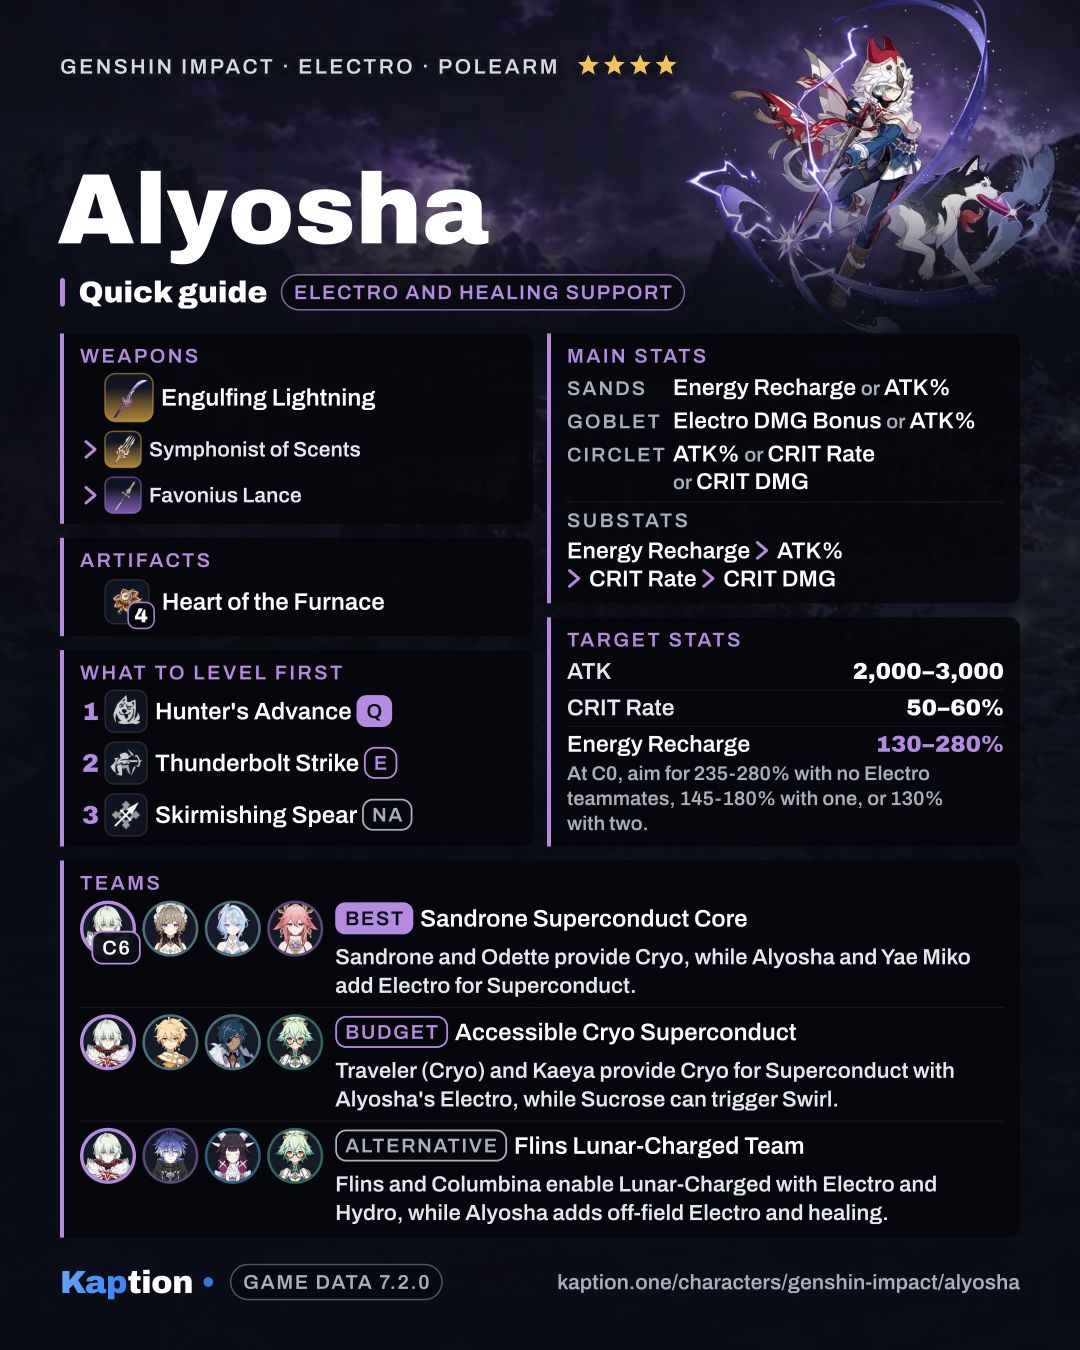
Choose Energy Recharge or ATK Percentage on the sands, Electro DMG Bonus or ATK Percentage on the goblet, and ATK Percentage, CRIT Rate or CRIT DMG on the circlet. For substats, prioritize Energy Recharge, then ATK Percentage, CRIT Rate and CRIT DMG. Energy Recharge also raises Skill and Burst damage by 0.35% per 1% Energy Recharge, up to a 70% increase.
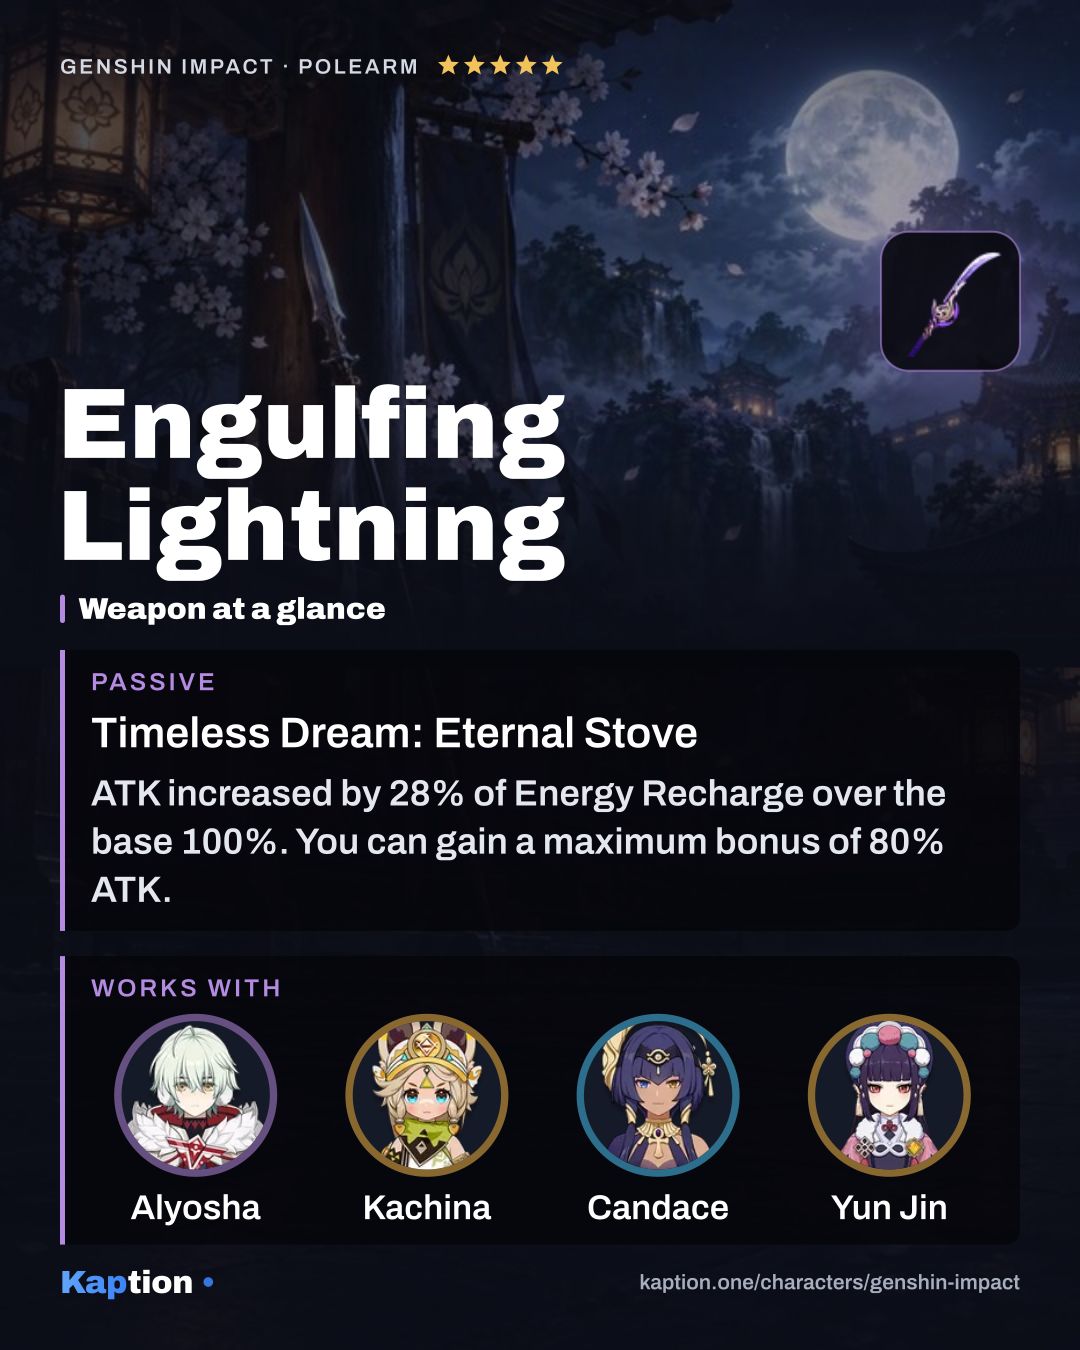
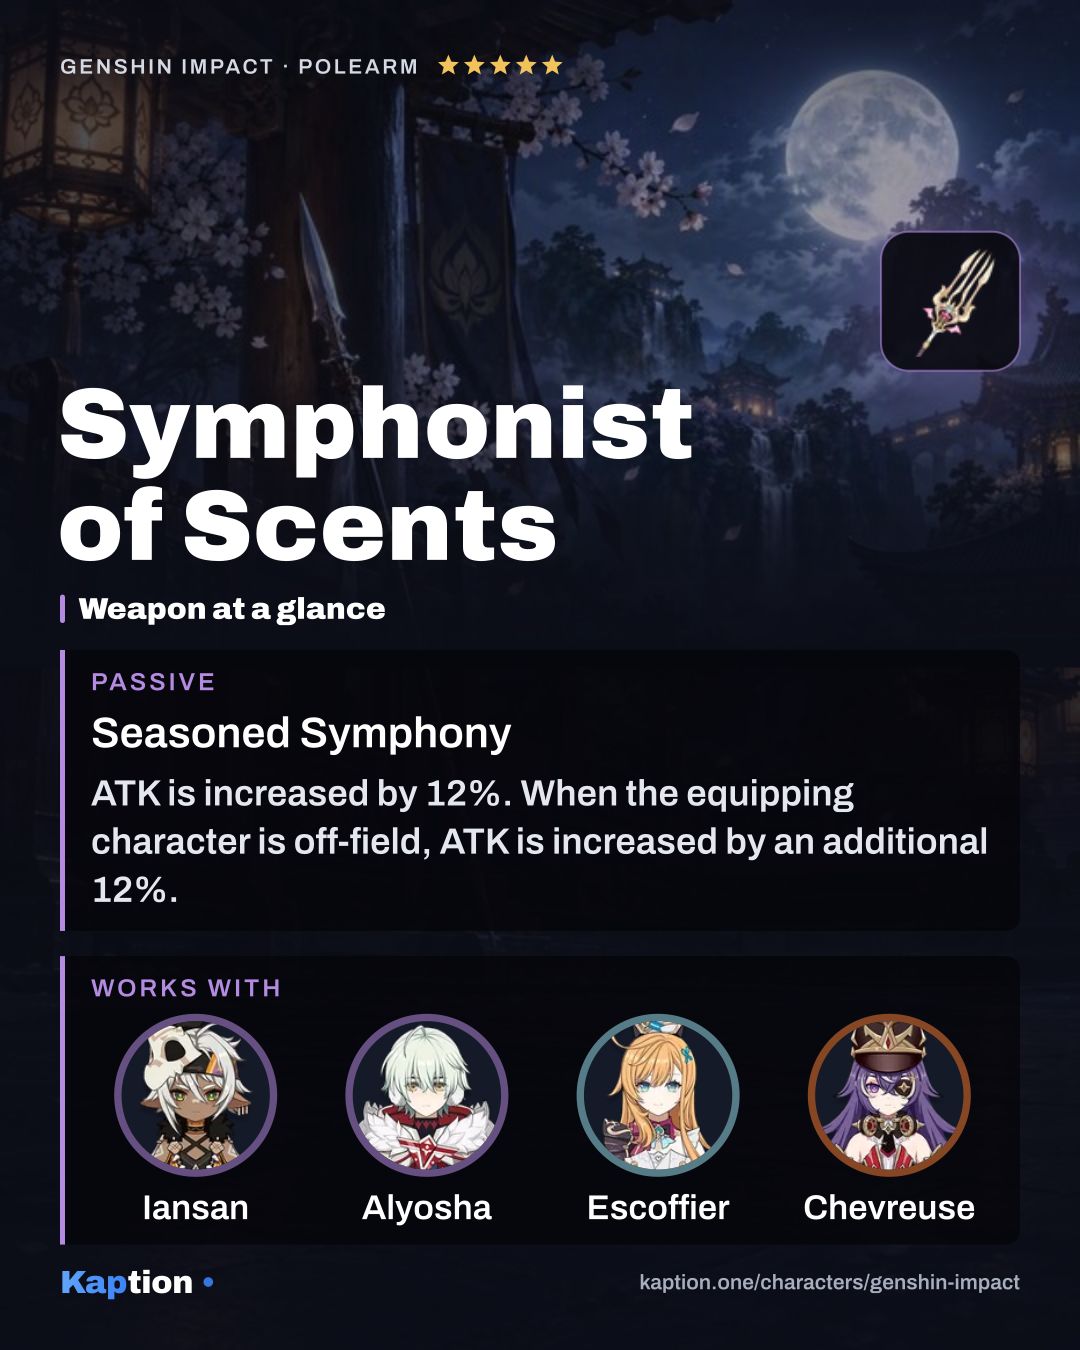
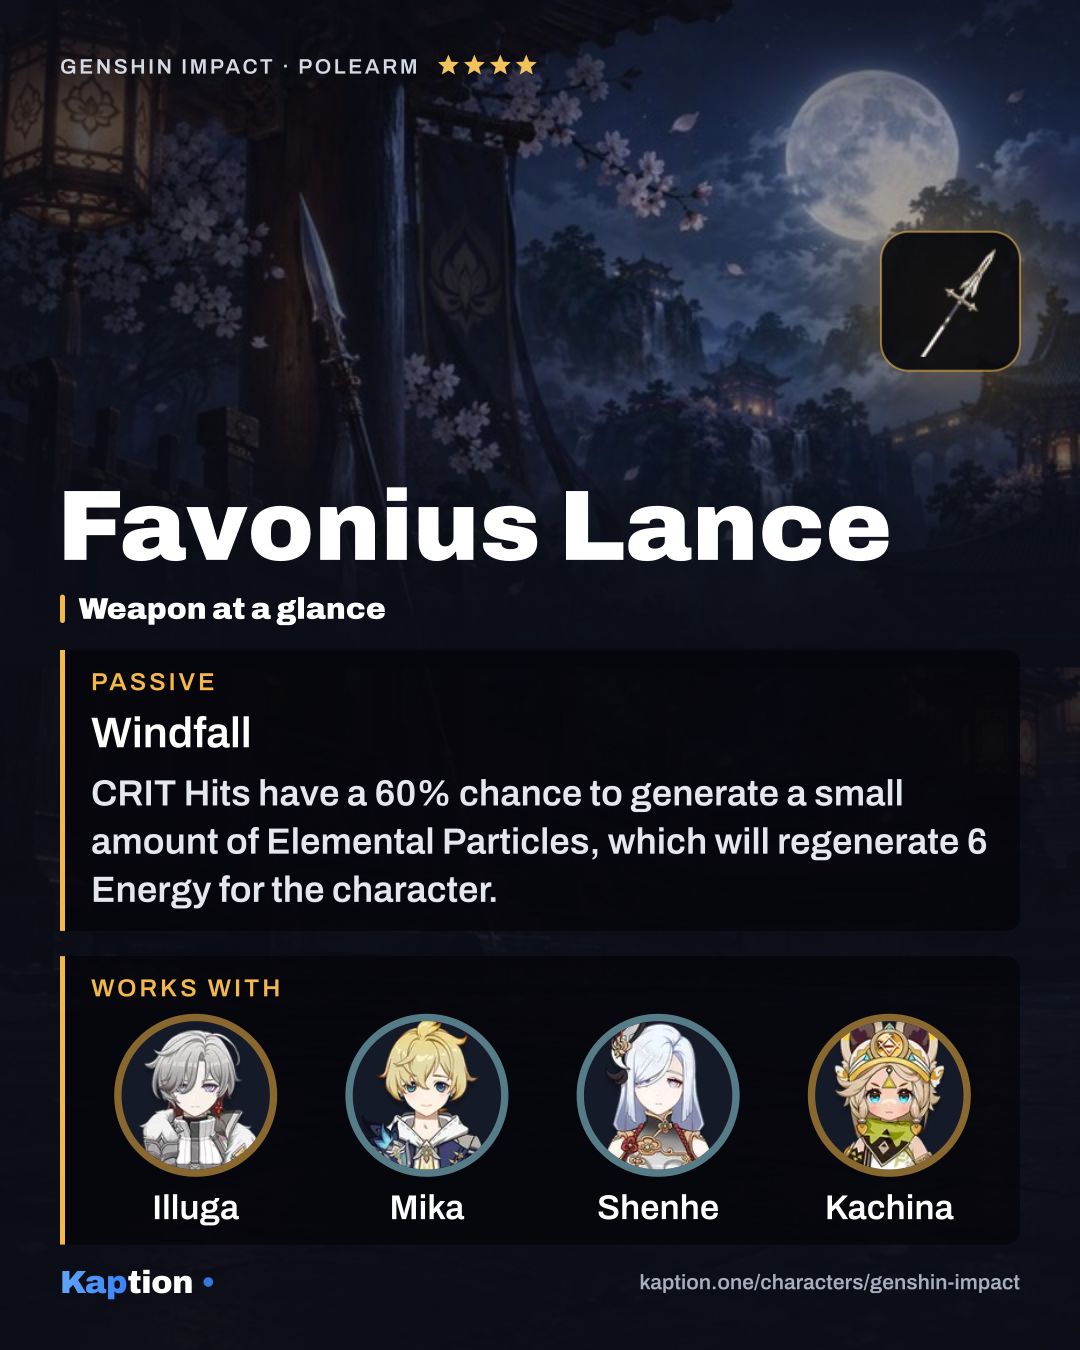
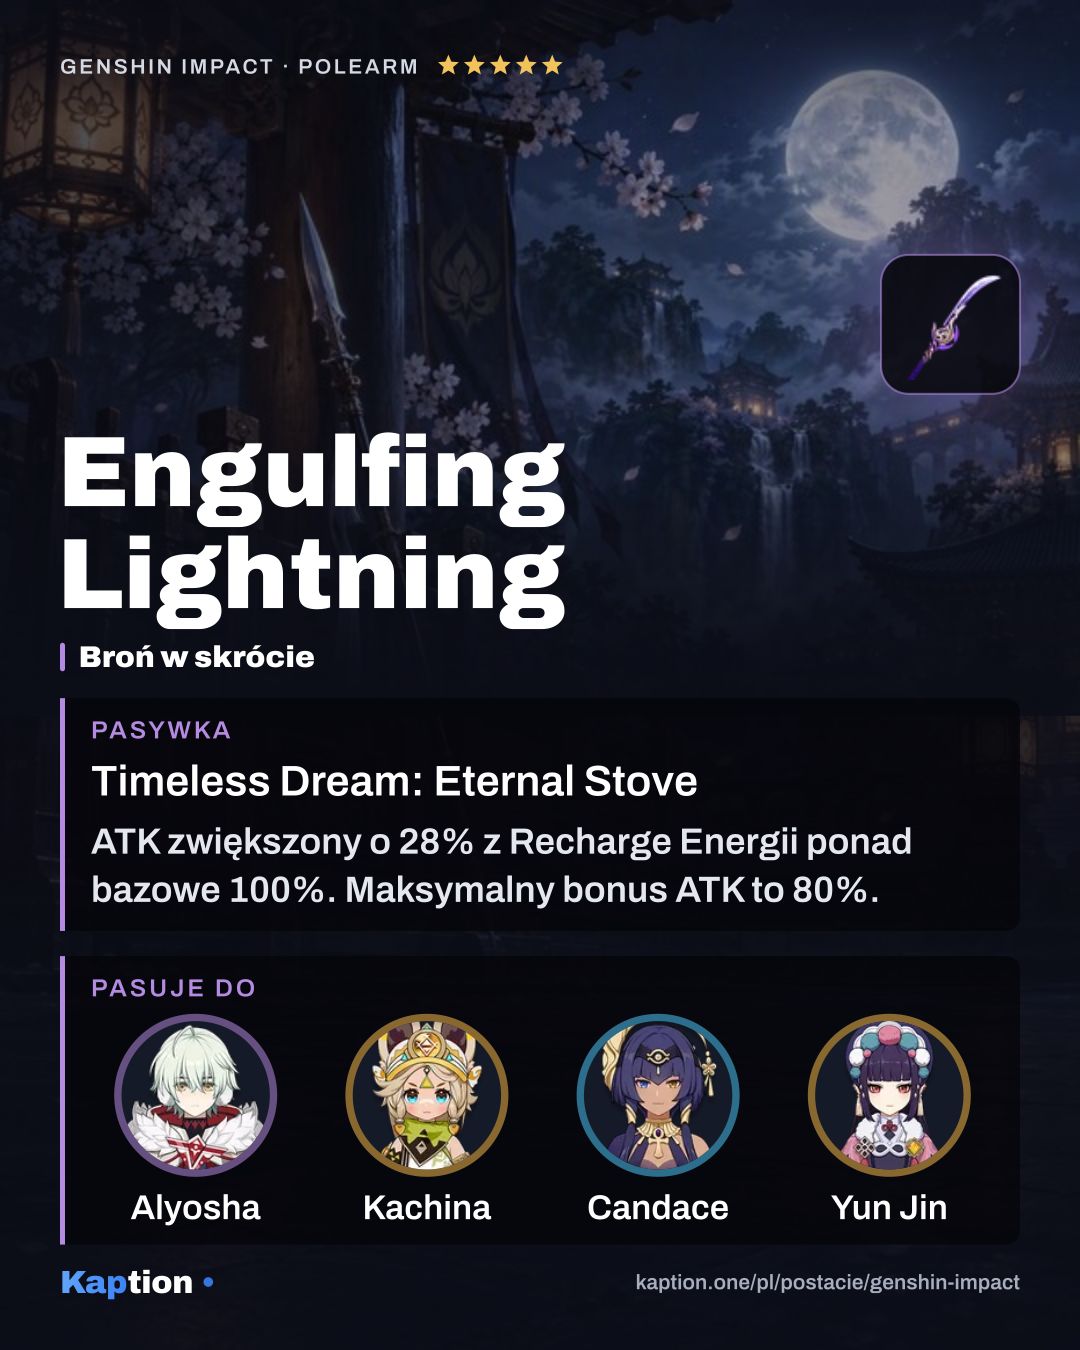
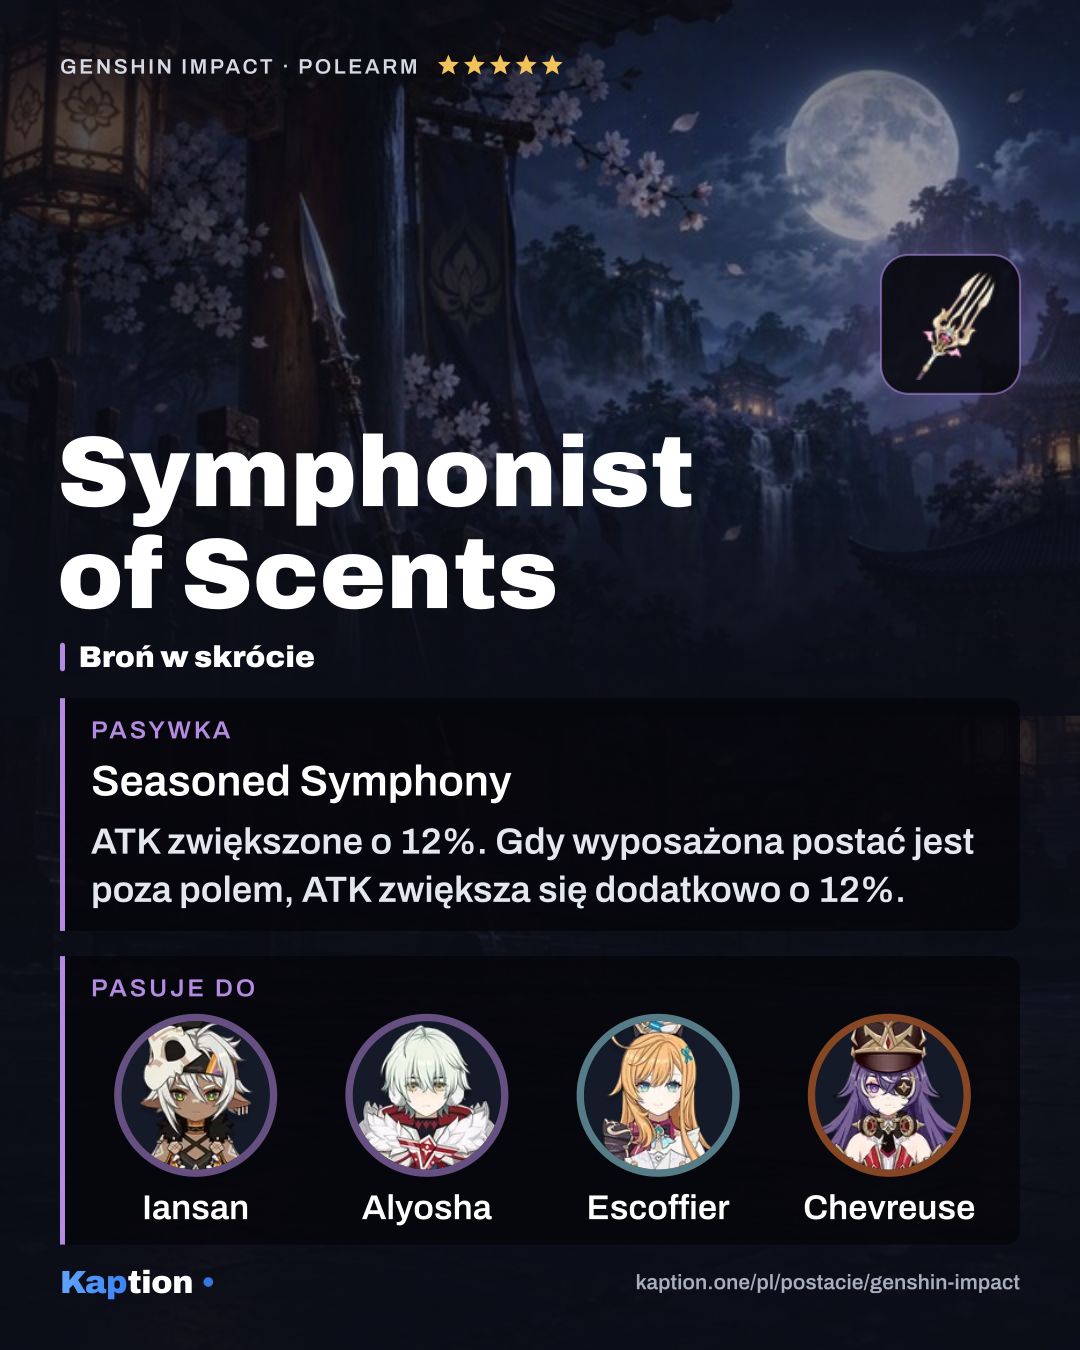
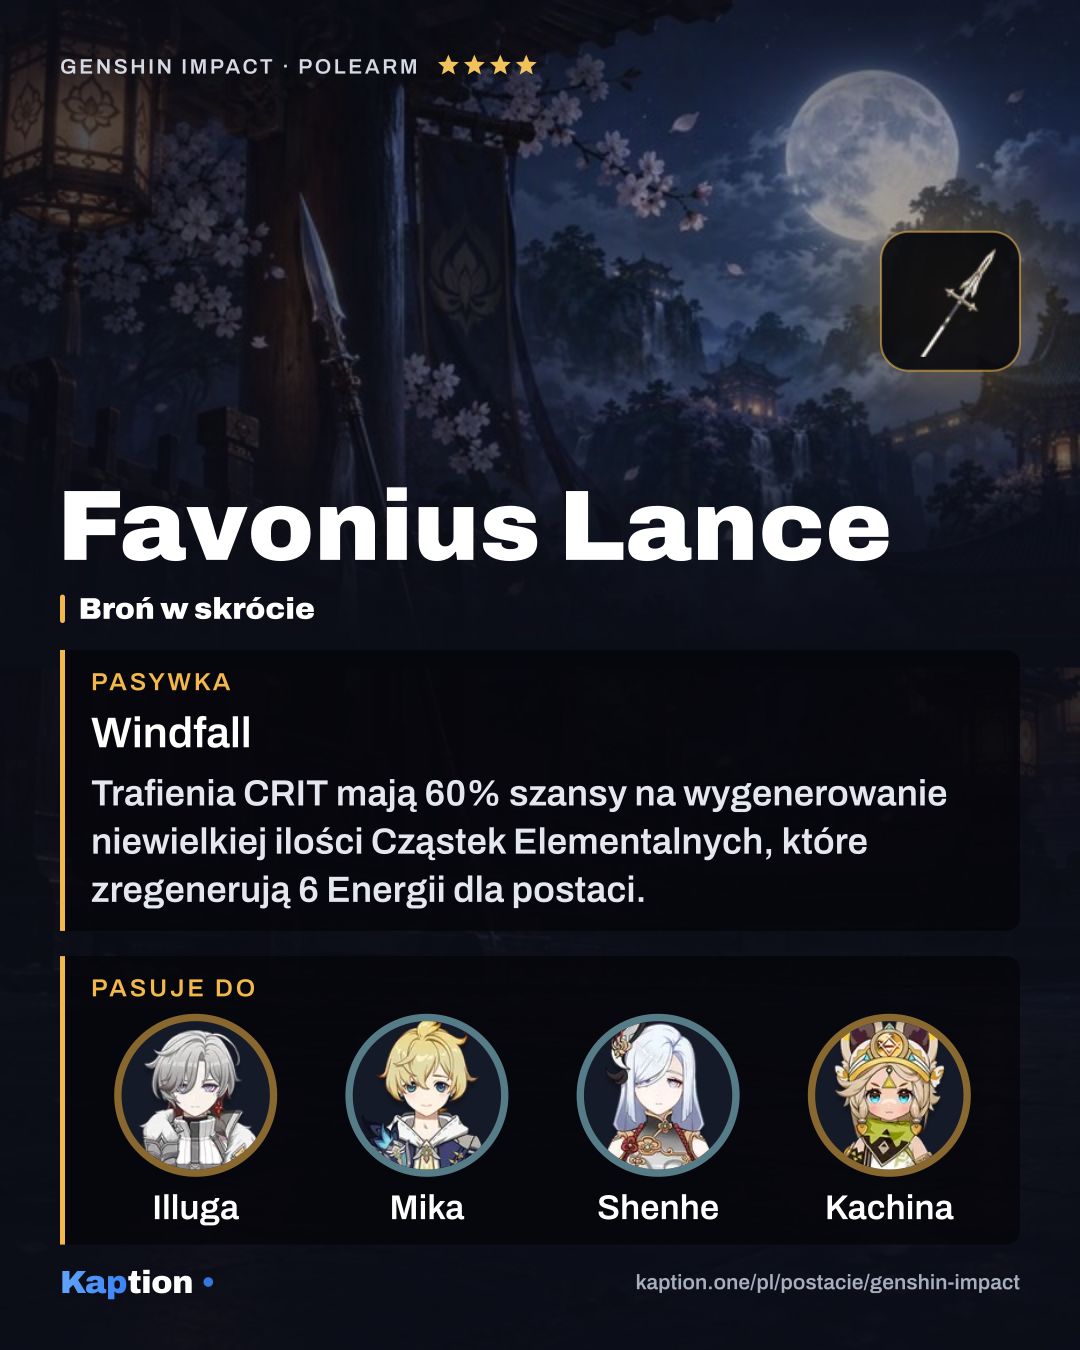
Engulfing Lightning is the first weapon choice: it converts Energy Recharge above the base 100% into ATK and gives 30% Energy Recharge for 12 seconds after a Burst. Symphonist of Scents is another option: after Alyosha heals, it gives him and the healed characters 32% ATK for 3 seconds. Favonius Lance offers Energy particles on CRIT Hits; build some CRIT Rate if you use it.
Leveling priority
A suggested order is Hunter's Advance first, Thunderbolt Strike second and Skirmishing Spear (NA) last. The Burst brings Tugarin and the field into play, while the Skill is the convenient way to apply marks. Normal Attacks can wait if you spend little time using them. Tugarin's healing is described by a passive and scales with ATK.
For full ascension, you need Mora, Flockingweed, Vajrada Amethyst Sliver, Vajrada Amethyst Fragment, Vajrada Amethyst Chunk, Vajrada Amethyst Gemstone and Severed Tail of the Sky-Roamer. You also need Chimeric Core, Symbiotic Chimeric Nucleus and Prime Chimeric Nexus.
To raise all talents to their maximum, use more Mora and the same three Chimeric materials, plus Teachings of Fortitude, Guide to Fortitude, Philosophies of Fortitude, Elixir of the Heretic and Crown of Insight.
Constellations worth it
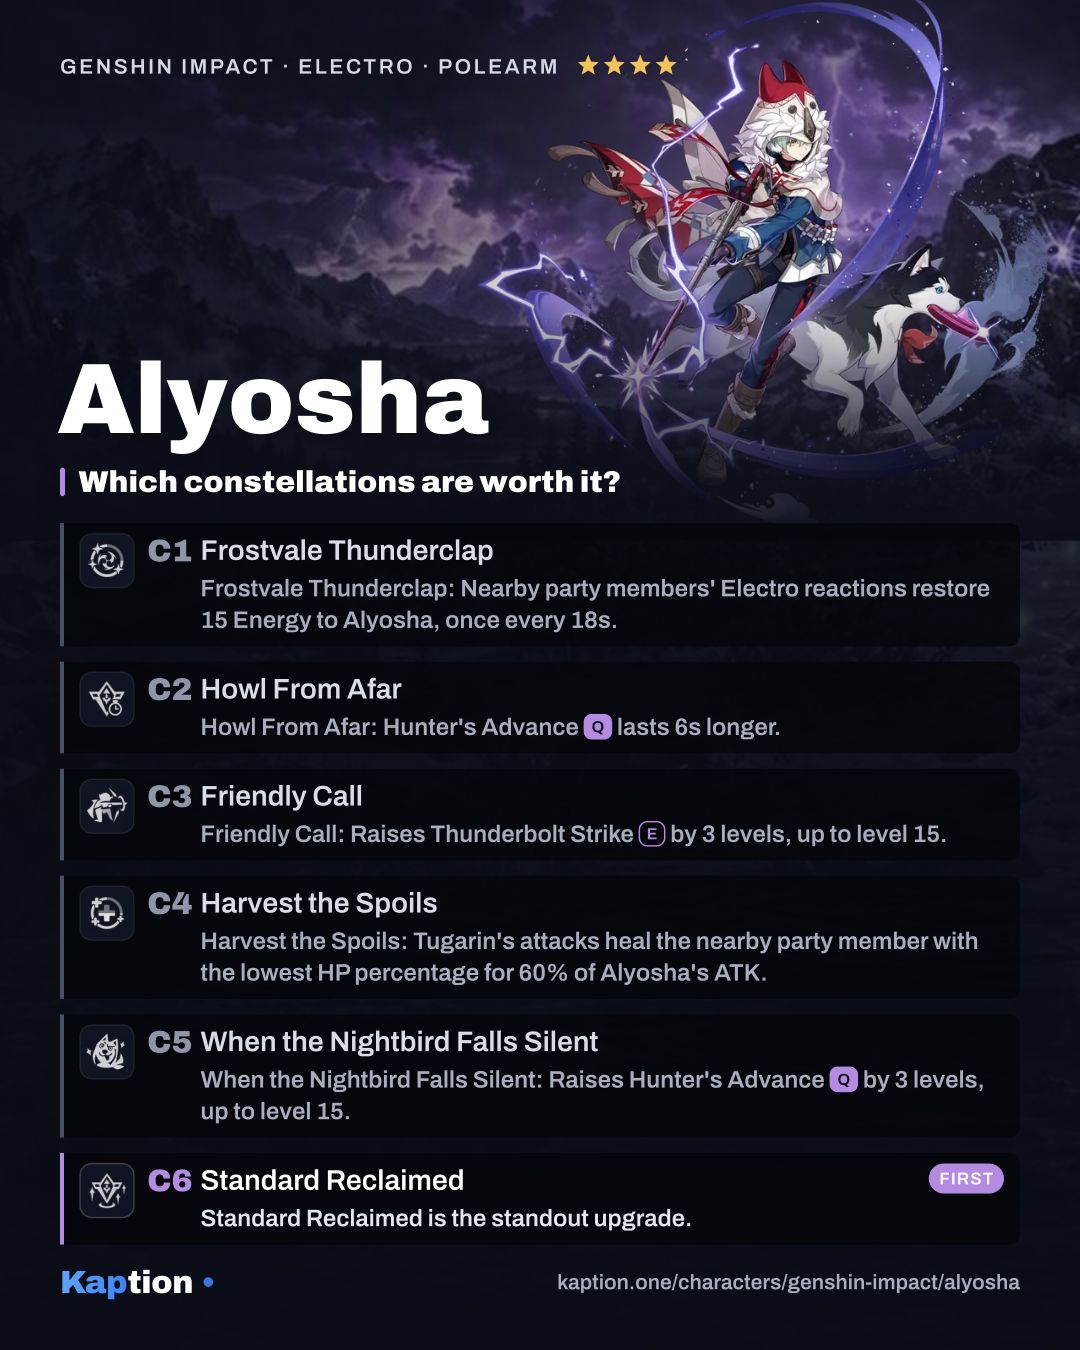
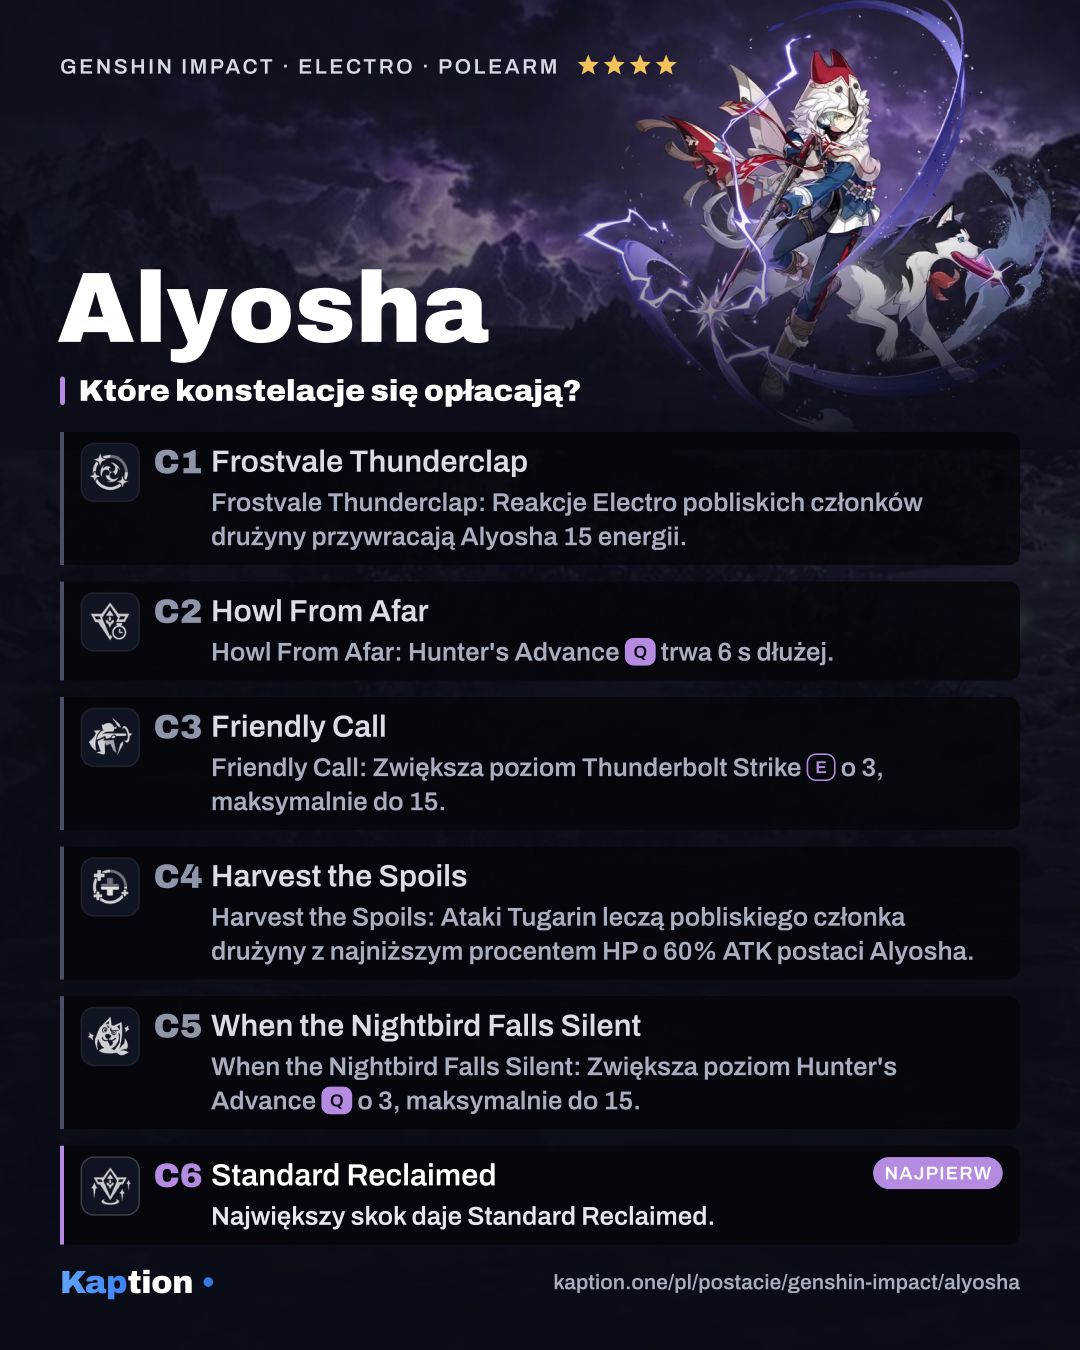
Standard Reclaimed is the standout upgrade. Hunter's Precision gained from activating a mark can stack twice; at two stacks, affected characters gain 100 Elemental Mastery while on the field.
Howl From Afar is worth considering for a longer Burst: it extends Hunter's Advance by 6 seconds and makes Tugarin apply a mark to a target whenever he attacks. That application does not activate existing marks, so it should not be confused with his hit on an already marked opponent.
Frostvale Thunderclap is an energy option: nearby party members triggering an Electro-related reaction restore 15 Energy to Alyosha, at most once every 18 seconds. Harvest the Spoils adds healing equal to 60% of his ATK for the nearby party member with the lowest HP percentage when Tugarin attacks.
Friendly Call raises the Skill level by 3, while When the Nightbird Falls Silent raises the Burst level by 3. You can leave those level increases for later if they are not your priority, but reaching C6 still requires obtaining the earlier constellations.
Teams
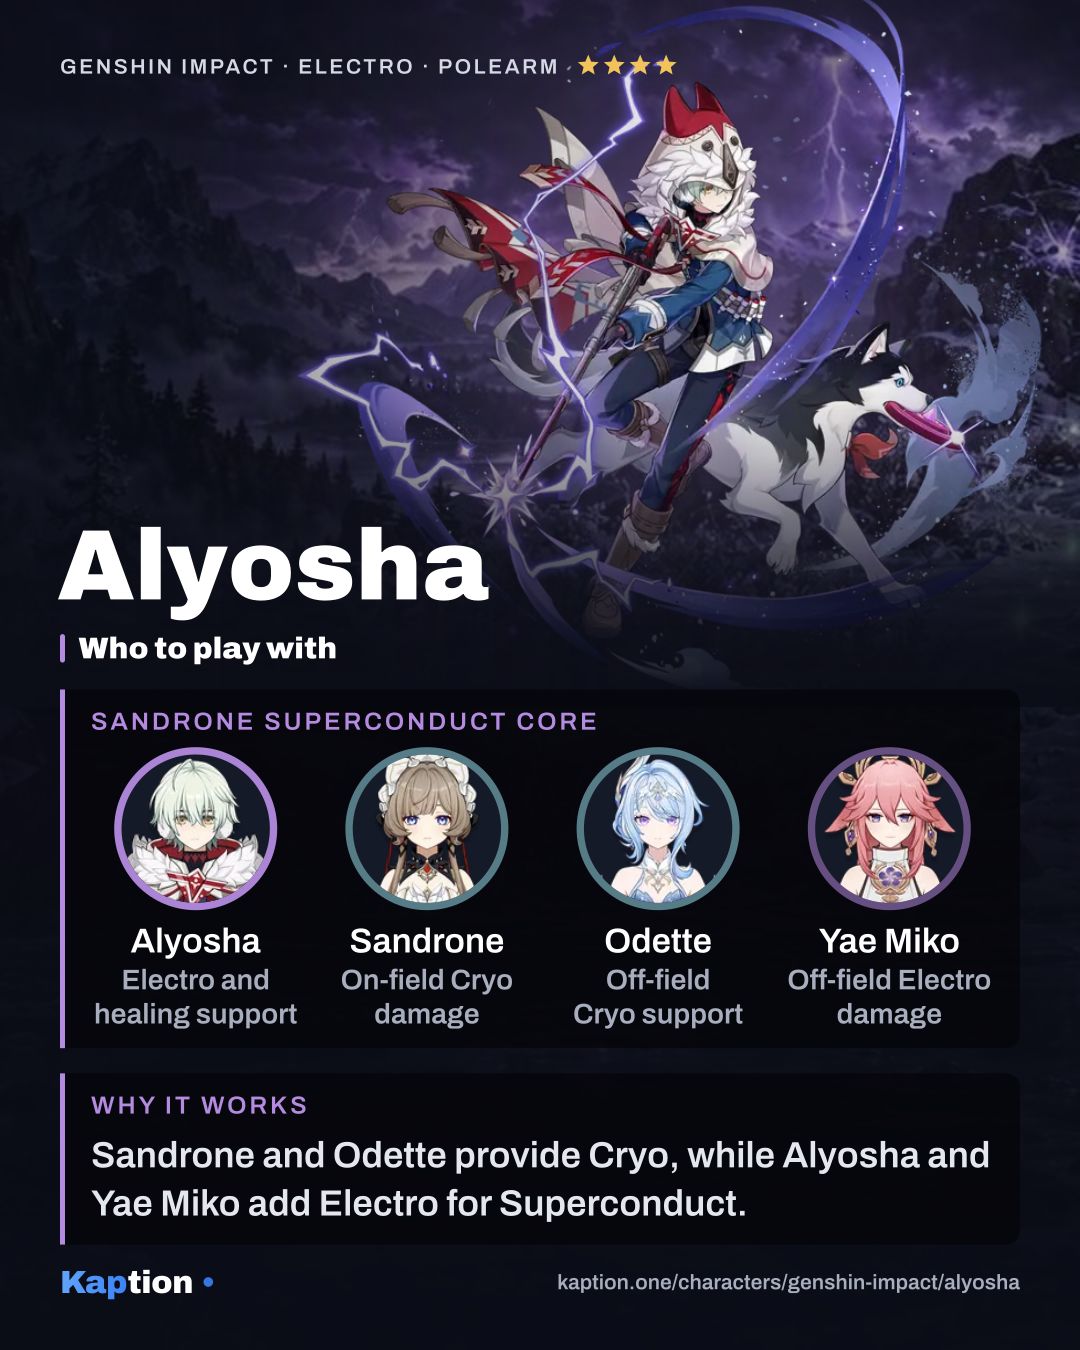
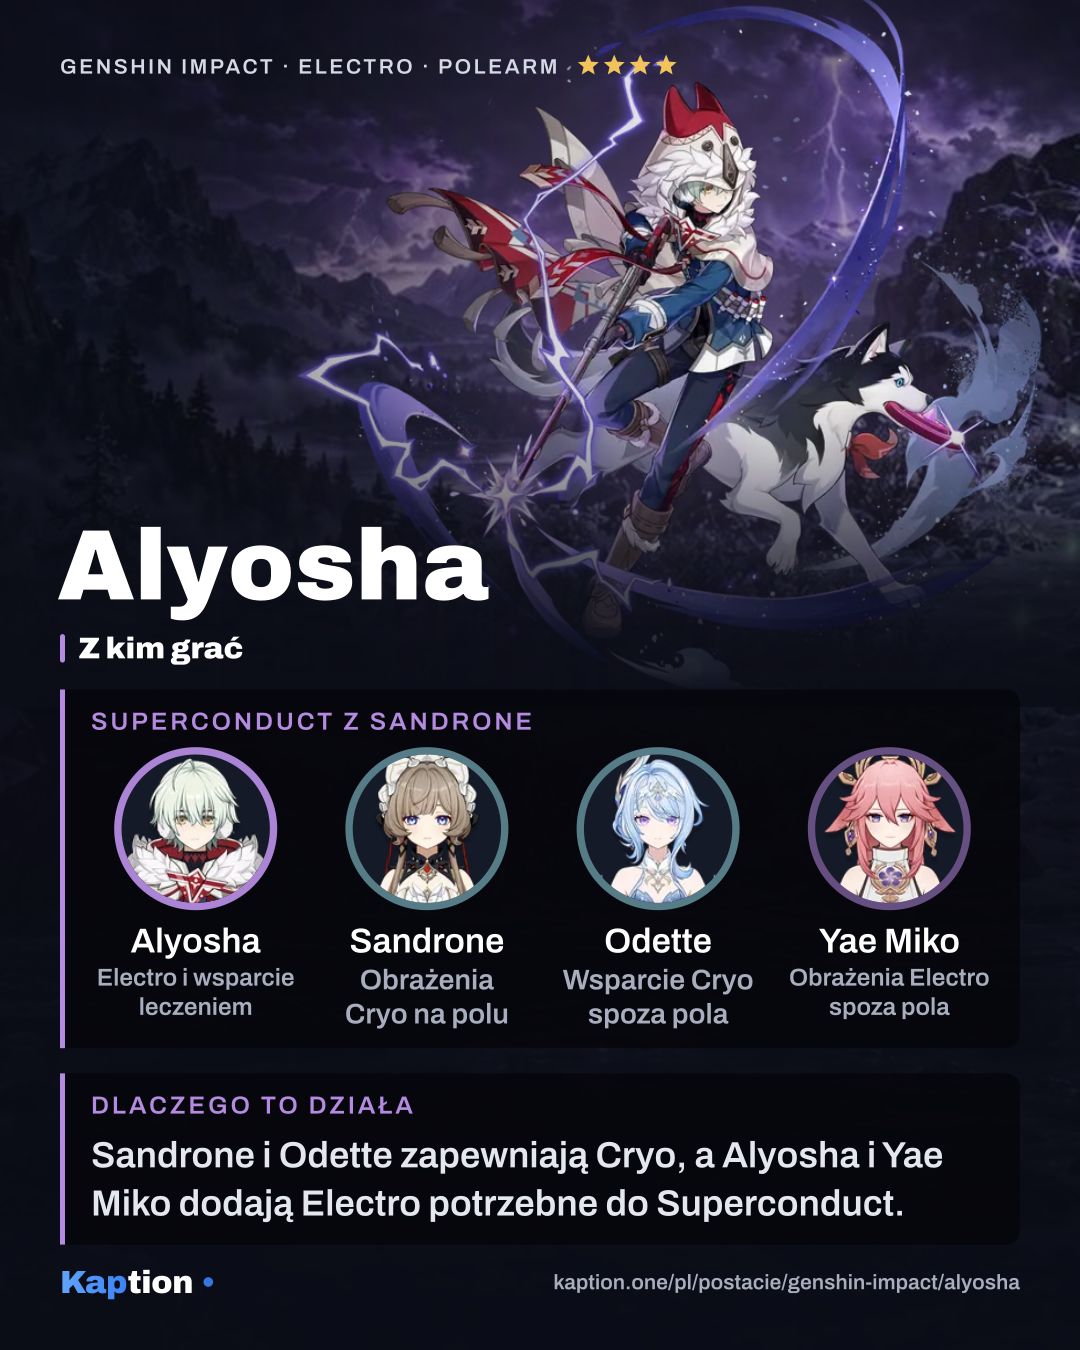
For another Electro teammate, consider Cyno or Fischl. Flins is an option for a Lunar-Charged team. In a team built around Stellar-Conduct, look for a way to place Alyosha inside a Polestar Field: there, the Hunter's Precision obtained from an activated mark also increases the affected on-field character's Stellar-Conduct reaction DMG by 20%.
For Heart of the Furnace, make sure the team can trigger Stellar Glimmer or deal its reaction damage if you want the wearer's temporary ATK bonus.
Common mistakes
Do not leave targets unmarked when you want Tugarin to activate Hunter's Mark. He prefers marked opponents, so apply a mark before switching characters when you can.
Do not build only CRIT and overlook Energy Recharge or ATK. Energy Recharge feeds his passive damage bonus, while ATK determines Tugarin's healing. Also keep the active character near Tugarin if you need that healing.
Do not assume the Stellar-Conduct bonus is always active: Alyosha must be inside a Polestar Field. At C2, remember that Tugarin's new mark application does not itself activate existing marks.