

Guide
How the kit works
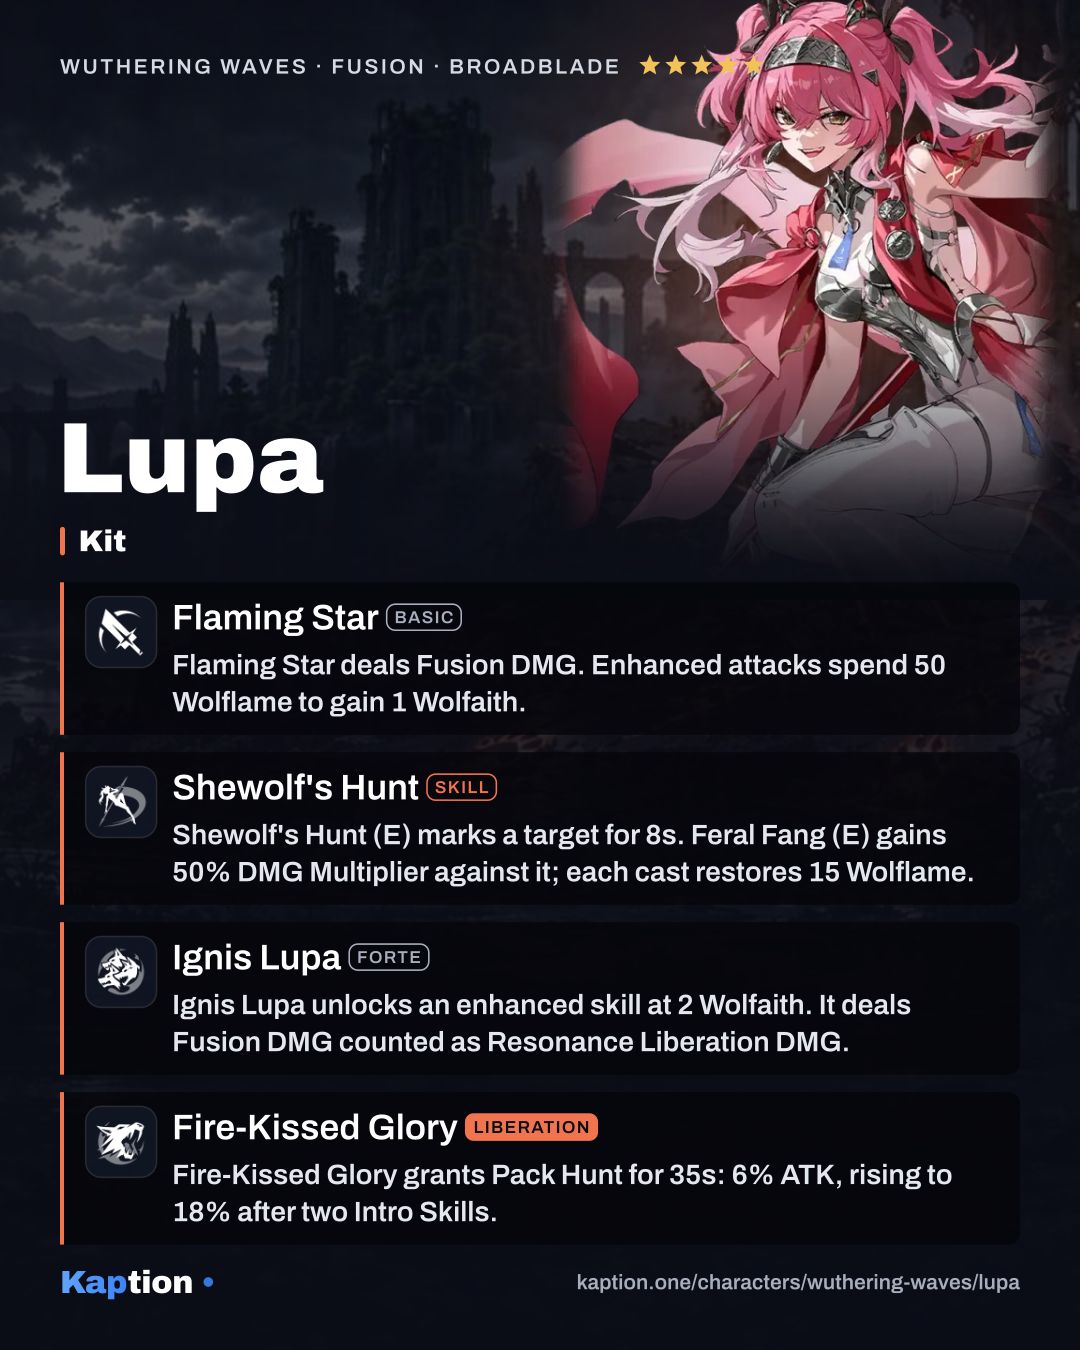
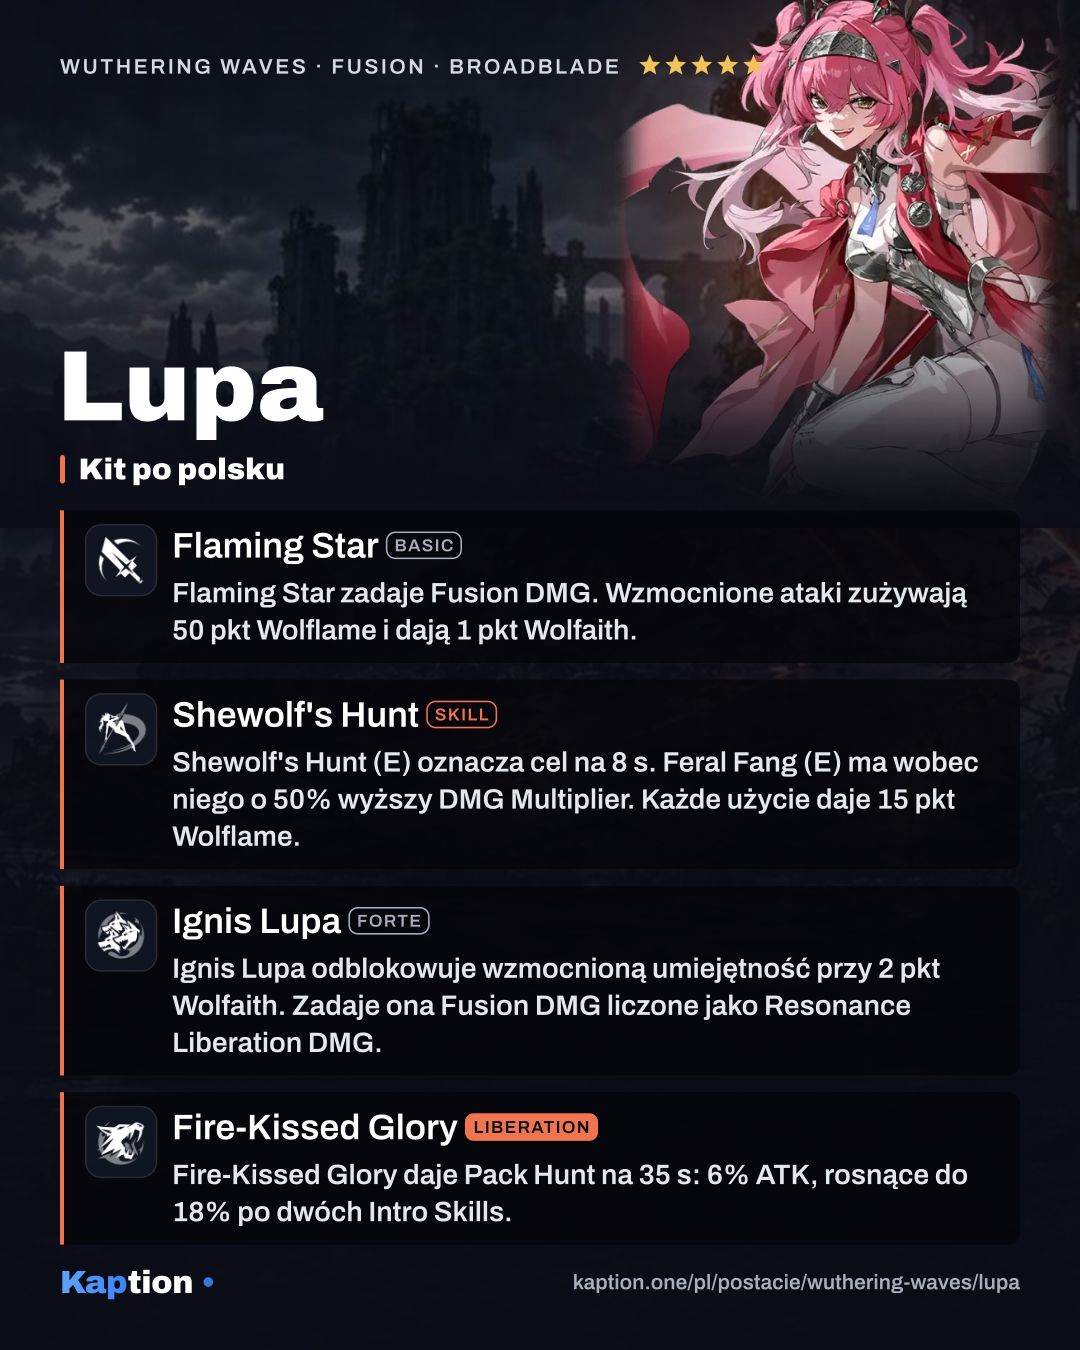
Start with Shewolf's Hunt to mark the target for 8 seconds and gain 15 Wolflame. Follow it with Feral Fang (skill) before switching out: it gives another 15 Wolflame and has a 50% higher DMG Multiplier against the marked target. Normal Attacks also build Wolflame.
At 50 Wolflame, use Wolf's Gnawing (basic) or the airborne Firestrike (basic) to spend 50 and gain 1 Wolfaith. With 1 Wolfaith and another 50 Wolflame, Wolf's Claw (basic) gives the second point. Wolfaith lasts 10 seconds, refreshed when you gain another point. At 2 points, Dance With the Wolf (forte) spends it for damage counted as Resonance Liberation DMG.
Use Fire-Kissed Glory to give the team Pack Hunt and restore 100 Wolflame. It consumes any Wolfaith you hold, so consider spending a full gauge first. Press Basic Attack or Resonance Skill in time for Foebreaker (liberation), which consumes Wolflame and starts Burning Matchpoint. Normal Attacks then restore 500% more Wolflame on hit.
Build 2 Wolfaith again and use Dance With the Wolf: Climax (forte). It ends Burning Matchpoint. Switch to a teammate and use their Liberation within 8 seconds to trigger Lupa's one-time assisted attack. After two Intro Skills raise Pack Hunt to its cap, Lupa's next Intro deals Liberation damage and removes Pack Hunt and Glory.
Build and why
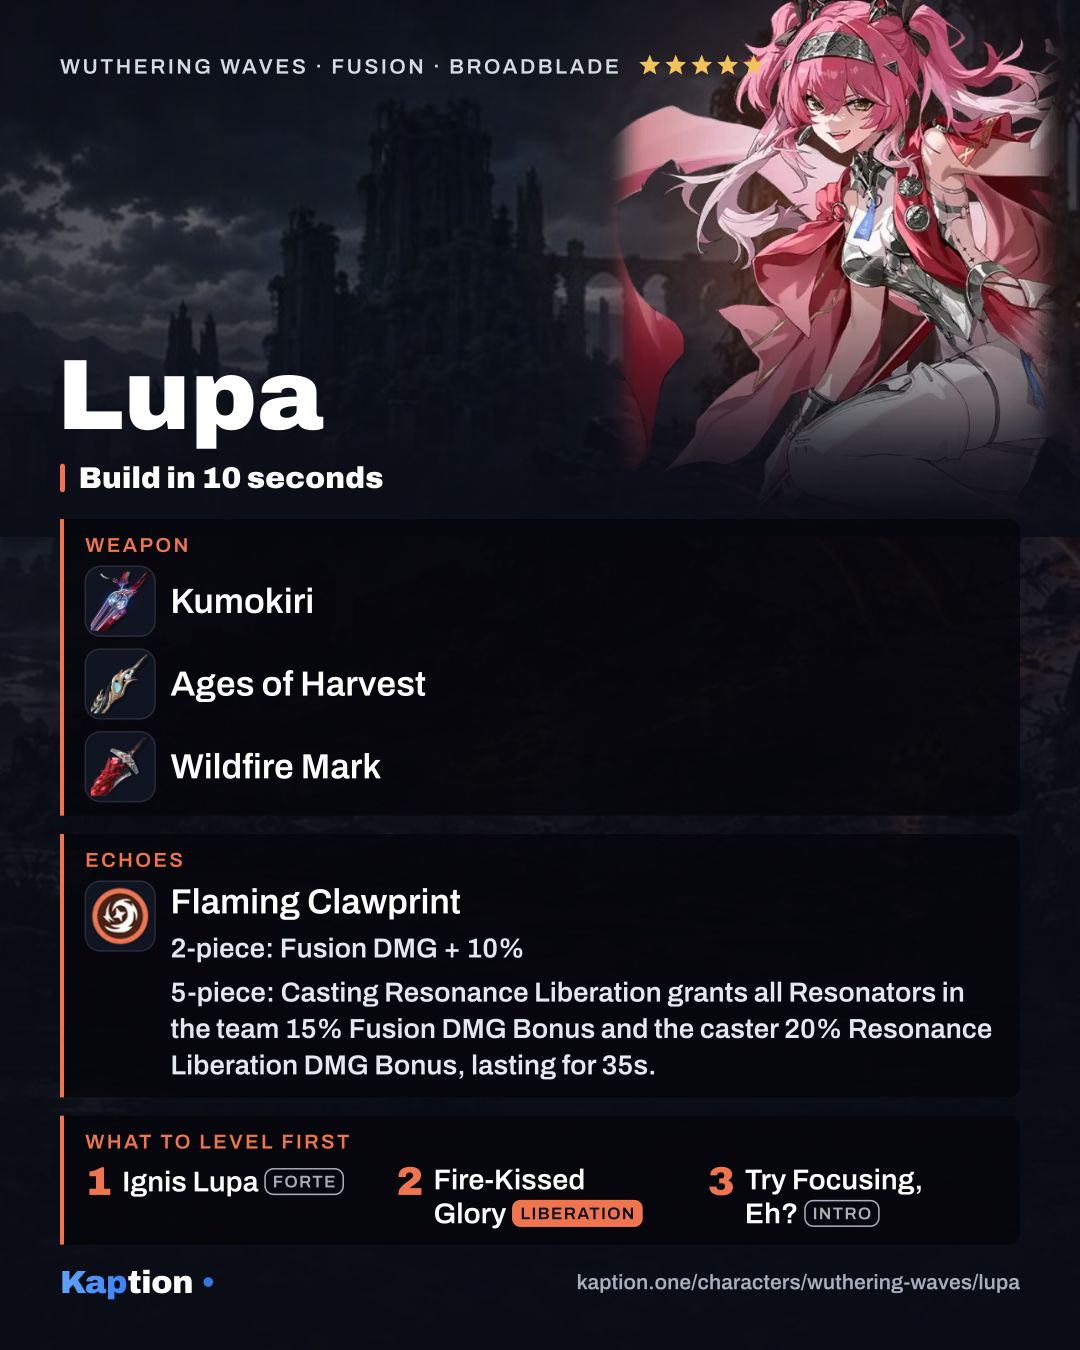
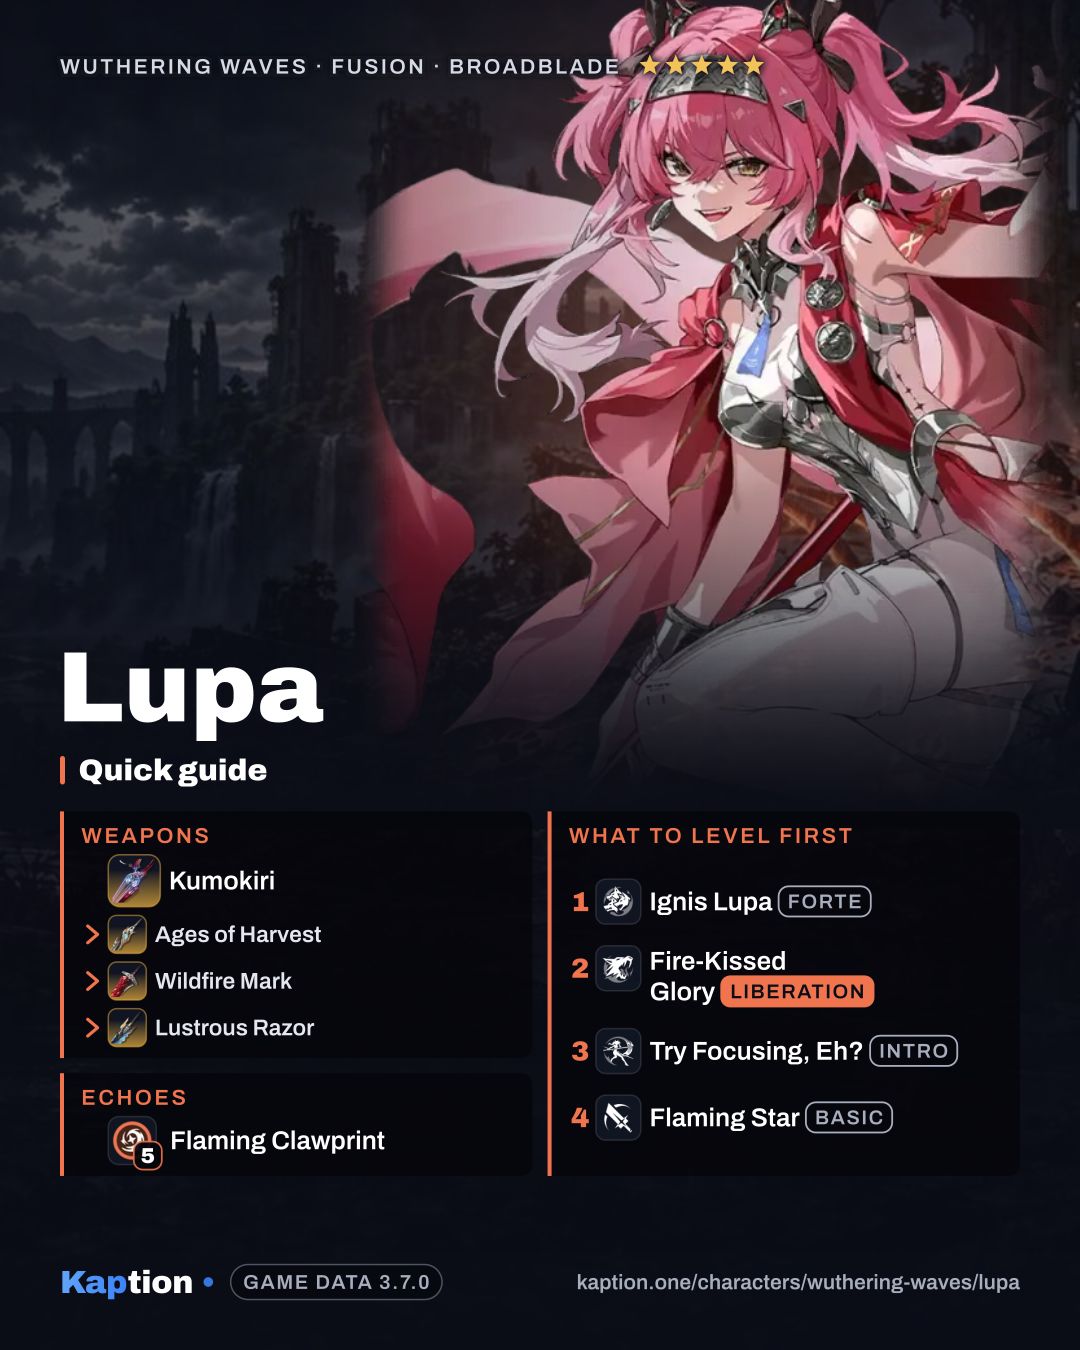
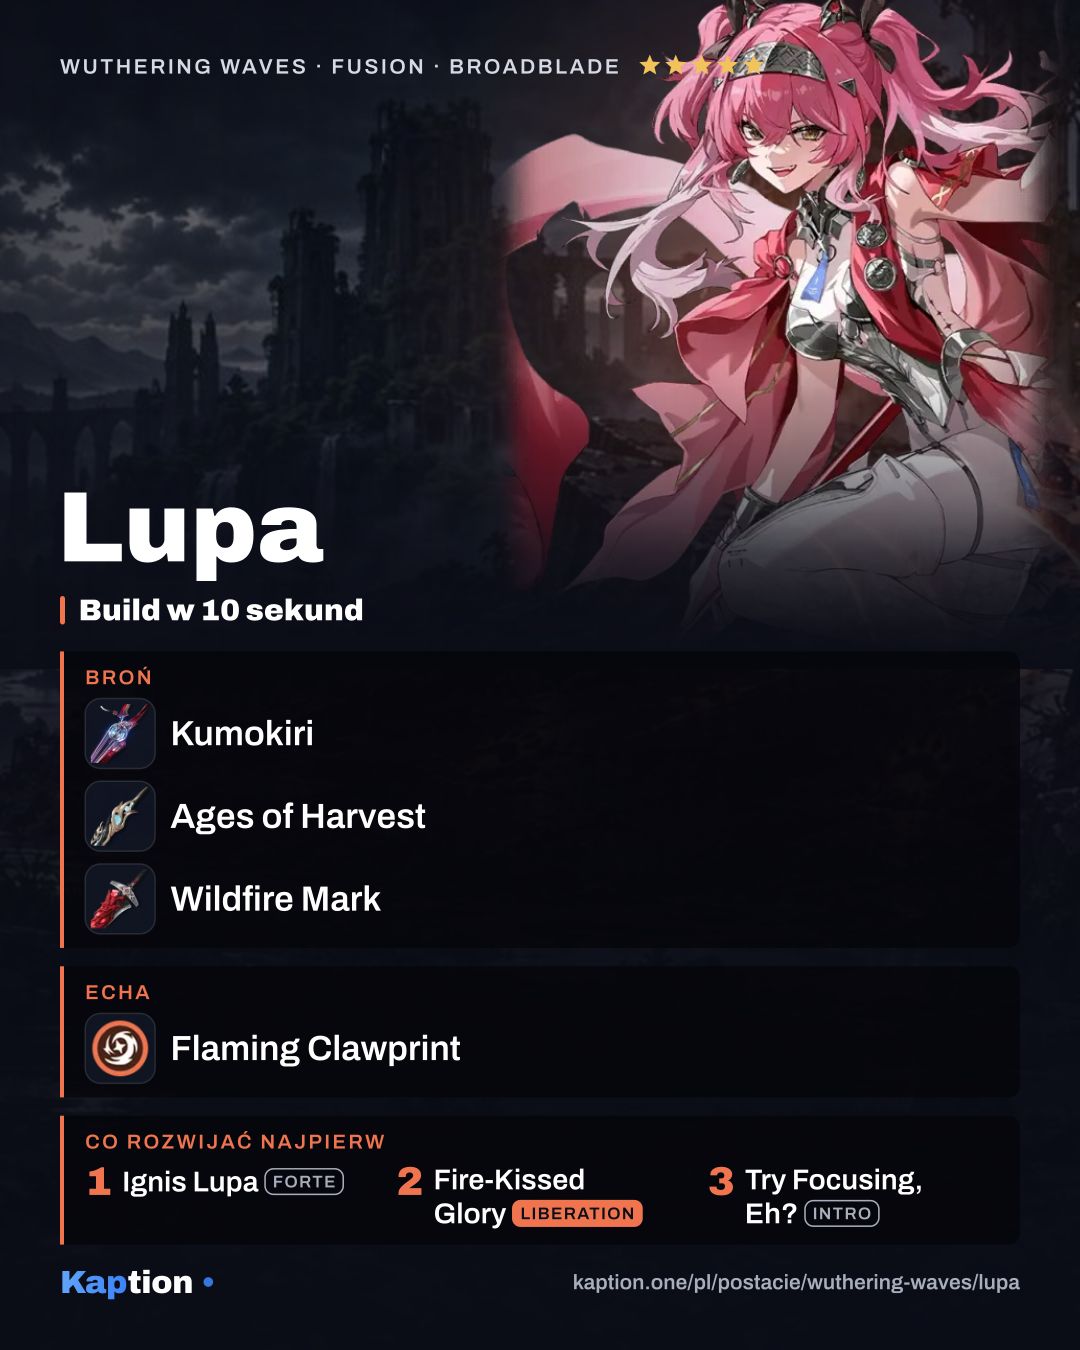
Use the recommended five-piece Flaming Clawprint set. Its listed two-piece bonus gives 10% Fusion DMG, which suits Lupa's attacks. The supplied set data does not describe its five-piece effect, so don't assume an extra effect from it here.
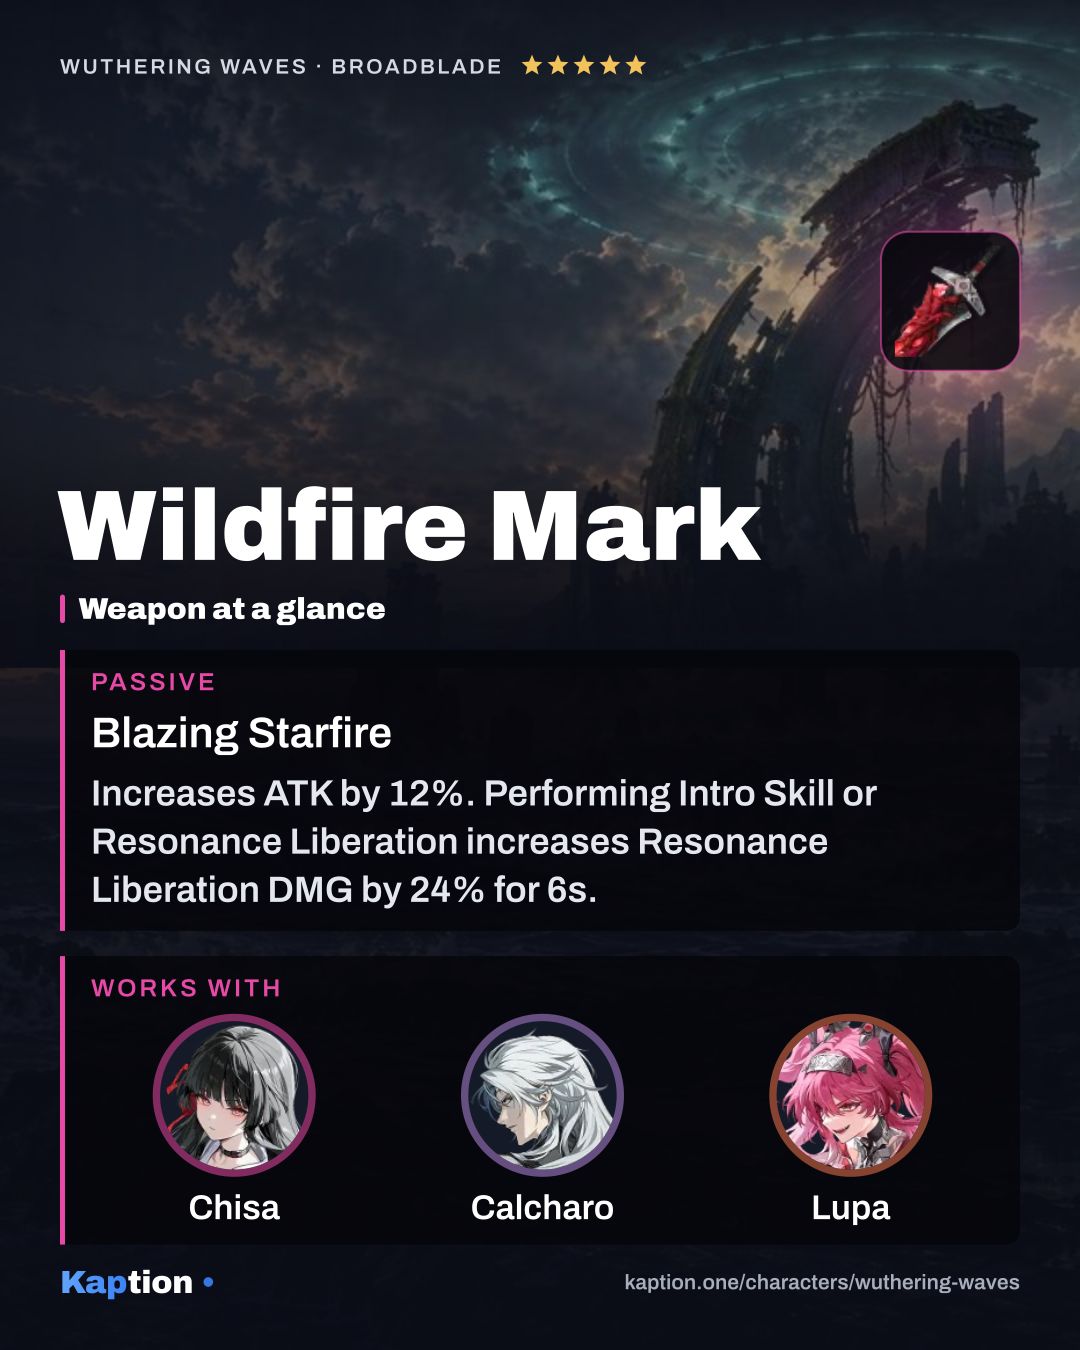
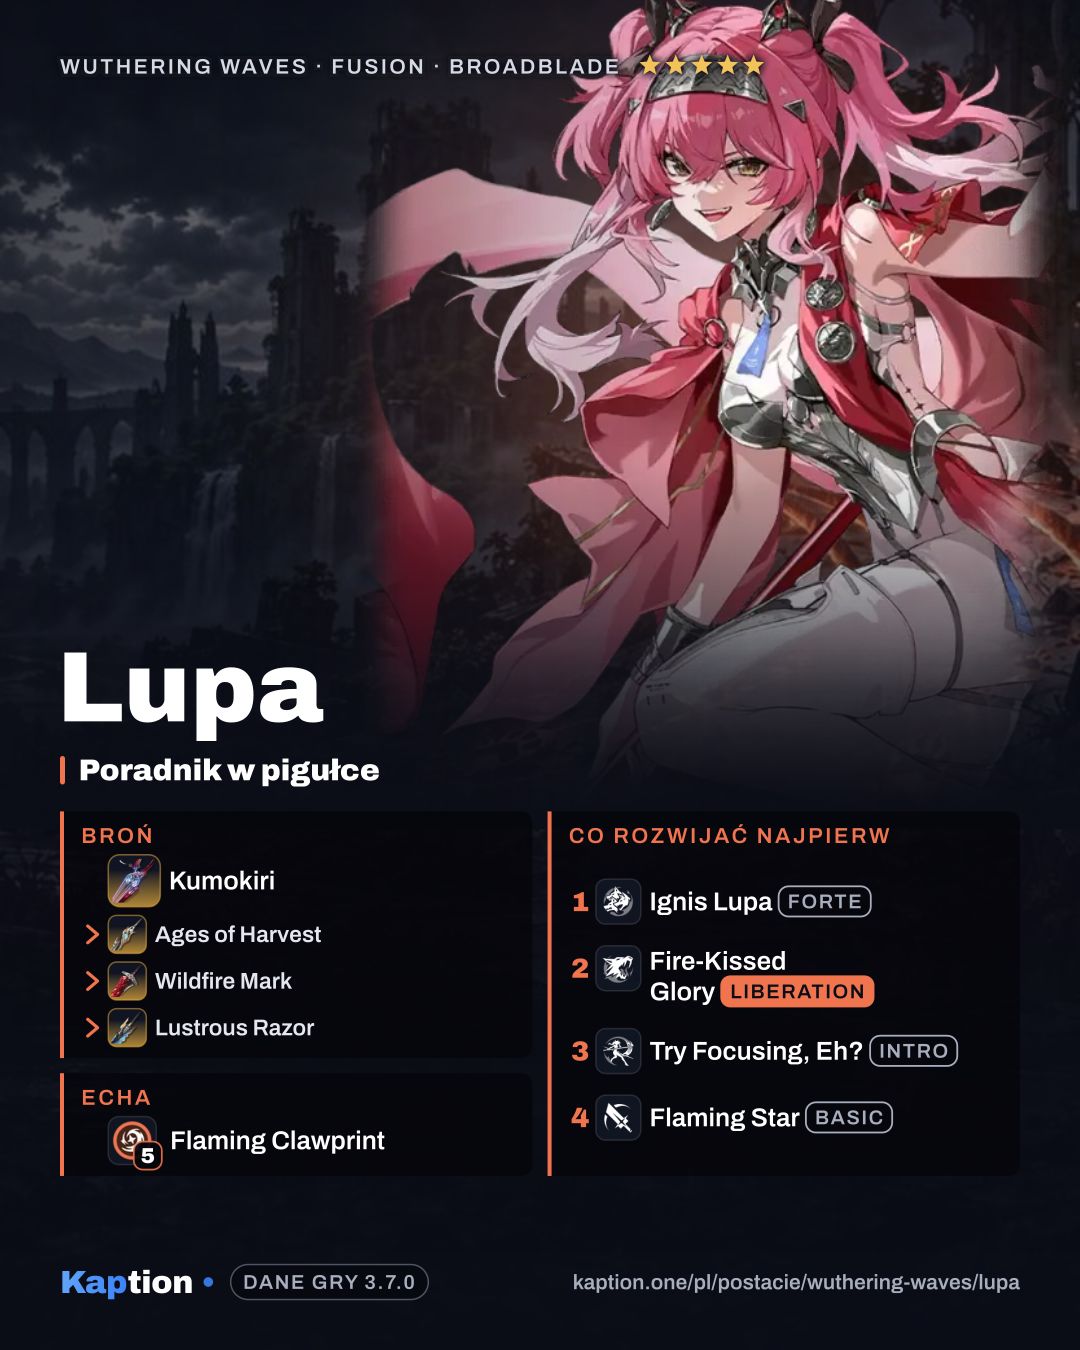
Wildfire Mark is the first weapon choice. It gives 12% ATK and increases Resonance Liberation DMG after an Intro Skill or Liberation. Heavy Attack DMG can extend that bonus once and give the team 24% Fusion DMG Bonus for 30 seconds. Lupa's enhanced attacks help her trigger the extension.
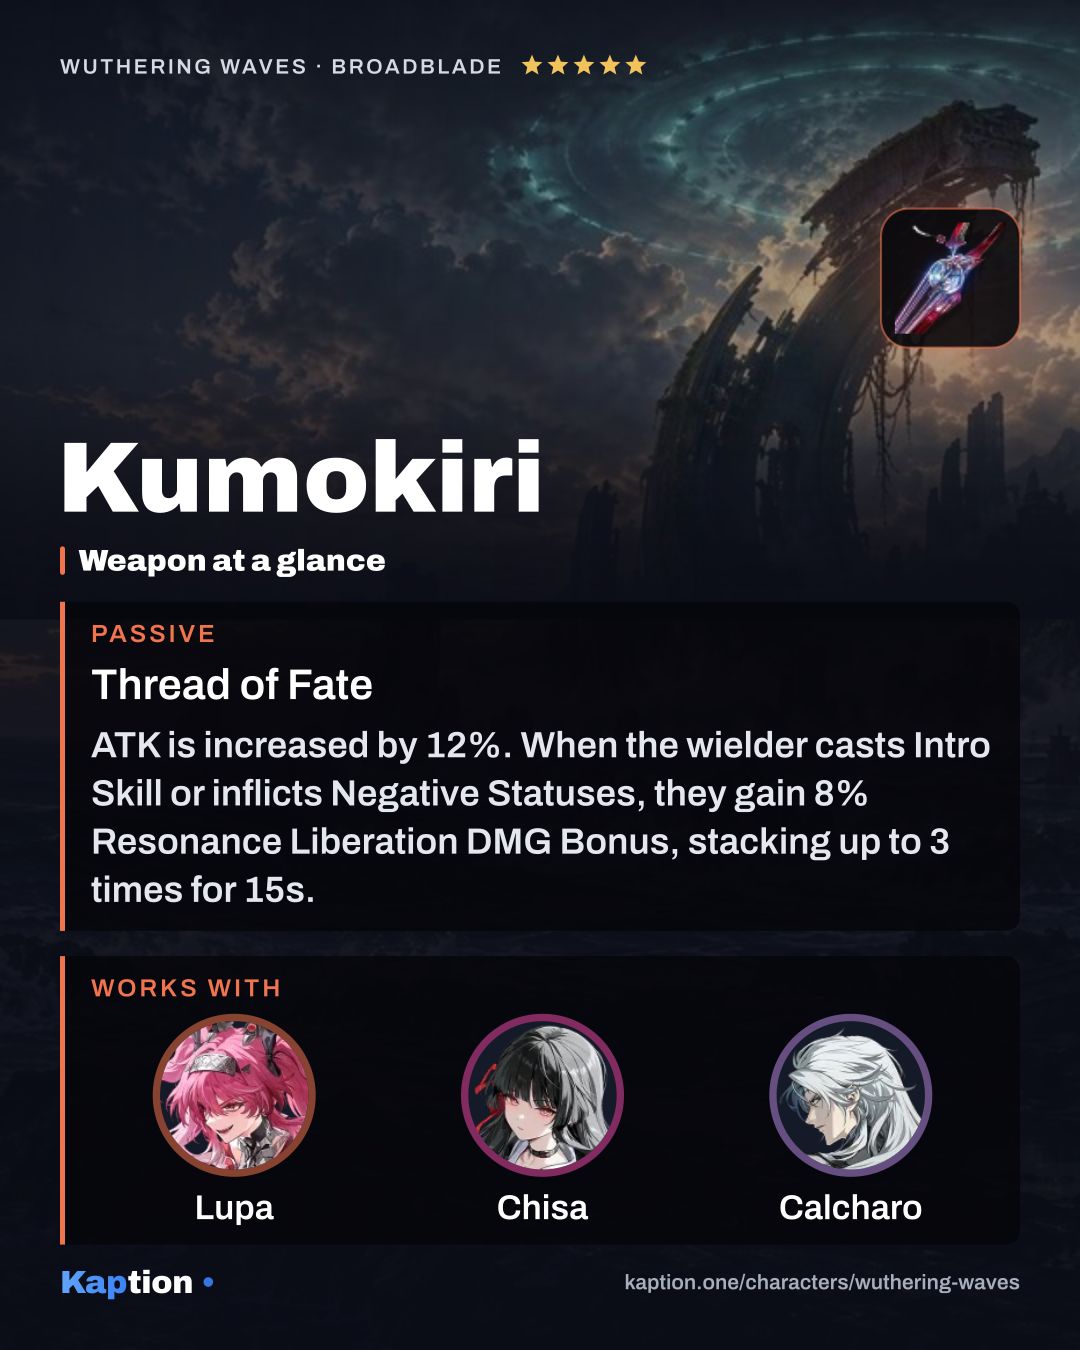
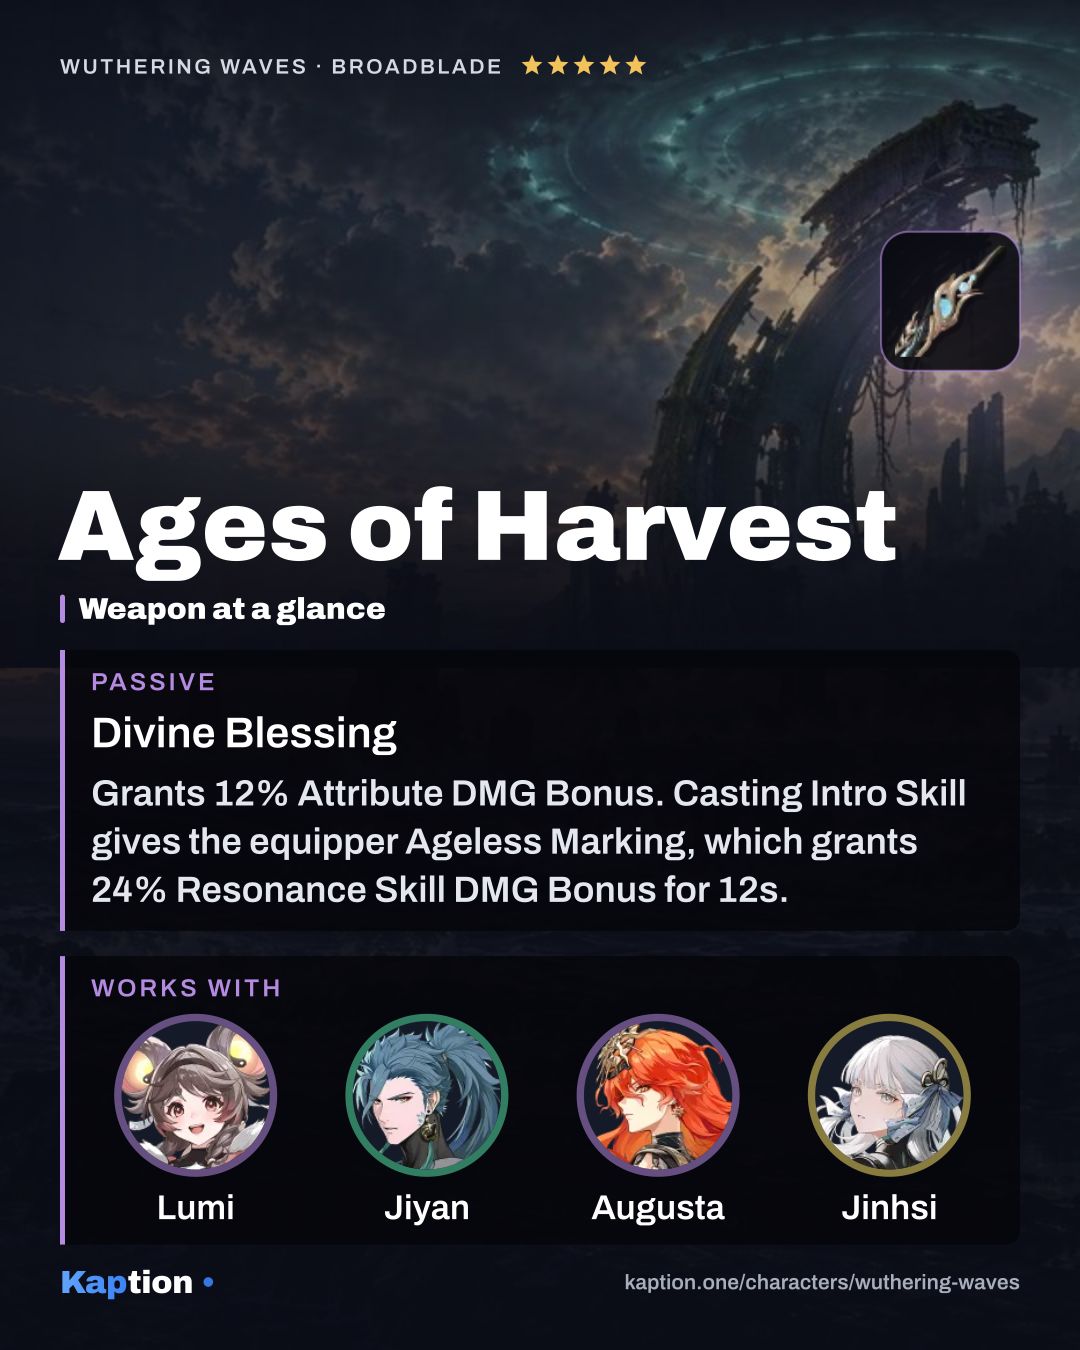
Kumokiri comes next. It gives ATK and can build Resonance Liberation DMG Bonus through Intro Skill or Negative Statuses; at maximum stacks, a team member inflicting a Negative Status can trigger its team bonus. Ages of Harvest follows: its Attribute DMG Bonus helps Fusion damage, while its Skill bonuses apply to Skill damage rather than Lupa's attacks counted as Liberation damage.
Lustrous Razor is another option if you want Energy Regen and Resonance Liberation DMG Bonus. For stats, ATK and Crit. Rate are worth considering; the supplied build gives no stat targets.
Leveling priority
A suggested leveling order is Ignis Lupa, Fire-Kissed Glory, Try Focusing, Eh?, Flaming Star, then Shewolf's Hunt. The Forte gives you the enhanced attacks counted as Liberation damage, while the Liberation is part of both the rotation and team support. The enhanced Intro also deals Liberation damage. This order is a suggestion, not a supplied game recommendation.
To ascend Lupa fully, you need 170,000 Shell Credit, 4 LF Howler Core, 12 MF Howler Core, 12 HF Howler Core, 4 FF Howler Core, 46 Unfading Glory and 60 Bloodleaf Viburnum.
To raise all skills to their maximum, you need 2,030,000 Shell Credit, 25 LF Howler Core, 28 MF Howler Core, 40 HF Howler Core, 57 FF Howler Core, 26 The Netherworld's Stare, 25 Waveworn Residue 210, 28 Waveworn Residue 226, 55 Waveworn Residue 235 and 67 Waveworn Residue 239. These amounts are separate from ascension.
Resonance Chain nodes worth it
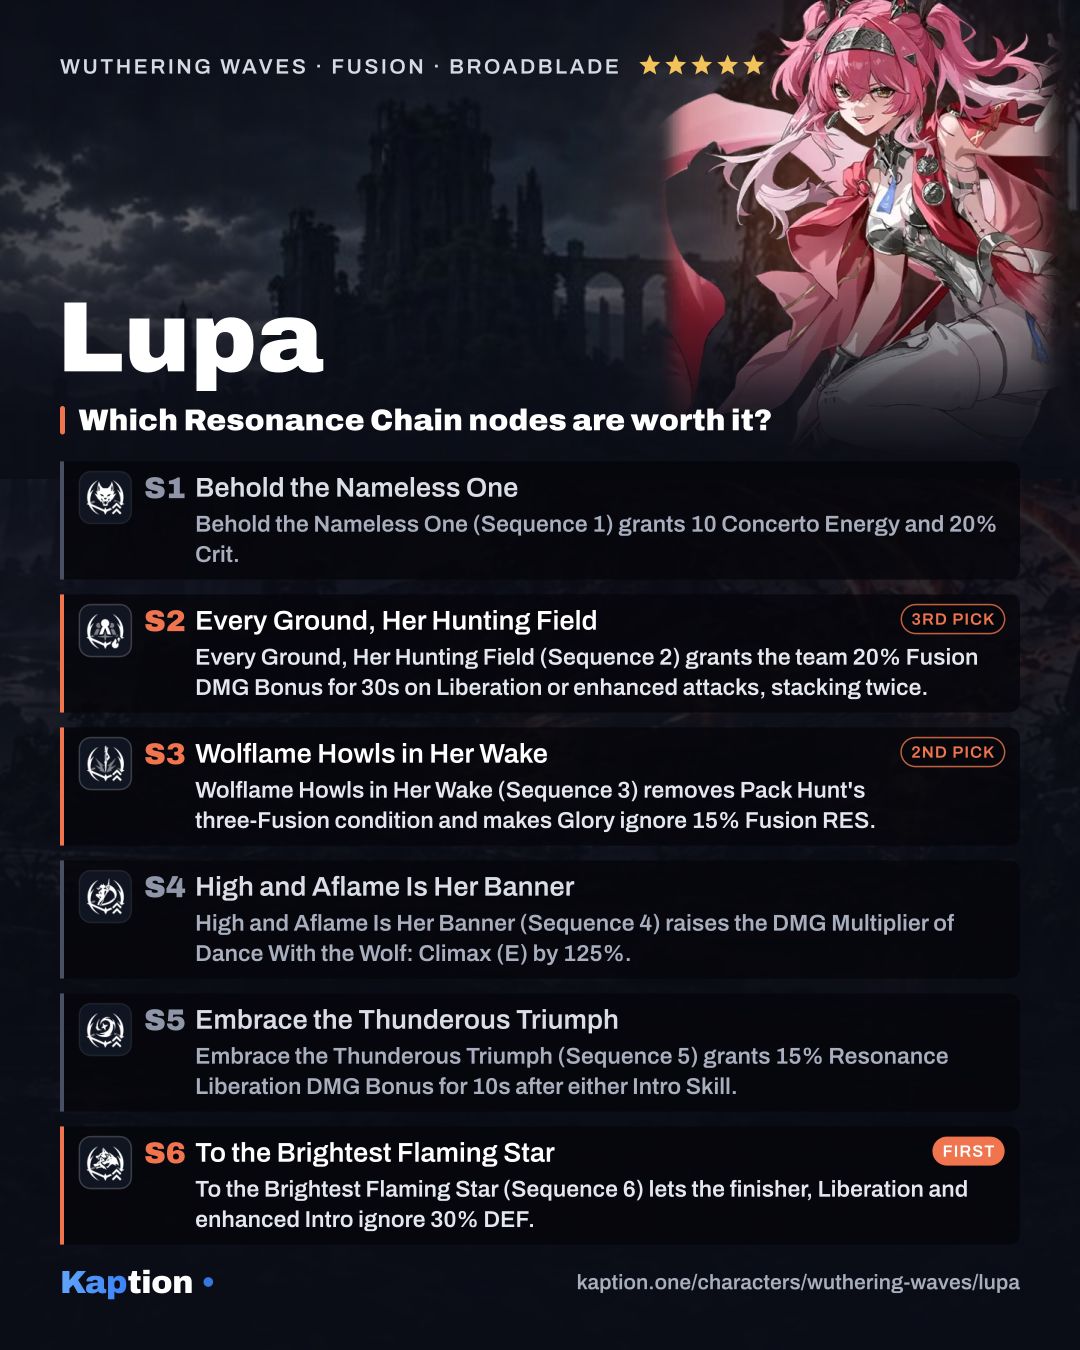
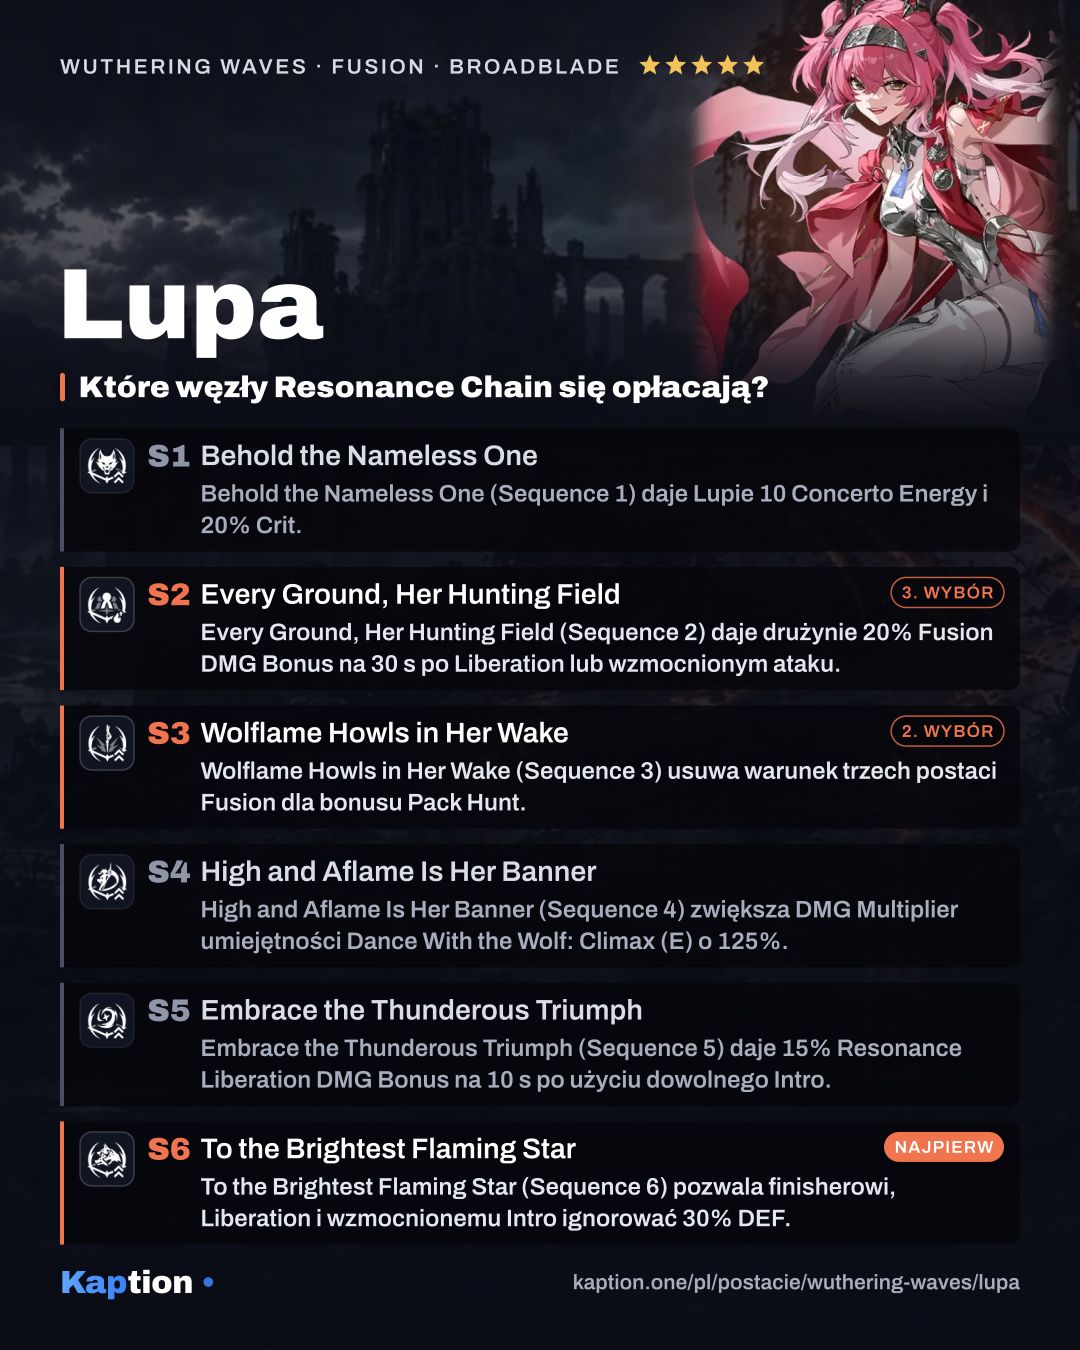
For a suggested progression ranking, To the Brightest Flaming Star (sequence 6) has several effects to look at. Dance With the Wolf: Climax (forte), Fire-Kissed Glory and Lupa's enhanced Intro ignore 30% of the target's DEF. Feral Fang (skill) can restore 100 Wolflame on hit once per 20 seconds, and Climax becomes available outside Burning Matchpoint. The enhanced Intro also stops removing Pack Hunt and Glory.
Wolflame Howls in Her Wake (sequence 3) is worth considering for team flexibility: the three-Fusion requirement on Pack Hunt is removed, Glory makes team attacks ignore 15% Fusion RES for 35 seconds, and the enhanced Intro's DMG Multiplier rises by 100%. Every Ground, Her Hunting Field (sequence 2) gives the team 20% Fusion DMG Bonus for 30 seconds from specified attacks, stacking twice.
Behold the Nameless One (sequence 1) gives Lupa 10 Concerto Energy and 20% Crit. Rate for 10 seconds when she uses Liberation. If you are stopping earlier, passing on High and Aflame Is Her Banner (sequence 4) and Embrace the Thunderous Triumph (sequence 5) is reasonable: their listed bonuses are focused on Climax and a short Liberation DMG Bonus respectively.
Teams
Plan the rotation around Stand by Me, Warrior: the incoming Resonator gets 20% Fusion DMG Amplification and 25% Basic Attack DMG Amplification for 14 seconds or until switched out. A teammate who can use those bonuses is a good fit. Lupa also gives the whole team Pack Hunt's ATK increase, while the assisted attack rewards using the next character's Liberation within its 8-second window.
Common mistakes
Don't switch out before using Feral Fang (skill) if you want the follow-up. It enters cooldown when Lupa leaves the field or when its window expires. Don't sit on Wolfaith too long either: after 10 seconds, each remaining point turns back into 50 Wolflame.
Don't use Fire-Kissed Glory with full Wolfaith without considering Dance With the Wolf (forte) first. Liberation consumes the points. After Liberation, remember Foebreaker (liberation), then rebuild Wolfaith before using Dance With the Wolf: Climax (forte).
Don't treat every hit as the same damage type when choosing equipment. Firestrike (basic) counts as Heavy Attack DMG, Climax counts as Resonance Liberation DMG, and the assisted attack counts as Resonance Skill DMG. Also, avoid switching the Outro recipient out early if you still need its amplification.