





























Guide
How the kit works
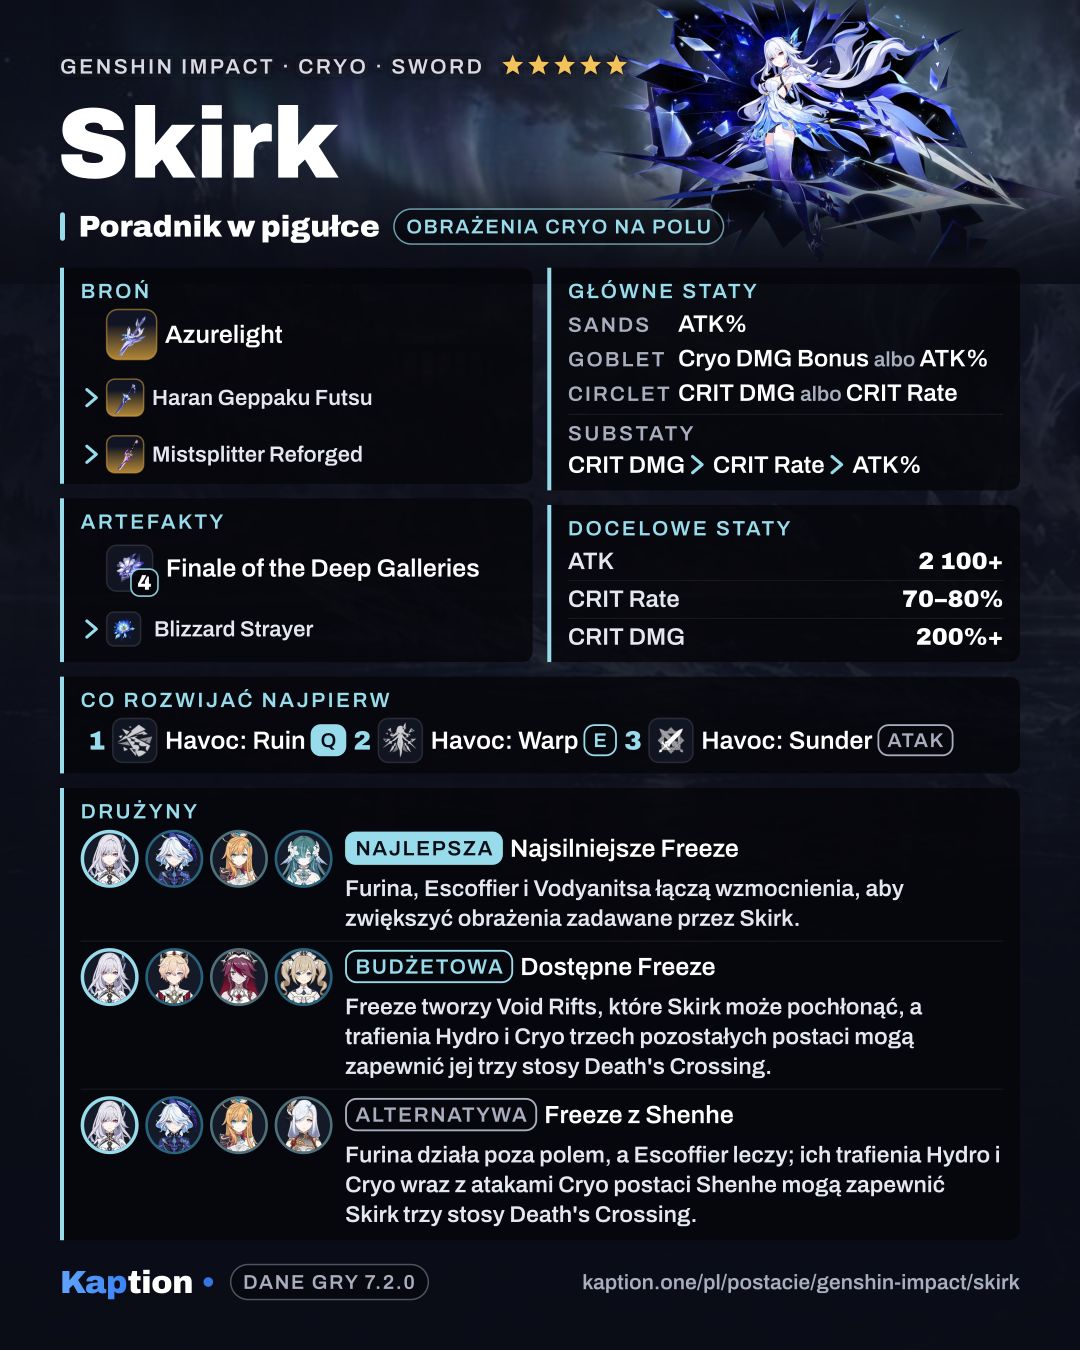
Start by using your teammates' Hydro and Cryo attacks. Return to Oblivion grants one Death's Crossing stack per qualifying teammate, up to three. Each stack lasts 20 seconds and increases Skirk's Normal Attack DMG in Seven-Phase Flash and the DMG of Havoc: Ruin.
Frozen and several other reactions create Void Rifts through Reason Beyond Reason. A Rift can appear once every 2.5 seconds, and Skirk can have up to three of her own on the field. Each Rift she absorbs gives her 8 Serpent's Subtlety.
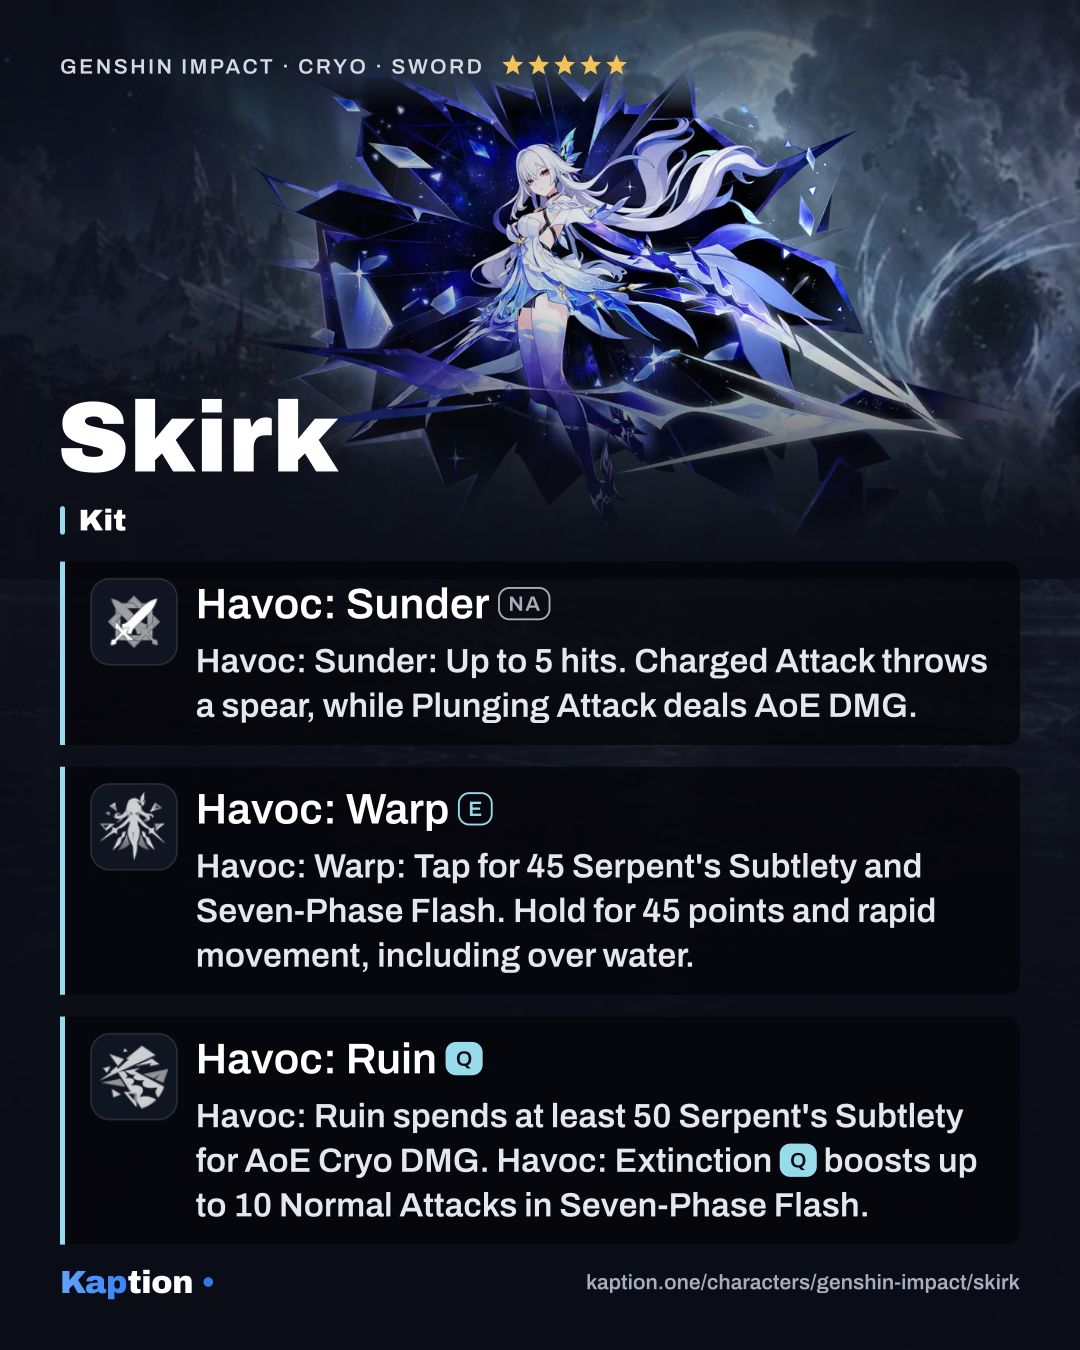
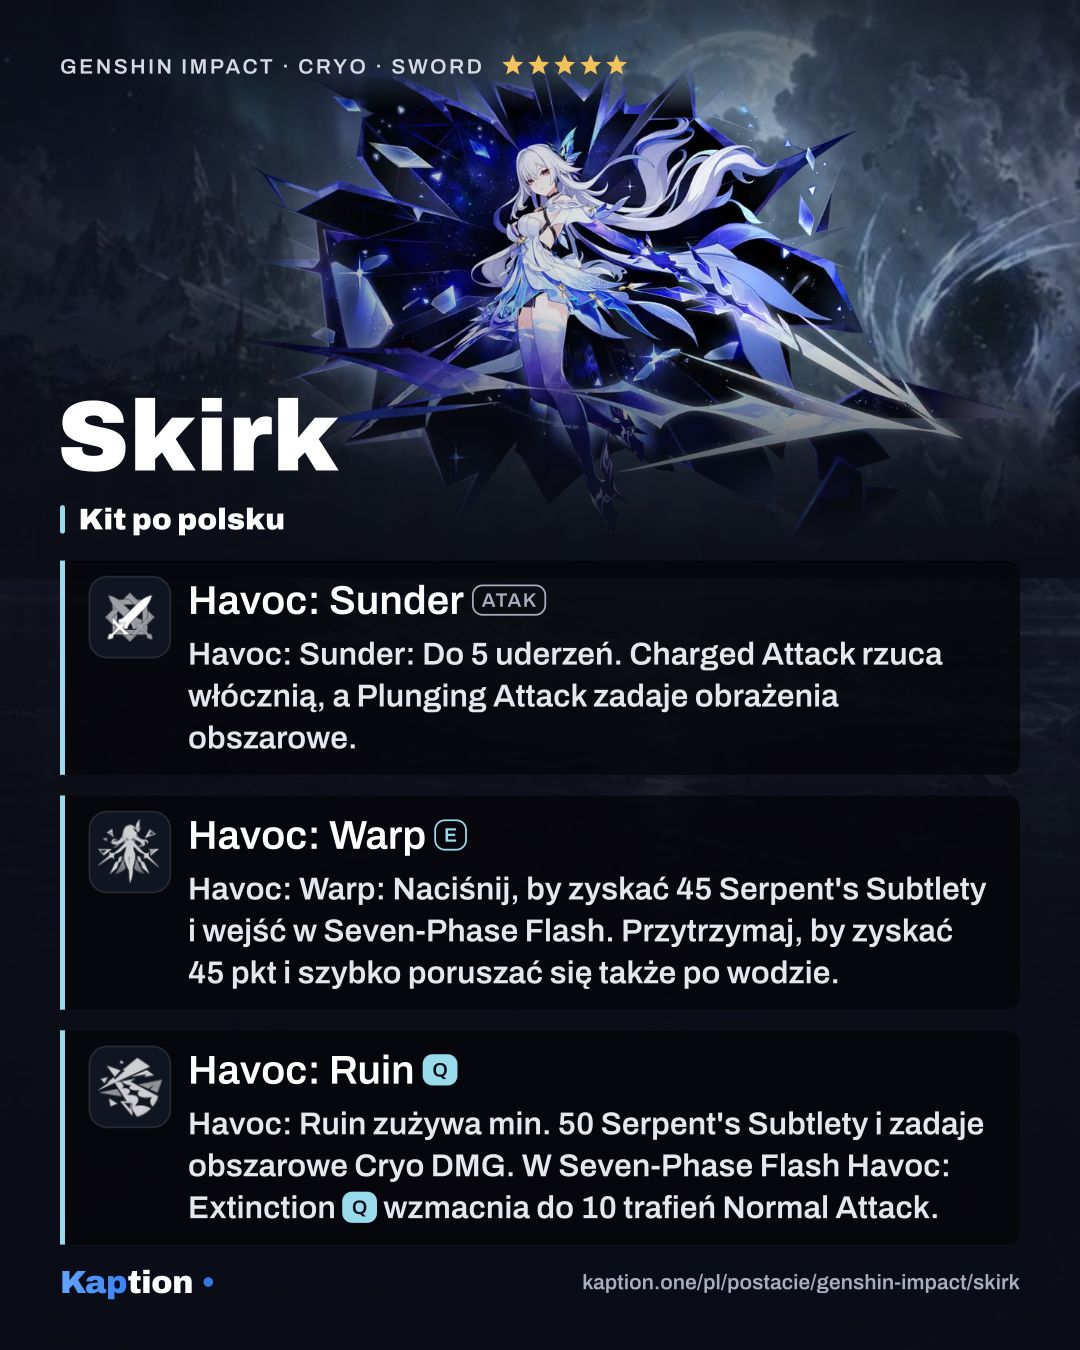
Tap Havoc: Warp to gain 45 Serpent's Subtlety and enter Seven-Phase Flash. Holding it also gives 45 points and starts rapid movement with increased interruption resistance. During that movement, Skirk can steer and cross water; use the Skill again to stop early.
In Seven-Phase Flash, use Havoc: Extinction (Q), then attack. It costs no Serpent's Subtlety and absorbs nearby Rifts after Reason Beyond Reason is unlocked. Its All Shall Wither effect increases Normal Attack DMG, with a further increase based on the Rifts absorbed. It triggers at most once every 0.1 seconds and ends after 10 triggers or when the mode ends.
A Charged Attack hit in Seven-Phase Flash can also absorb nearby Rifts, as can holding Havoc: Warp to start rapid movement. Outside the mode, Havoc: Ruin needs at least 50 Serpent's Subtlety and spends all of it for AoE Cryo DMG. Up to 12 points above 50 increase that Burst's damage.
Build and why
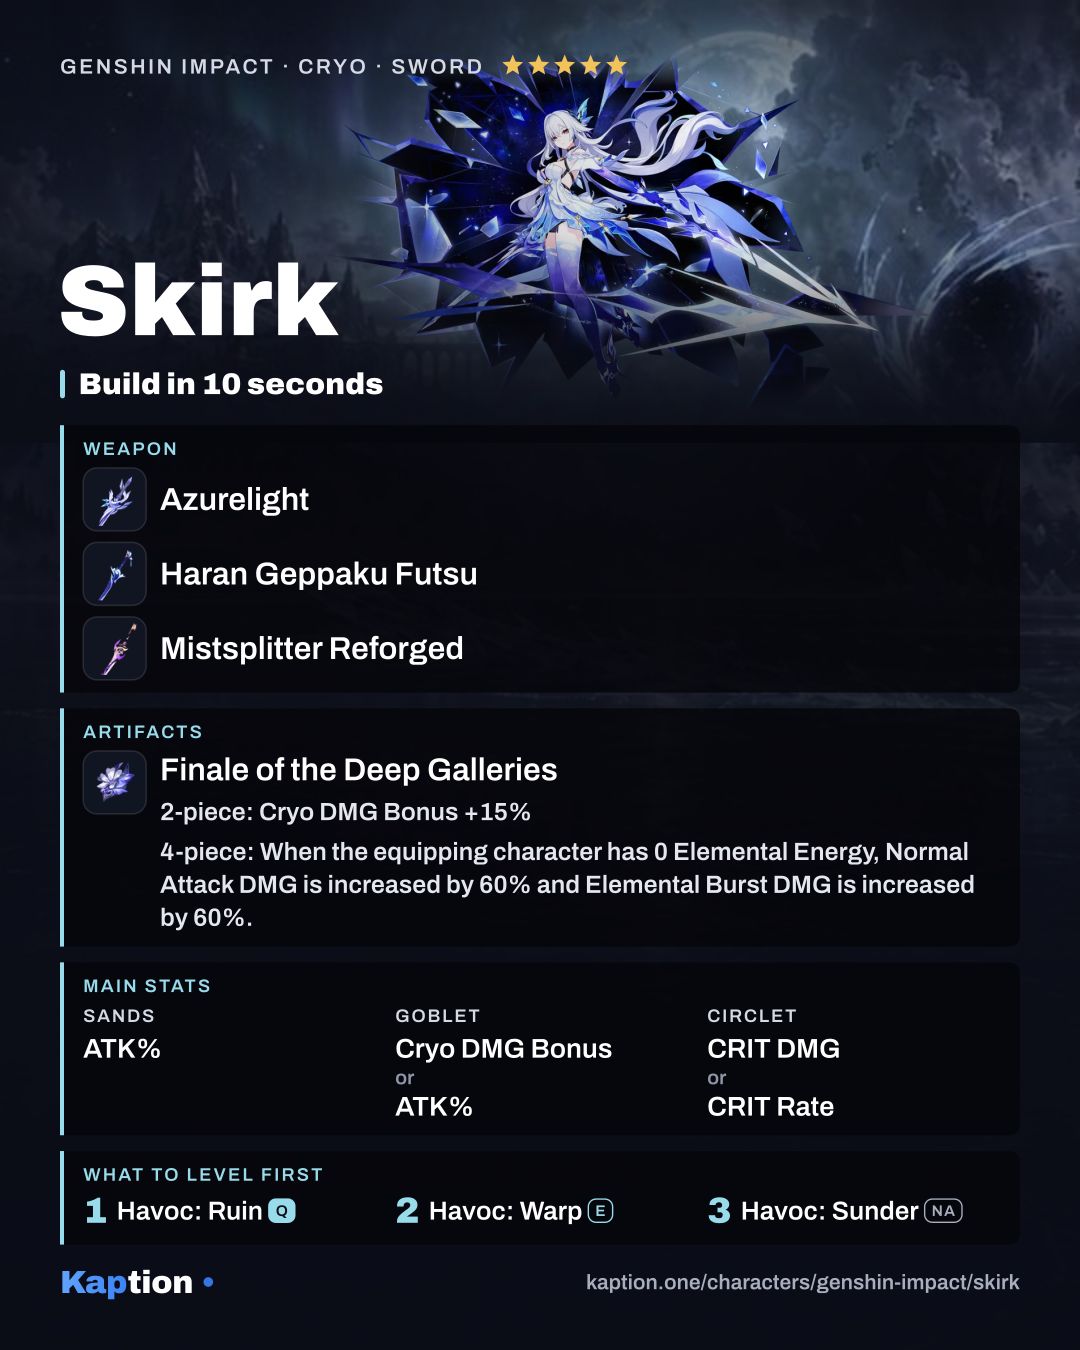
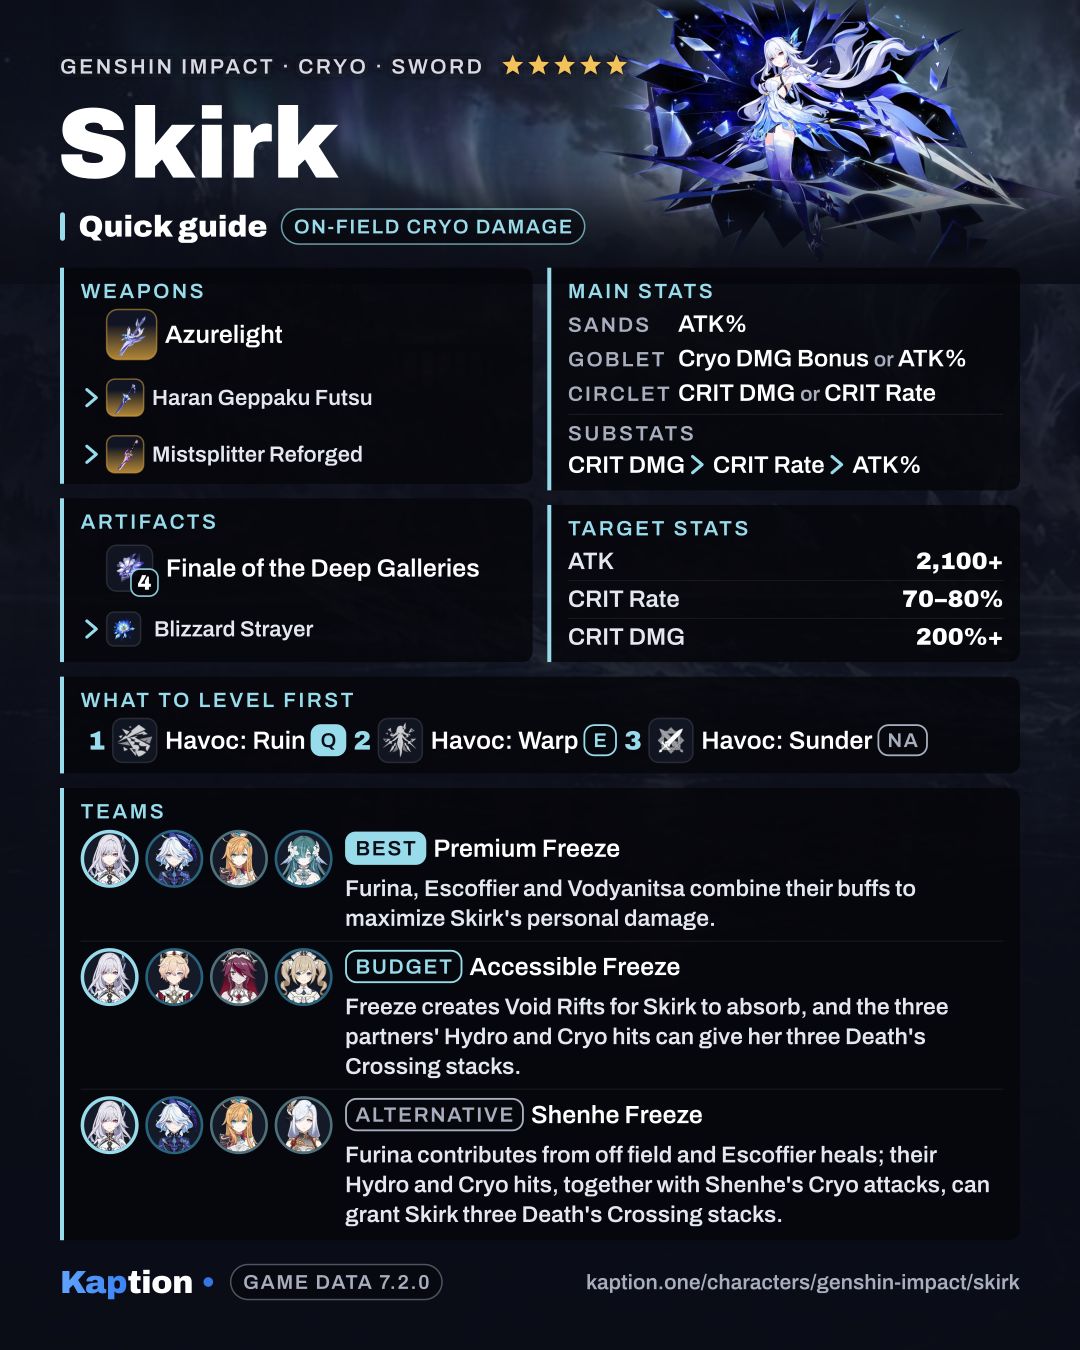
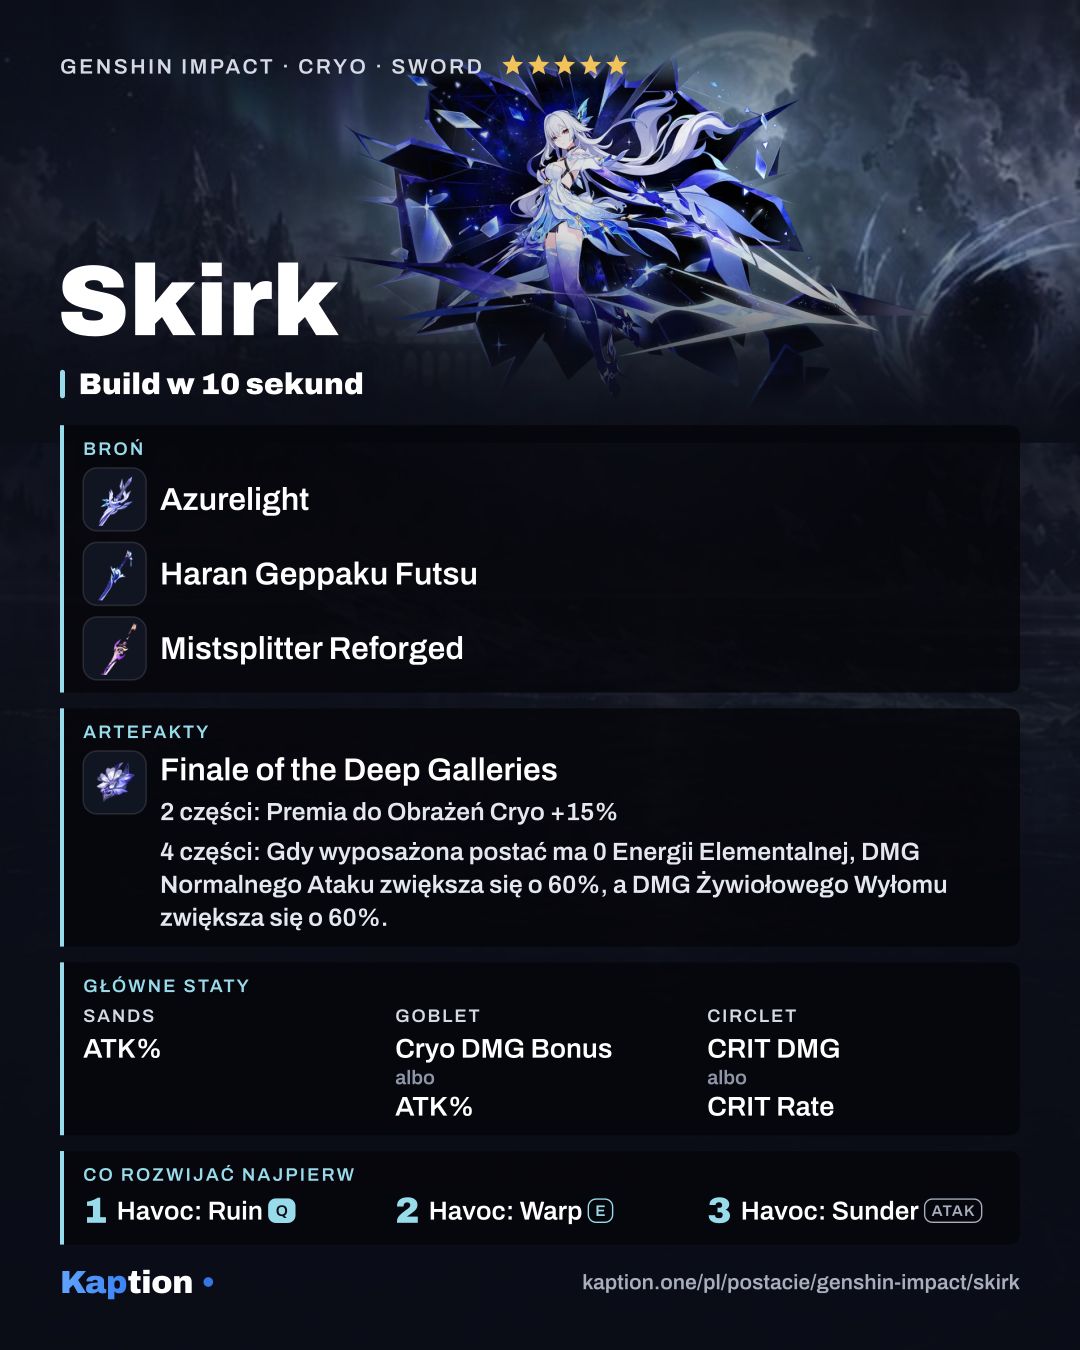
Use four pieces of Finale of the Deep Galleries. Its two-piece bonus gives 15% Cryo DMG Bonus. At 0 Elemental Energy, the four-piece bonus gives 60% Normal Attack DMG and 60% Elemental Burst DMG, but dealing one type disables the bonus for the other for 6 seconds. Plan around that restriction rather than assuming both bonuses always apply.
Marechaussee Hunter is the next option if the wearer's HP regularly rises or falls: each change grants 12% CRIT Rate for 5 seconds, up to three stacks. Blizzard Strayer is another choice. It gives 20% CRIT Rate against Cryo-affected enemies and another 20% against Frozen enemies.
Choose ATK Percentage on the sands, Cryo DMG Bonus or ATK Percentage on the goblet, and CRIT DMG or CRIT Rate on the circlet. For substats, look for CRIT DMG, CRIT Rate, then ATK Percentage. Account for any CRIT Rate your set supplies when choosing the circlet.
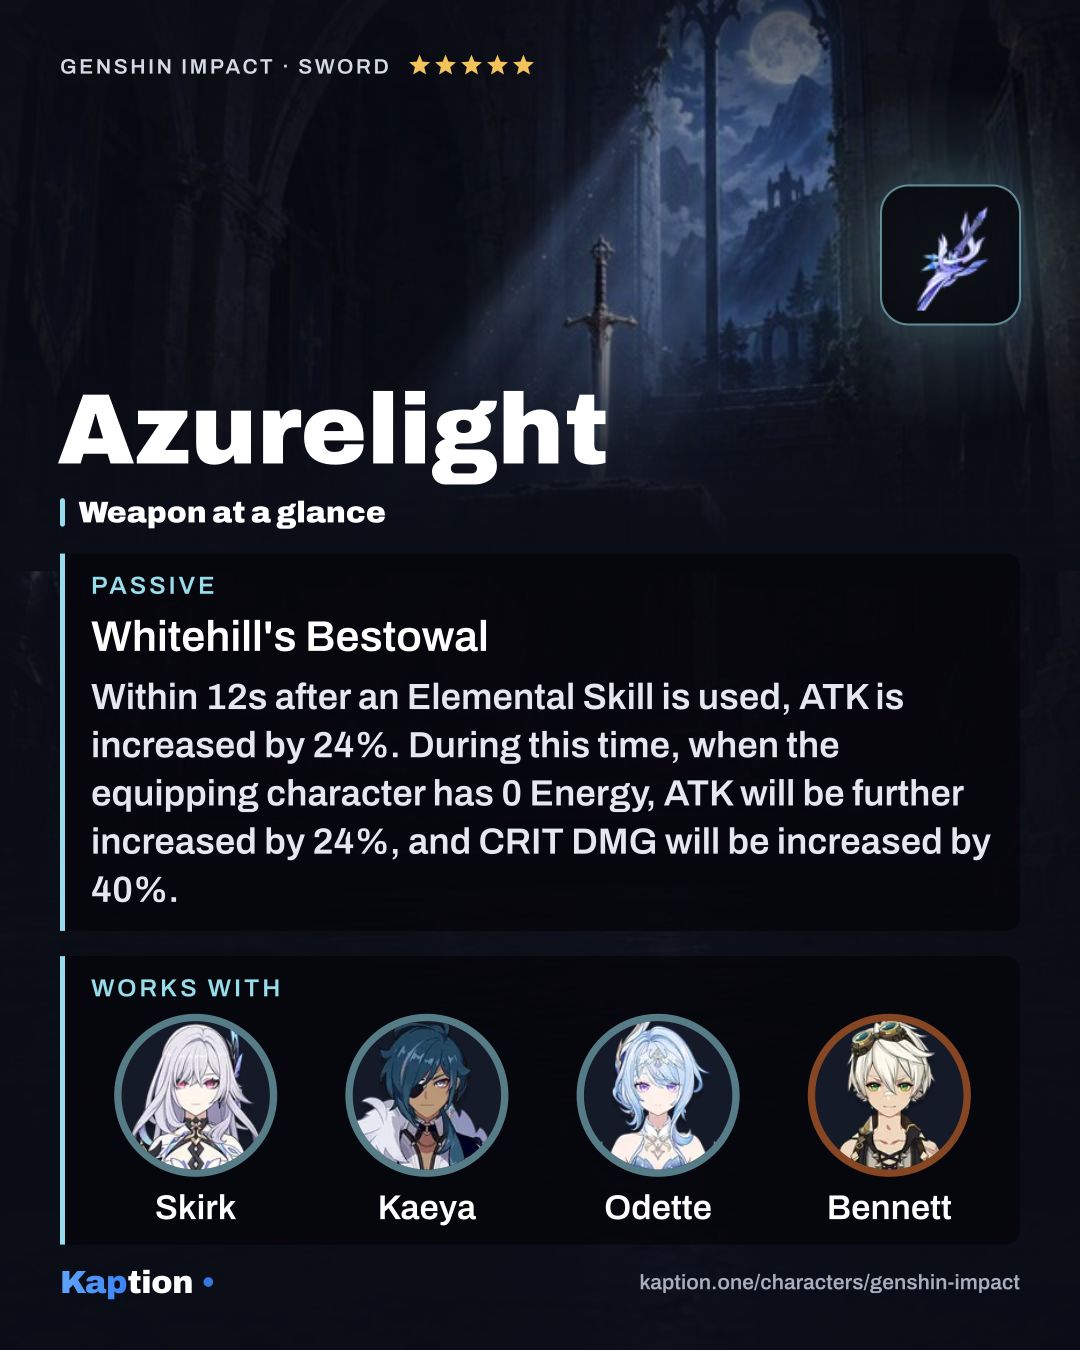
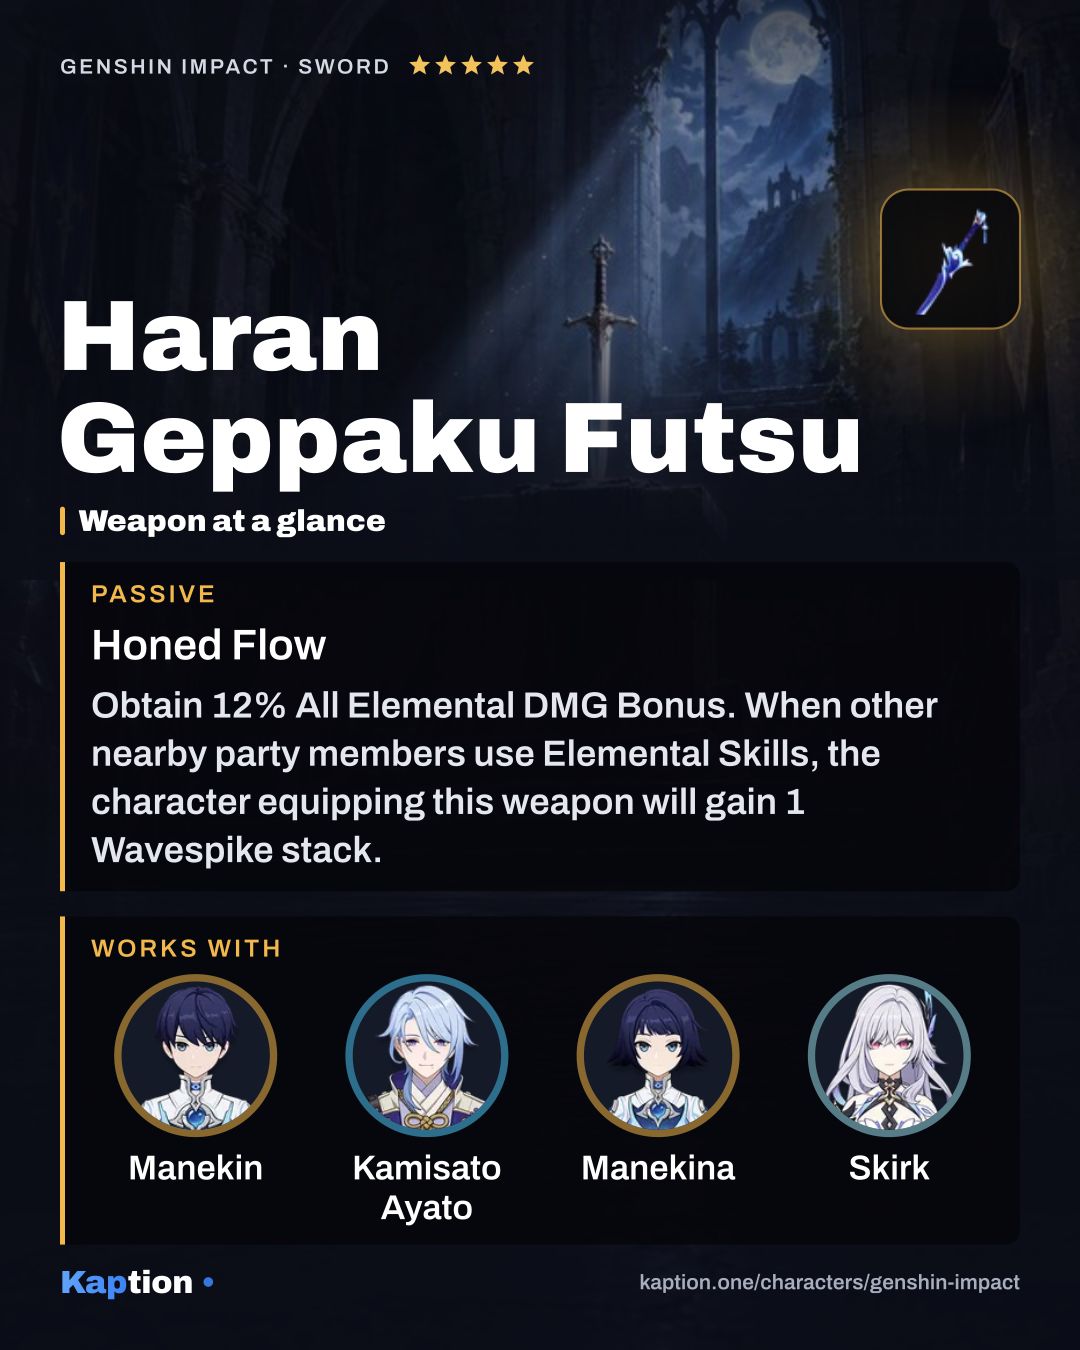
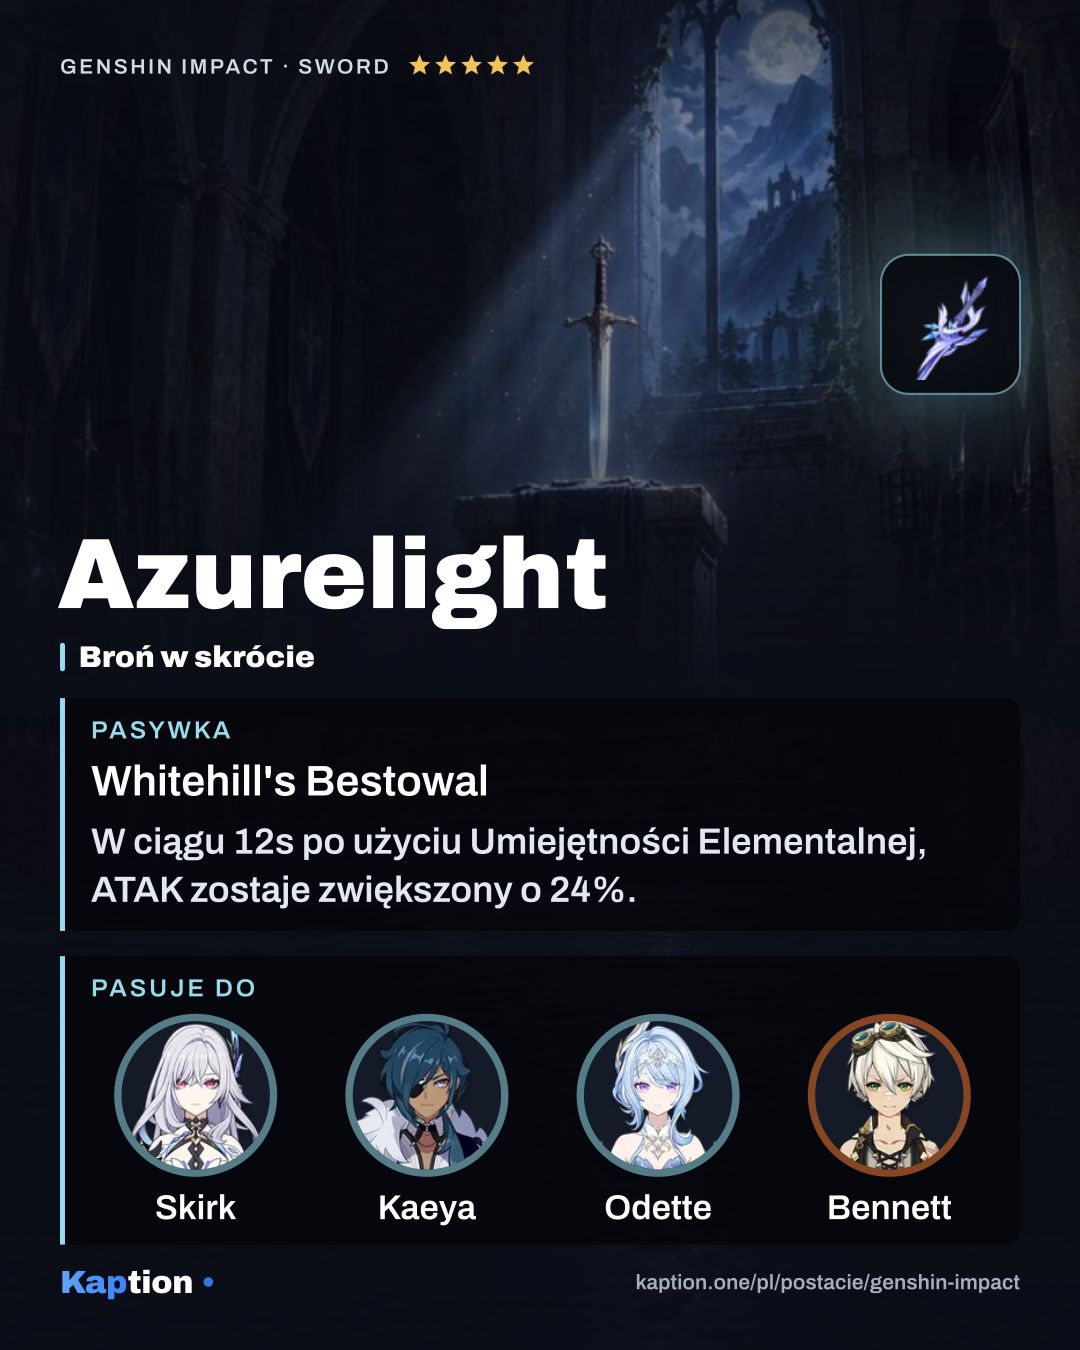
Azurelight is the first weapon choice. After an Elemental Skill, it gives 24% ATK for 12 seconds; at 0 Energy during that time, it gives another 24% ATK and 40% CRIT DMG. Haran Geppaku Futsu is next: use teammates' Elemental Skills before Skirk's to build up to two stacks, each giving 20% Normal Attack DMG for 8 seconds when consumed.
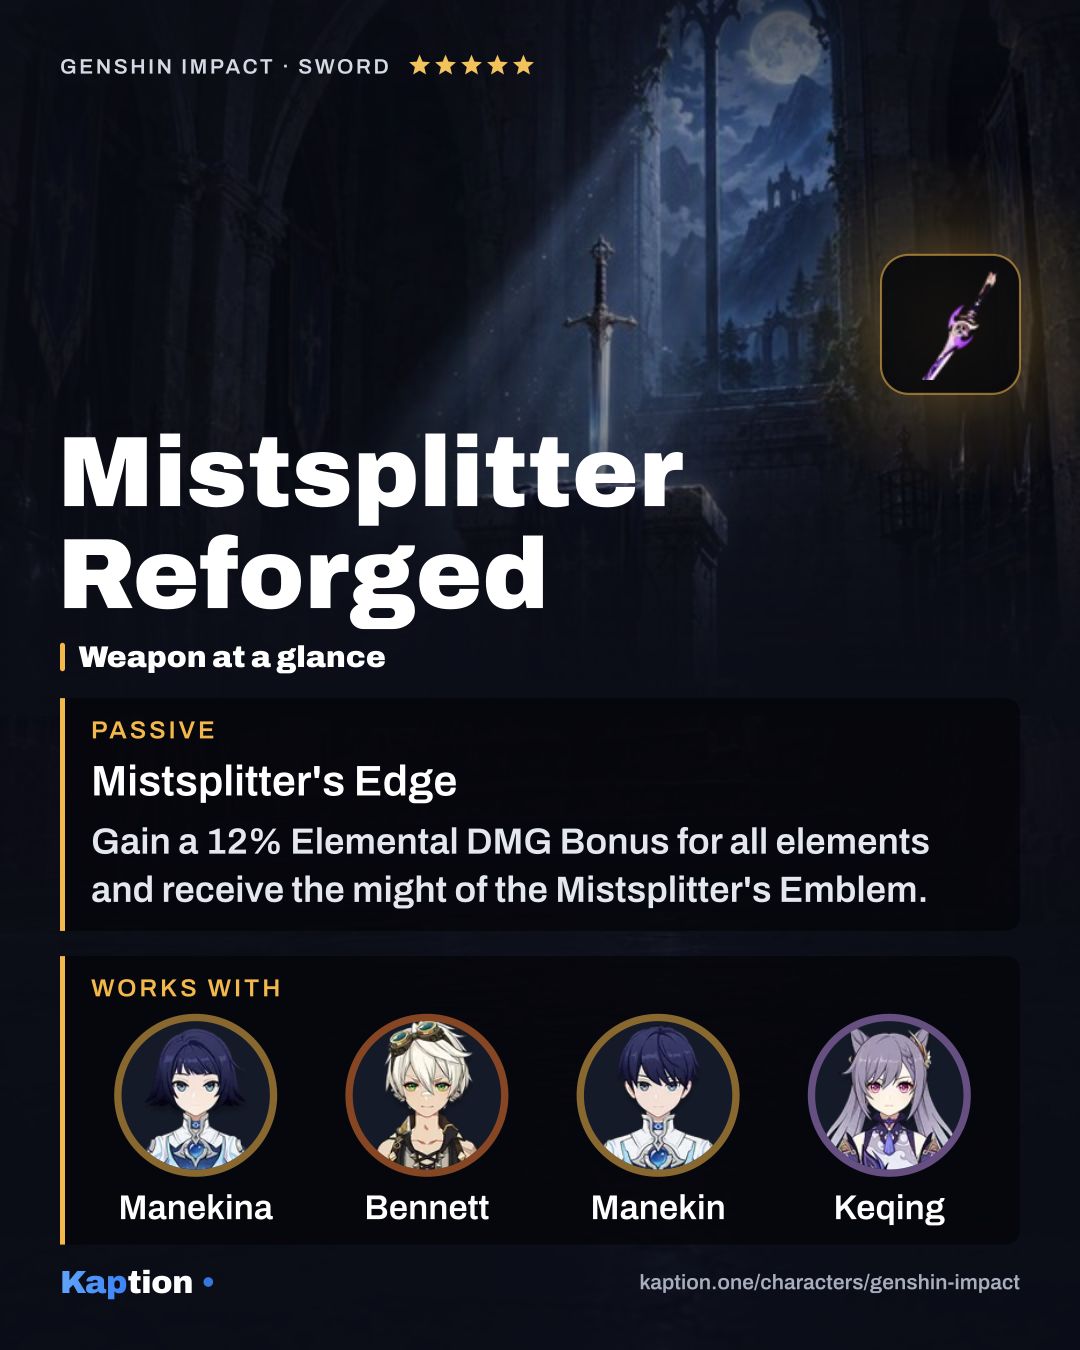
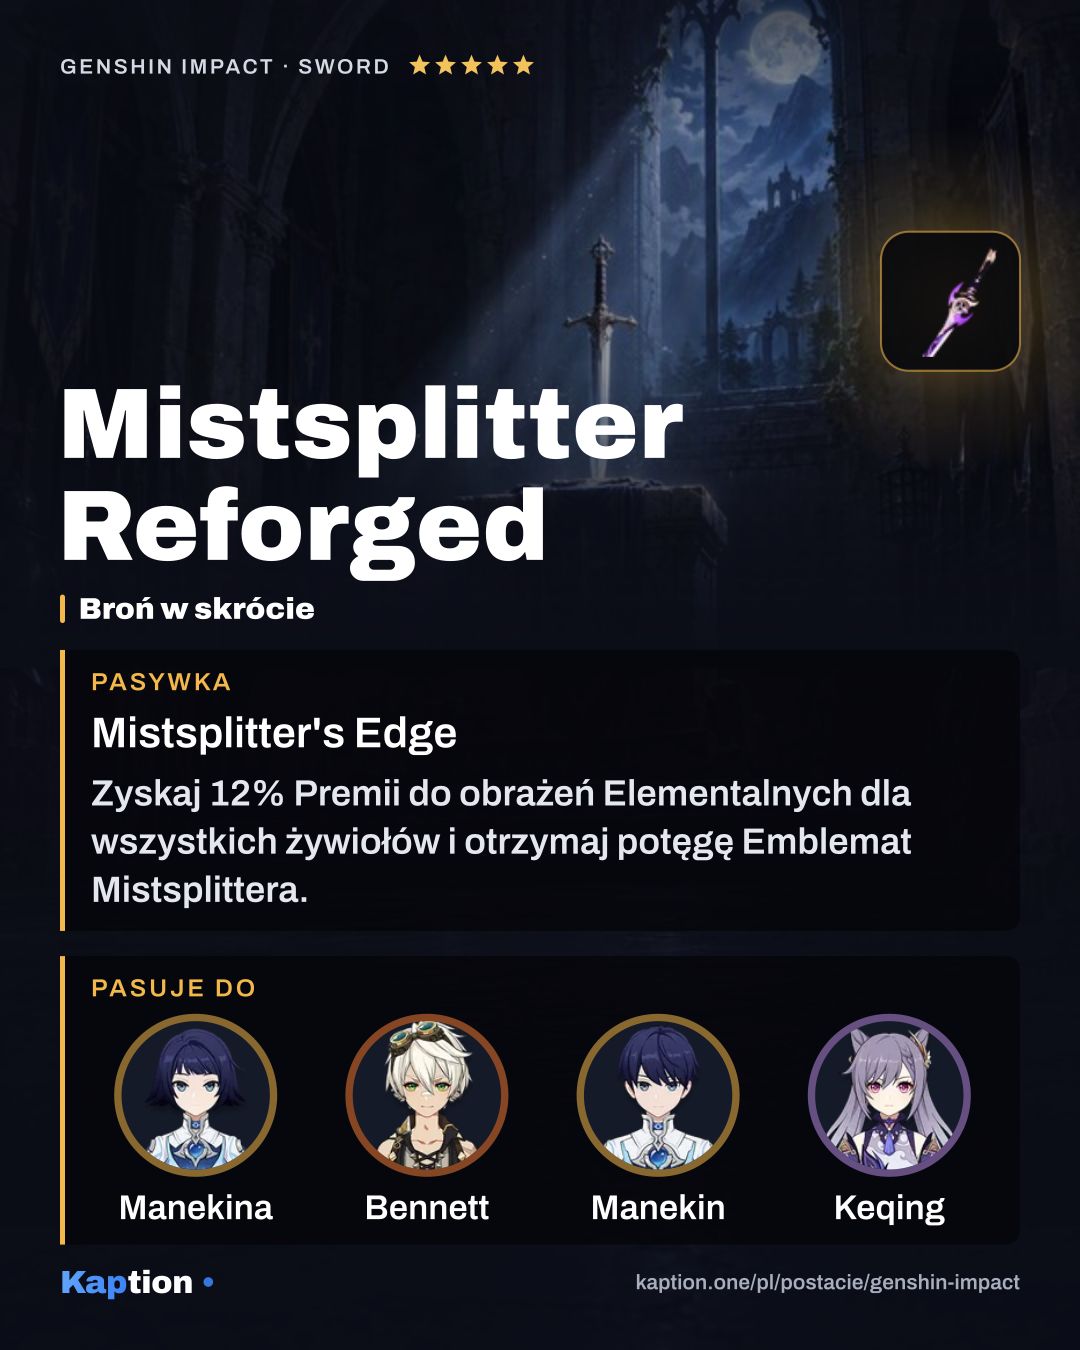
Mistsplitter Reforged is another strong option, with Elemental DMG Bonus and separate stacks from its listed conditions. For a four-star choice, Finale of the Deep gives ATK after an Elemental Skill and grants a Bond of Life; clearing that Bond gives further ATK.
Leveling priority
As a starting suggestion, level Havoc: Ruin first, Havoc: Warp second and Havoc: Sunder (NA) last. The Burst strengthens attacks in Seven-Phase Flash, while the Skill gets Skirk into that mode. The supplied skill descriptions do not show level scaling, so treat this as a practical order rather than a measured damage ranking.
For ascension, gather Mora, Skysplit Gembloom, Shivada Jade Sliver, Shivada Jade Fragment, Shivada Jade Chunk, Shivada Jade Gemstone and Ensnaring Gaze. You also need Meshing Gear, Mechanical Spur Gear and Artificed Dynamic Gear.
Those three Gear materials are needed for talents too, along with Mora, Teachings of Contention, Guide to Contention, Philosophies of Contention, Ascended Sample: Knight and Crown of Insight. You can raise the important talents before committing materials to every level.
Constellations worth it
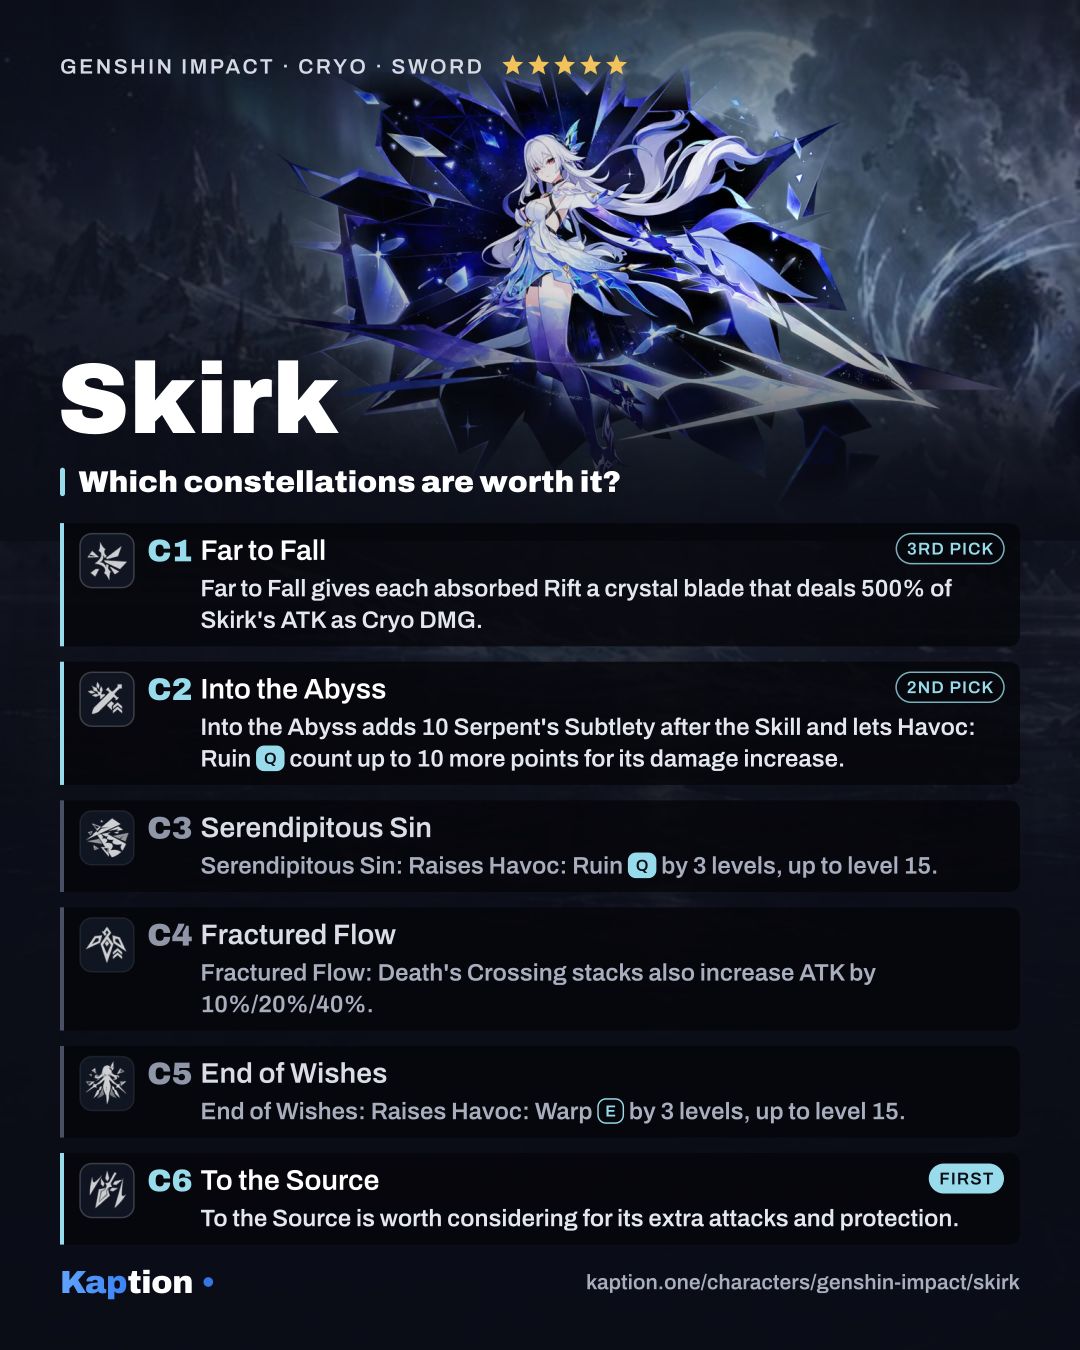
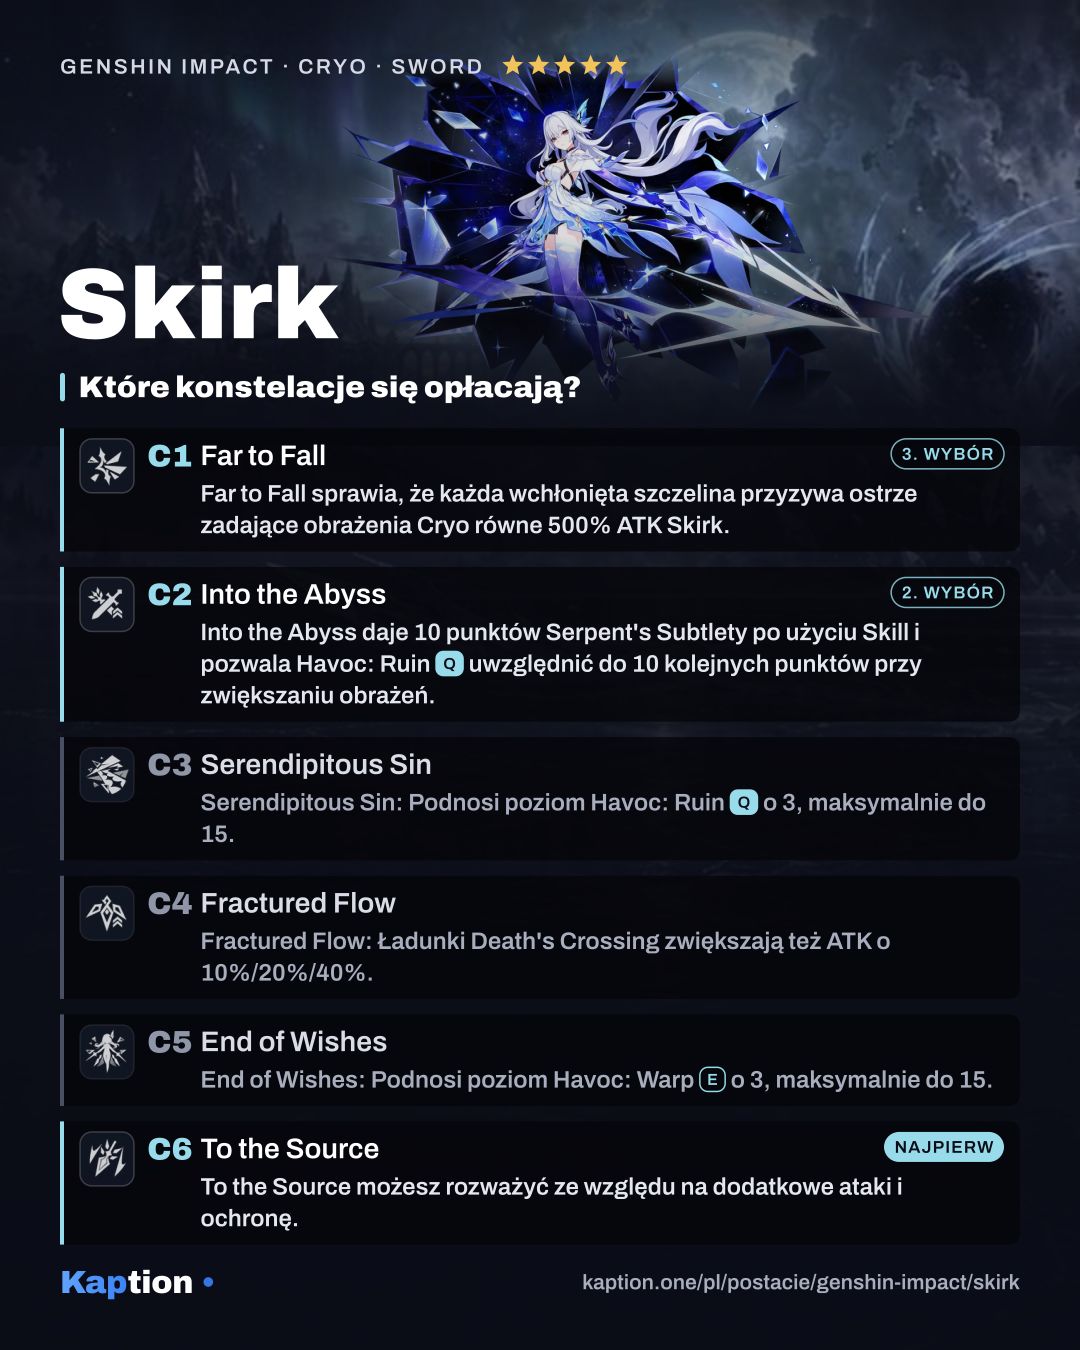
To the Source is worth considering for its extra attacks and protection. Absorbed Rifts grant up to three Havoc: Sever stacks. These can trigger coordinated Cryo attacks, or reduce a hit taken in Seven-Phase Flash by 80% while also attacking nearby enemies.
Into the Abyss adds 10 Serpent's Subtlety after the Skill and lets Havoc: Ruin count up to 10 more points for its damage increase. After Havoc: Extinction, it also grants 70% ATK for up to 12.5 seconds, ending if Skirk leaves Seven-Phase Flash.
Far to Fall gives each absorbed Rift a crystal blade that deals 500% of Skirk's ATK as Cryo DMG. Fractured Flow adds ATK through Death's Crossing stacks. If you prefer new effects over talent levels, Serendipitous Sin and End of Wishes can be left out of your plans: they raise Burst and Skill levels respectively.
Teams
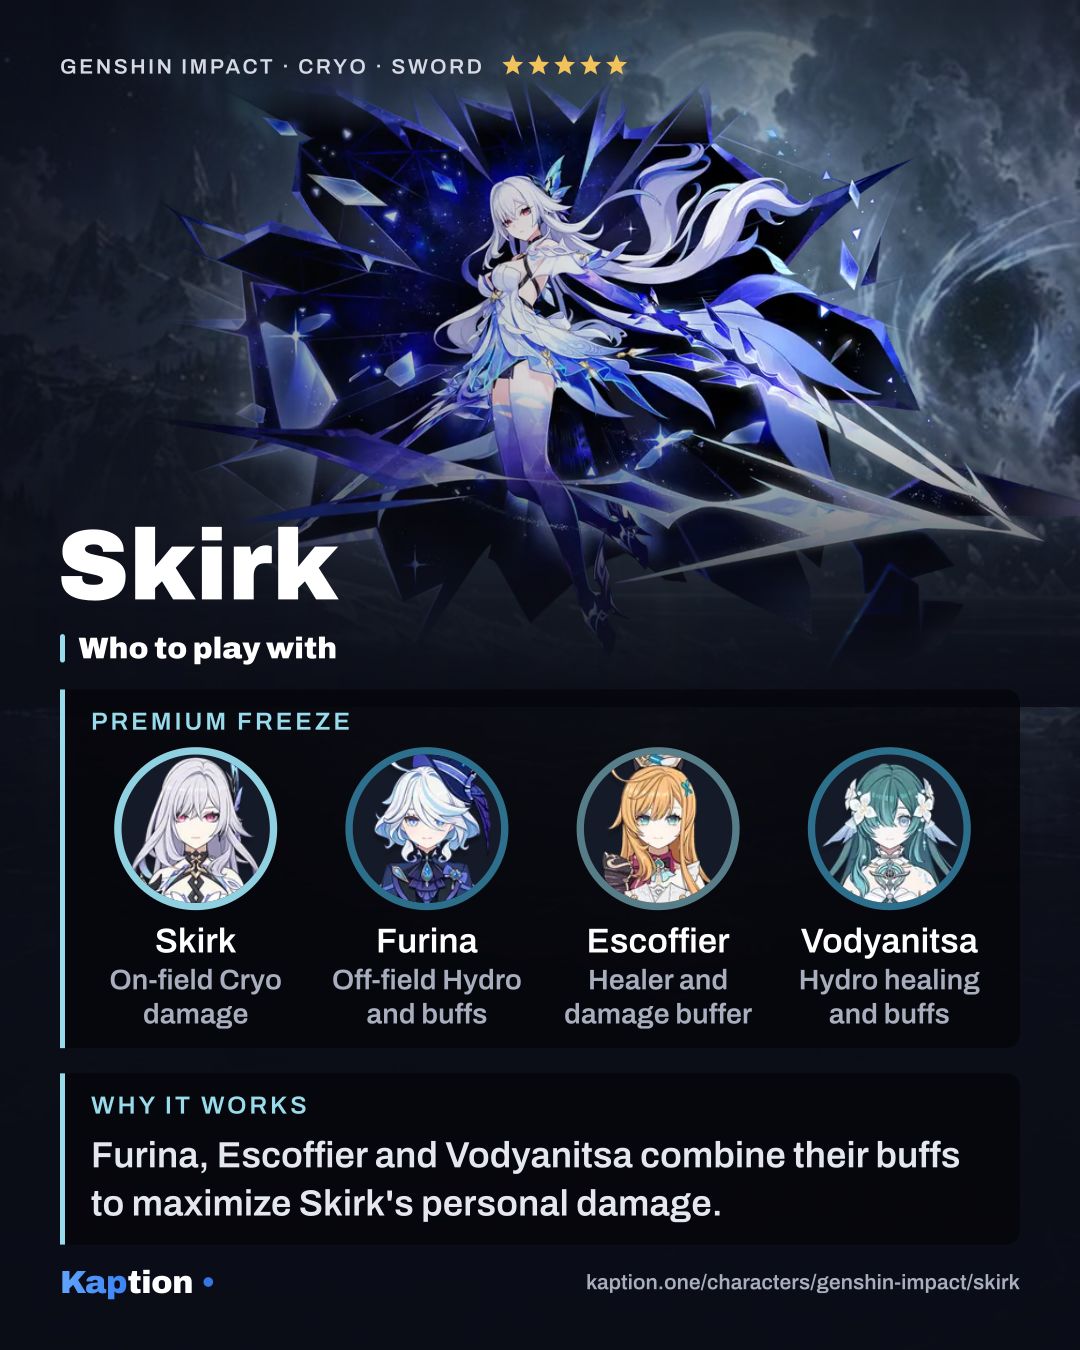
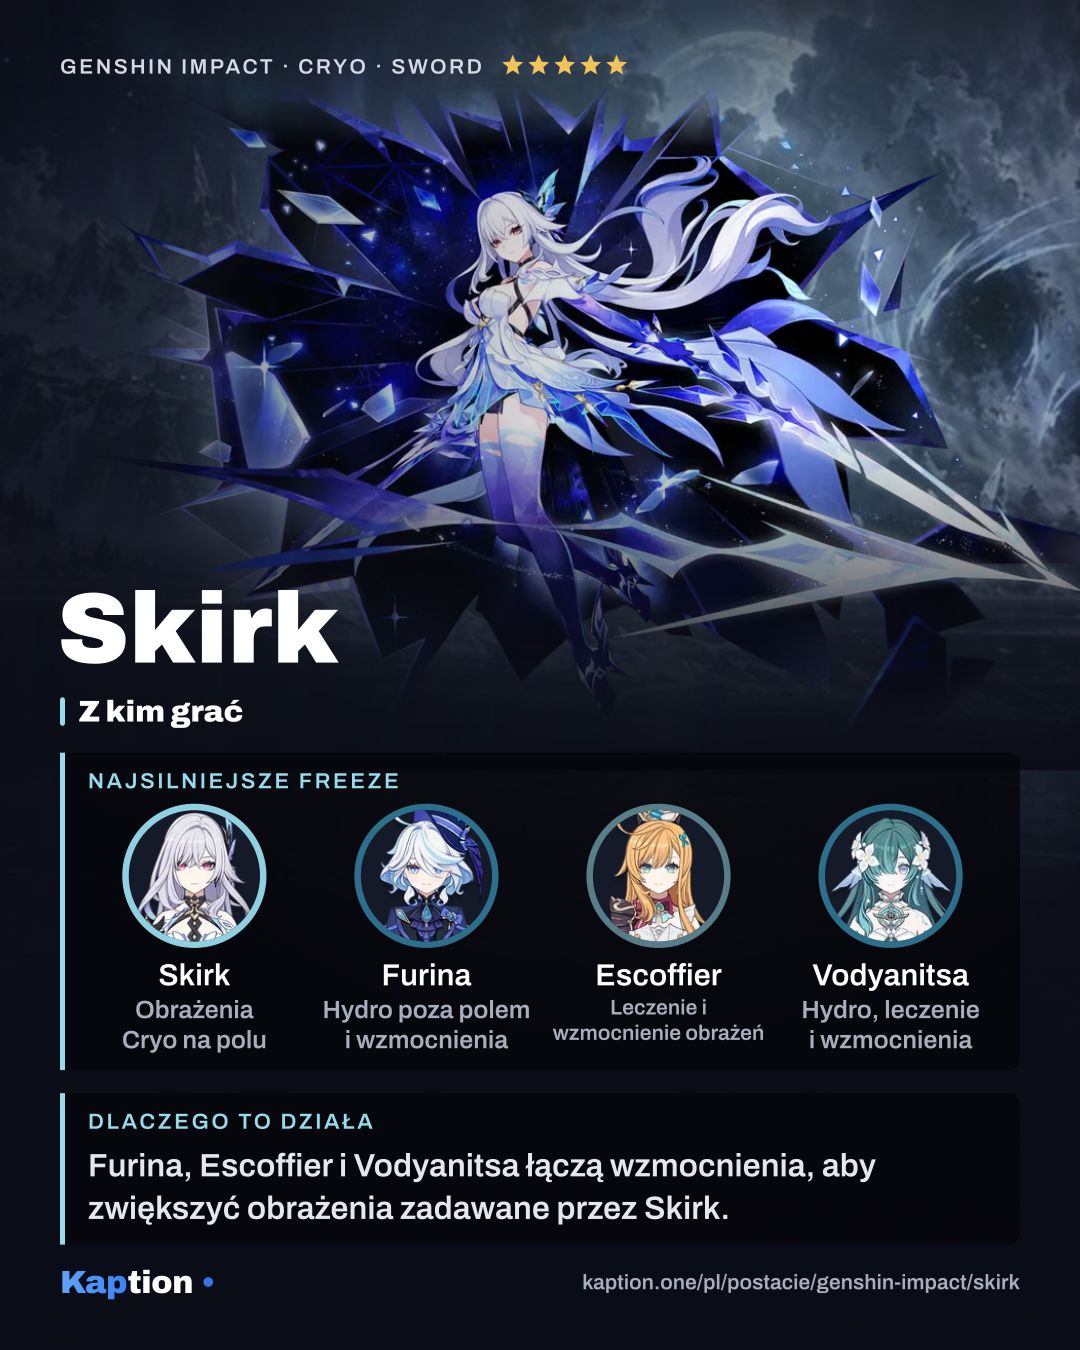
A full Hydro and Cryo party with at least one character of each element activates Mutual Weapons Mentorship, raising party members' Elemental Skill levels by one. For all three Death's Crossing stacks, have each of Skirk's three teammates land a qualifying elemental hit.
Common mistakes
Do not confuse the two Burst versions. Havoc: Ruin outside Seven-Phase Flash needs at least 50 Serpent's Subtlety, so the 45 points from one Havoc: Warp are not enough on their own. Havoc: Extinction inside the mode has no such cost.
Do not leave Void Rifts unused. Absorb them with the listed actions for Serpent's Subtlety, and try using Havoc: Extinction near them to strengthen its Normal Attack effect. Remember that no more than three of Skirk's Rifts can be on the field.
Do not build around Energy Recharge as though Skirk's Burst had a normal Energy cost. Also check the conditions on your gear: Finale of the Deep Galleries switches off one damage bonus after the other damage type hits, while Blizzard Strayer's full CRIT Rate bonus needs a Frozen target.