




























Guide
How the kit works
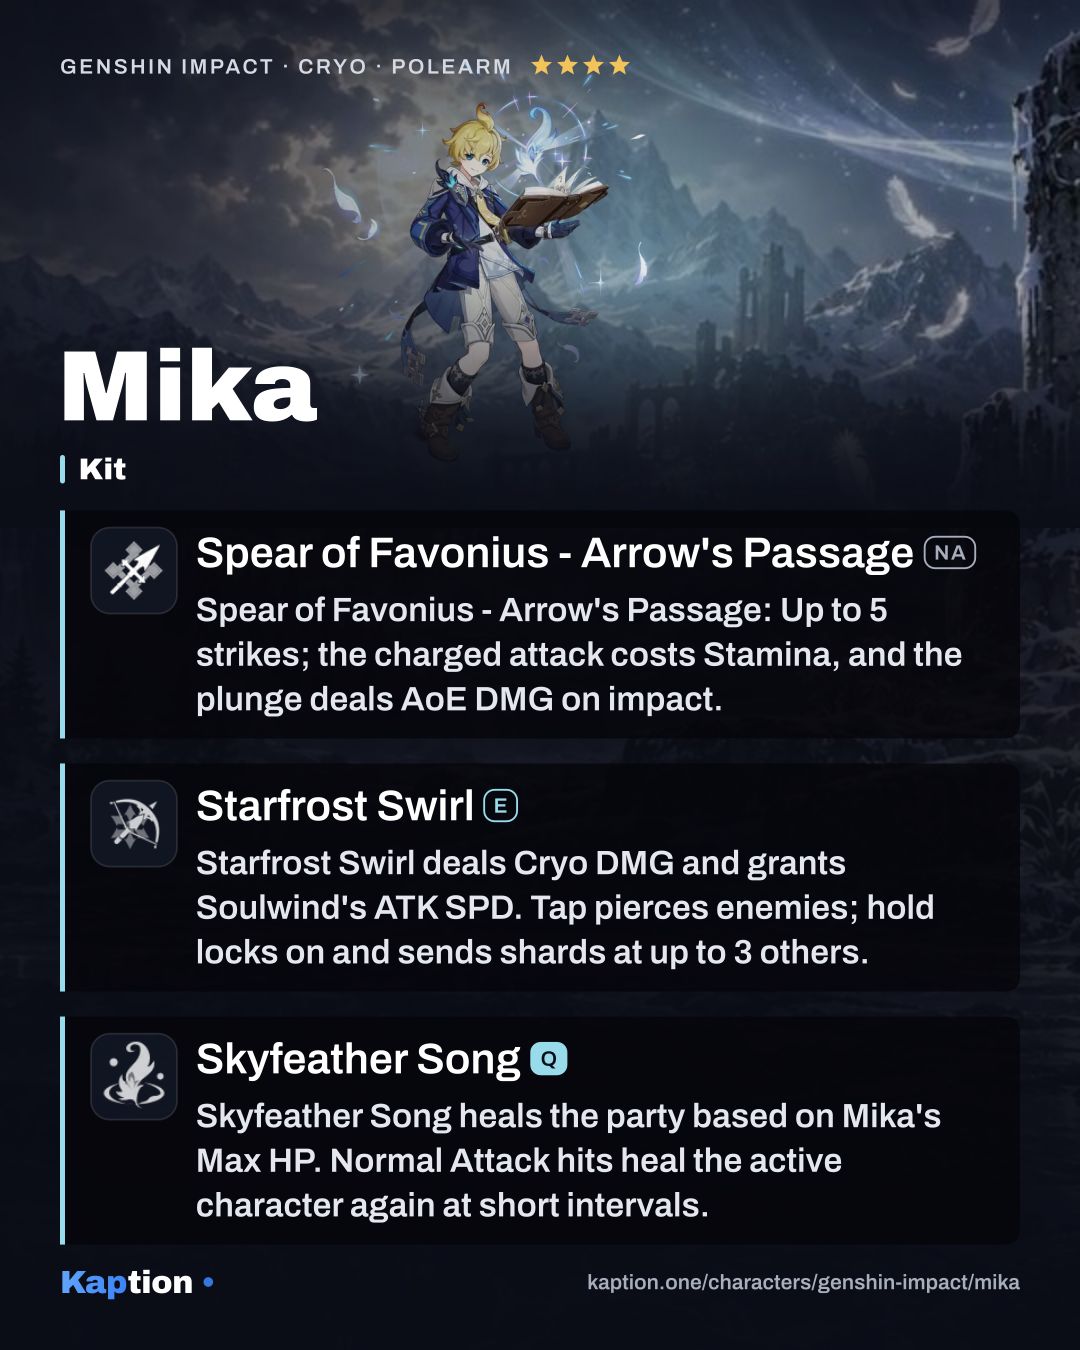
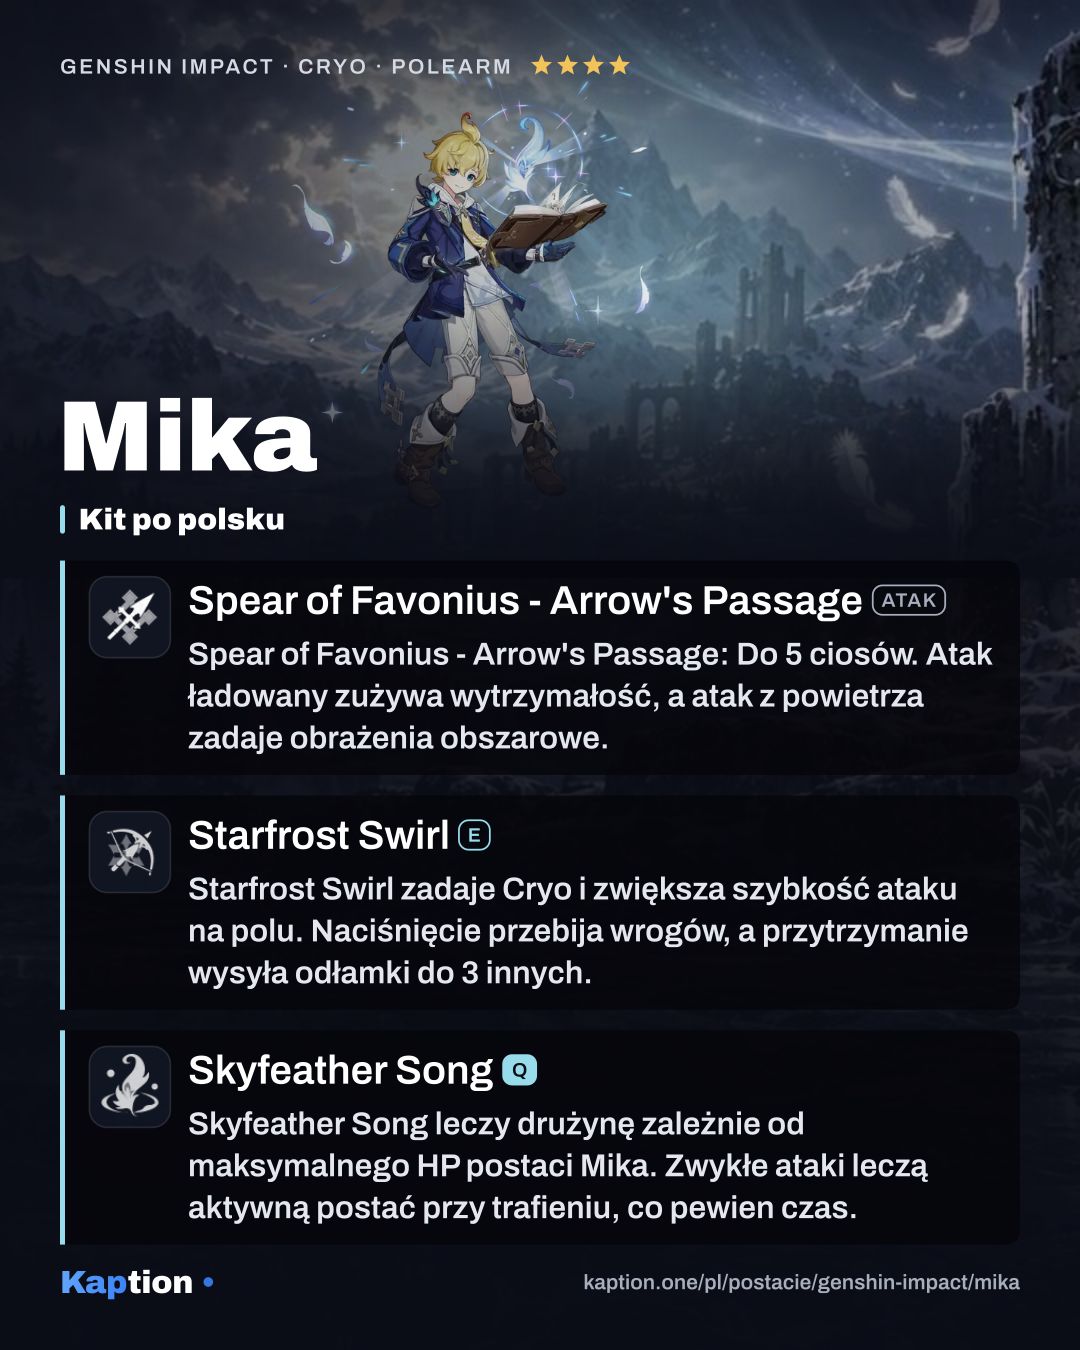
Start with Starfrost Swirl to give nearby party members Soulwind. While affected characters are on the field, they gain ATK SPD. Tap the skill to fire a Cryo arrow through enemies, or hold it to aim a Cryo flare that sends shards at up to three other opponents.
Suppressive Barrage lets Soulwind gain Detector stacks, each giving the active character 10% Physical DMG. The tapped arrow creates a stack for each enemy hit after the first. With the held version, each shard that hits generates one stack. Soulwind starts with a maximum of three stacks.
Use Skyfeather Song for a party-wide heal based on Mika's Max HP and to grant Eagleplume. An active character with Eagleplume heals when their Normal Attacks hit, also based on Mika's Max HP. This healing has a short interval between triggers.
Topographical Mapping connects the two abilities: an active character with both Soulwind and Eagleplume can gain one Detector stack by landing a CRIT Hit. This can happen once per Soulwind instance, and the passive raises the stack limit by one. Switch to your damage dealer and use their attacks while both effects are active.
Build and why
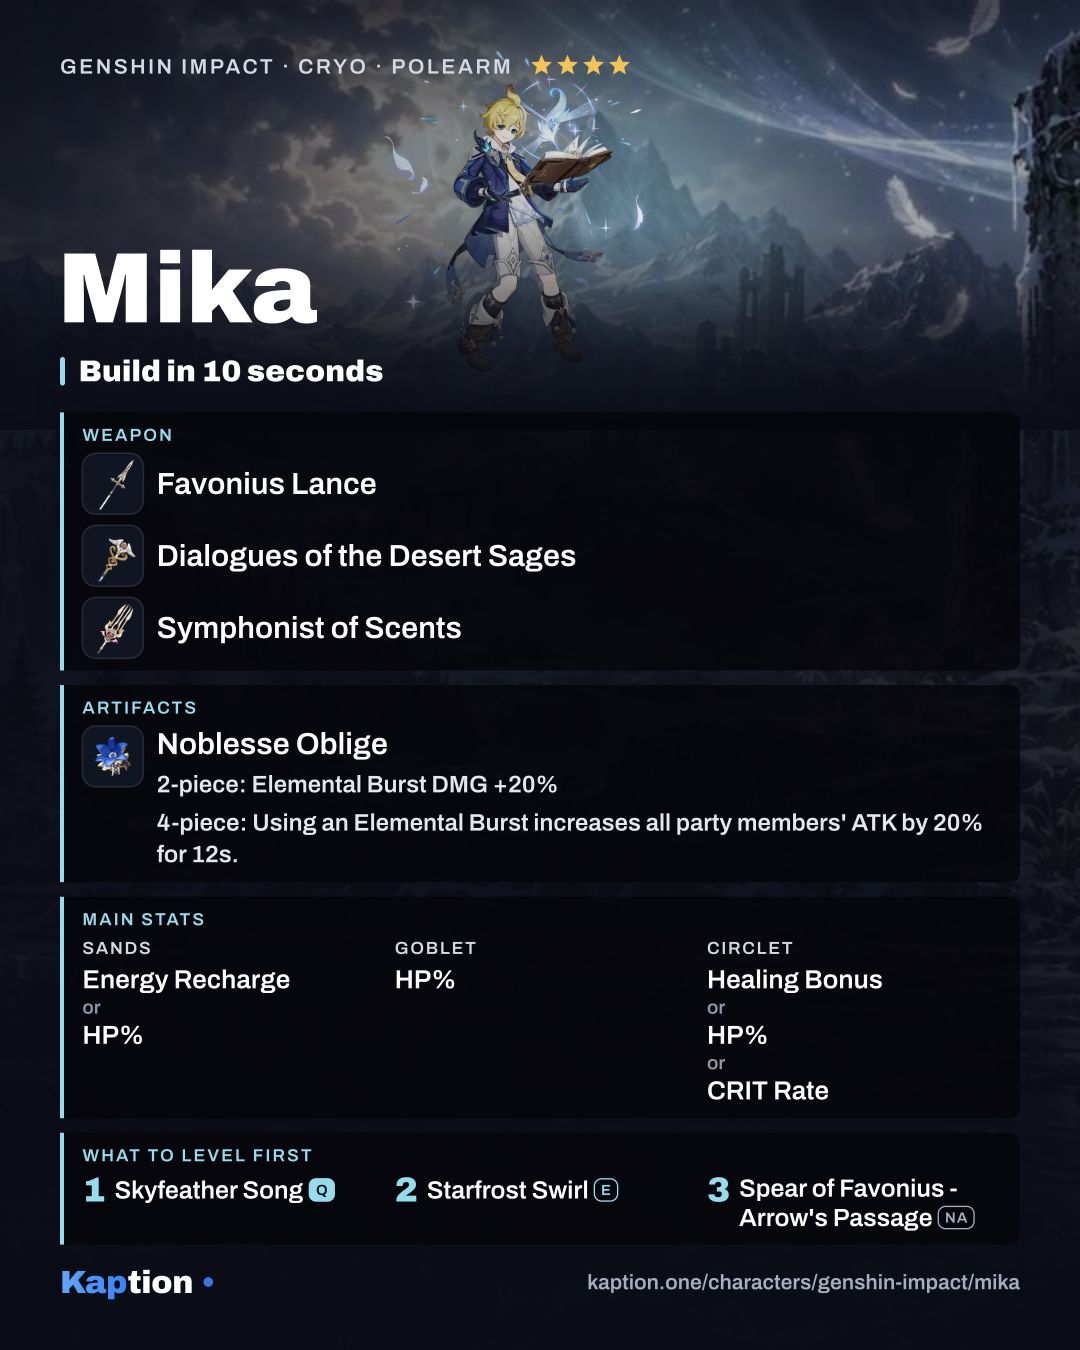
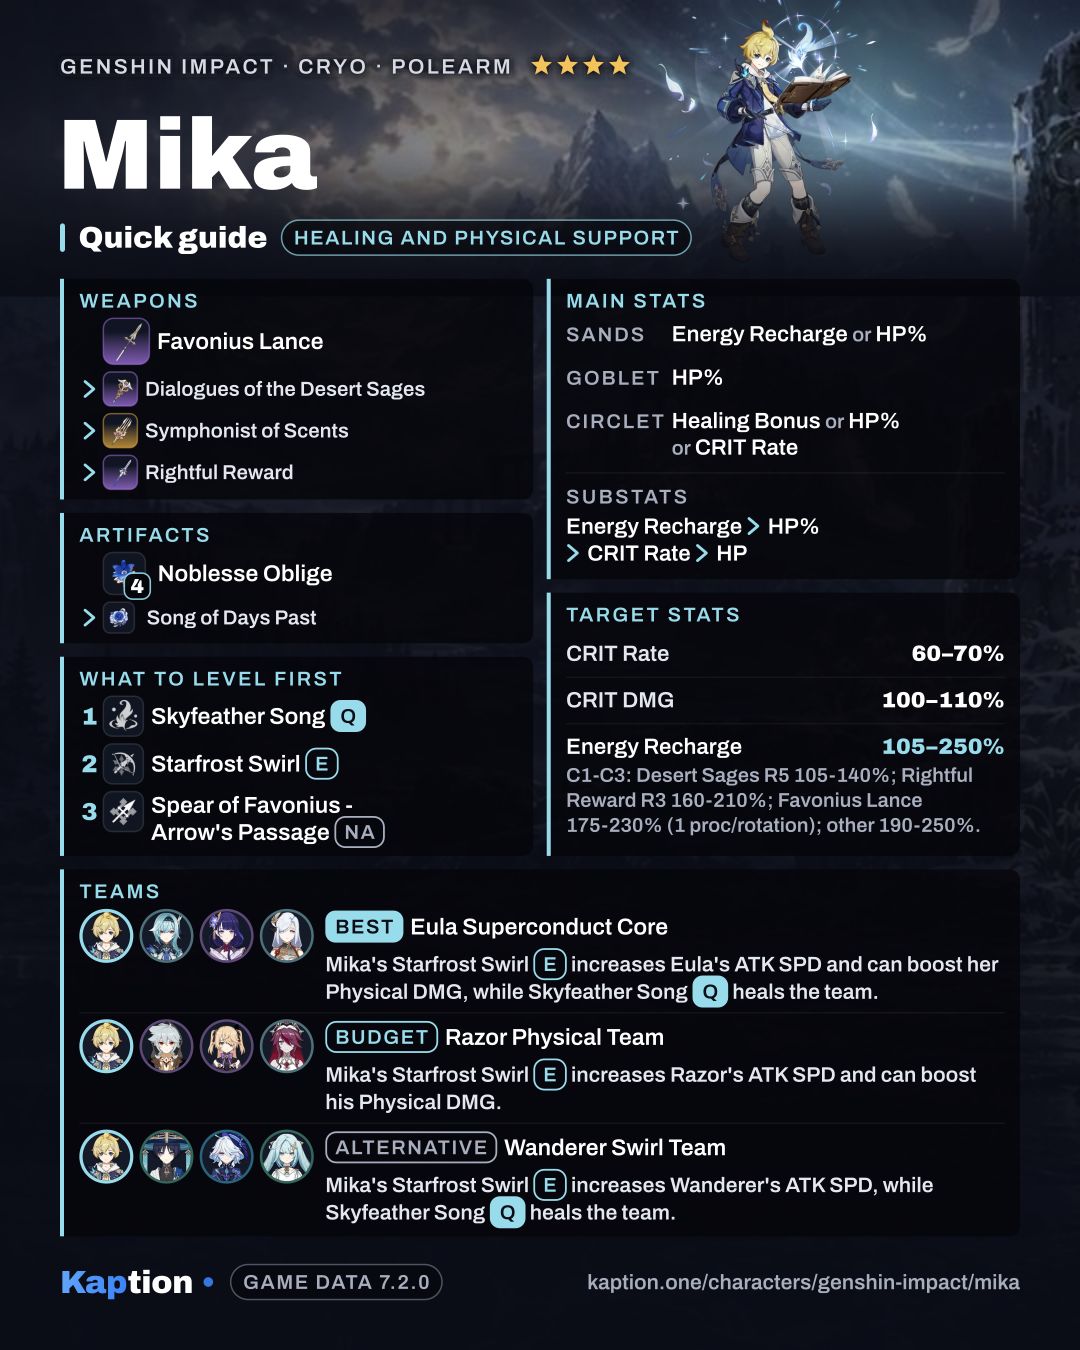
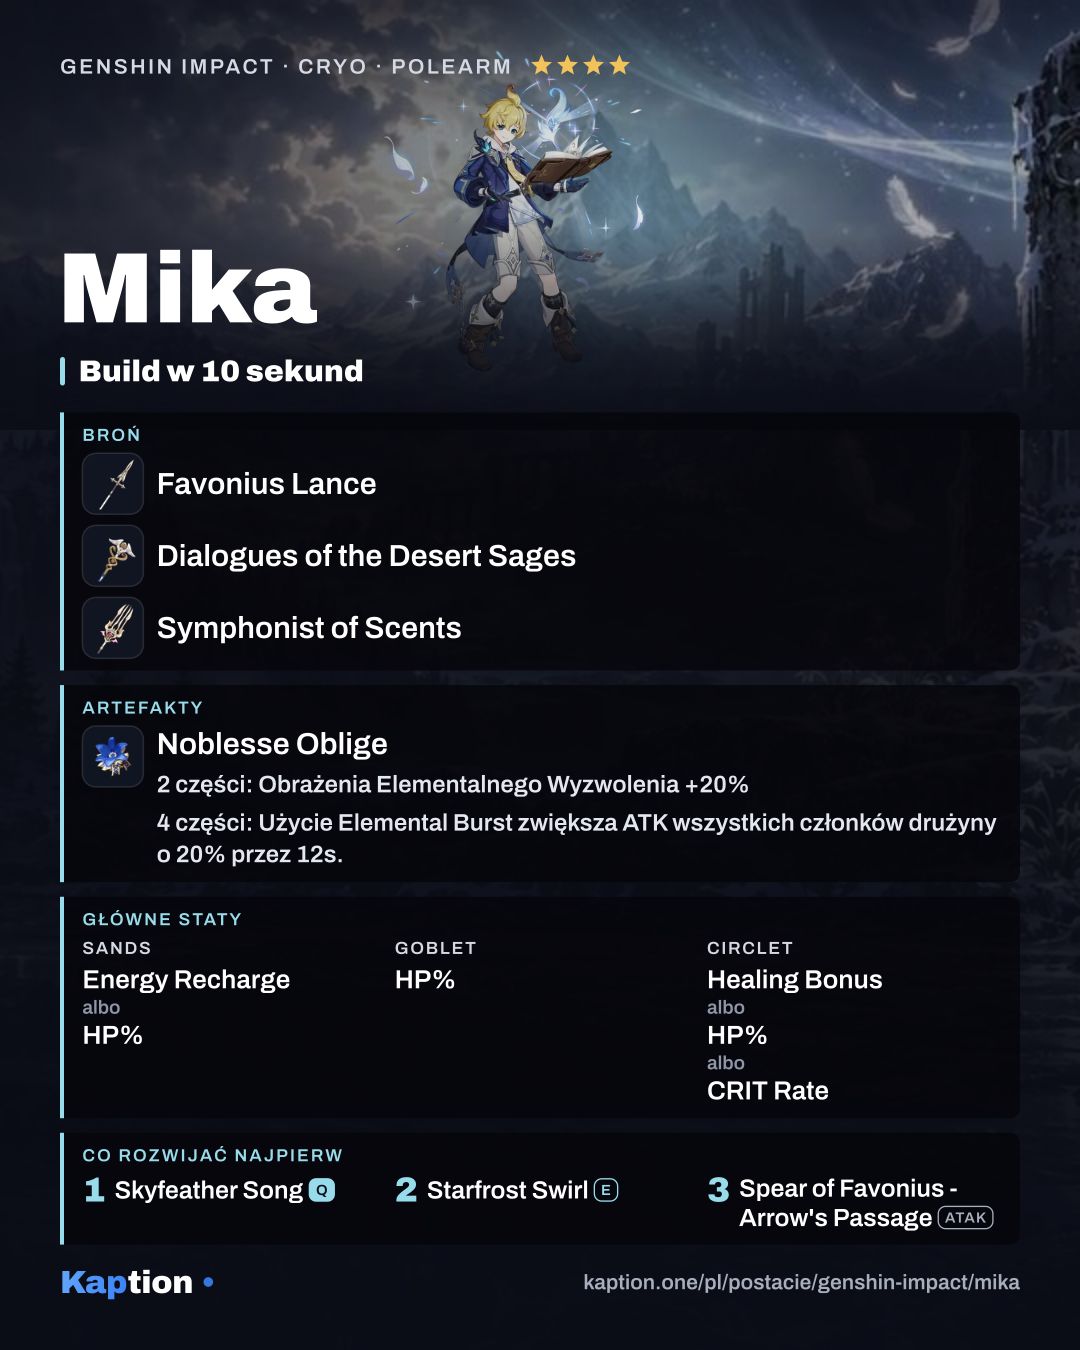
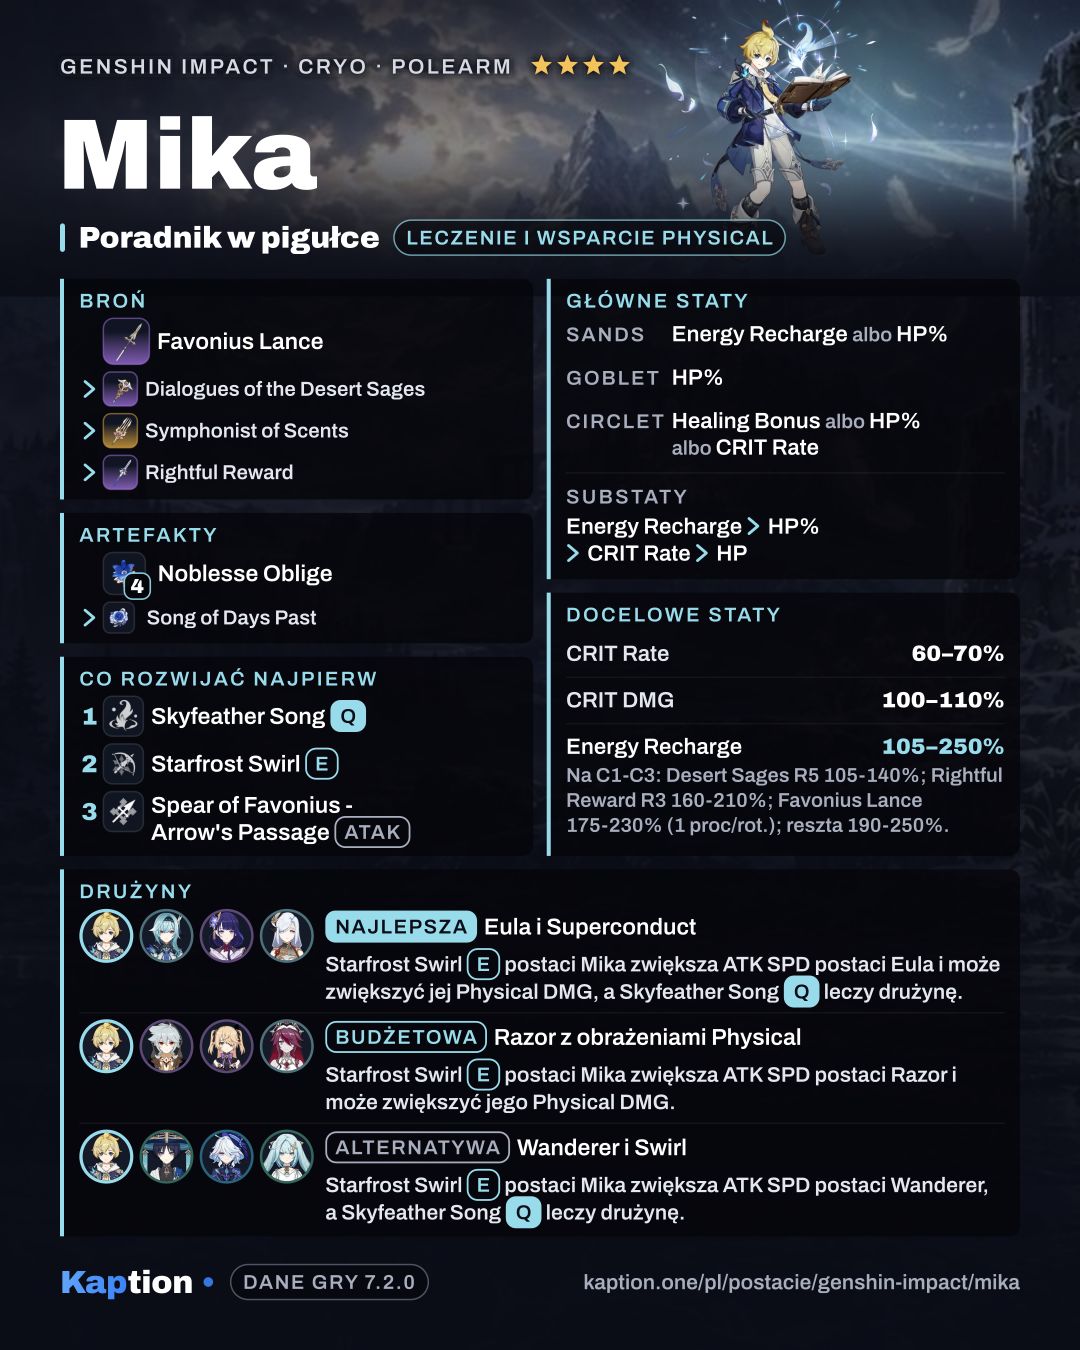
Use four pieces of Noblesse Oblige as the first set option. Casting Skyfeather Song gives the whole party 20% ATK for 12 seconds. The effect cannot stack with another copy of the set.
Ocean-Hued Clam is an alternative if you want Mika's healing to deal damage. Its four-piece effect records healing for three seconds, then deals damage to nearby enemies equal to 90% of the recorded amount. Song of Days Past is another option: it records healing for six seconds, then increases damage from the active character's hits by 8% of that amount, up to five times or for 10 seconds.
For a mixed set, two pieces of Emblem of Severed Fate give 20% Energy Recharge and two pieces of Tenacity of the Millelith give 20% HP. Both stats suit a healer who wants to use his Burst.
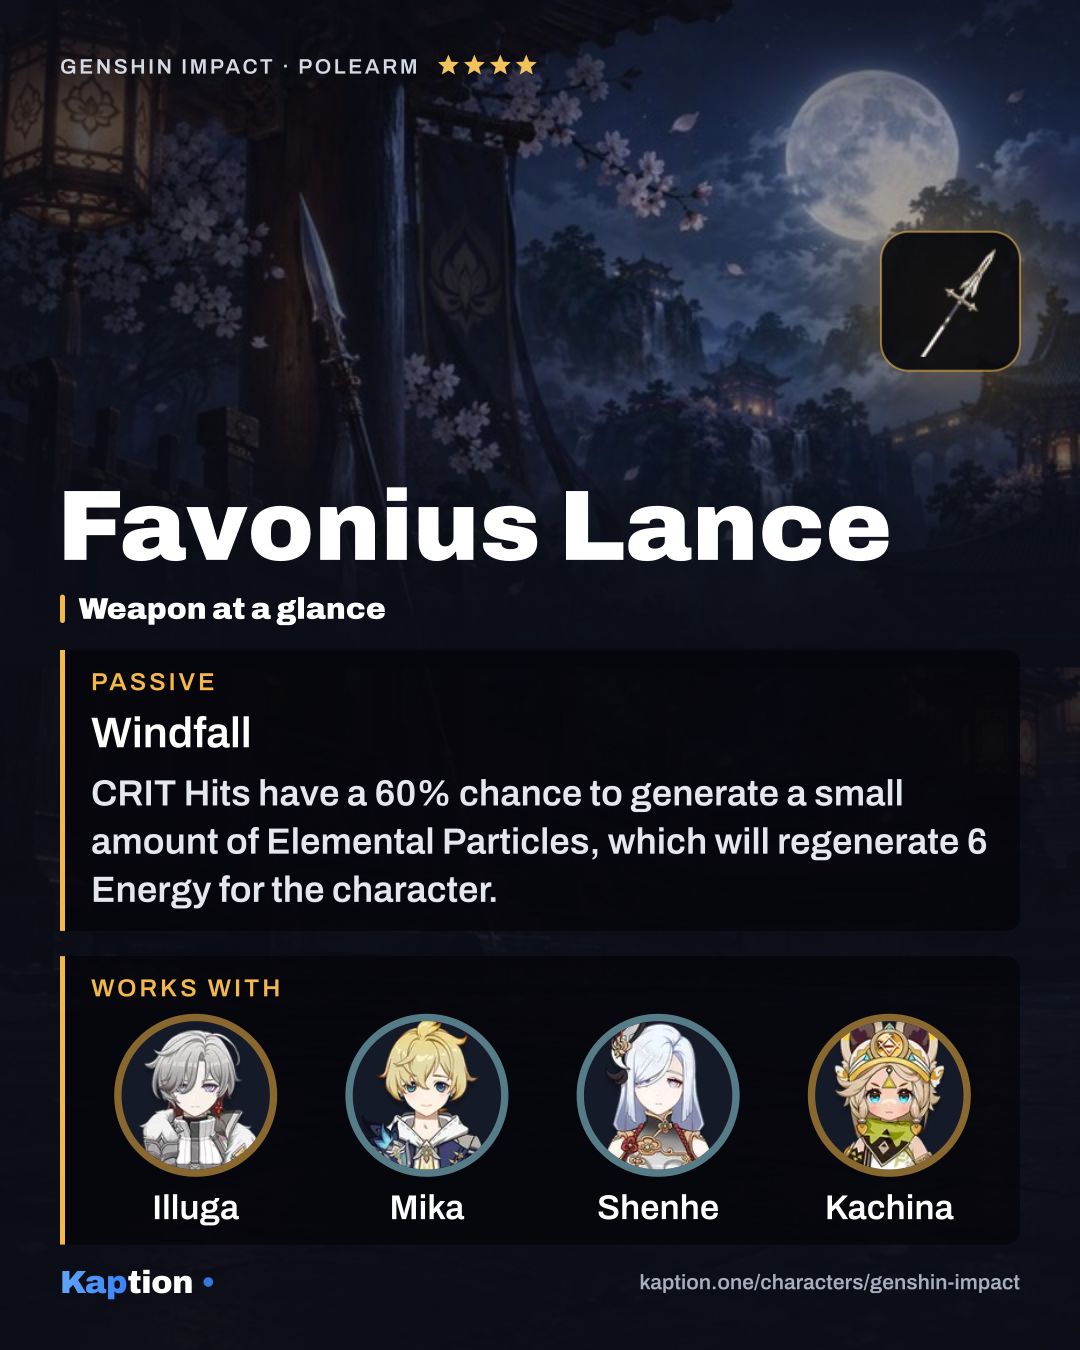
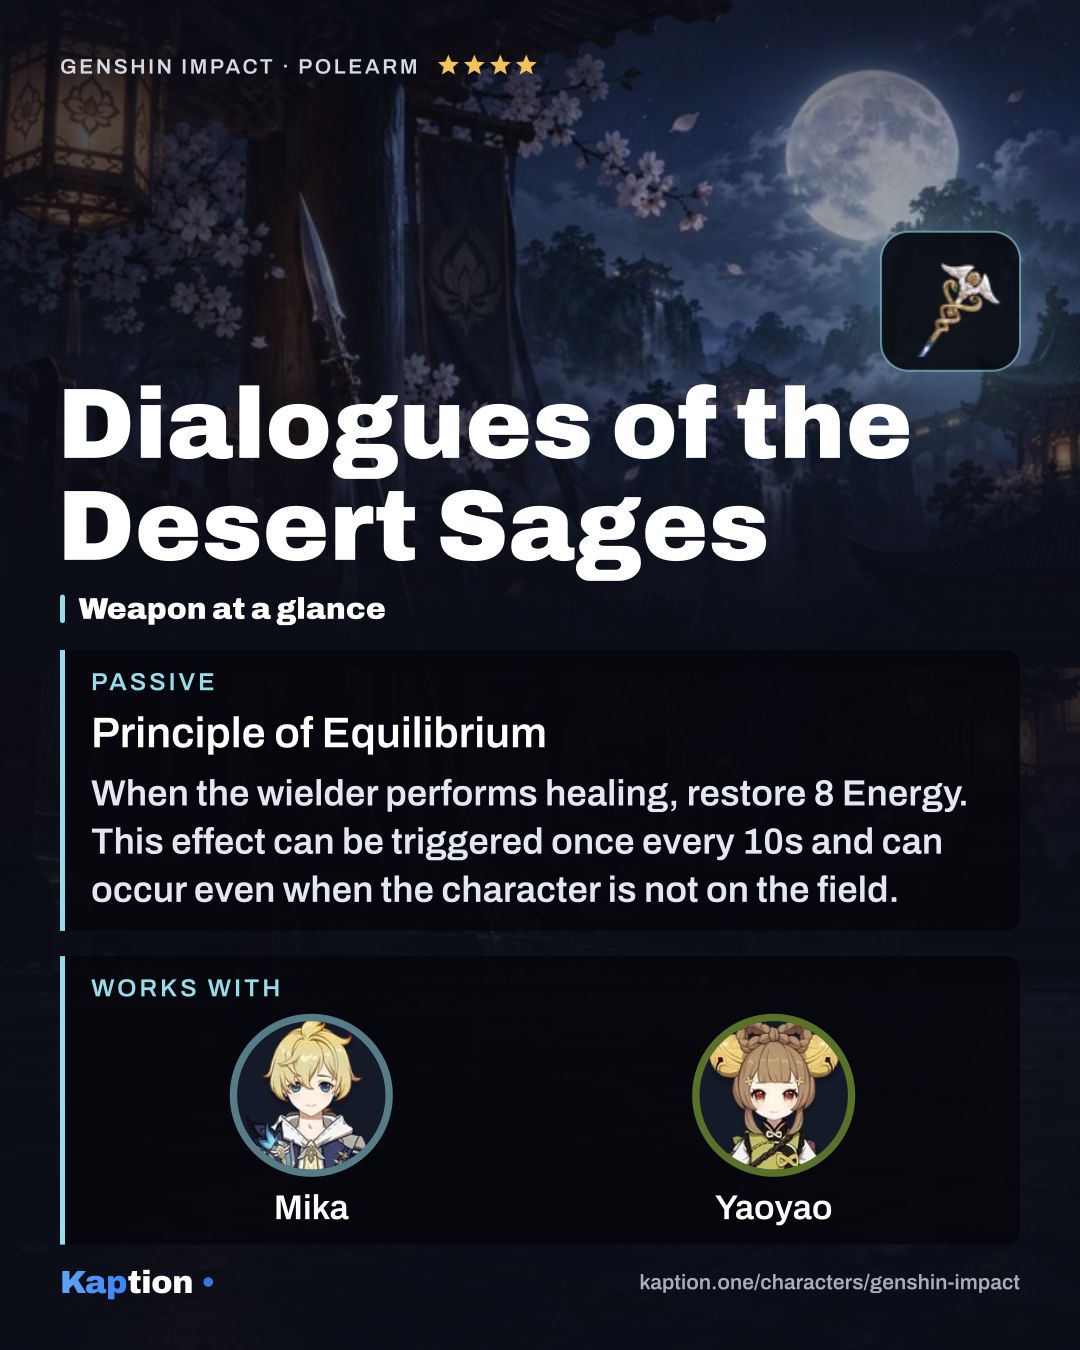
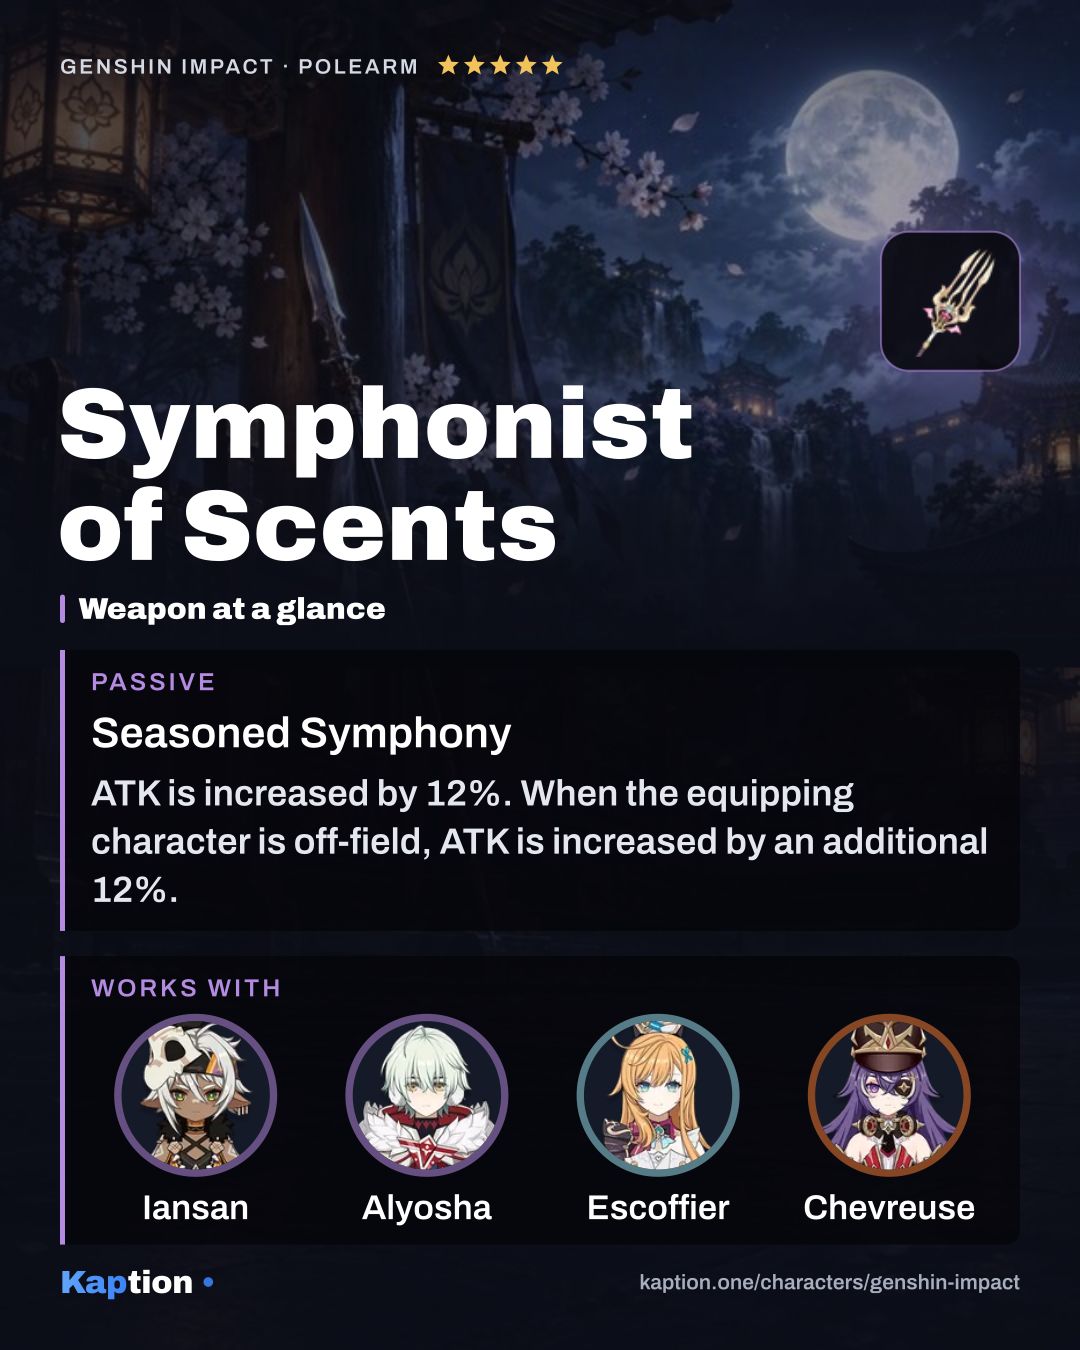
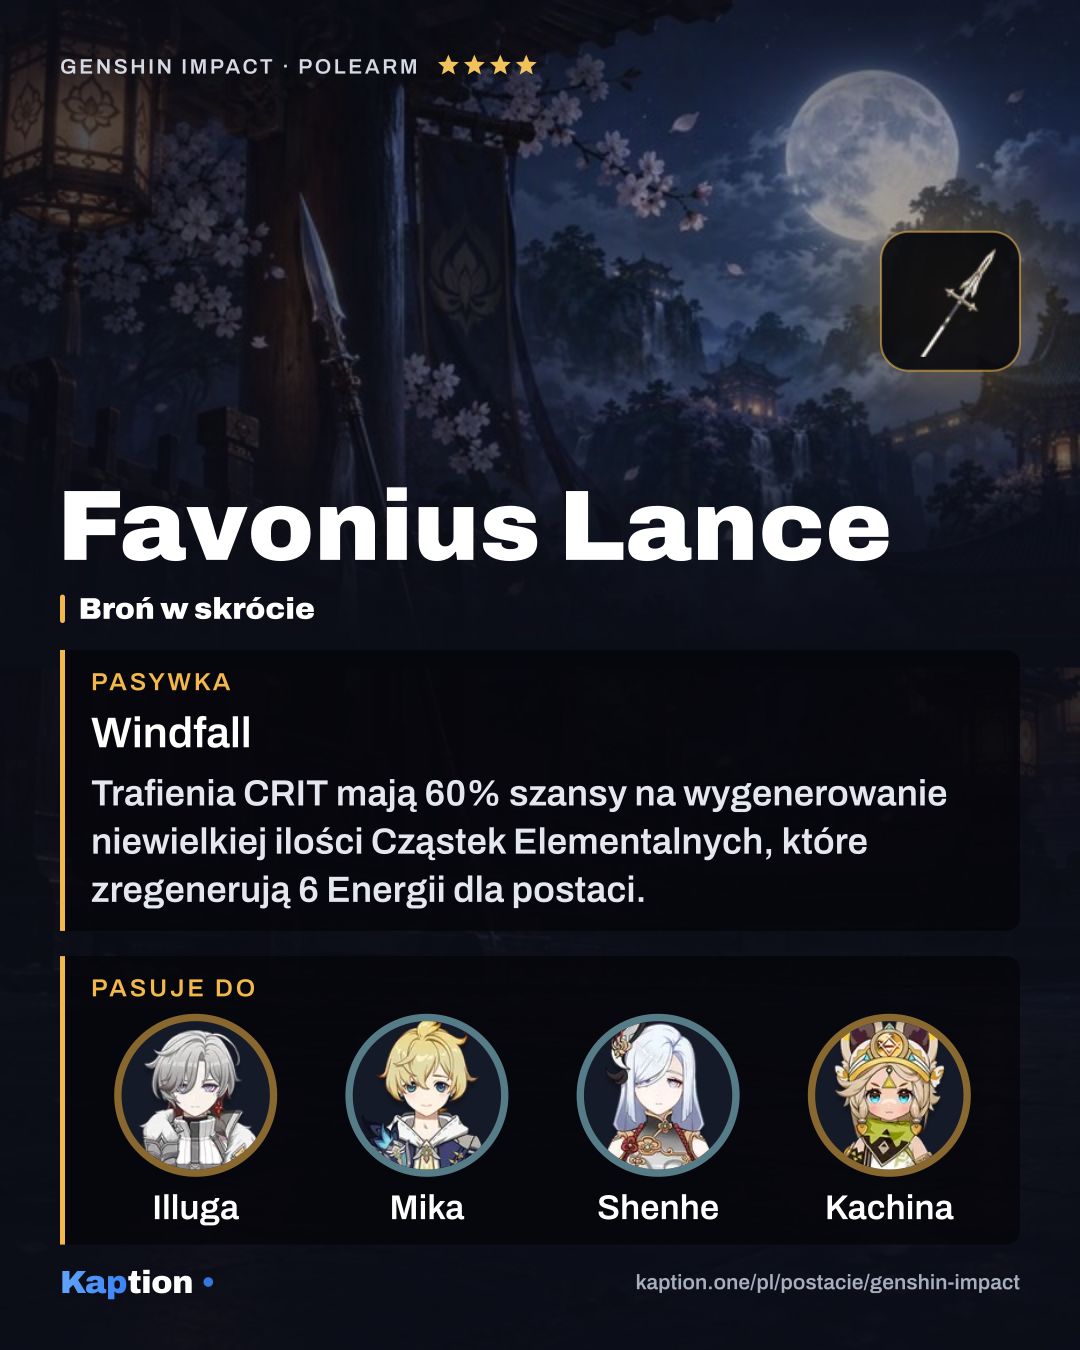
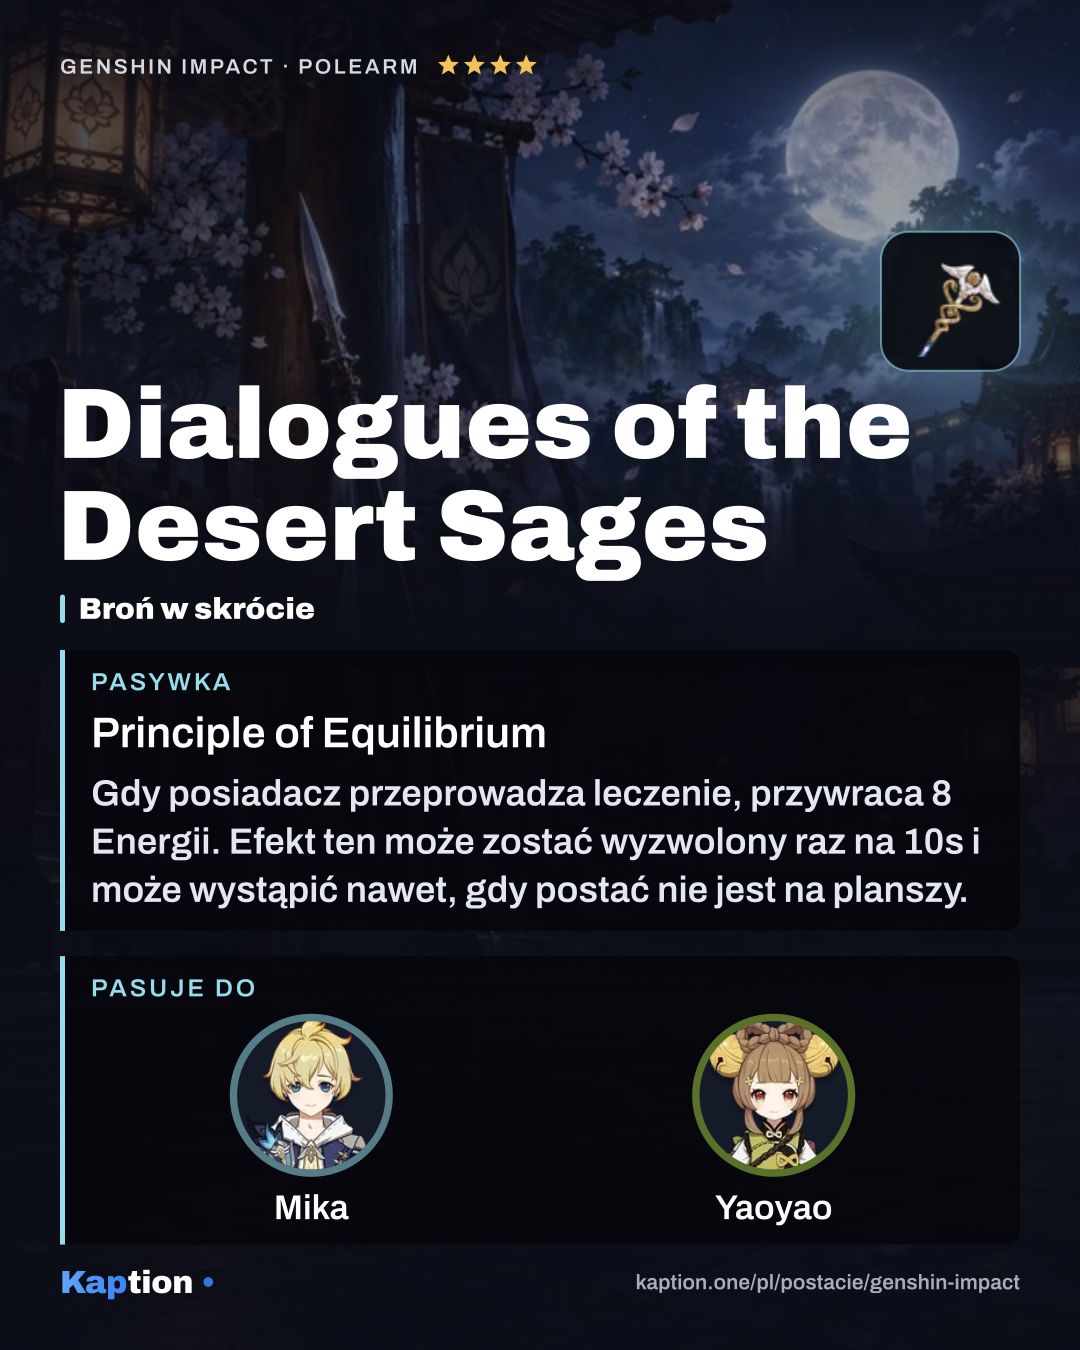
Favonius Lance is the first weapon choice. Its CRIT Hits have a 60% chance to create particles, once every 12 seconds, so give Mika some CRIT Rate. Dialogues of the Desert Sages restores 8 Energy when its wielder heals, once every 10 seconds. Symphonist of Scents is another option: after Mika starts healing, it gives him and the characters healed 32% ATK for three seconds.
Use Energy Recharge or HP Percentage on the sands and HP Percentage on the goblet. For the circlet, choose Healing Bonus, HP Percentage or CRIT Rate. Look for Energy Recharge first in substats, followed by HP Percentage, CRIT Rate and HP.
Leveling priority
A suggested order is Skyfeather Song first for healing, then Starfrost Swirl for Soulwind support. Leave Spear of Favonius - Arrow's Passage (NA) until last: Mika does not need to stay on the field and use his own attacks to provide that support.
For character ascension, collect Wolfhook, Pseudo-Stamens and the Shivada Jade materials: Sliver, Fragment, Chunk and Gemstone. You also need Recruit's Insignia, Sergeant's Insignia, Lieutenant's Insignia and Mora.
Talents use Teachings of Ballad, Guide to Ballad and Philosophies of Ballad, alongside the three Insignia materials and Mora. Higher talent upgrades also need Mirror of Mushin and Crown of Insight. Demarcation marks nearby Mondstadt resources on the mini-map, which can help you find Wolfhook.
Constellations worth it
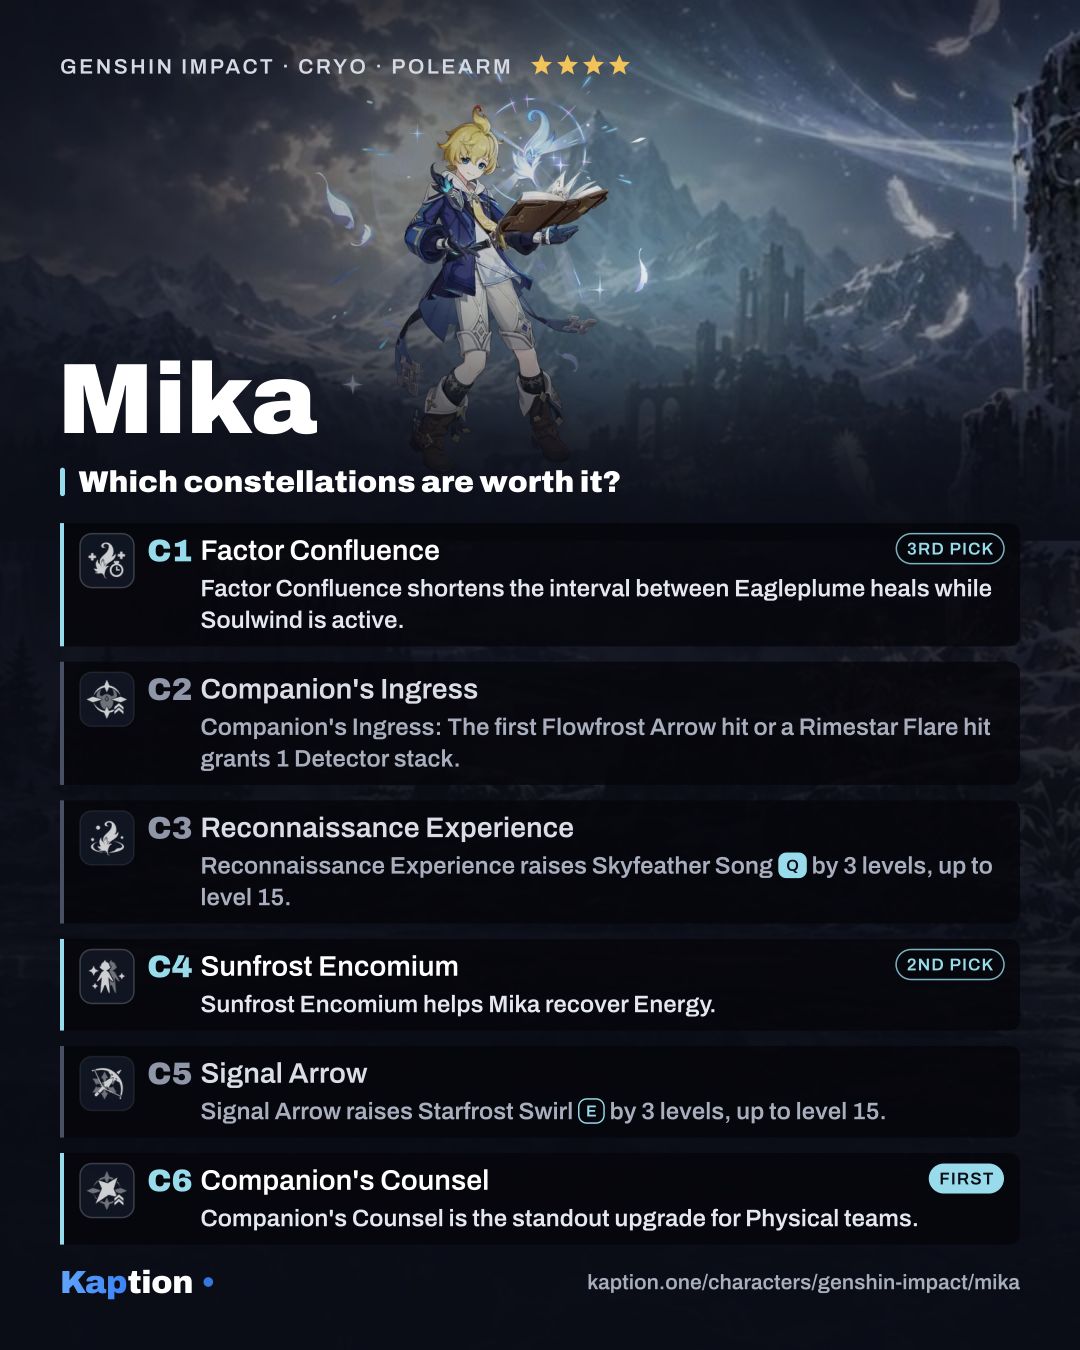
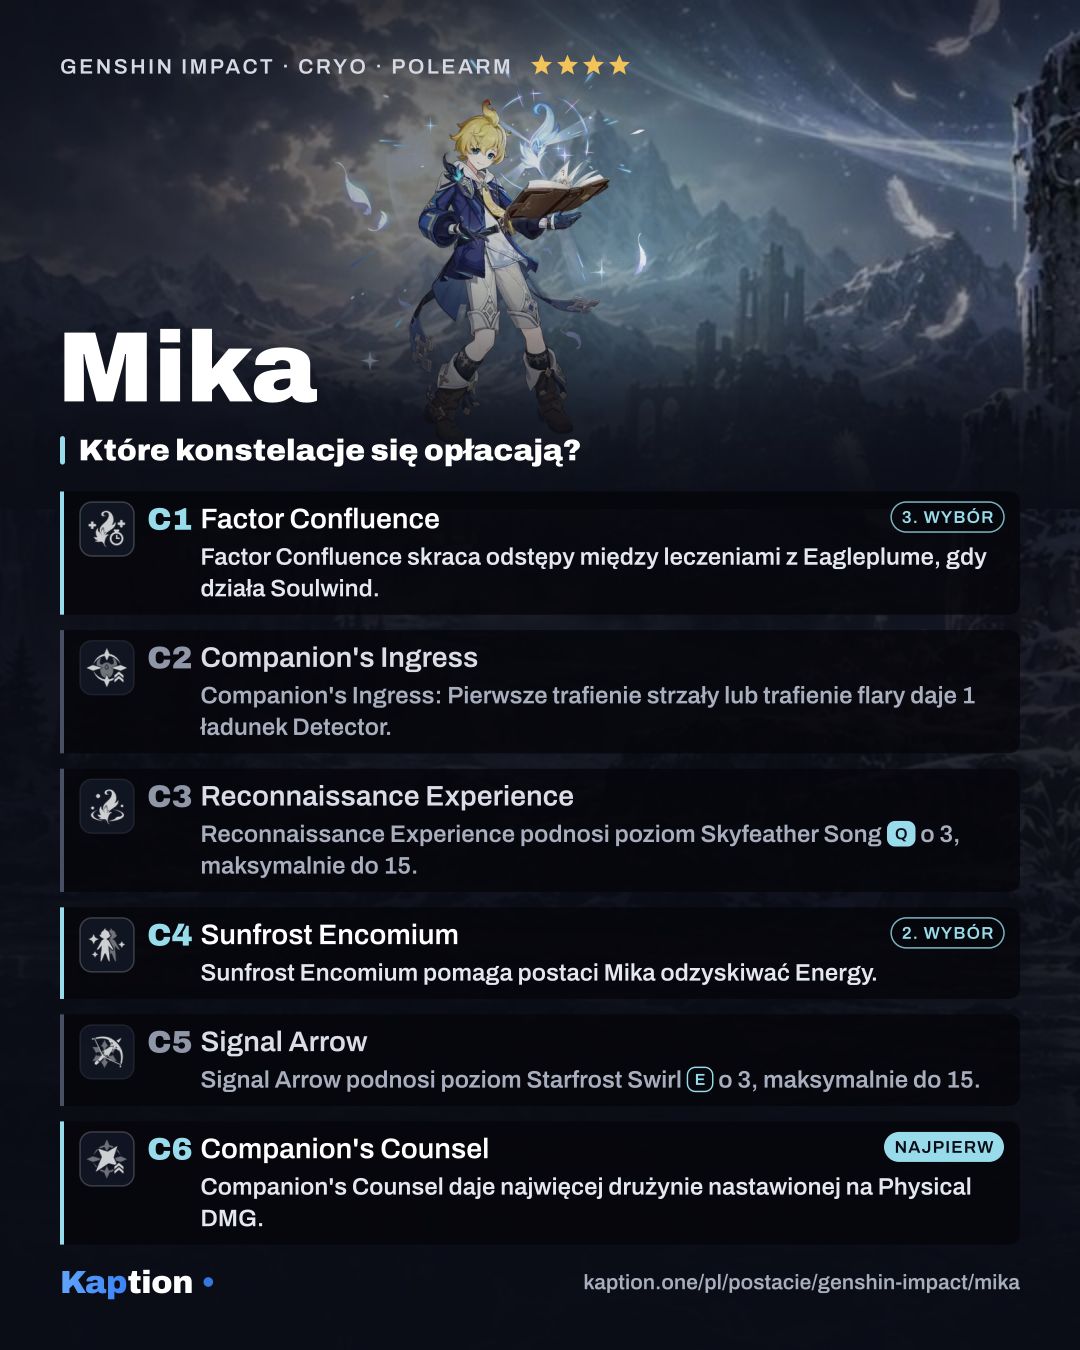
Companion's Counsel is the standout upgrade for Physical teams. It raises the maximum number of Detector stacks by one, and active characters with Soulwind deal 60% more Physical CRIT DMG.
Sunfrost Encomium helps Mika recover Energy. When healing from his Skyfeather Song restores a party member's HP, Mika gains 3 Energy, up to five times per use. That is up to 15 Energy.
Factor Confluence shortens the interval between Eagleplume heals while Soulwind is active. The percentage decrease equals Soulwind's ATK SPD increase. Companion's Ingress is also useful: the first arrow hit or the flare hit from Starfrost Swirl grants a Detector stack, making one stack available against a single enemy.
Reconnaissance Experience and Signal Arrow raise the levels of the Burst and Skill respectively rather than adding new effects. You can leave them aside if you do not want C6, though you must pass through them to reach it.
Teams
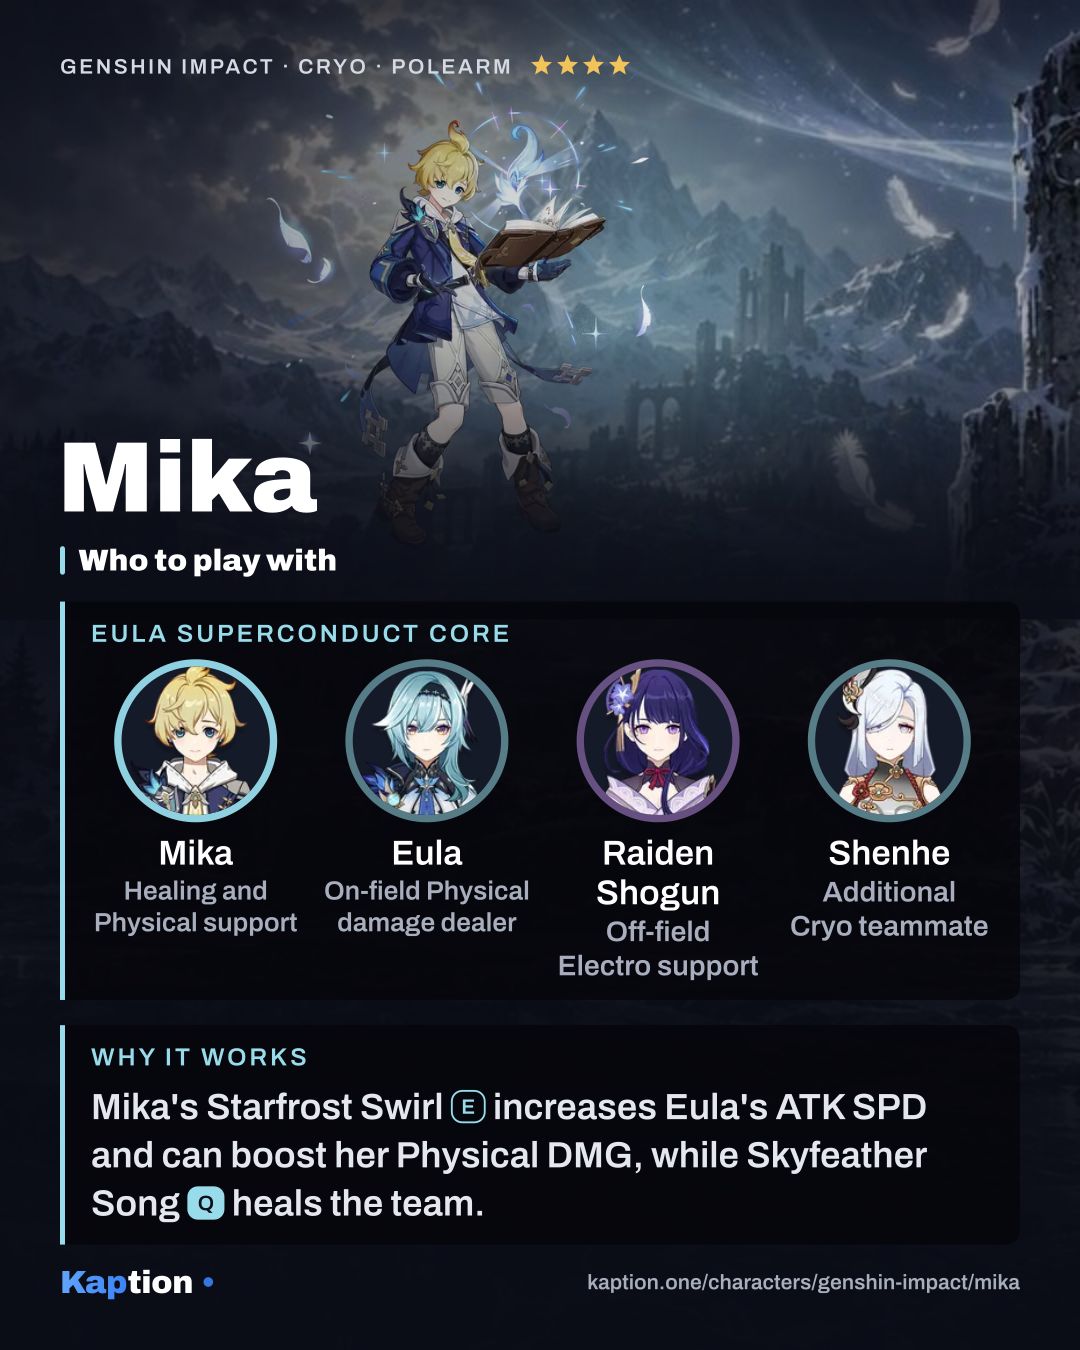
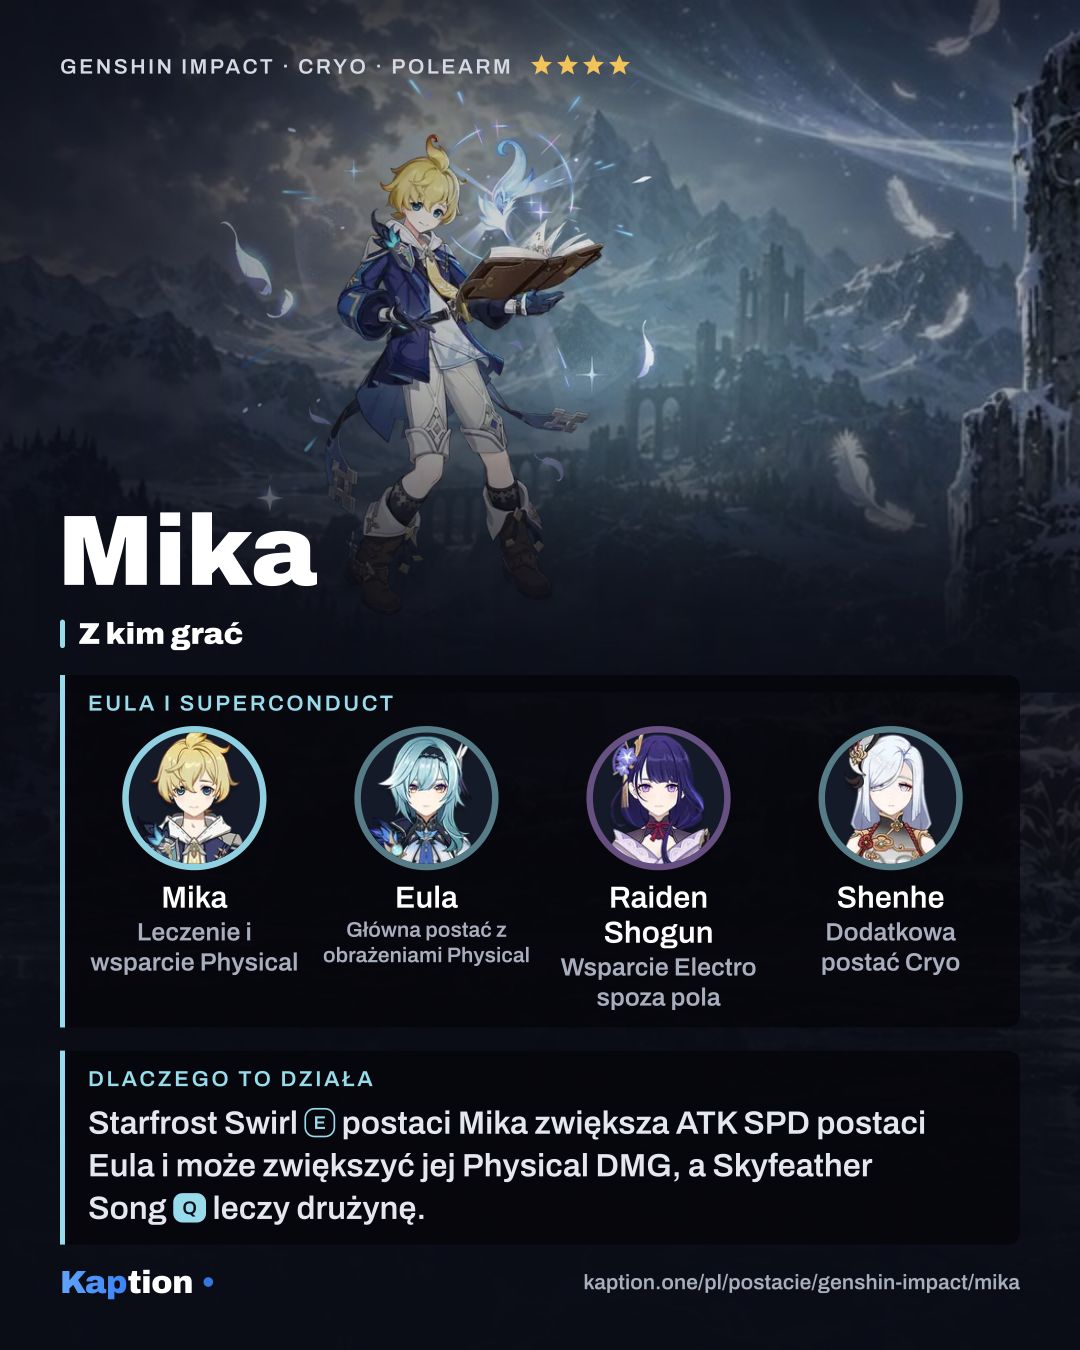
Start with a damage dealer who wants Physical DMG and uses Normal Attacks. Mika gives that character ATK SPD and Detector stacks, while his Burst heals the party. Eula is a team option named for Mika.
Try Eula with Mika, Raiden Shogun and Rosaria. Raiden Shogun supplies off-field Electro alongside Mika's Cryo, while Rosaria adds another Cryo character. Fischl is another off-field Electro option. Razor is another teammate to consider.
Furina is an off-field Hydro option if you want her alongside Mika's party healing. For a team focused on Normal Attack speed rather than Physical DMG, Wanderer is another teammate option; remember that the Detector bonus itself is specific to Physical DMG.
Common mistakes
Do not recast Starfrost Swirl without checking your setup. A new cast clears the previous Soulwind and all its Detector stacks, so you must build them again.
Do not expect Eagleplume from Skyfeather Song to keep healing without hits. The active character needs to land Normal Attacks, and there is an interval between healing triggers. The initial party heal works separately.
Do not stack HP at the expense of Energy Recharge if that leaves the Burst unavailable when you need healing. With Favonius Lance, do not neglect CRIT Rate either: the weapon needs CRIT Hits for its particle effect.
Do not assume every team gets the same value from Detector. Its damage bonus is for Physical DMG, though Soulwind's ATK SPD can still help a character using Normal Attacks.