




























Guide
How the kit works
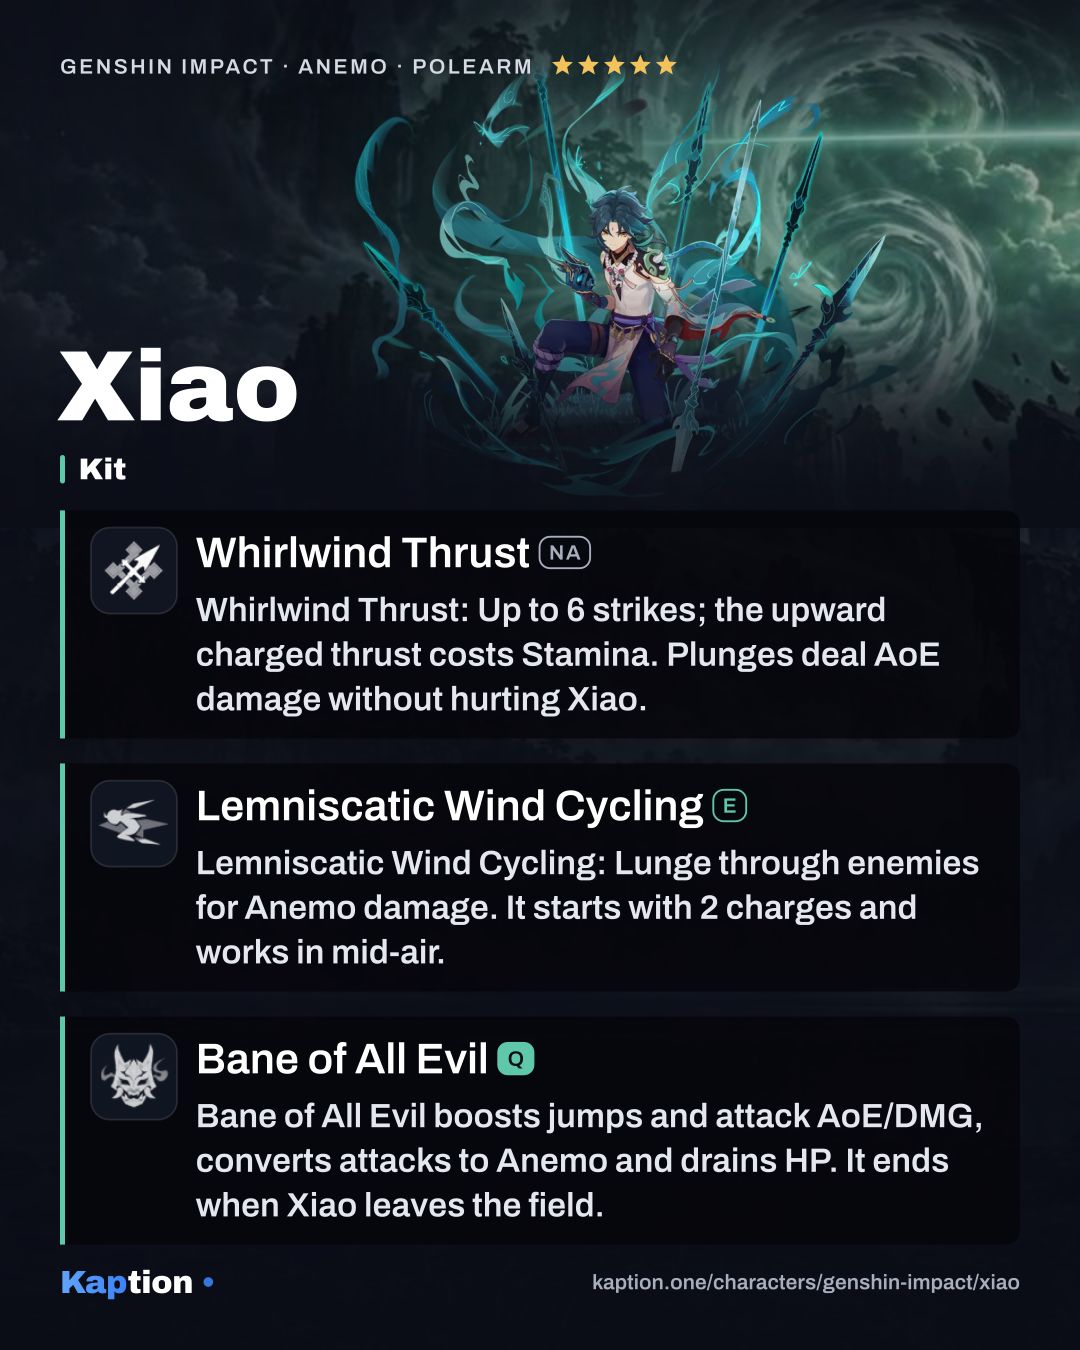
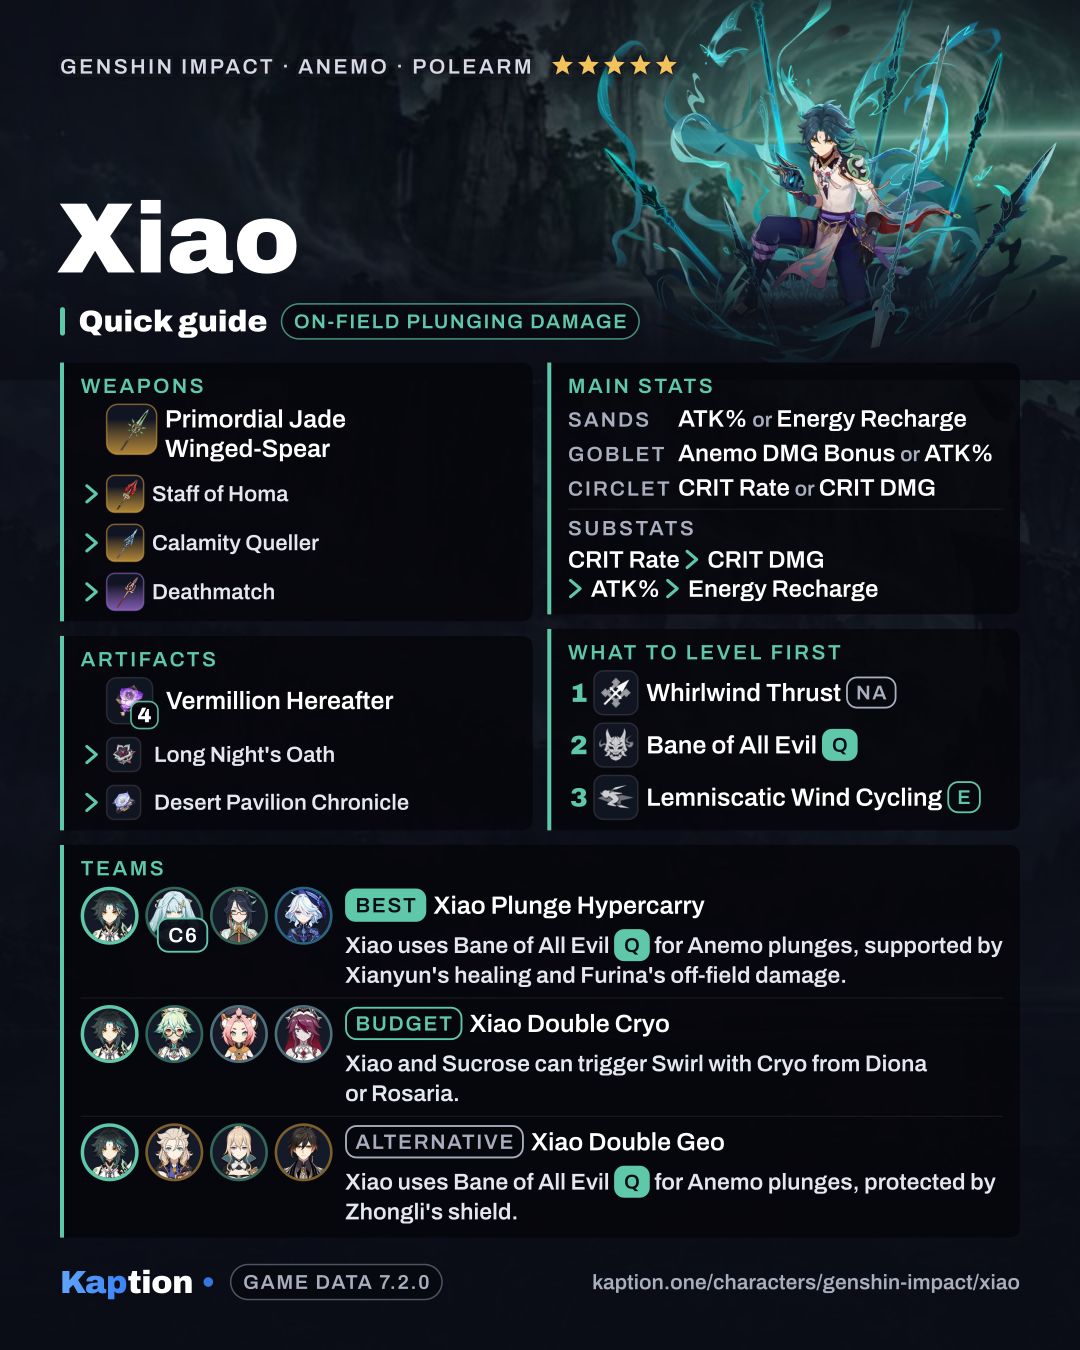
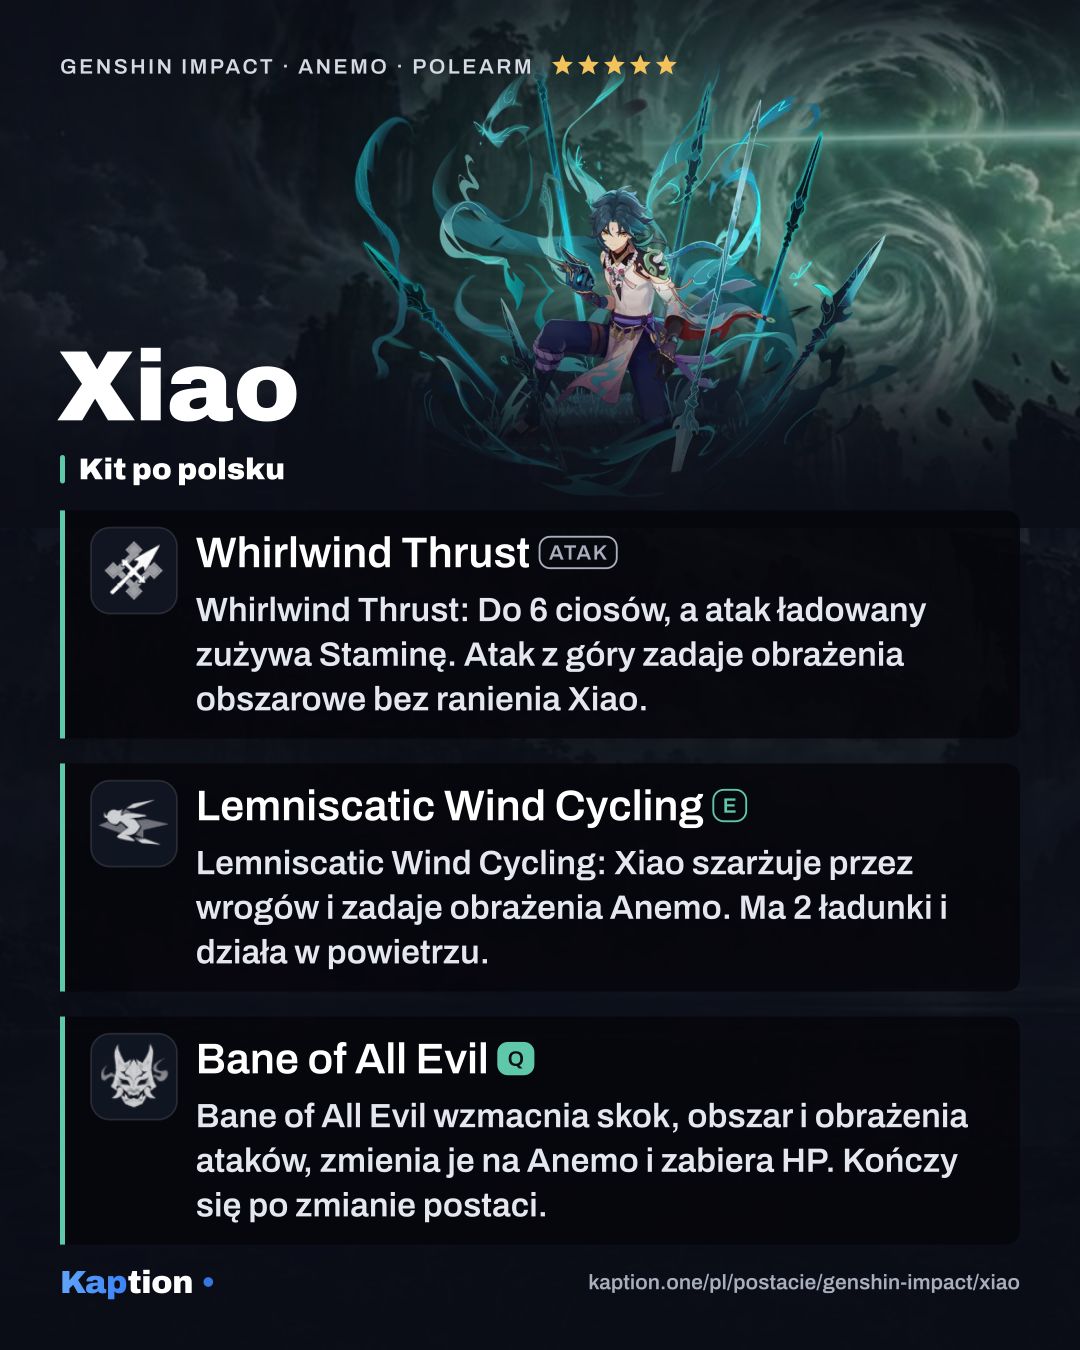
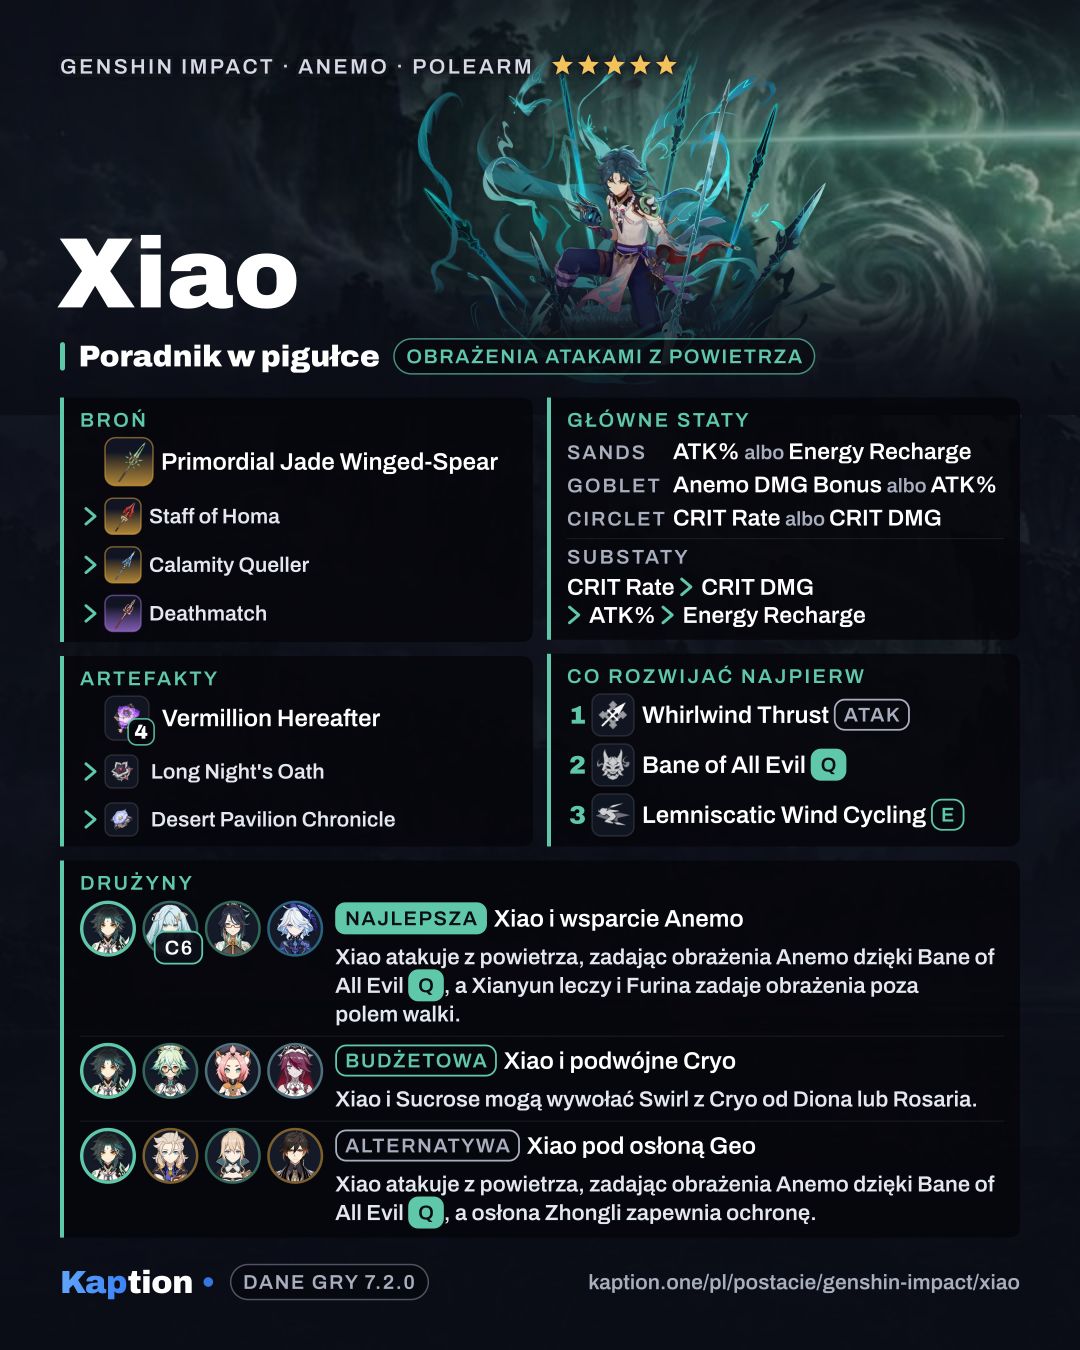
Start with Lemniscatic Wind Cycling to lunge through opponents and deal Anemo DMG. It starts with two charges and works in mid-air. Dissolution Eon: Heaven Fall makes each use increase the damage of later uses by 15% for 7 seconds, up to three stacks; a new stack refreshes the duration.
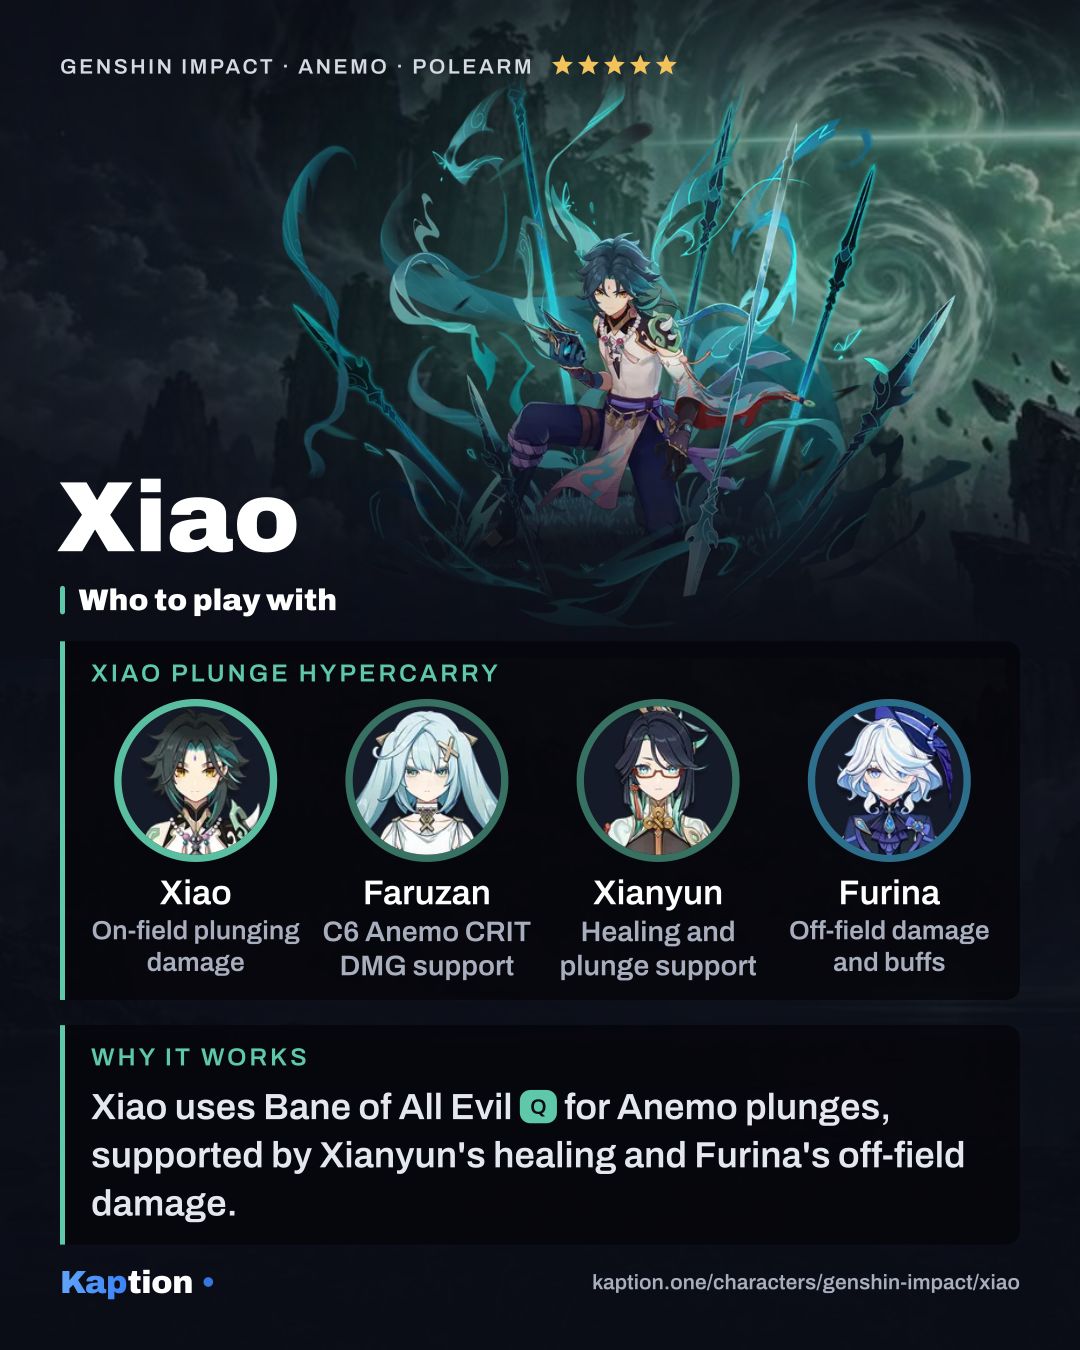
Use Bane of All Evil when you are ready to stay on Xiao. It greatly increases his jumping ability, increases attack AoE and damage, and converts his attack damage to Anemo. Other elemental infusions cannot override that conversion. Xiao continuously loses HP while the effect lasts.
Jump and use the Plunging Attack from Whirlwind Thrust (NA) repeatedly. It damages opponents on the way down and deals AoE damage on impact, without damaging Xiao from the plunge itself. Conqueror of Evil: Tamer of Demons starts at a 5% DMG Bonus during the Burst and adds 5% every 3 seconds, up to 25%.
Build and why
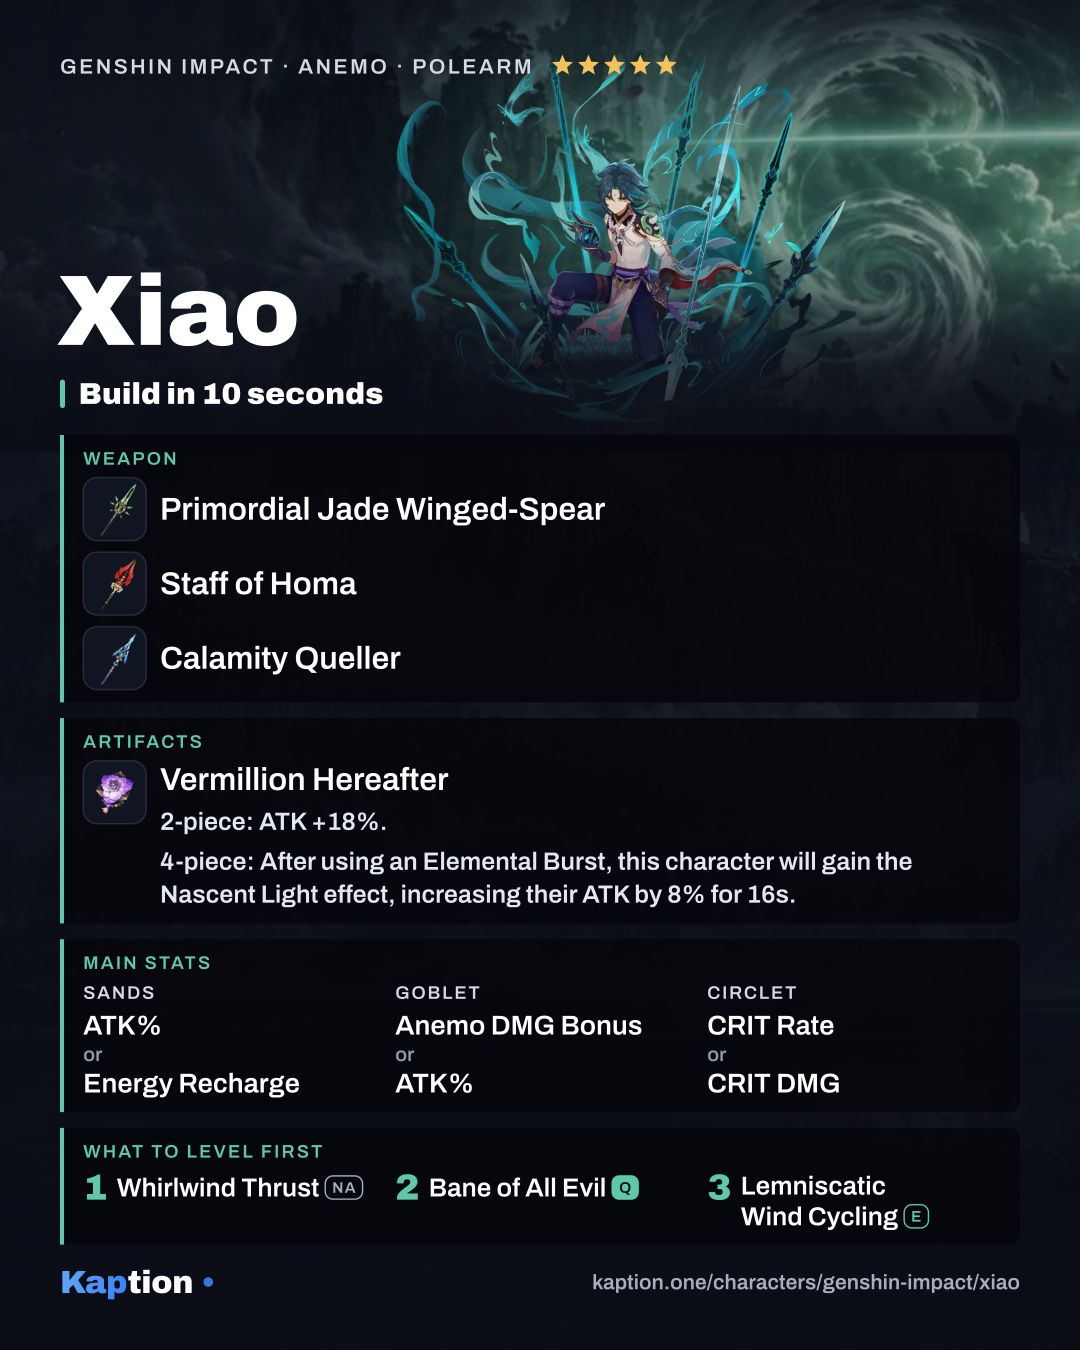
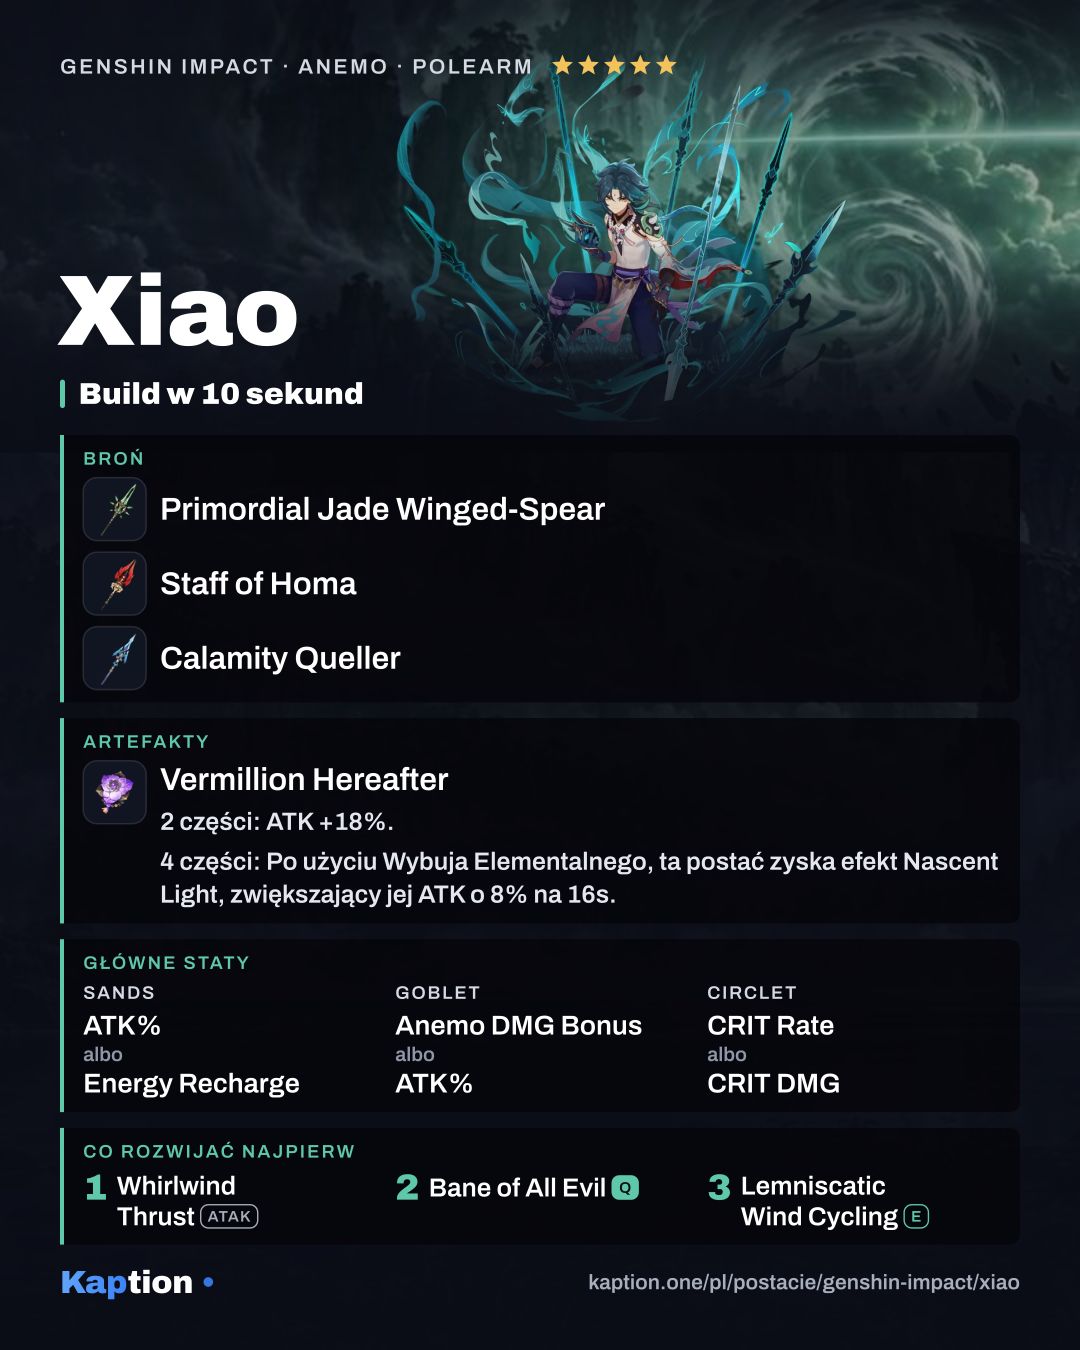
For artifacts, start with four pieces of Vermillion Hereafter. Its two-piece effect gives 18% ATK. After an Elemental Burst, the four-piece effect gives another 8% ATK for 16 seconds; HP loss can add 10% ATK up to four times. Xiao's Burst provides that HP loss, but switching him out removes the effect.
Four pieces of Long Night's Oath are another option. The two-piece effect gives 25% Plunging Attack DMG. Hits with a Plunging Attack, Charged Attack or Elemental Skill build stacks that increase Plunging Attack damage, with up to five stacks lasting 6 seconds each. Four pieces of Marechaussee Hunter are also worth considering: HP changes give CRIT Rate, though its two-piece bonus does not improve plunges.
Use ATK Percentage or Energy Recharge on the sands, Anemo DMG Bonus or ATK Percentage on the goblet, and CRIT Rate or CRIT DMG on the circlet. For substats, look for CRIT Rate, CRIT DMG, ATK Percentage and Energy Recharge, in that order. Choose enough Energy Recharge to have the Burst ready, then balance the other stats.
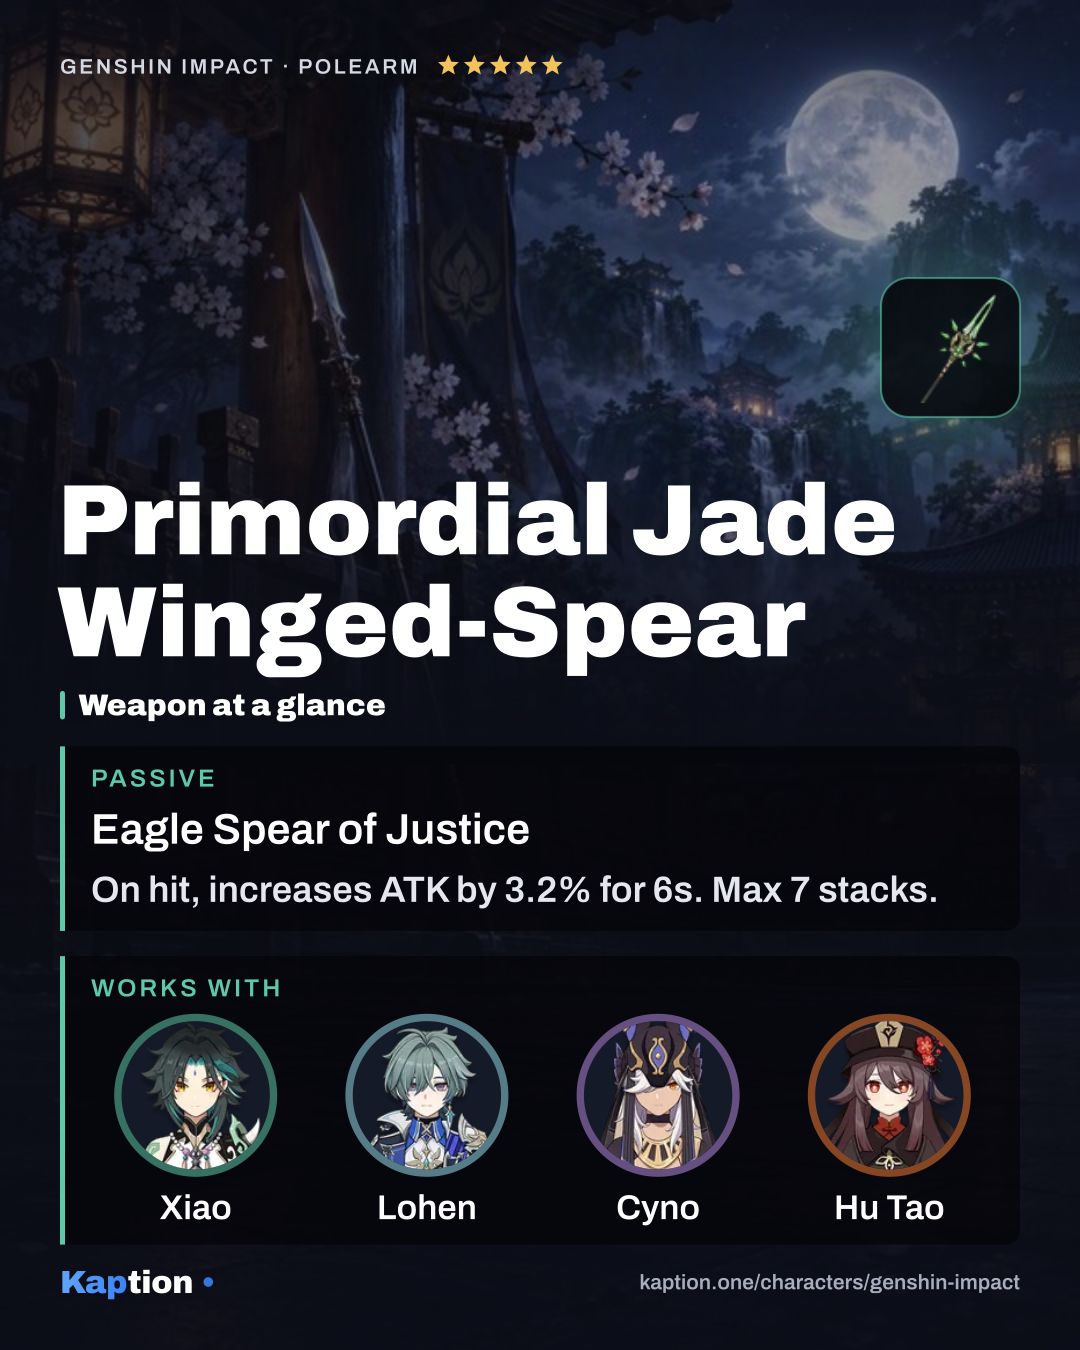
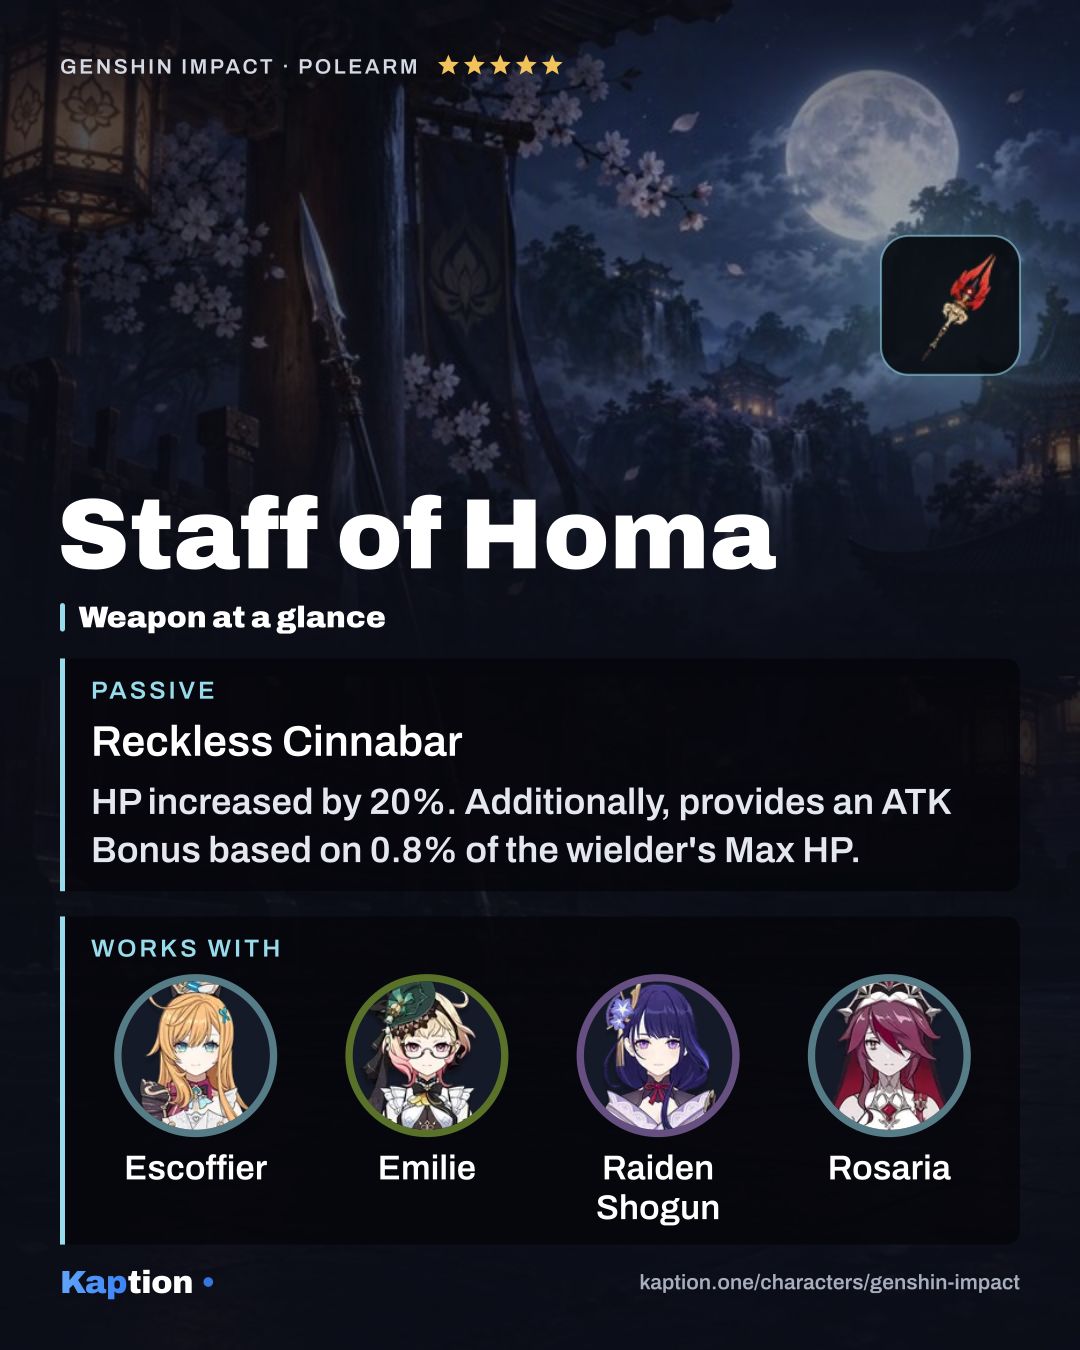
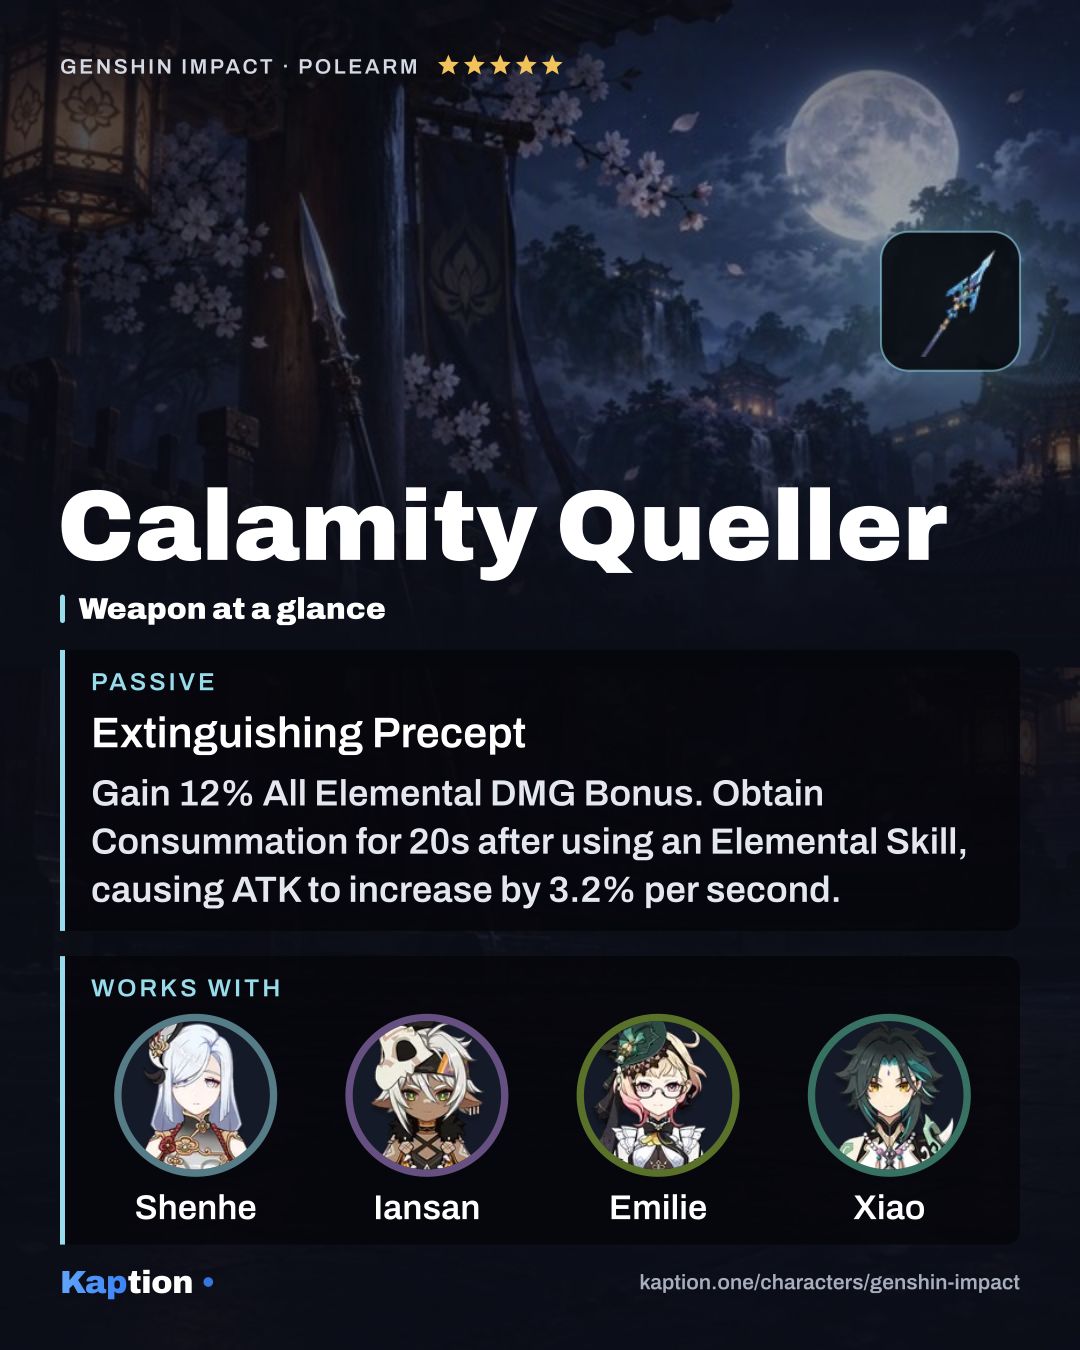
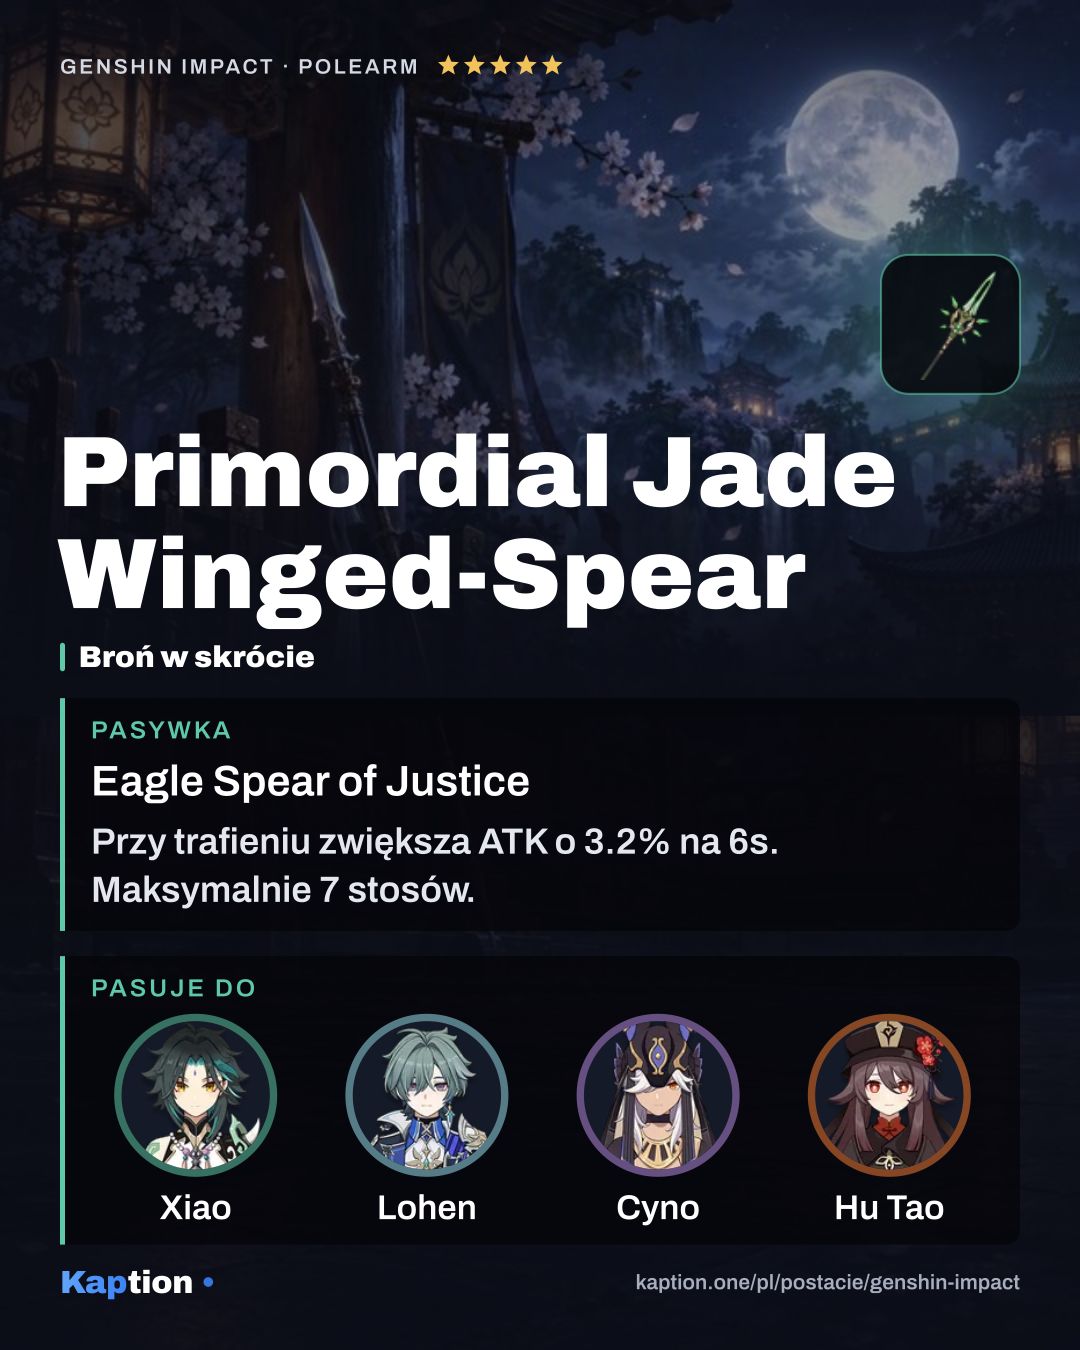
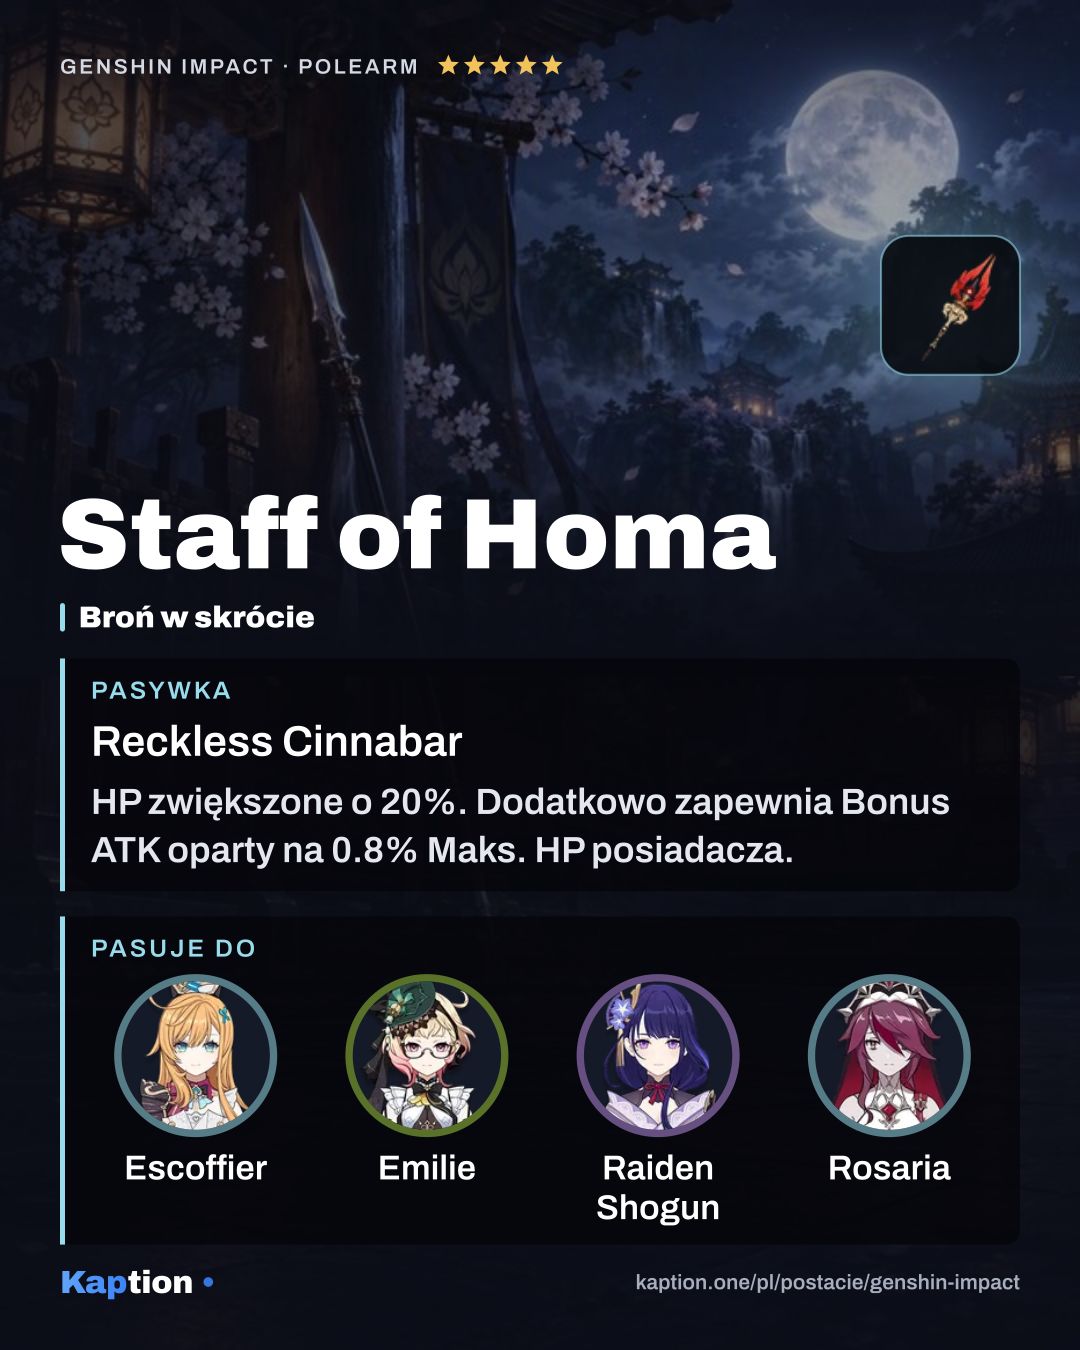
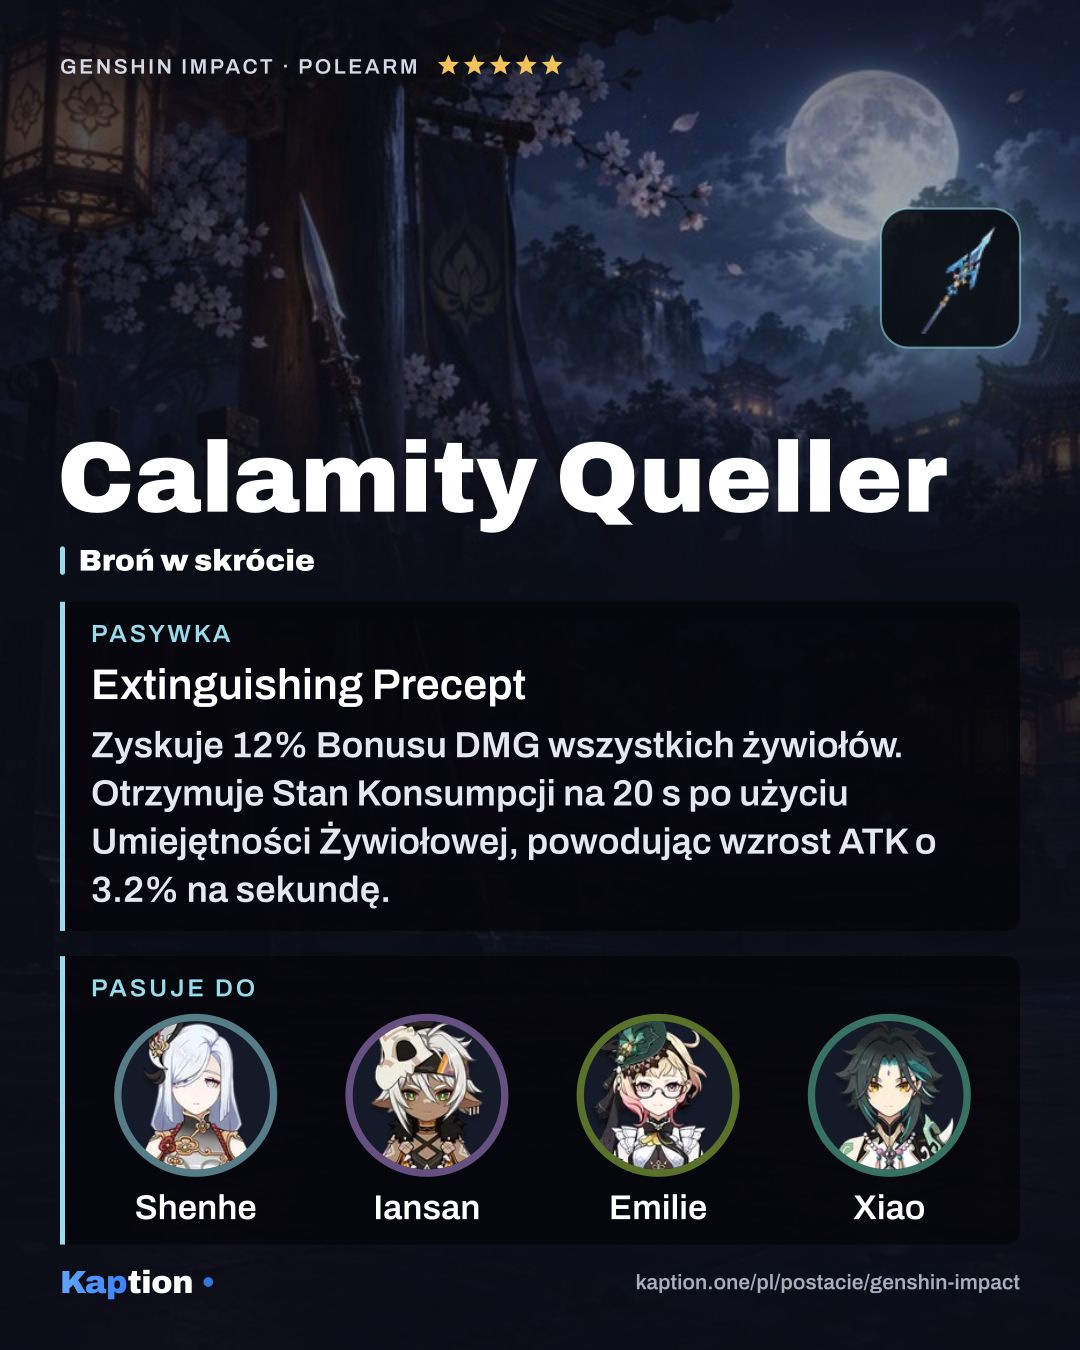
Primordial Jade Winged-Spear is the first weapon choice: hits build ATK, and maximum stacks add a DMG bonus. Staff of Homa comes next; it gives ATK based on Max HP, with a larger bonus below 50% HP. Calamity Queller gives an elemental damage bonus and builds ATK after an Elemental Skill. Deathmatch is a four-star option with an ATK bonus that depends on nearby opponents.
Leveling priority
A good talent order is Whirlwind Thrust (NA) first, because it contains the Plunging Attack you use repeatedly. Level Bane of All Evil next for its attack bonuses, then Lemniscatic Wind Cycling for the damage of the lunge.
For maximum ascension, you need 420,000 Mora, 168 Qingxin, 46 Juvenile Jade, 1 Vayuda Turquoise Sliver, 9 Vayuda Turquoise Fragment, 9 Vayuda Turquoise Chunk and 6 Vayuda Turquoise Gemstone. You also need 18 Slime Condensate, 30 Slime Secretions and 36 Slime Concentrate.
To maximize all three talents, prepare 4,957,500 Mora, 9 Teachings of Prosperity, 63 Guide to Prosperity, 114 Philosophies of Prosperity and 3 Crown of Insight. The talents also need 18 Slime Condensate, 66 Slime Secretions, 93 Slime Concentrate and 18 Shadow of the Warrior.
Constellations worth it
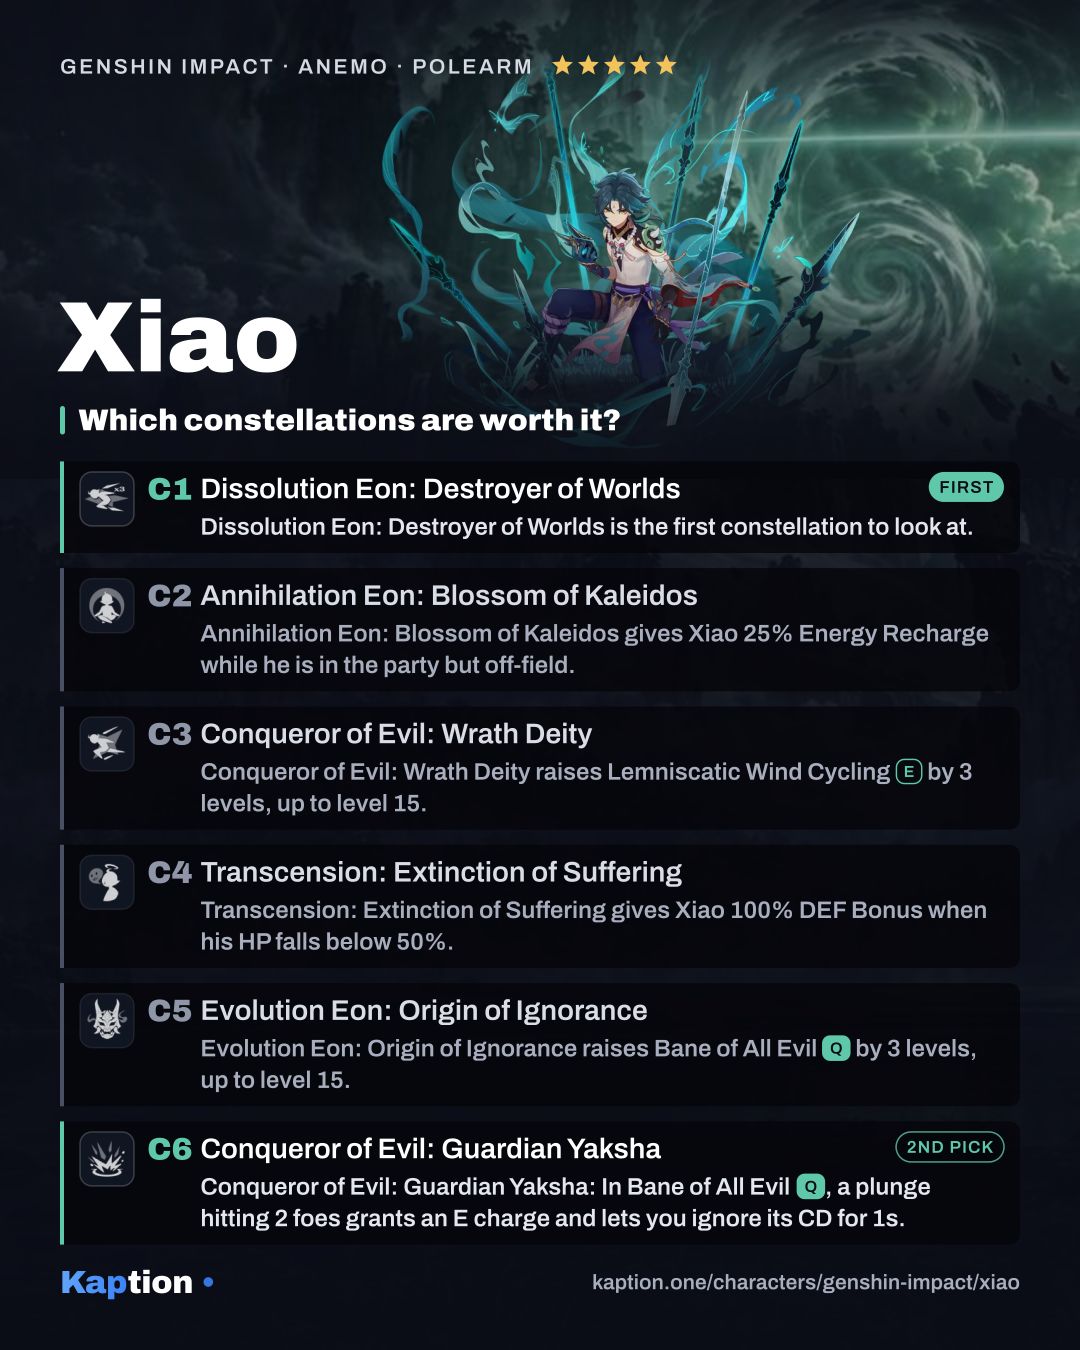
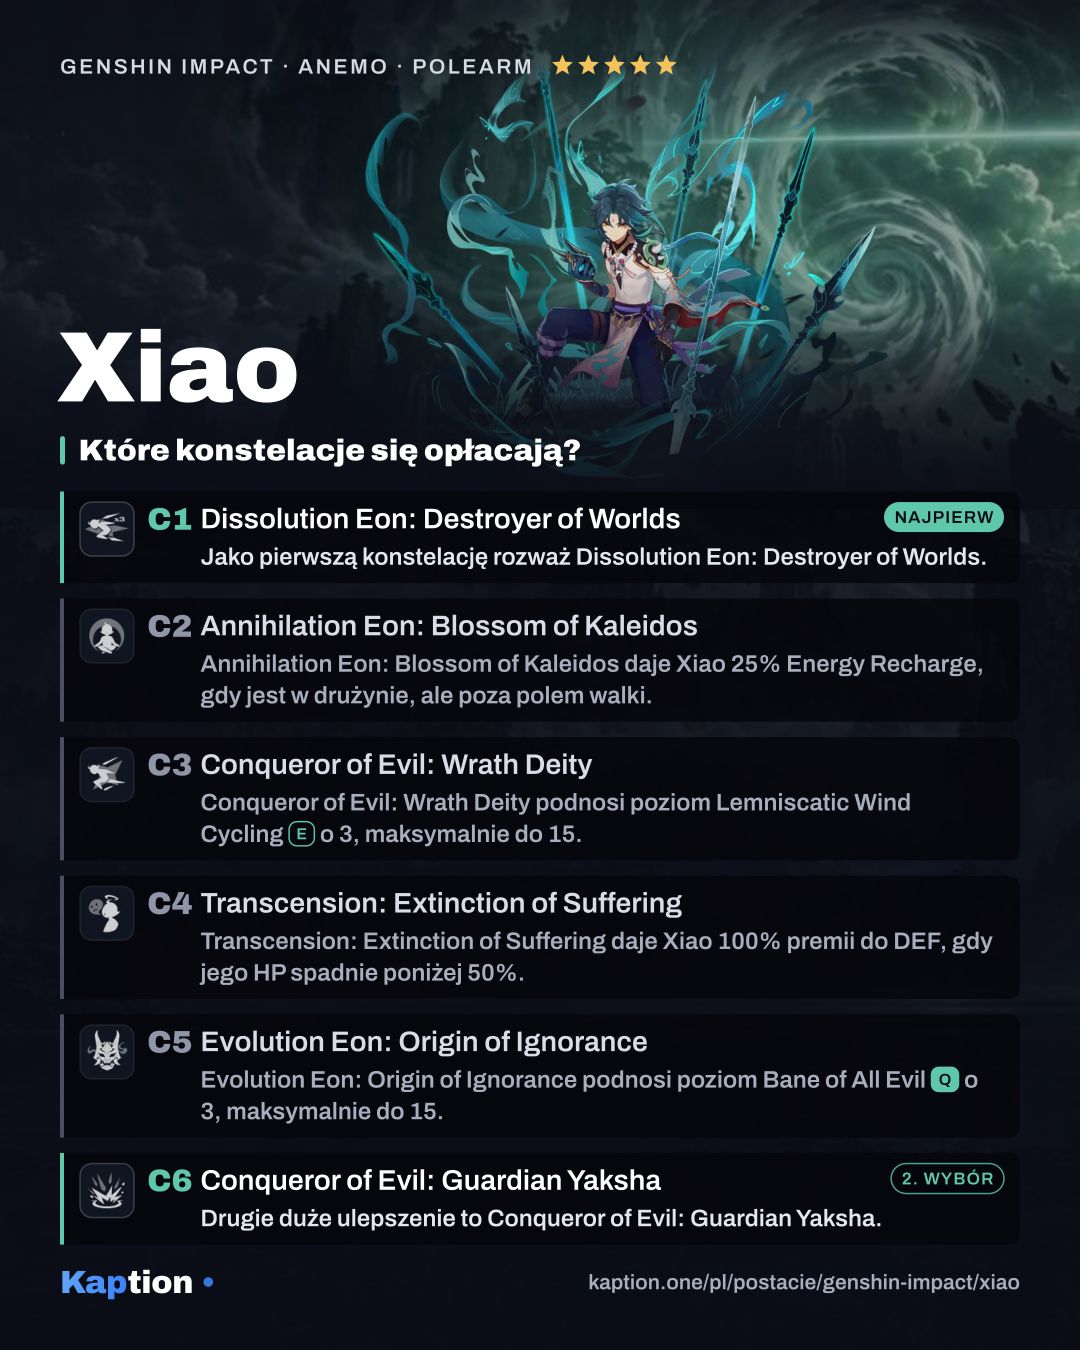
Dissolution Eon: Destroyer of Worlds is the first constellation to look at. It adds one charge to Lemniscatic Wind Cycling, giving Xiao another lunge to use. Conqueror of Evil: Guardian Yaksha is the other major upgrade: during Bane of All Evil, a Plunging Attack that hits at least two opponents grants one Skill charge and lets Xiao ignore its cooldown for the next second.
C6 needs multiple targets, so it does not give that effect against a lone opponent. Between those upgrades, C2 gives Xiao 25% Energy Recharge while he is off-field, C3 raises his Skill level, C4 gives DEF below 50% HP, and C5 raises his Burst level. You can stop at C1 if those intermediate effects do not appeal to you, but you must obtain them in order to reach C6.
Common mistakes
Do not switch Xiao out halfway through Bane of All Evil unless you need to: its effects end as soon as he leaves the field. Set up your other characters first, then use the Burst and spend its active time on Plunging Attacks. Watch his HP rather than assuming the plunge's immunity to self-damage prevents the Burst's HP loss.
Do not treat Energy Recharge as unnecessary if your Burst is often unavailable. On the other hand, avoid stacking it at the expense of all your damage stats. With Vermillion Hereafter, remember that leaving the field removes its four-piece effect; with C6, remember that one target is not enough to trigger the extra Skill use.