






























































Guide
How the kit works
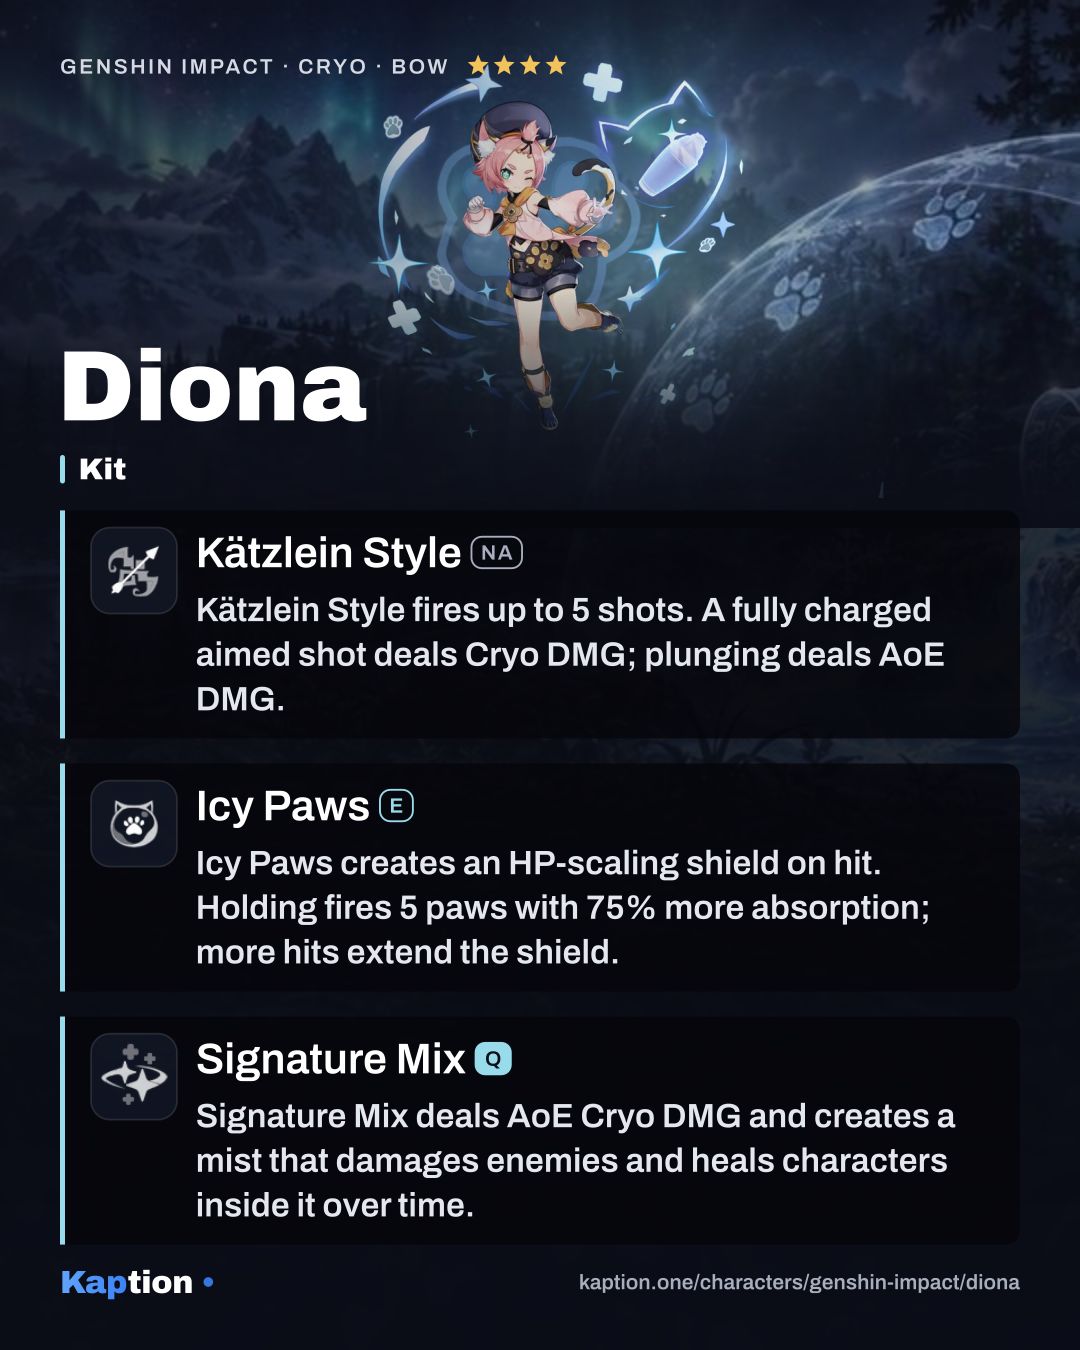
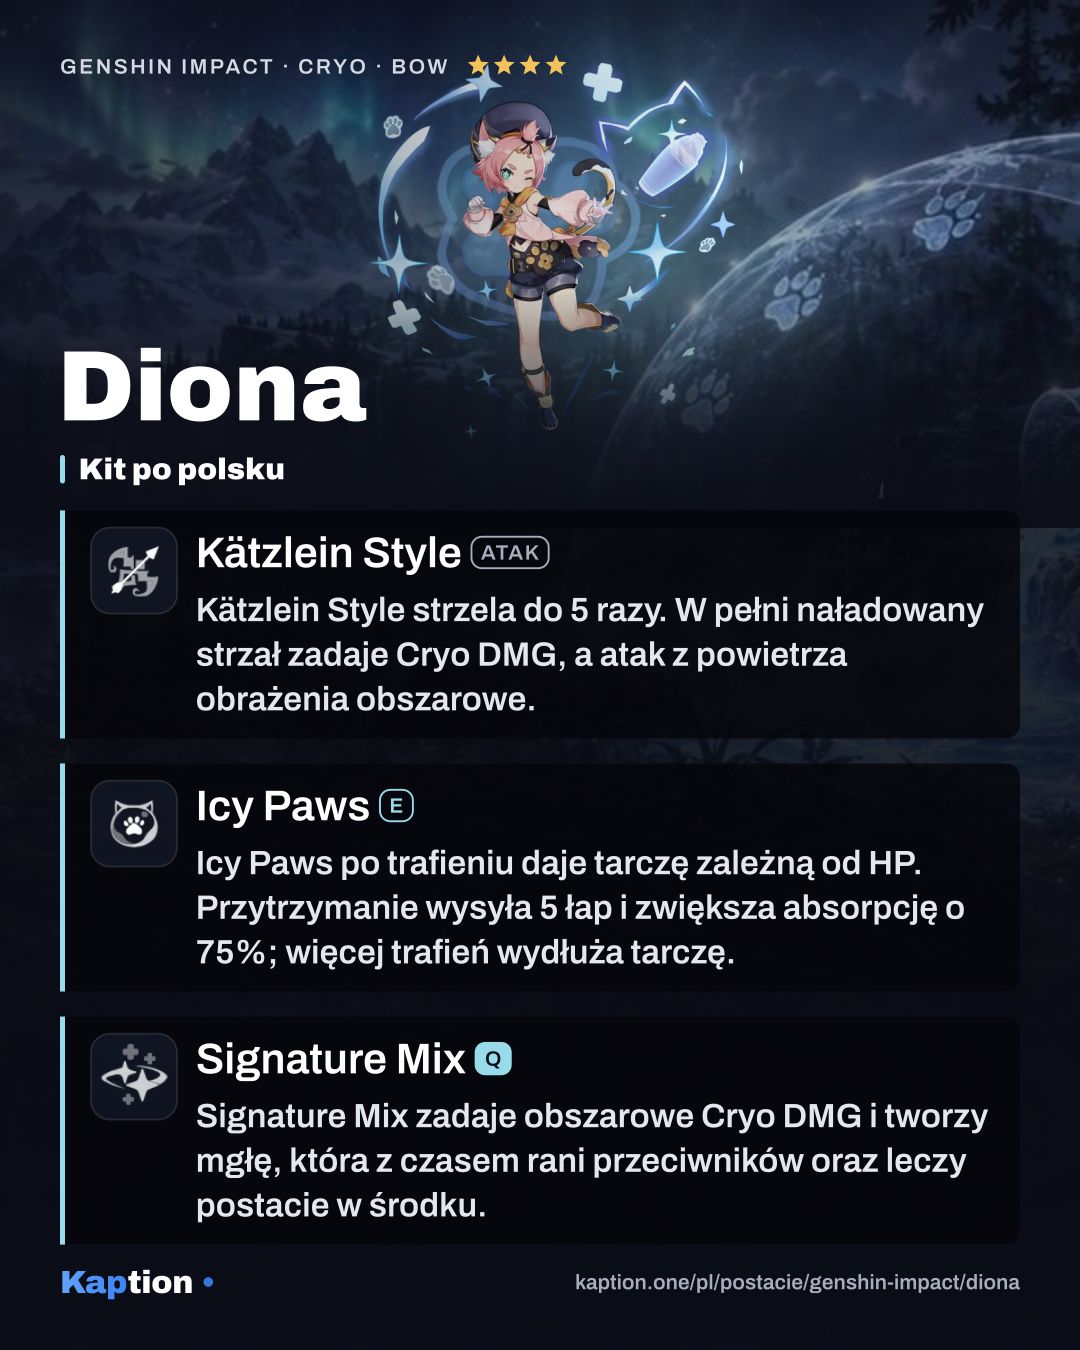
Start with Icy Paws. Pressing it fires two paws; holding it makes Diona dash back and fire five. A hit creates a shield whose absorption scales with her Max HP and whose duration depends on how many paws hit. The hold shield gains a 75% DMG Absorption Bonus, so aim it where the paws can reach an opponent.
The shield has a 250% Cryo DMG Absorption Bonus and briefly affects the active character with Cryo when it forms. While shielded, characters also gain 10% Movement SPD and use 10% less stamina.
Use Signature Mix when the team needs healing. It deals AoE Cryo damage and creates a mist that continues to damage opponents and heal characters inside it. Opponents entering the area lose 10% ATK for 15 seconds. Switch to the character who needs healing and keep them in the area.
After Icy Paws, Choice Treasures lets Diona fire three extra paws when party members trigger Stellar-Conduct, Superconduct, Cryo Swirl or Stellar Swirl. This works for 20 seconds after the Skill and can occur once every 3.5 seconds. Those extra paws create neither a shield nor Elemental Particles.
Kätzlein Style (NA) has up to five normal shots. A fully charged aimed shot deals Cryo damage, but you can leave it aside when using Diona mainly for protection.
Build and why
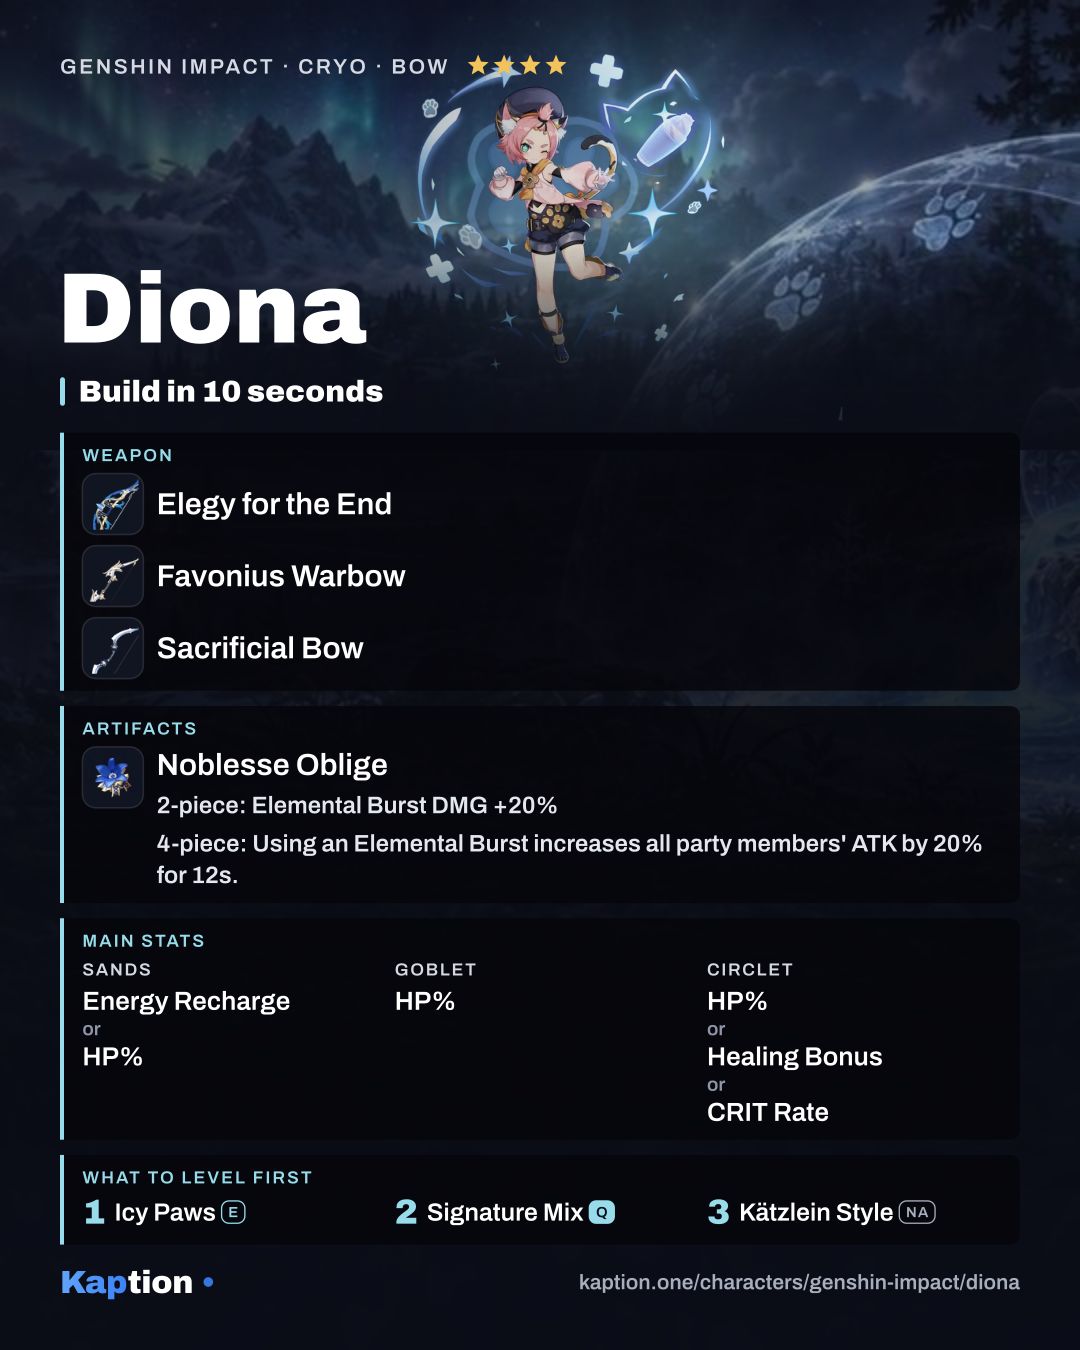
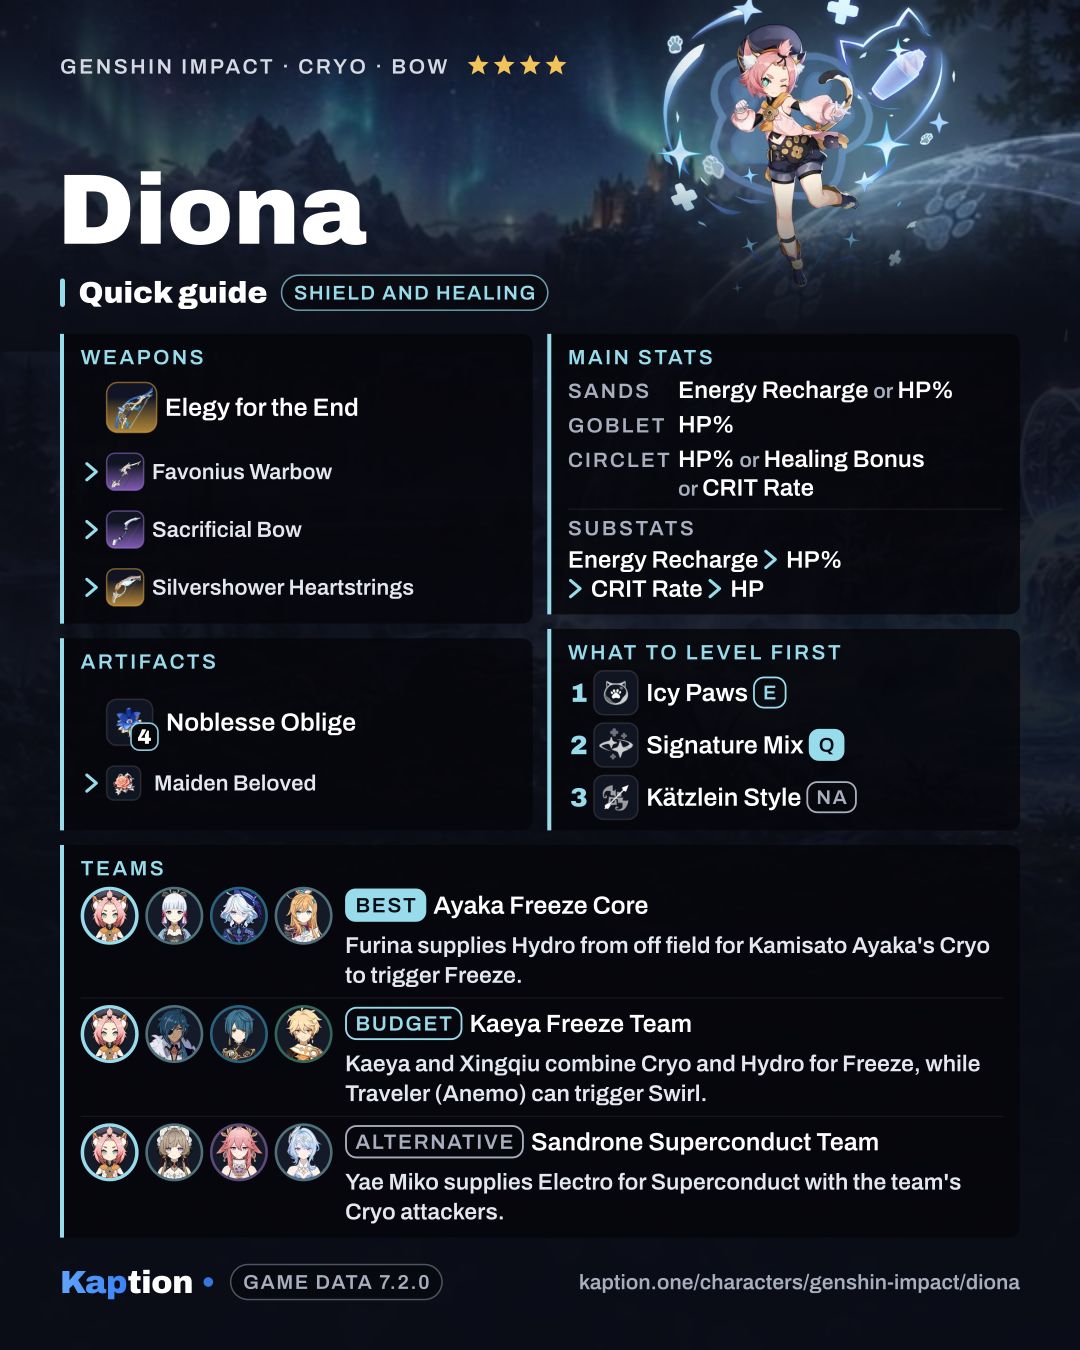
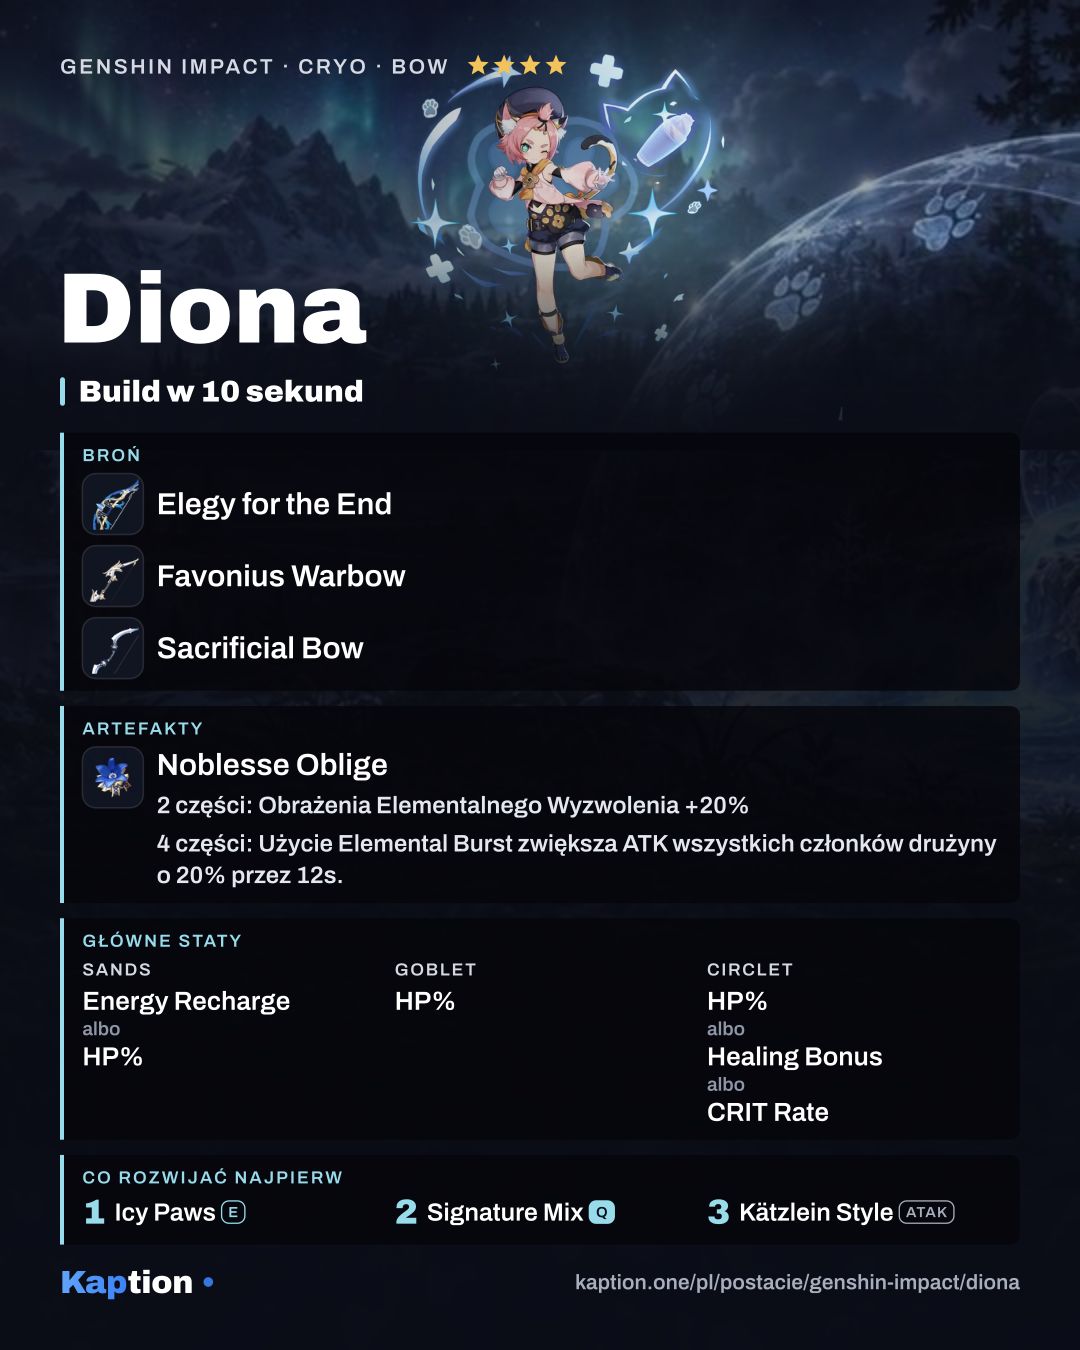
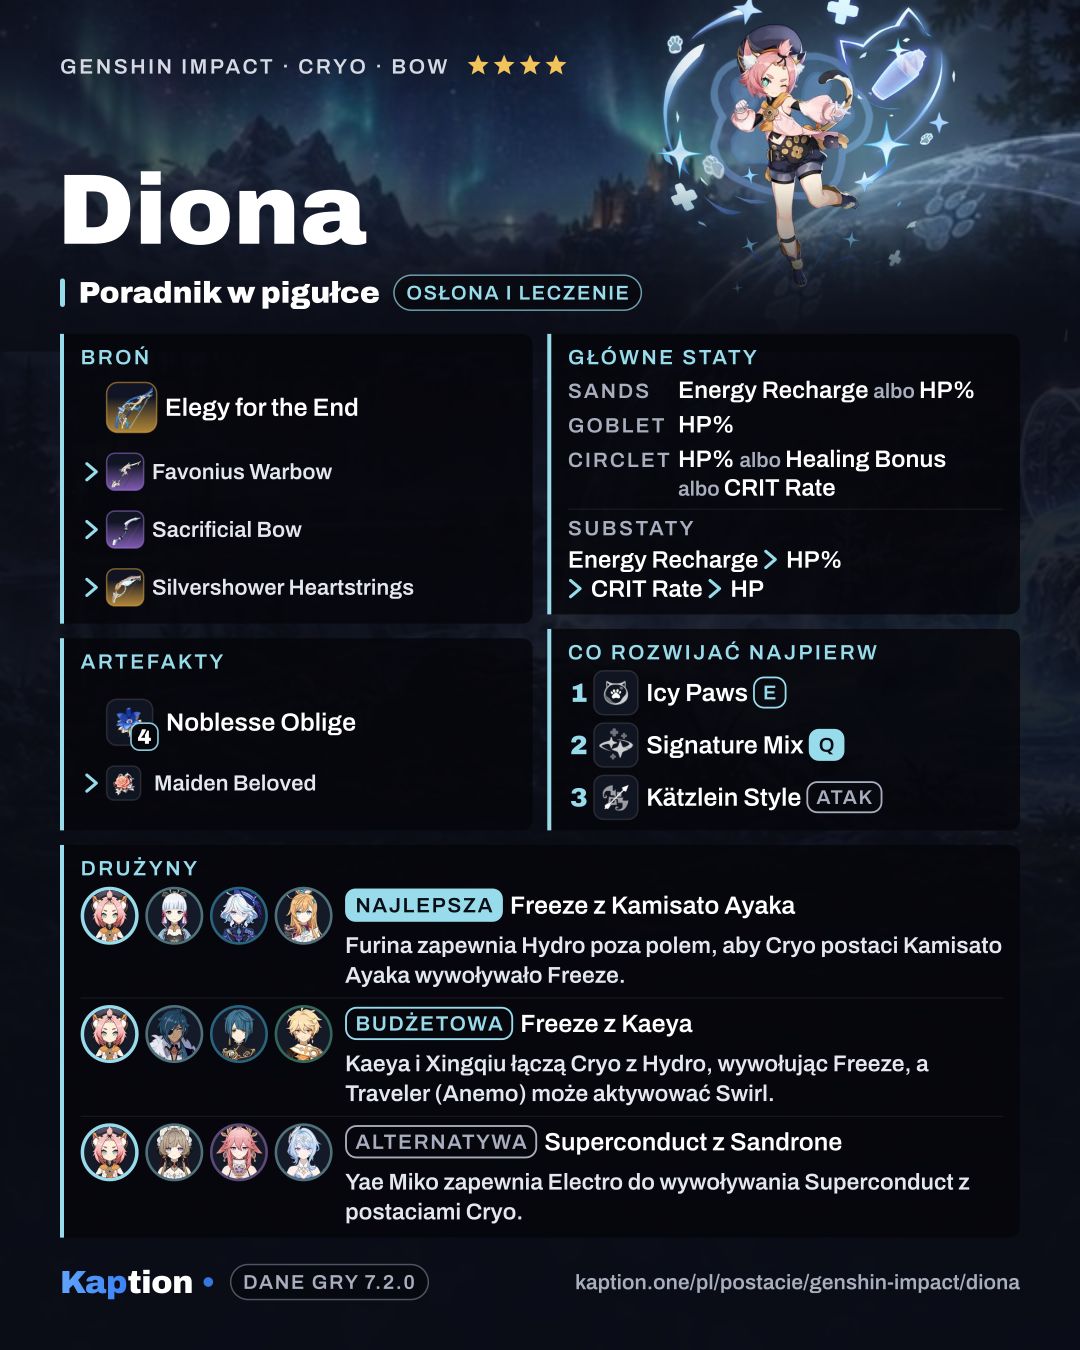
The first set to consider is four-piece Noblesse Oblige. Using Signature Mix gives all party members 20% ATK for 12 seconds. The effect does not stack, so check whether someone else already carries the set.
Tenacity of the Millelith is another option. Its two-piece bonus gives 20% HP, which helps the shield from Icy Paws. Its four-piece effect gives nearby teammates 20% ATK and 30% Shield Strength for 3 seconds after the Skill hits. For a mixed build, pair two pieces with two pieces of Silken Moon's Serenade for 20% Energy Recharge.
Four-piece Scroll of the Hero of Cinder City is worth considering in a reaction team. When Diona triggers a reaction related to Cryo, it gives nearby party members a 12% Elemental DMG Bonus for the elements involved for 15 seconds. Its larger bonus requires Nightsoul's Blessing. Four-piece Maiden Beloved is an alternative if you want more healing.
Use Energy Recharge or HP Percentage on the sands, HP Percentage on the goblet, and HP Percentage, Healing Bonus or CRIT Rate on the circlet. For substats, look for Energy Recharge first, followed by HP Percentage, CRIT Rate and HP. HP strengthens the shield; Energy Recharge helps Diona use her Burst.
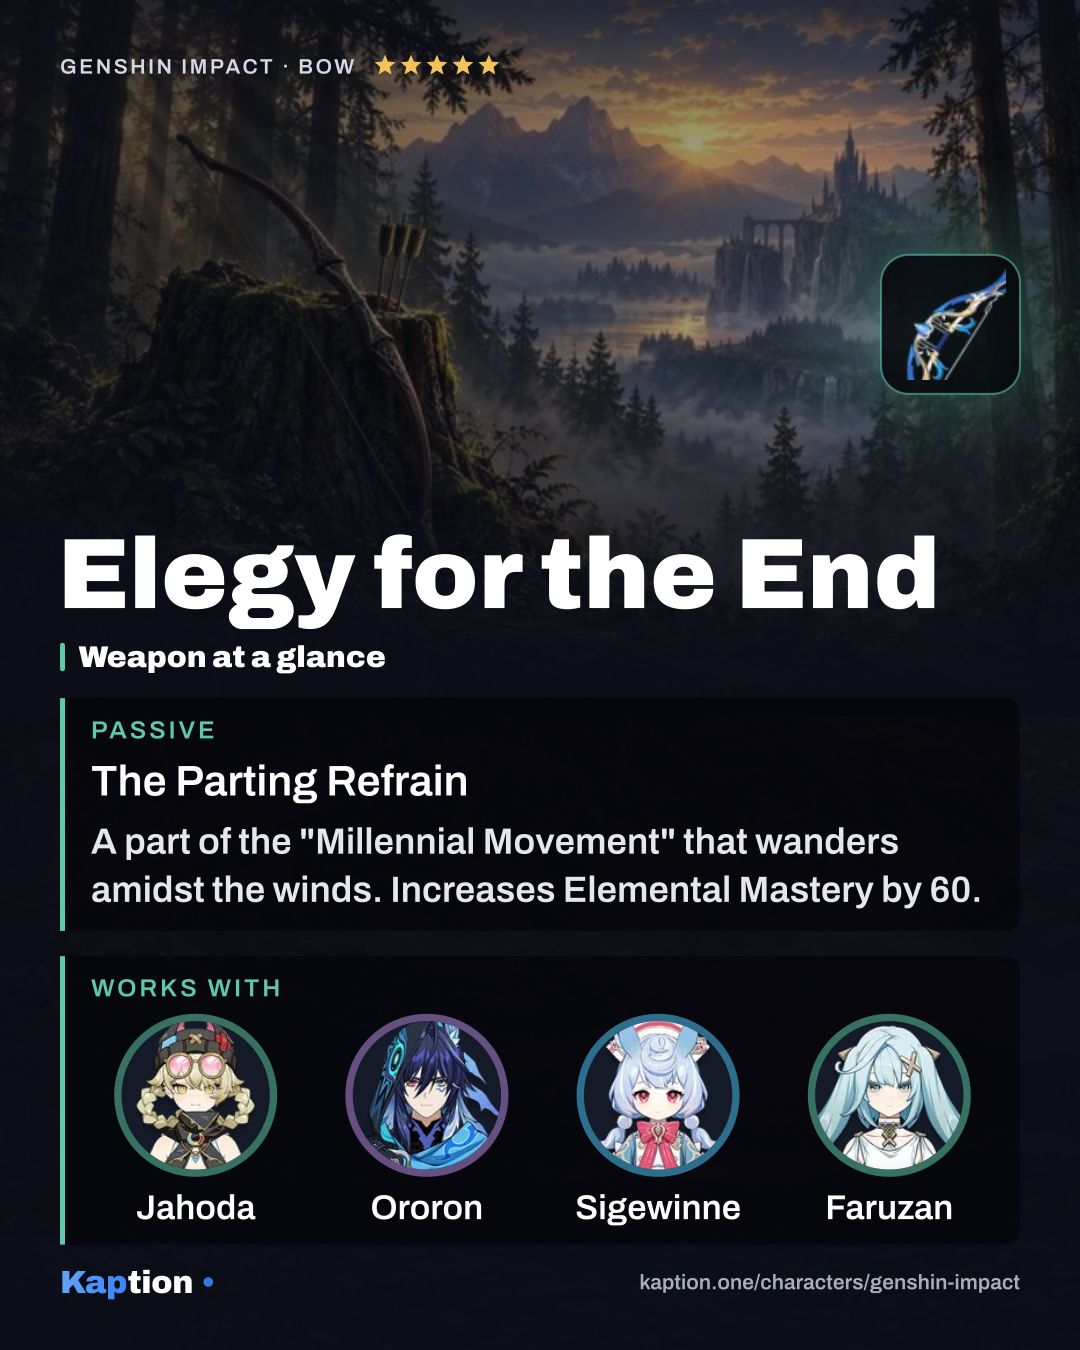
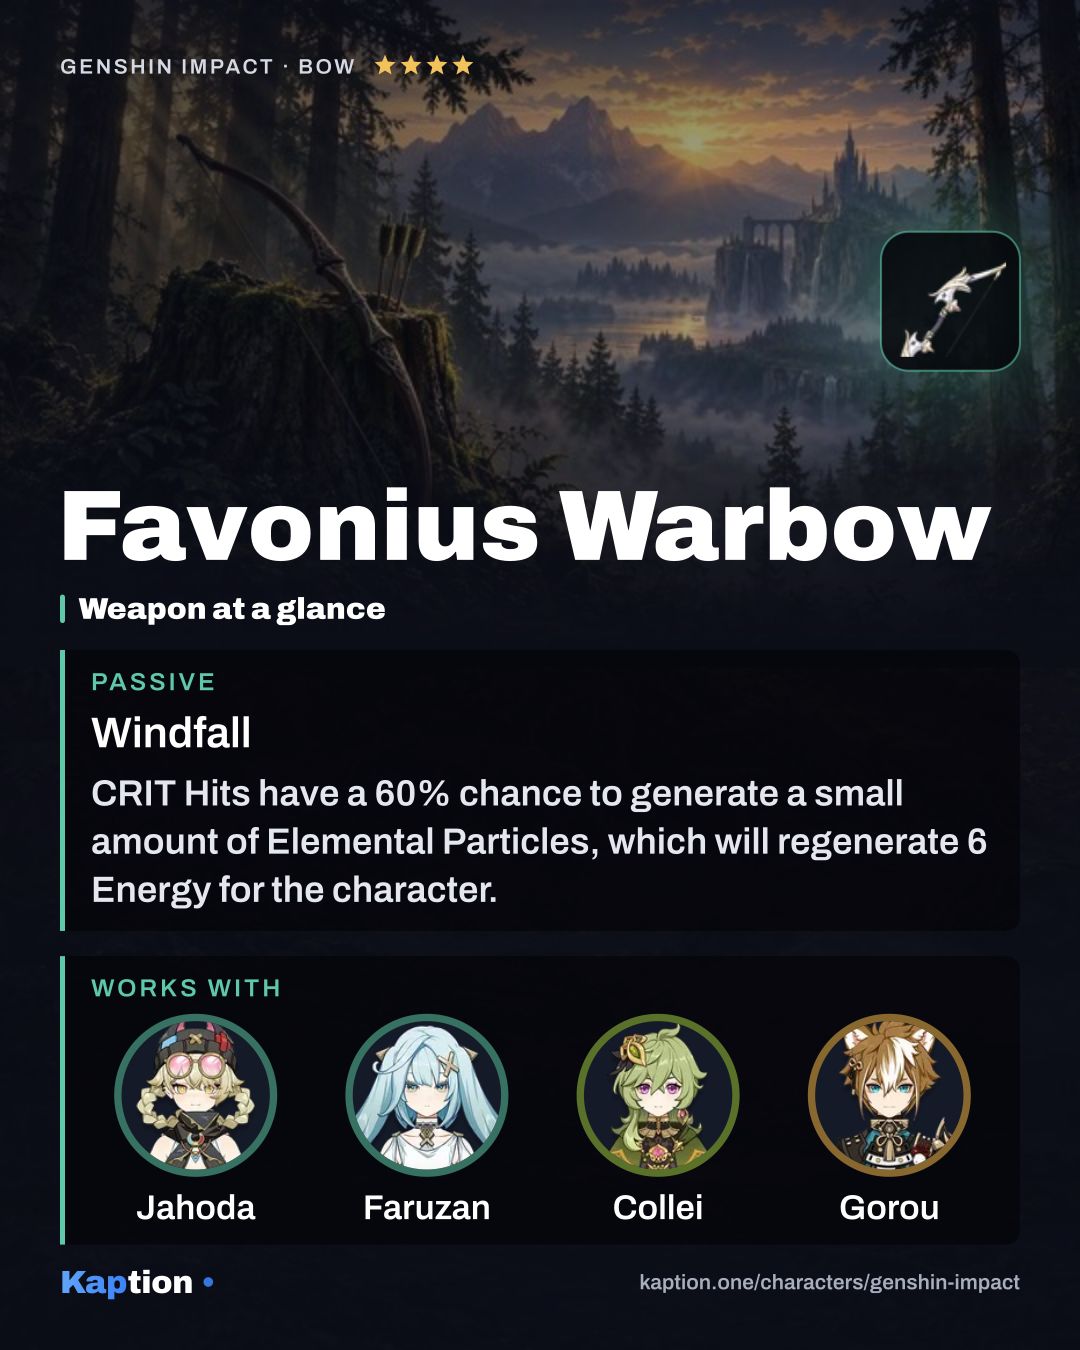
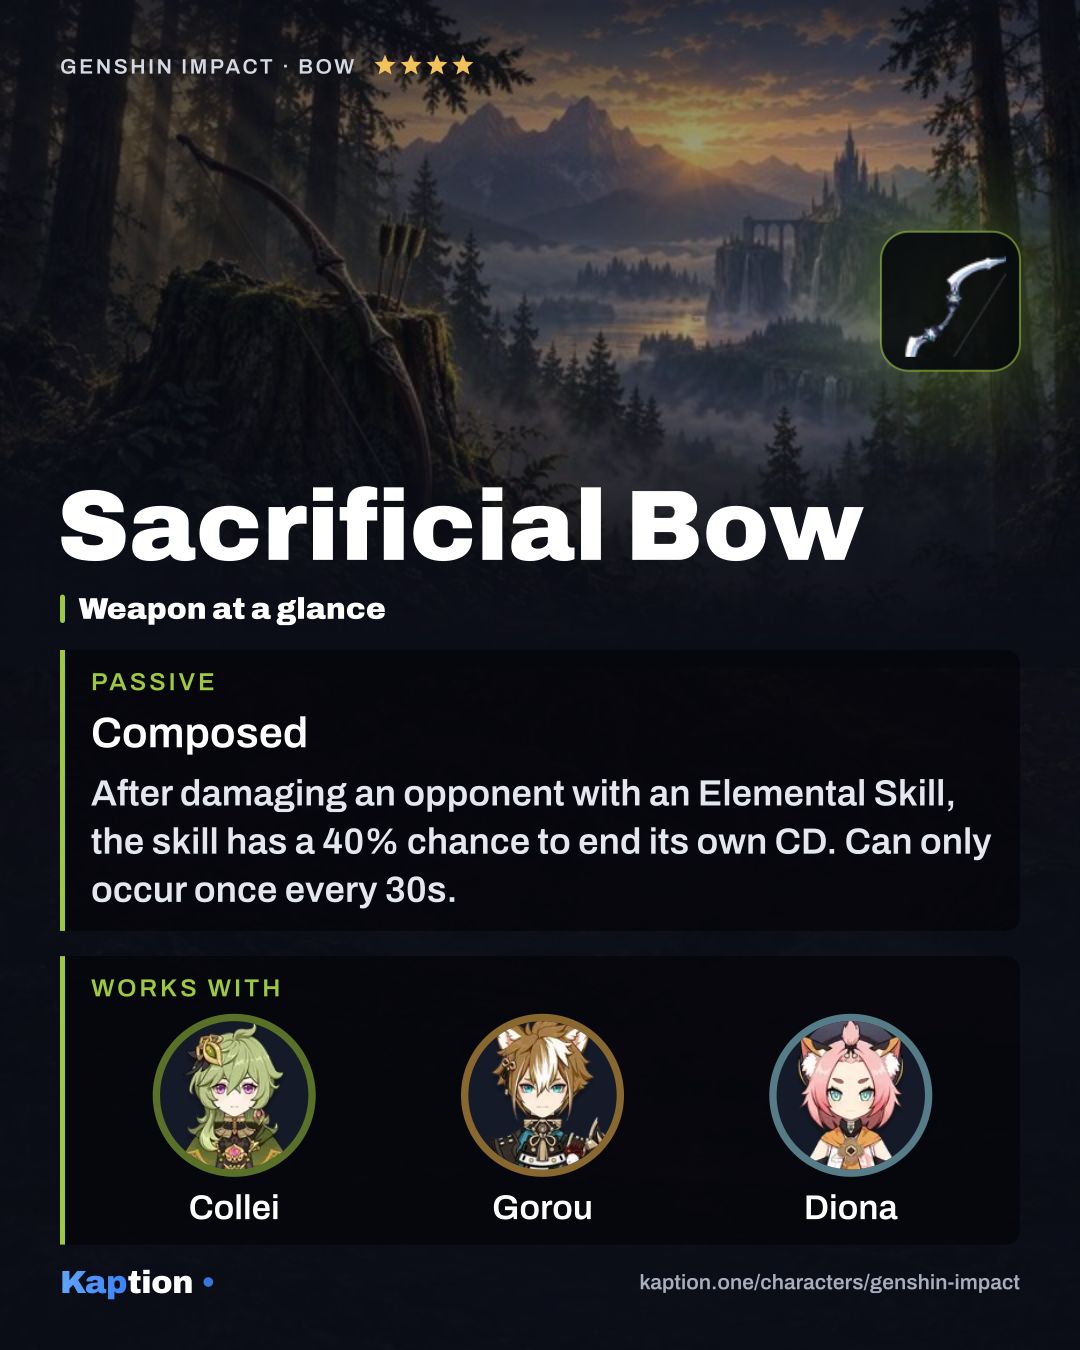
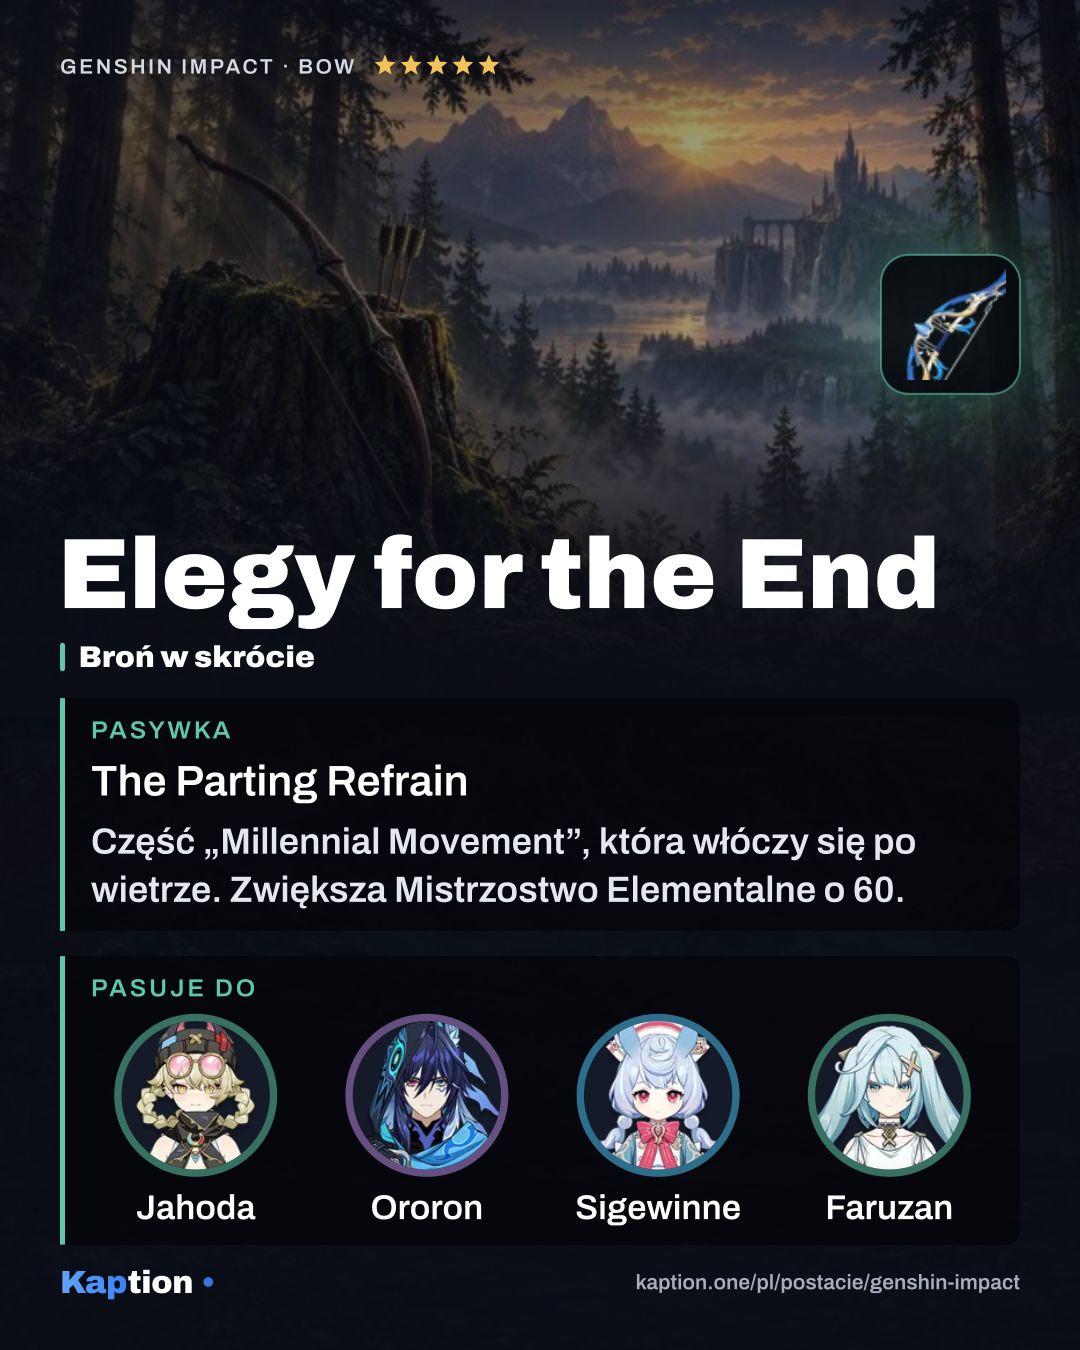
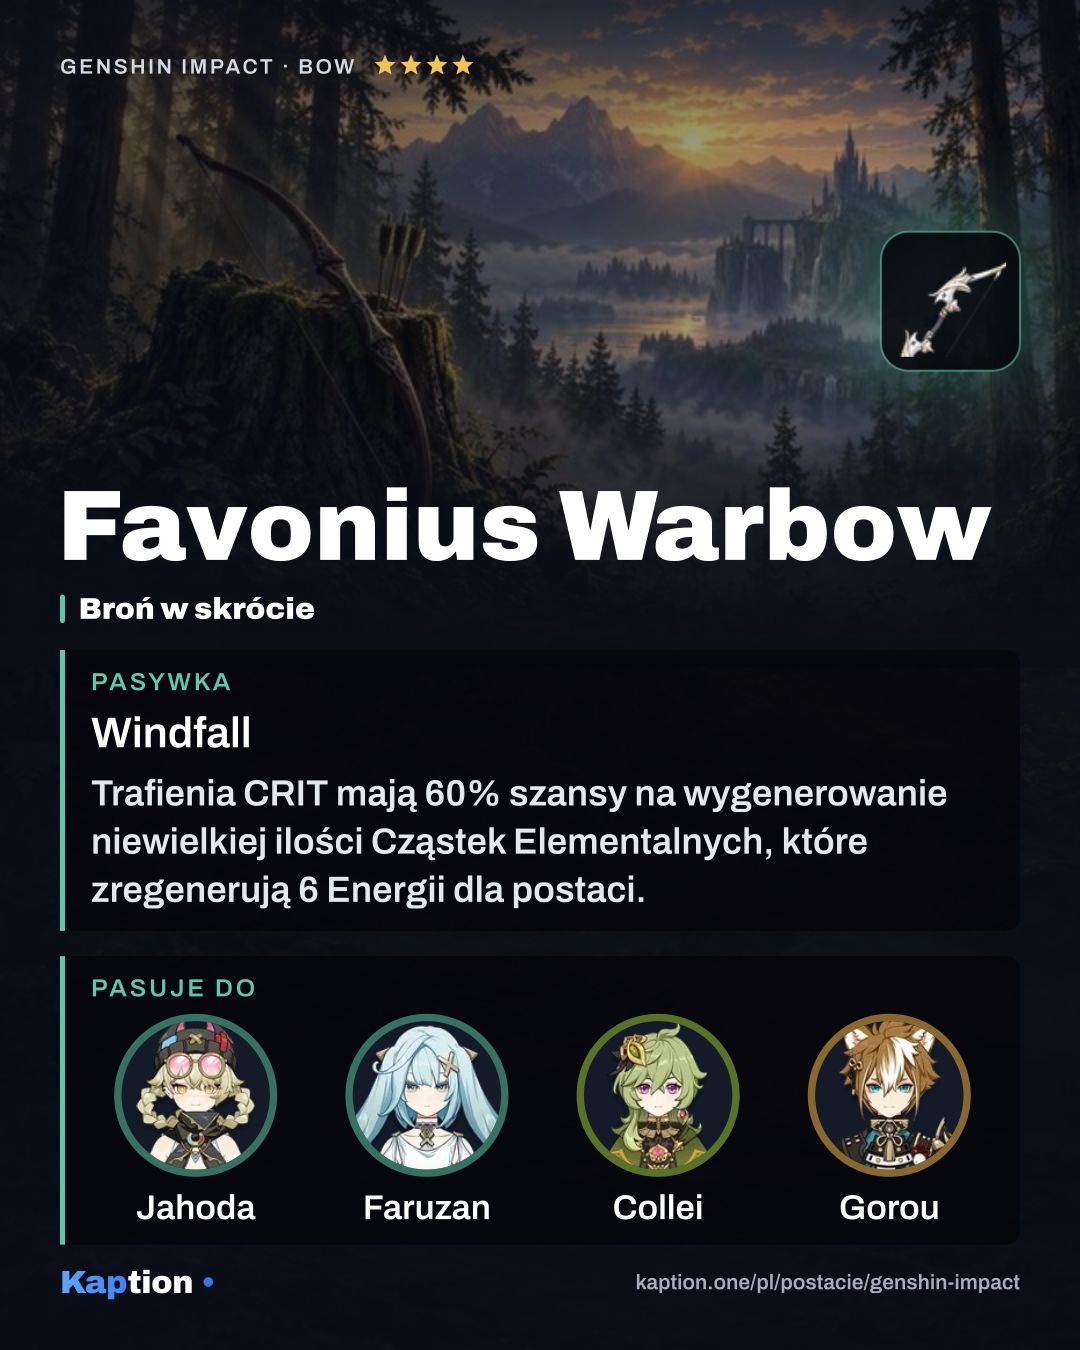
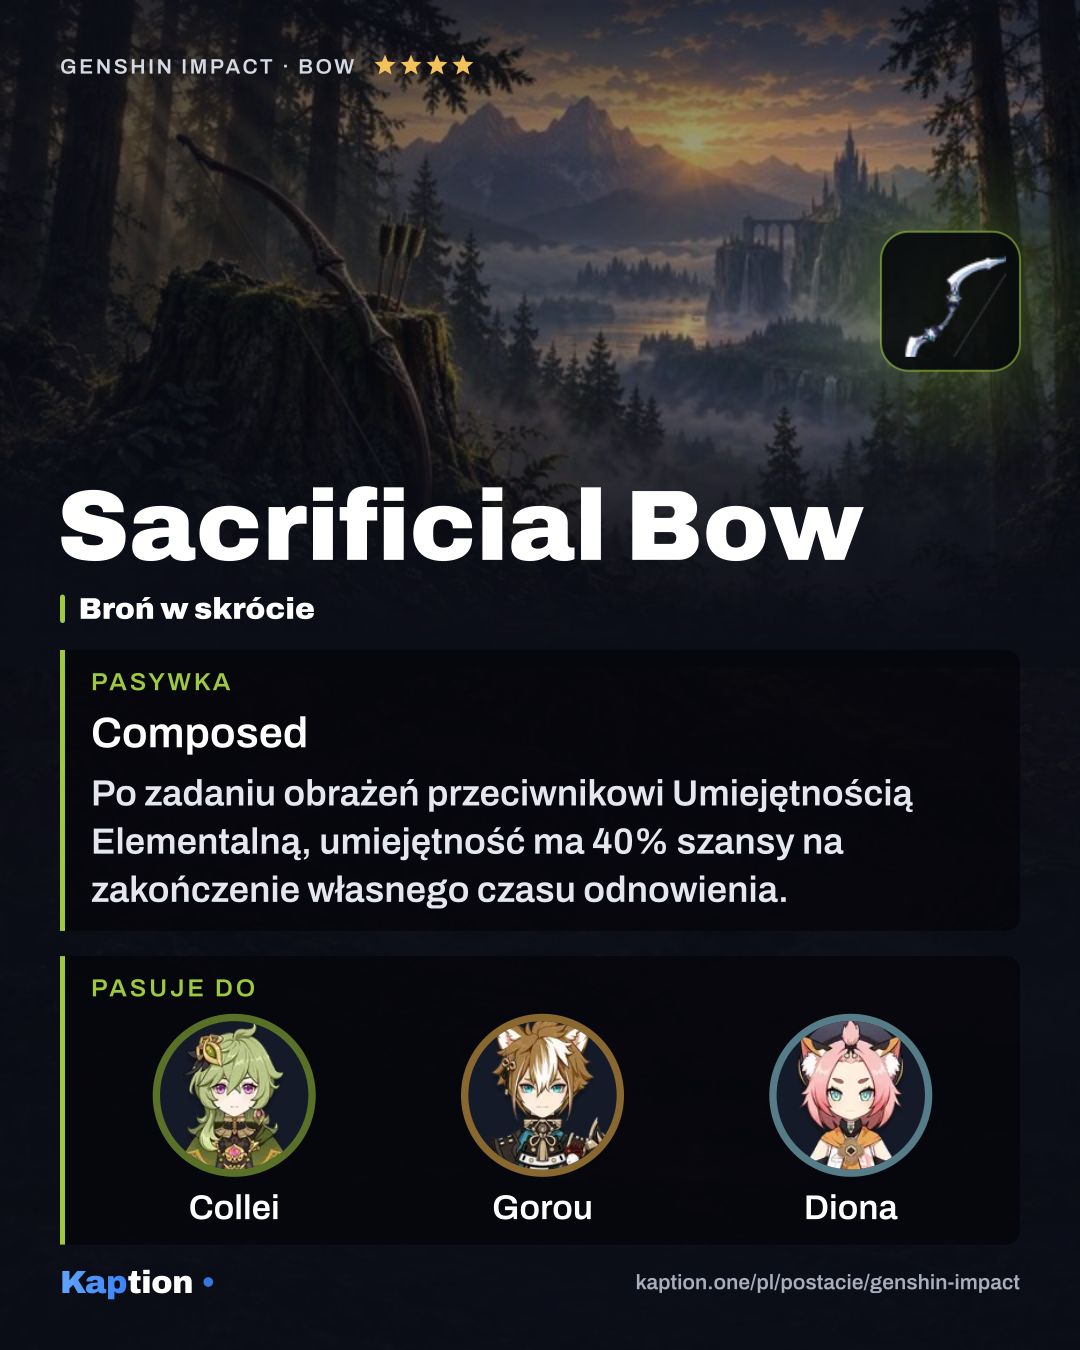
Favonius Warbow is the first weapon choice. Its CRIT Hits have a 60% chance to generate particles that restore 6 Energy to the character, once every 12 seconds. CRIT Rate helps trigger it. Elegy for the End is another option: it gives Diona 60 Elemental Mastery and lets Skill or Burst hits build Sigils. Sacrificial Bow is also useful, with a 40% chance for Skill damage to end the Skill's cooldown once every 30 seconds.
Leveling priority
A sensible order is Icy Paws first, then Signature Mix, and Kätzlein Style (NA) last. The Skill supports the shield you use throughout a fight, while the Burst supplies healing. Normal Attacks are less important if Diona spends little time shooting.
For ascension you need Mora, Calla Lily, Shivada Jade Sliver, Shivada Jade Fragment, Shivada Jade Chunk, Shivada Jade Gemstone, Firm Arrowhead, Sharp Arrowhead, Weathered Arrowhead and Hoarfrost Core.
Talent upgrades use Mora, Teachings of Freedom, Guide to Freedom, Philosophies of Freedom, Firm Arrowhead, Sharp Arrowhead, Weathered Arrowhead, Shard of a Foul Legacy and Crown of Insight. You do not need to raise every talent to the maximum to use her as a shield and healing support.
Constellations worth it
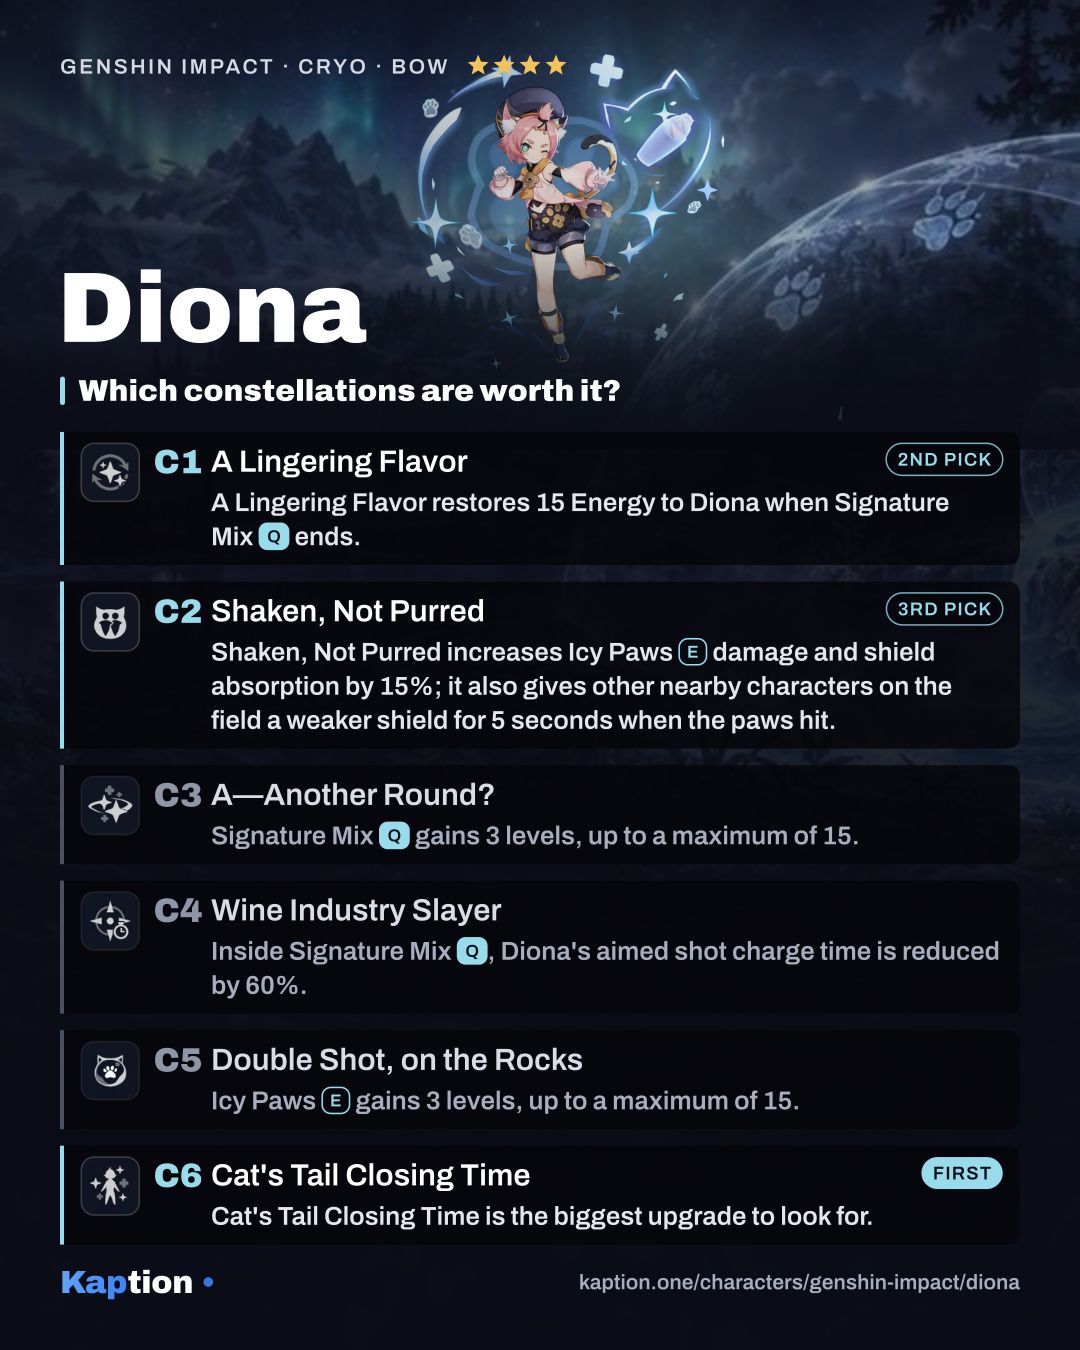
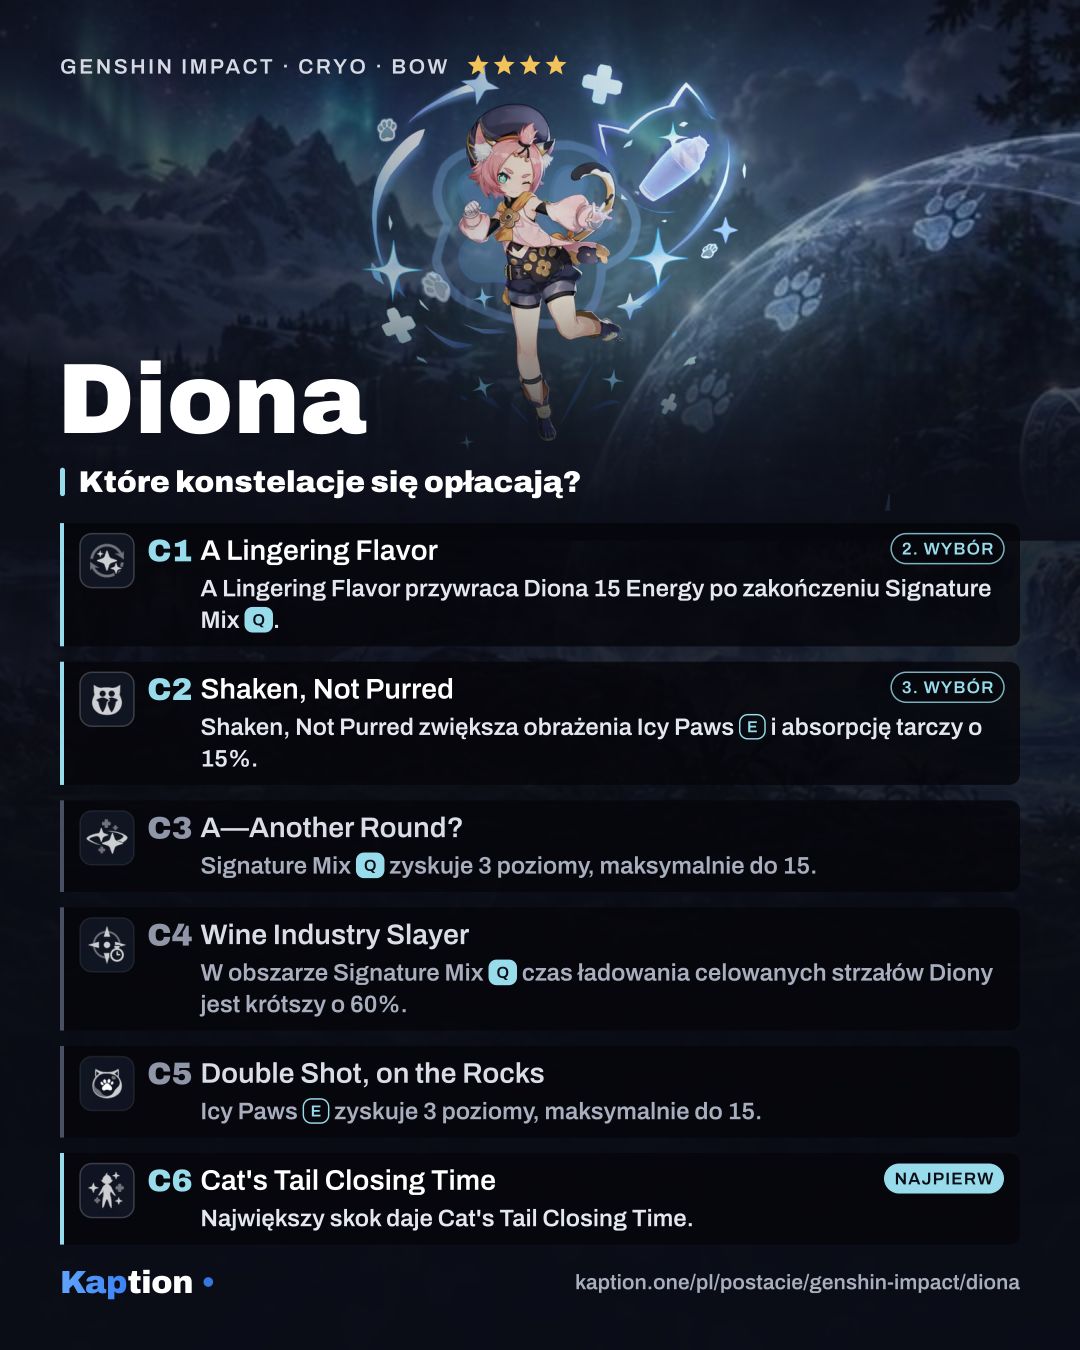
Cat's Tail Closing Time is the biggest upgrade to look for. Inside Signature Mix, characters above 50% HP gain 200 Elemental Mastery. At or below 50% HP, they get 30% Incoming Healing Bonus instead. It makes the area useful to reaction teams, provided the character stays inside it.
A Lingering Flavor restores 15 Energy to Diona when Signature Mix ends. The refund arrives after the effect finishes, not when you cast it. Shaken, Not Purred increases Icy Paws damage and shield absorption by 15%; it also gives other nearby characters on the field a weaker shield for 5 seconds when the paws hit.
C3 and C5 raise the levels of the Burst and Skill respectively. Wine Industry Slayer reduces Diona's aimed-shot charge time by 60% inside her Burst. That is less useful for a support who rarely takes aimed shots, so it is the upgrade you can most easily do without.
Teams
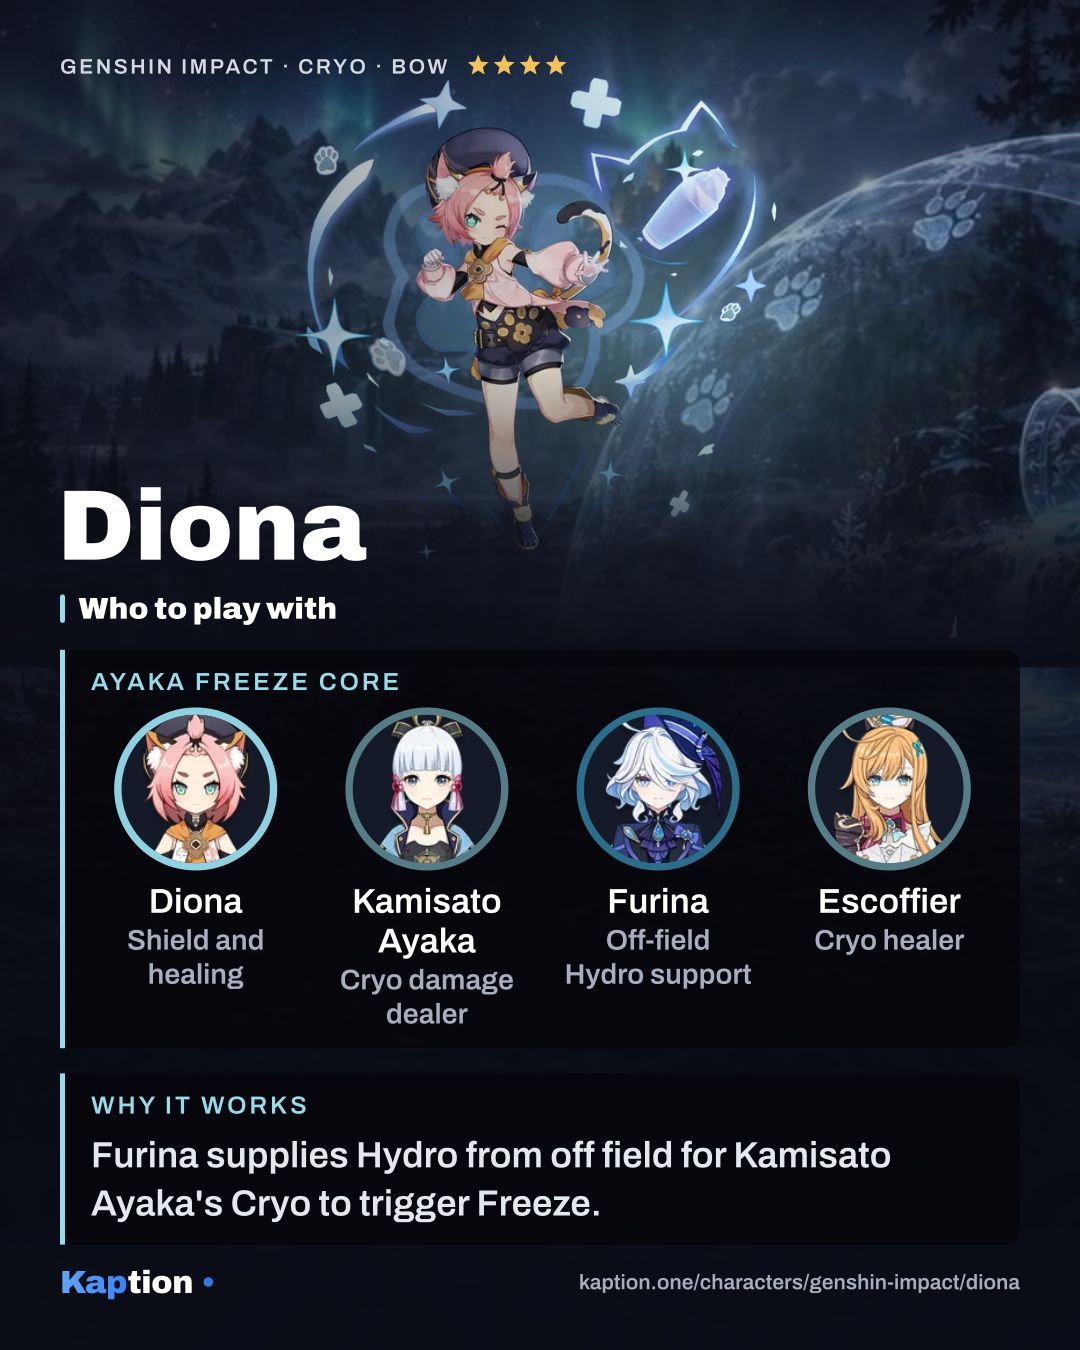
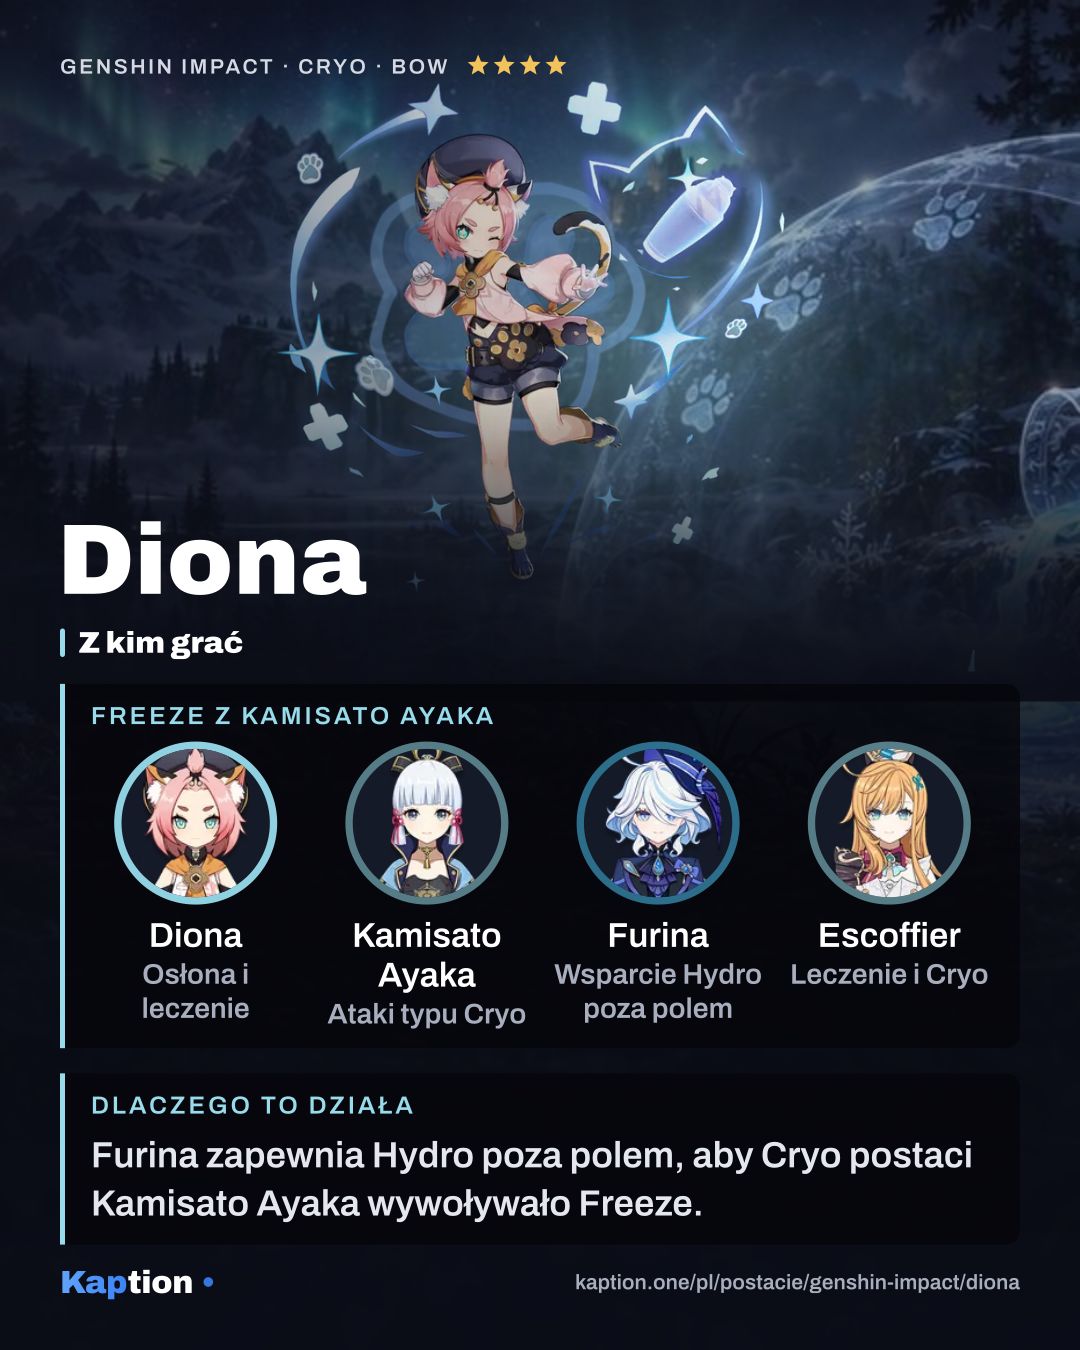
Diona gives the team a shield, healing and Cryo damage. After Icy Paws, reactions triggered by teammates can also activate Choice Treasures and send out extra paws. Those paws do not replace the shield from the initial Skill.
Her sixth constellation makes Elemental Mastery useful to characters who benefit from reactions, but its bonus applies only inside the Burst area and only above 50% HP. Plan around where the active character fights.
Common mistakes
Do not fire Icy Paws away from opponents: the shield forms on hit, and its duration depends on the number of paws that connect. Holding the Skill gives a stronger absorption bonus than pressing it.
Do not leave Signature Mix and expect its healing to follow you. Move the character who needs HP into the mist. With C6, also check their HP before relying on the Elemental Mastery bonus.
Avoid building only HP if Diona cannot use her Burst when needed. Balance it with Energy Recharge, and add CRIT Rate when using Favonius Warbow. Do not expect the extra paws from Choice Treasures to generate particles or refresh your shield.