
































Guide
How the kit works
Before a fight, use Incomplete Combustion and enter combat with enemies inside its dimension. It lasts 15 seconds and has a 100% base chance to make enemies take 10% more Fire DMG for two turns. Only one allied Dimension Effect can exist at a time.
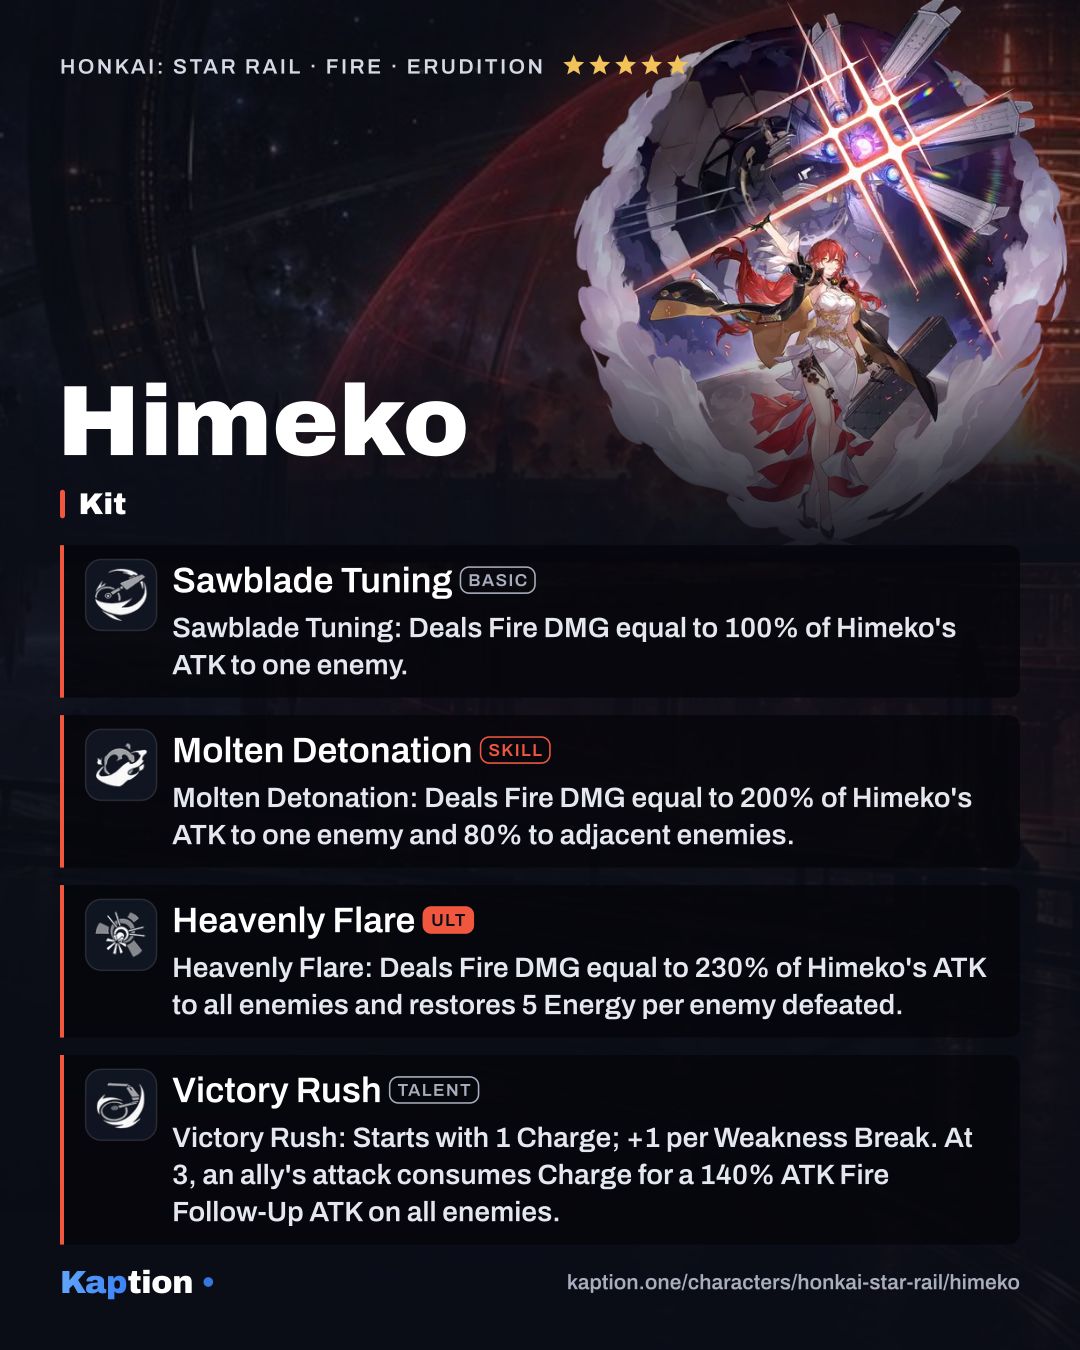
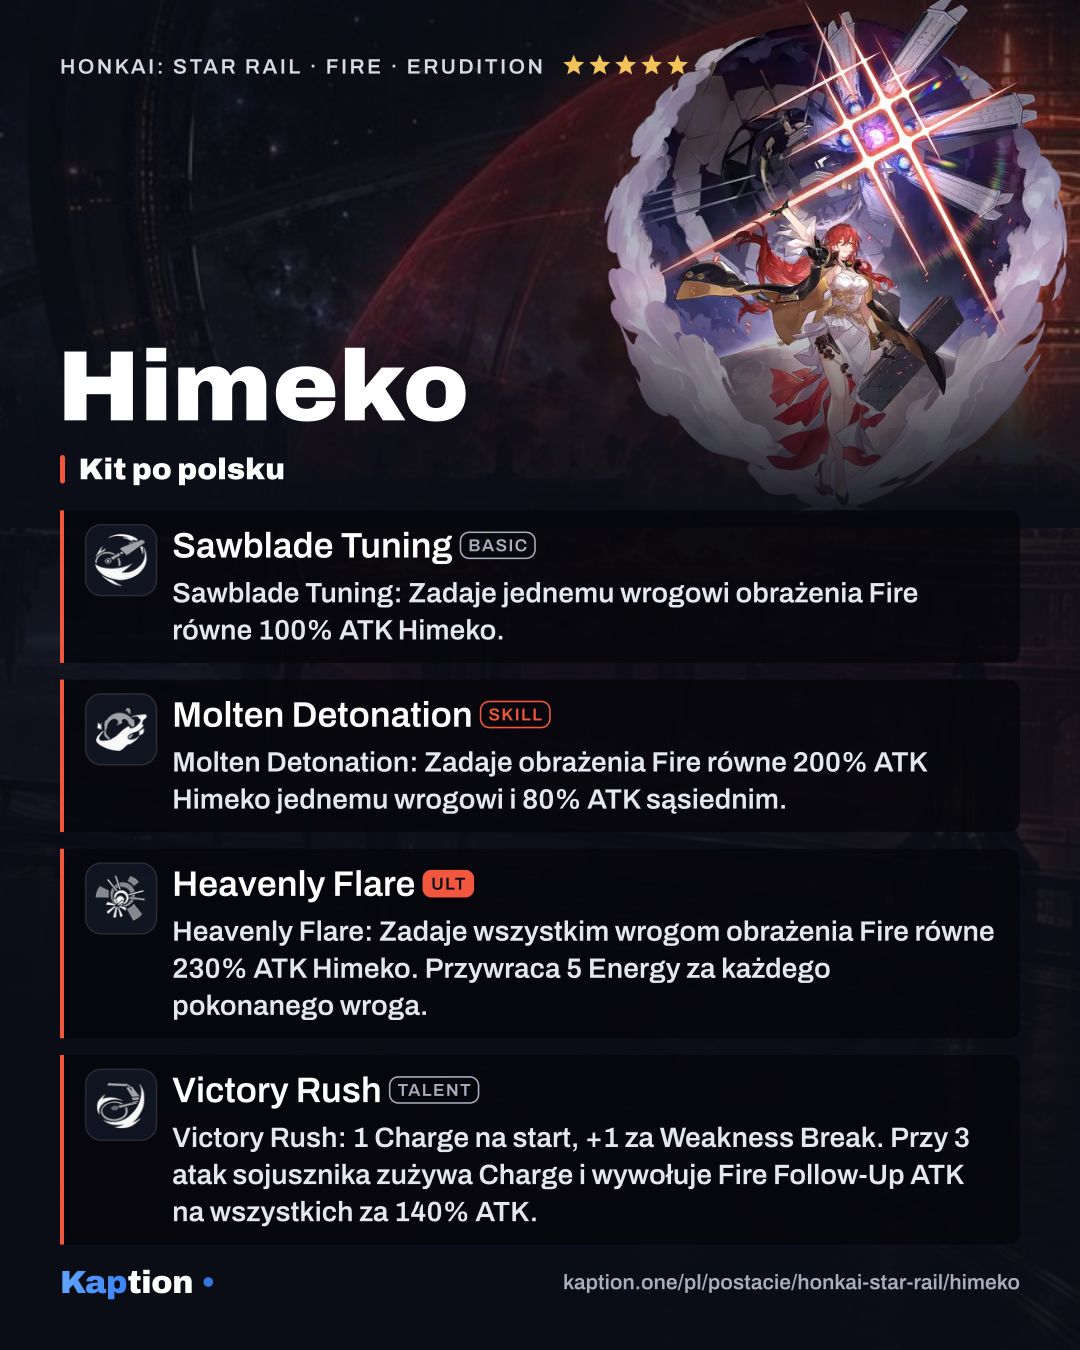
Himeko starts battle with one Charge from Victory Rush. Each enemy inflicted with Weakness Break gives her another, up to three. Once fully charged, she performs a Follow-Up ATK after an ally attacks, dealing Fire DMG equal to 140% of her ATK to all enemies and consuming the Charge.
On her turn, Molten Detonation deals 200% of her ATK as Fire DMG to the target and 80% to adjacent enemies. Sawblade Tuning deals 100% to one enemy. Use the Skill where it can hit useful adjacent targets or inflict a Weakness Break.
Heavenly Flare hits all enemies for 230% of Himeko's ATK and restores five extra Energy for each enemy it defeats. Starfire gives attacks a 50% base chance to apply Burn for two turns. Magma makes her Skill deal 20% more damage to enemies already afflicted with Burn.
Build and why
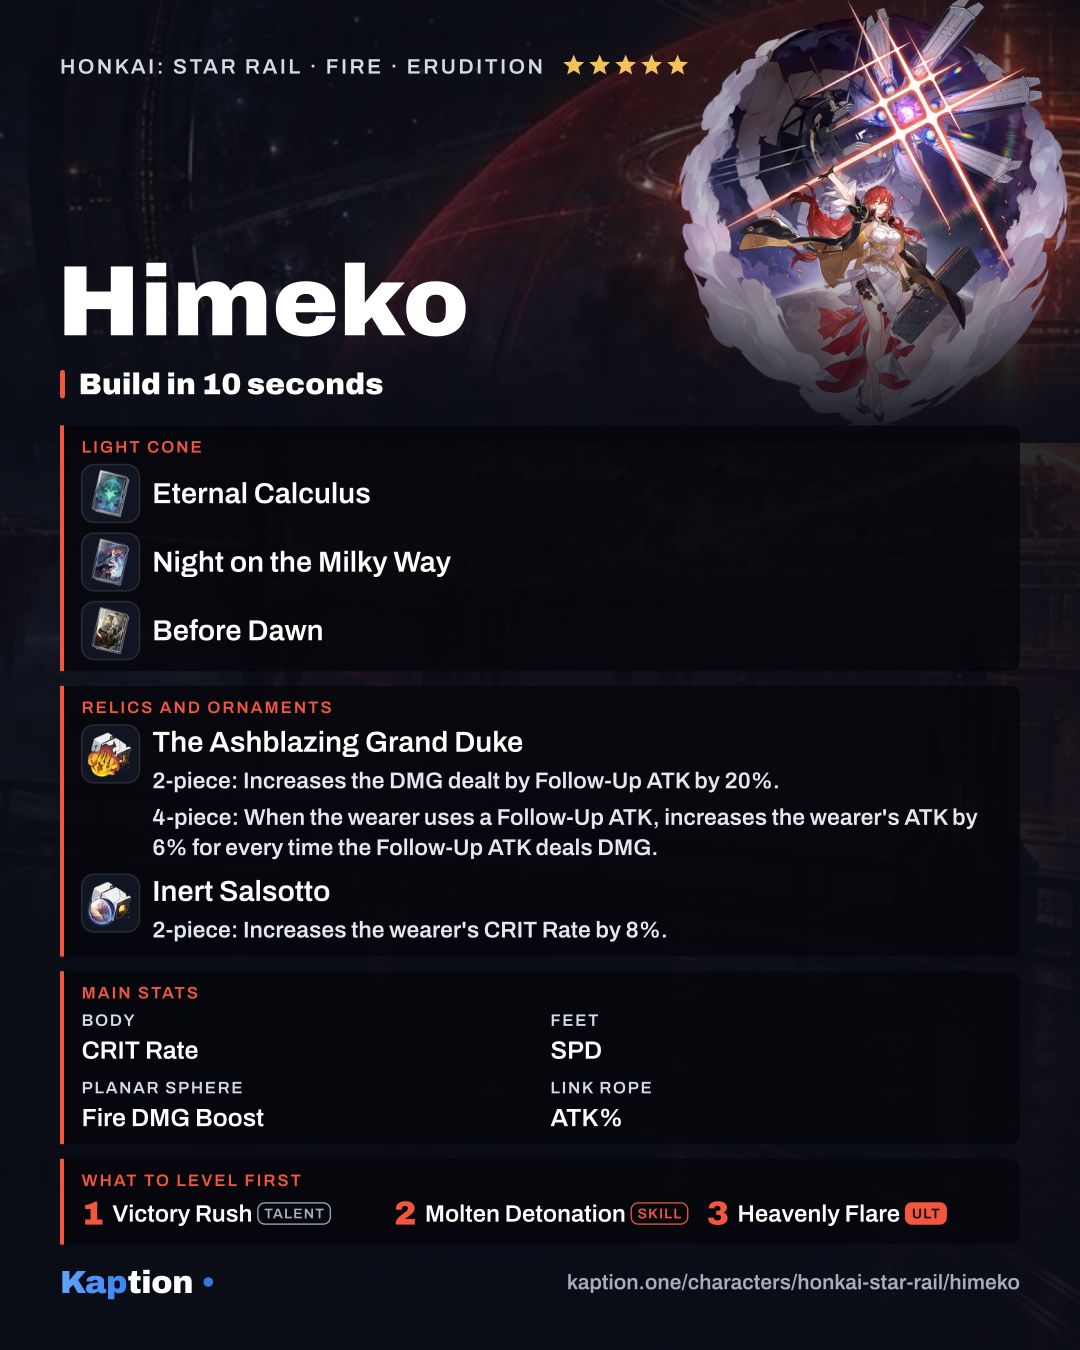
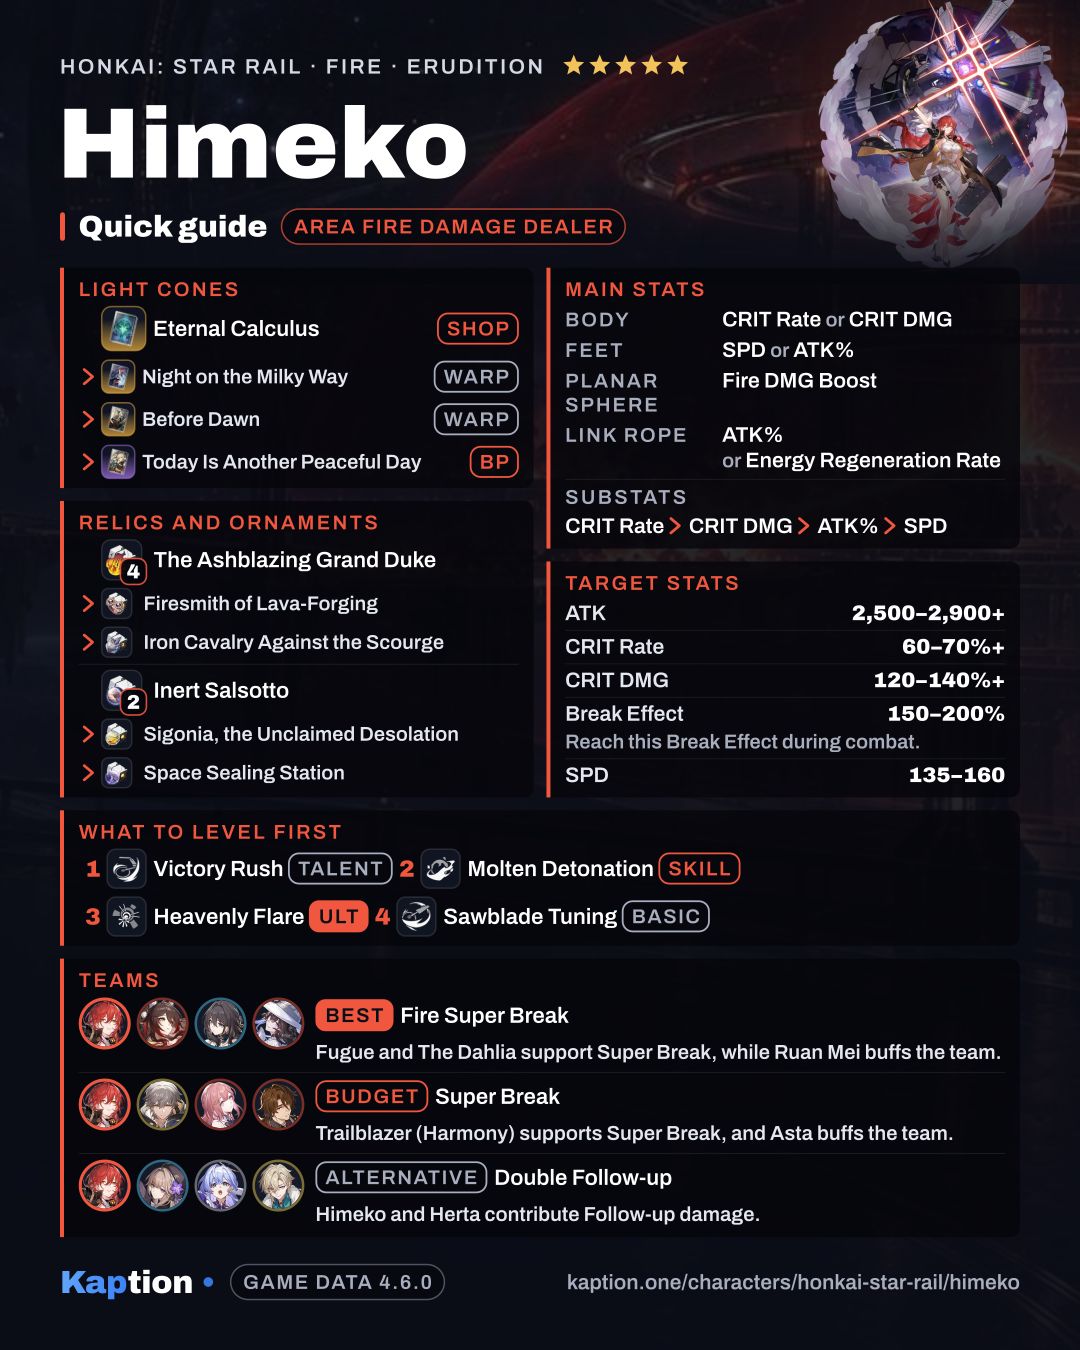
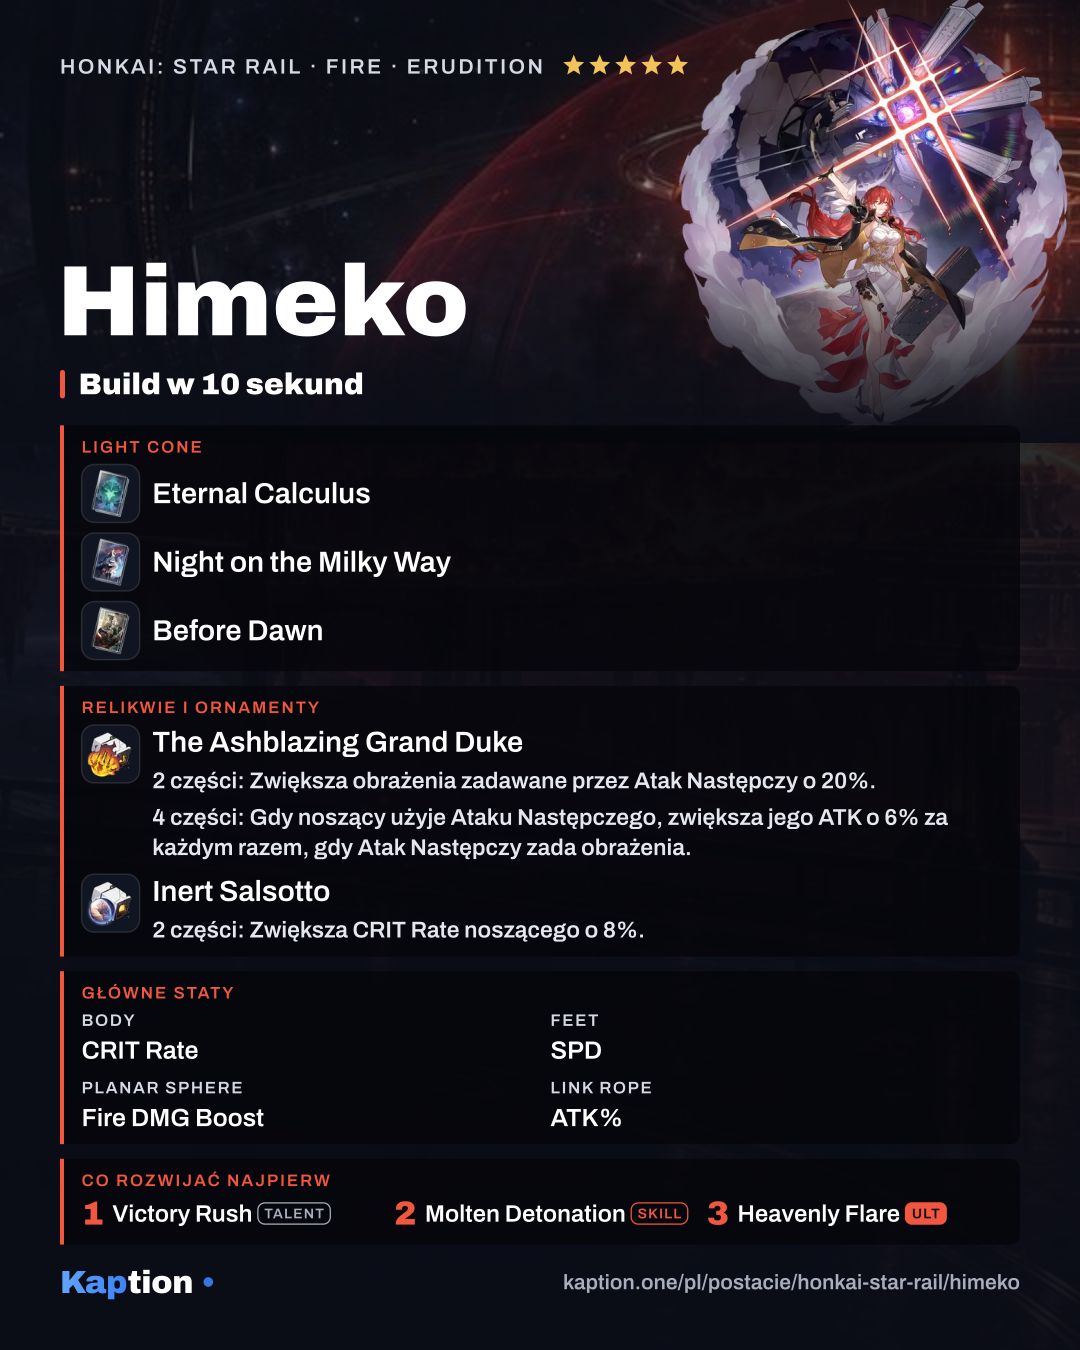
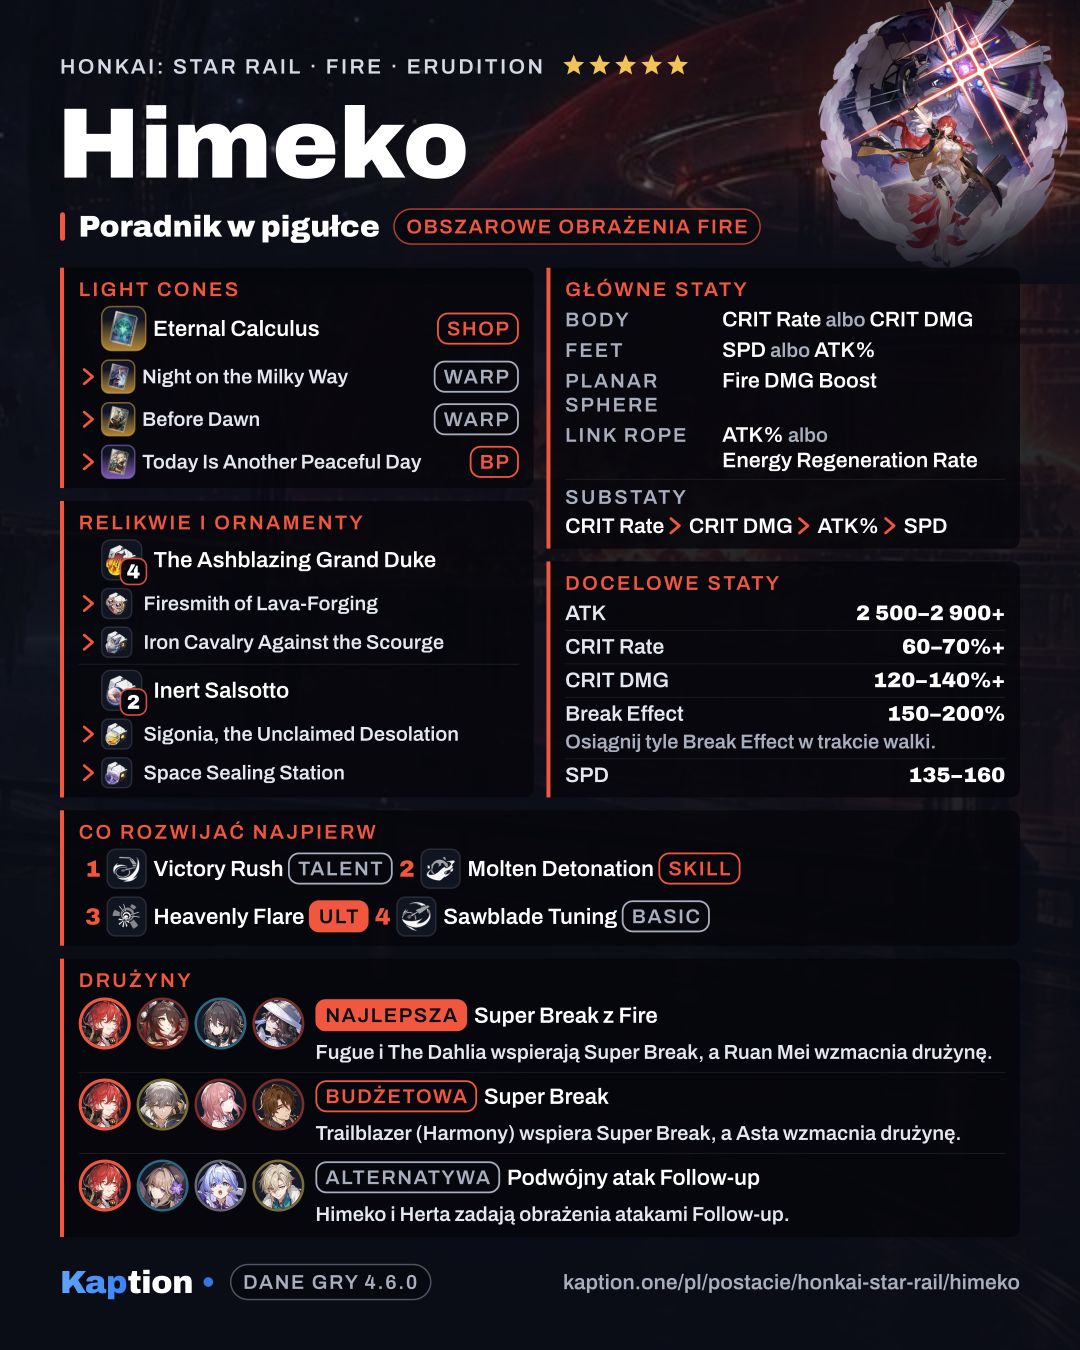
The Ashblazing Grand Duke is the first relic set to consider. Its two-piece bonus adds 20% Follow-Up ATK damage. The four-piece bonus grants 6% ATK per instance of damage from a Follow-Up ATK, up to eight stacks for three turns; the stacks are removed when the next Follow-Up ATK is used.
For a Break-focused build, Iron Cavalry Against the Scourge is an option: it gives Break Effect and lets Break DMG ignore DEF at 150% Break Effect. Its 250% threshold applies to Super Break DMG. Firesmith of Lava-Forging is another option for Fire and Skill damage.
For planar ornaments, Sigonia, the Unclaimed Desolation gives CRIT Rate and builds CRIT DMG when enemies are defeated. Inert Salsotto gives CRIT Rate and boosts Ultimate and Follow-Up ATK damage once current CRIT Rate reaches 50%.
Choose CRIT Rate or CRIT DMG on the body, SPD or ATK Percentage on the feet, Fire DMG Boost on the sphere, and ATK Percentage or Energy Regeneration Rate on the rope. For substats, follow the game's order: CRIT Rate, CRIT DMG, ATK Percentage, then SPD. Account for Himeko's HP-dependent CRIT Rate when checking the Inert Salsotto threshold.
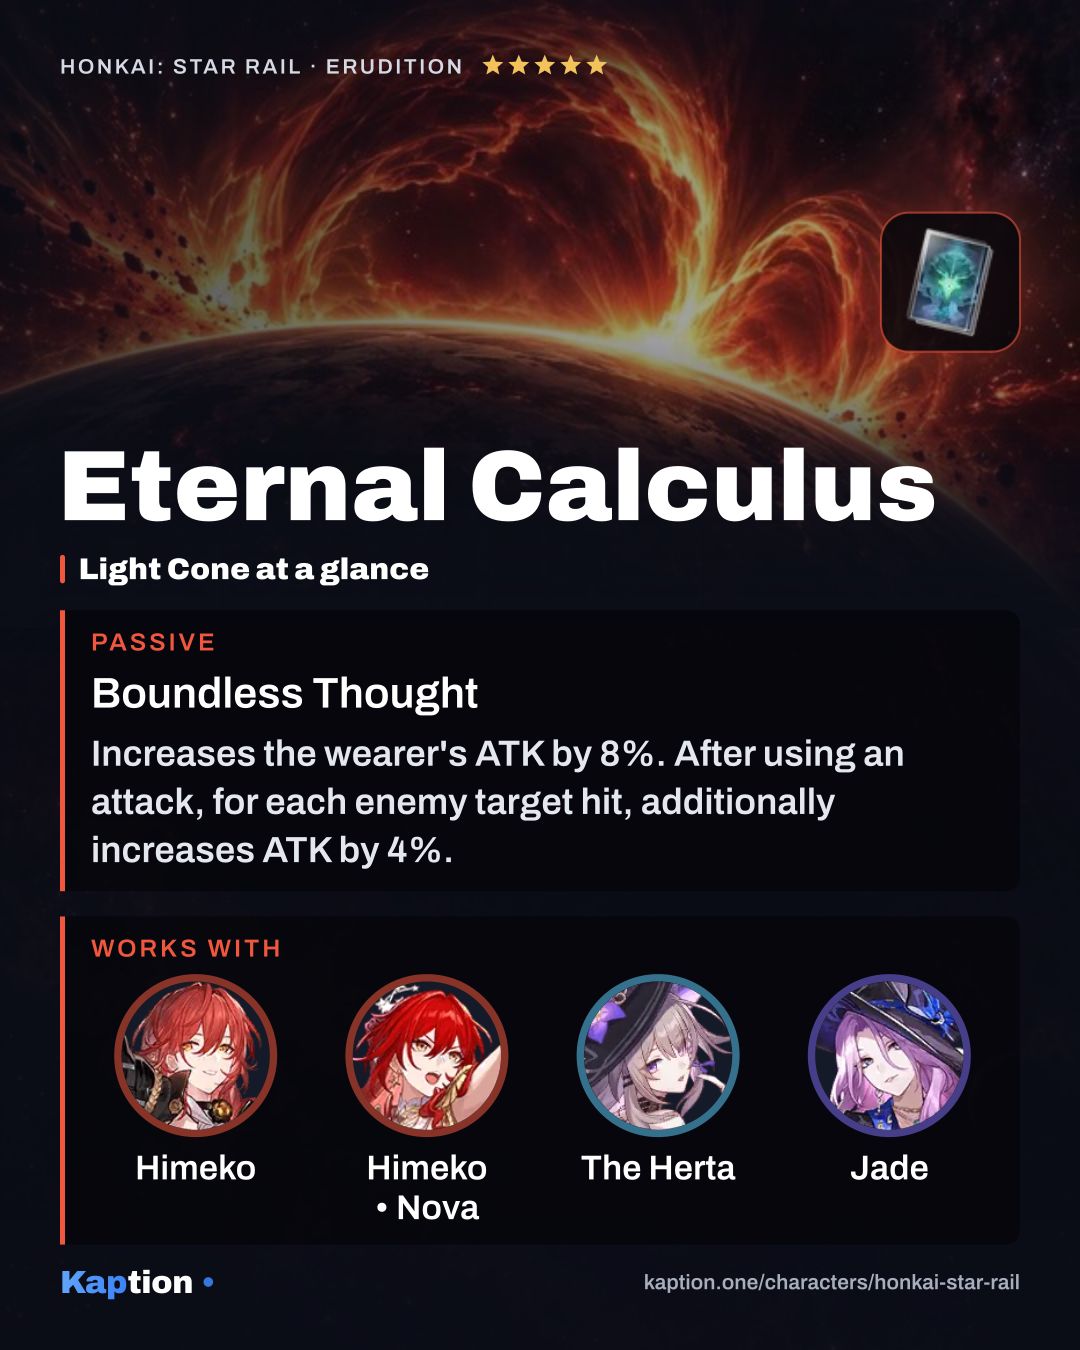
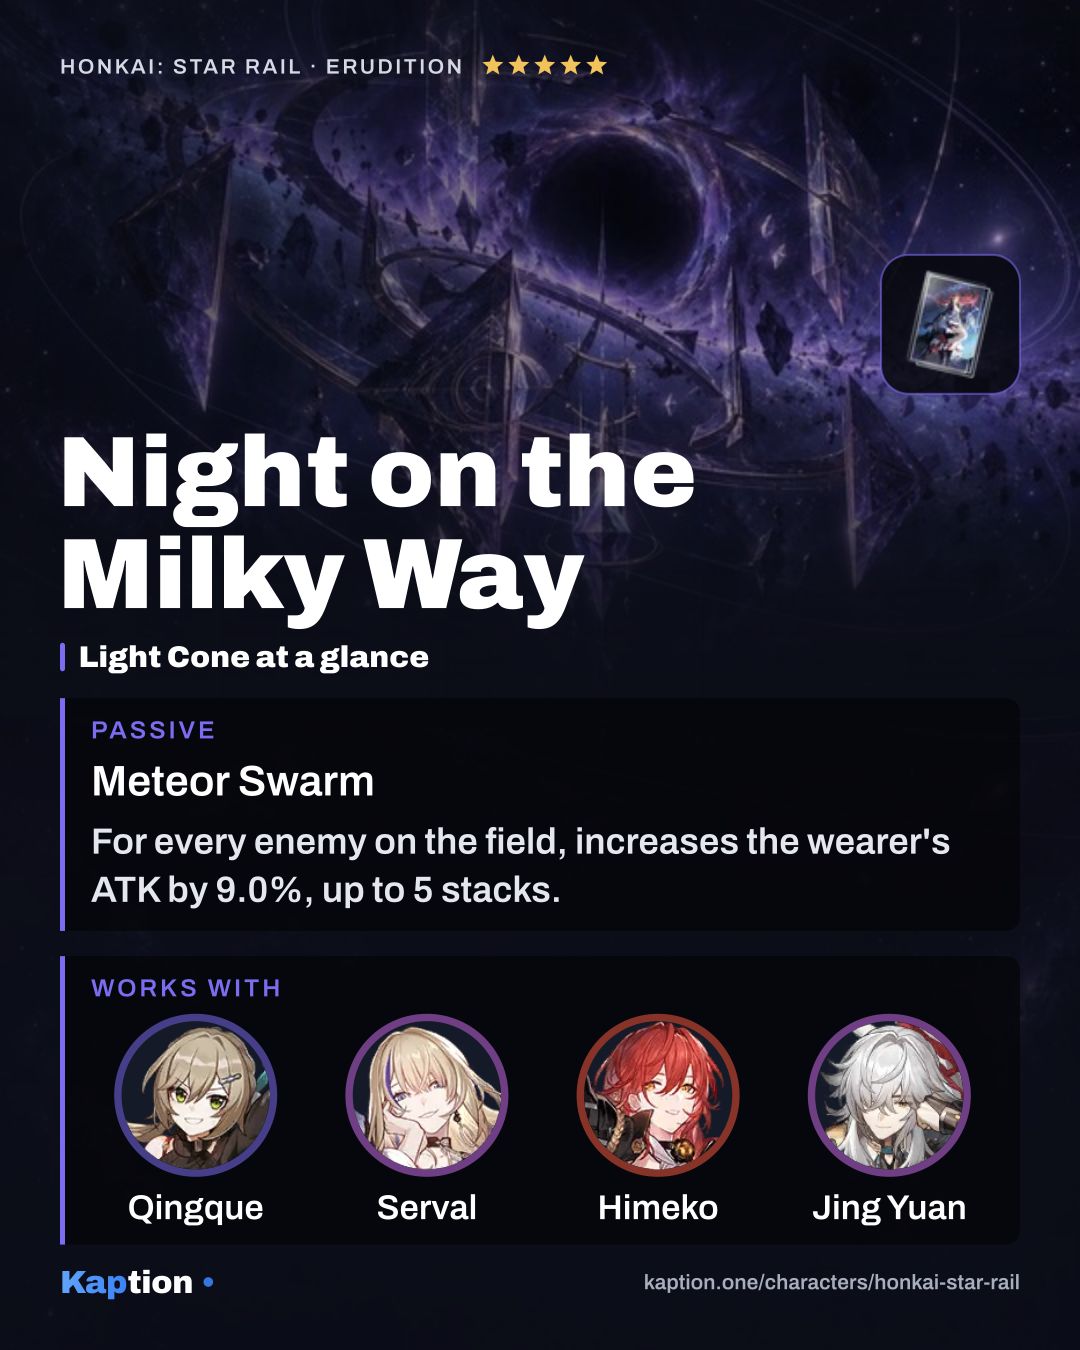
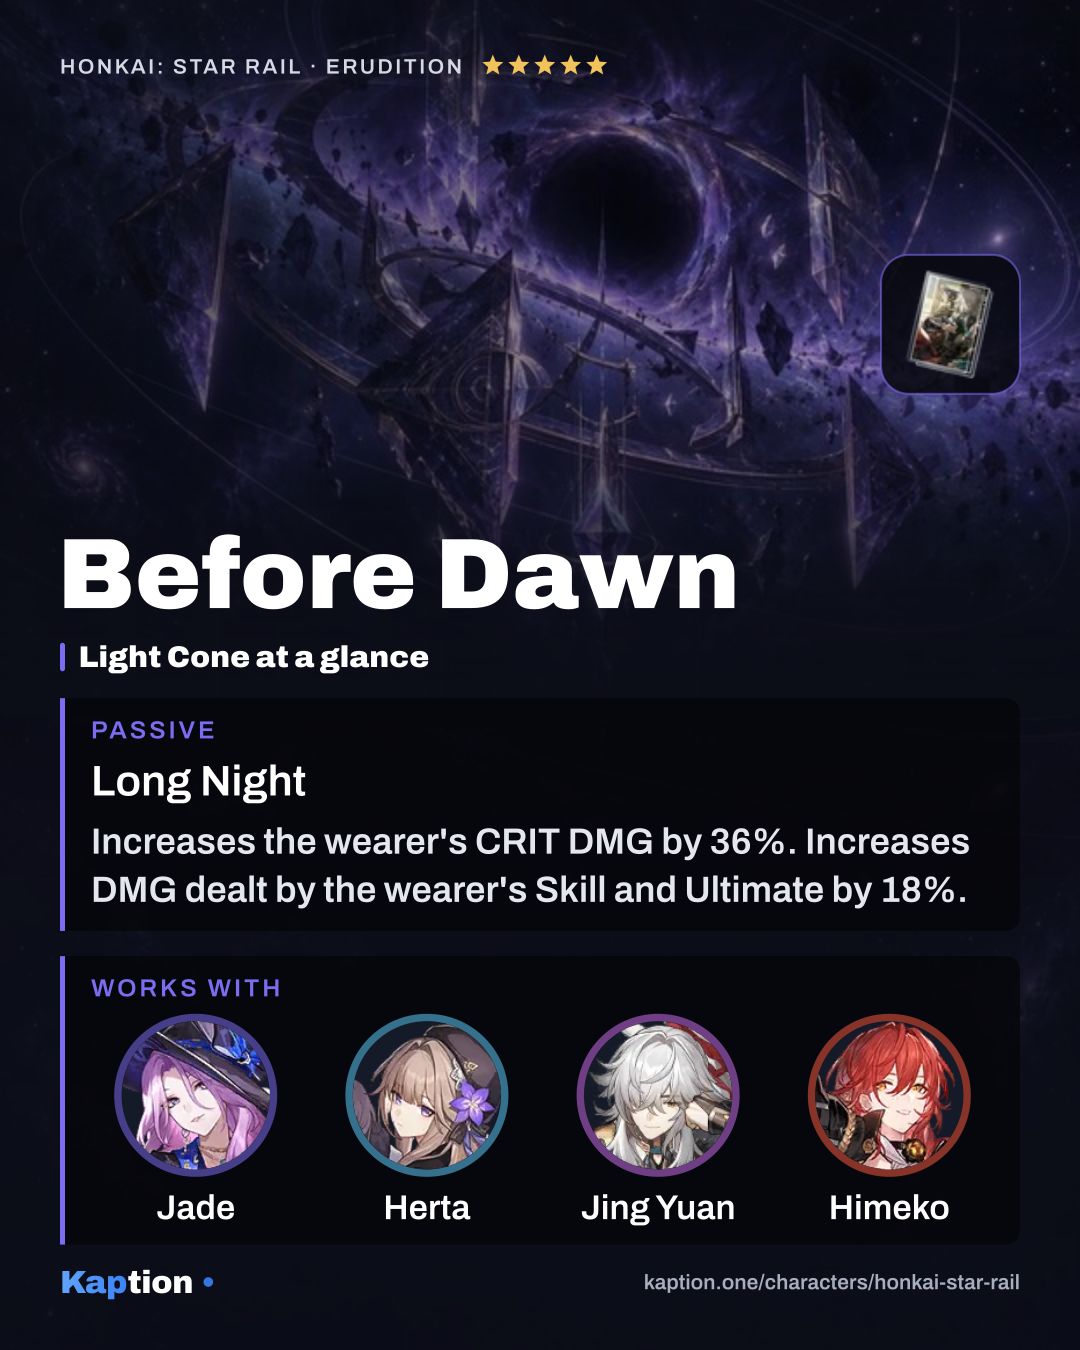
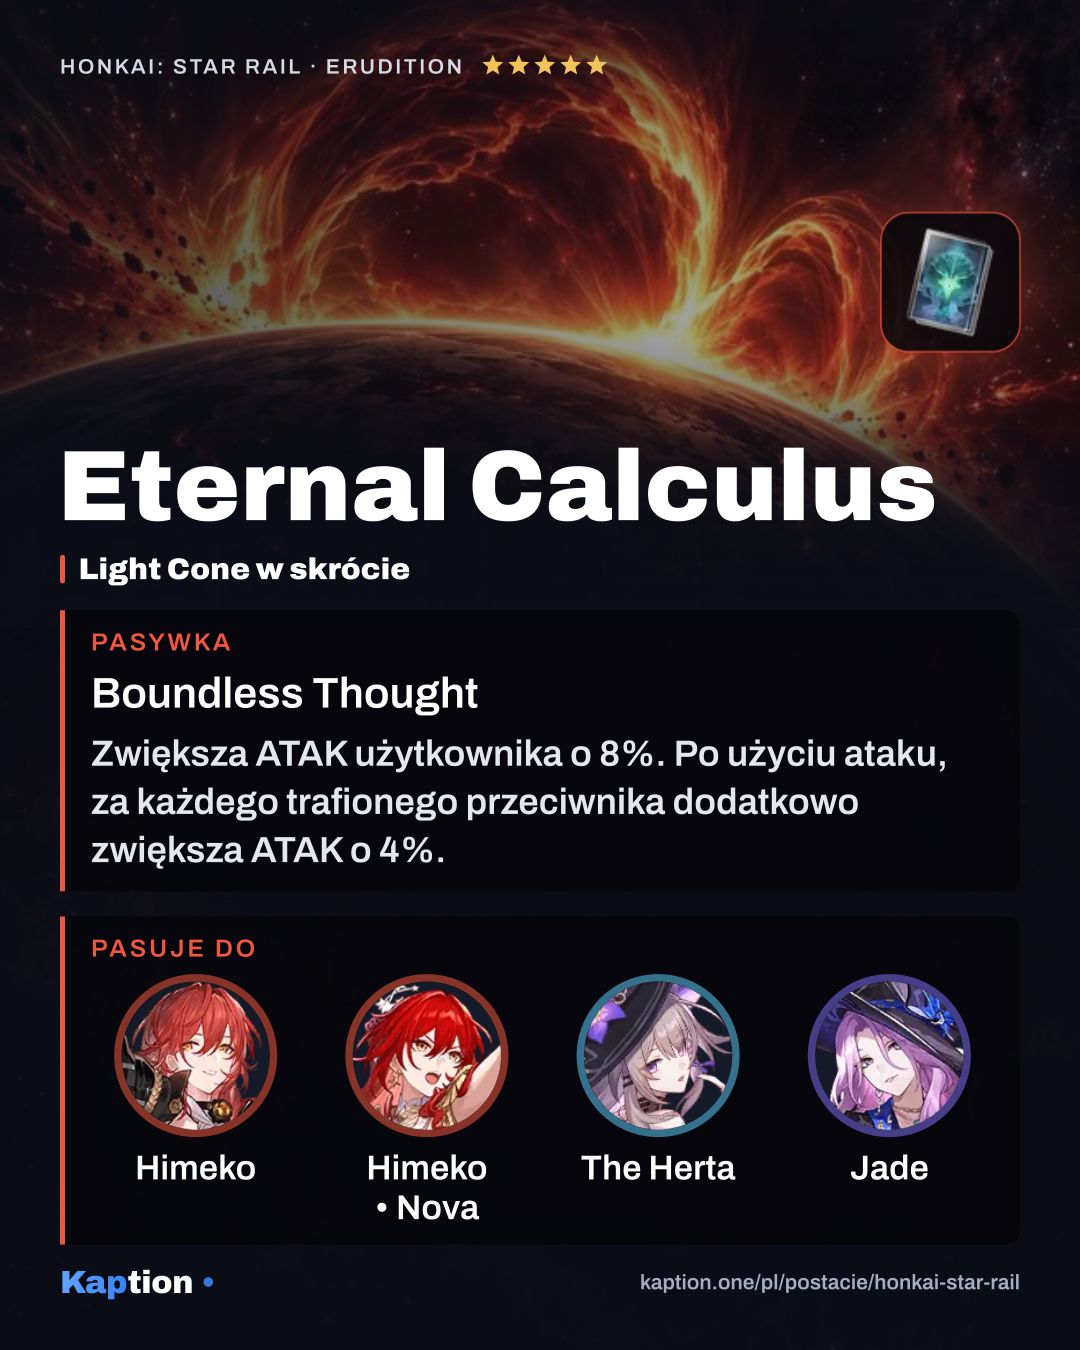
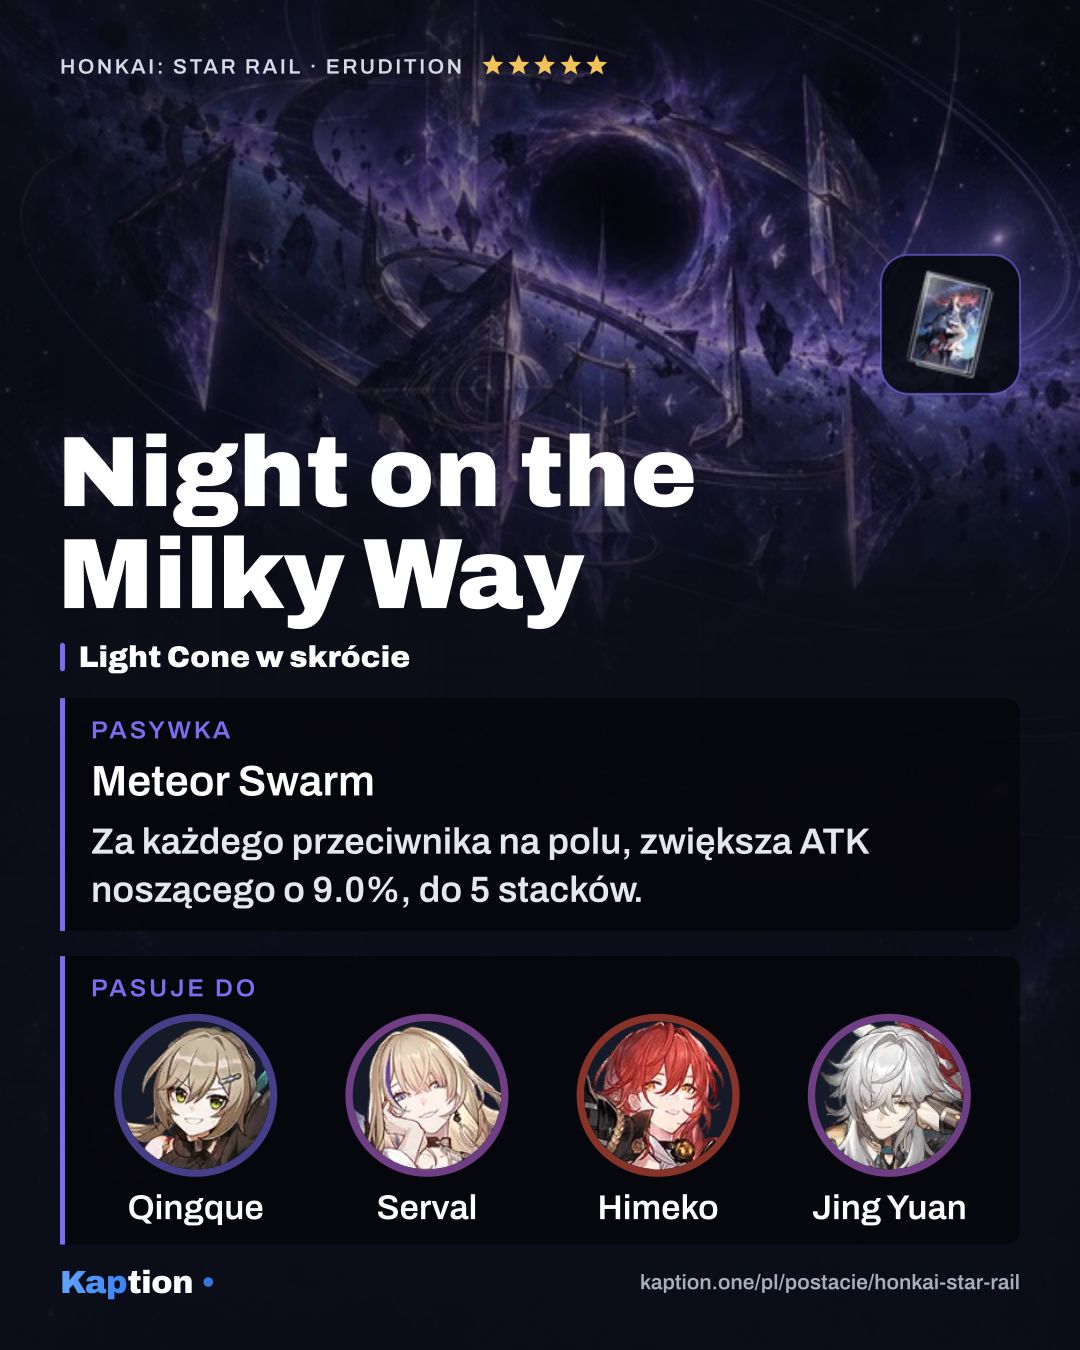
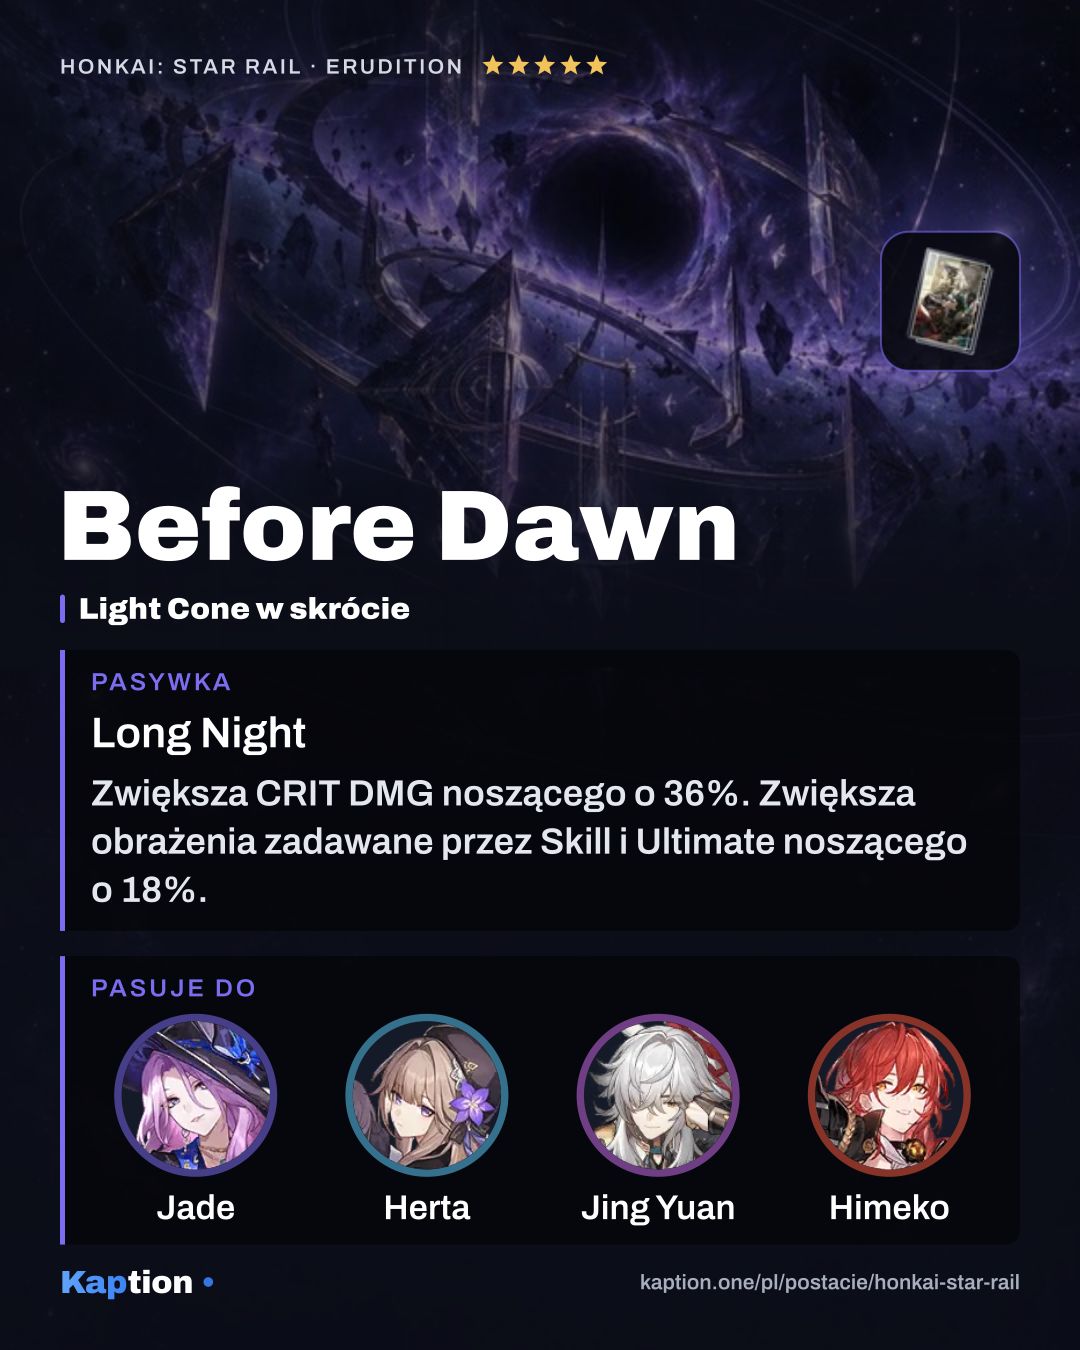
Before Dawn is the first Light Cone choice. It gives CRIT DMG, improves Skill and Ultimate damage, and strengthens a Follow-Up ATK after a Skill or Ultimate. Night on the Milky Way adds ATK for enemies on the field and damage after a Weakness Break. Eternal Calculus is another option that rewards hitting multiple targets.
Leveling priority
Follow the game's skill order: level Victory Rush first for the Follow-Up ATK, then Molten Detonation for Himeko's main attack on her turn. Heavenly Flare comes next, followed by Sawblade Tuning.
For full ascension, you need 308,000 Credit, 65 Endotherm Chitin, and 15 each of Extinguished Core, Glimmering Core and Squirming Core.
To raise all skills to their maximum, the listed cost is 3,000,000 Credit, 8 Tracks of Destiny, 18 Key of Inspiration, 69 Key of Knowledge, 139 Key of Wisdom and 12 Destroyer's Final Road, plus 41 Extinguished Core, 56 Glimmering Core and 58 Squirming Core.
Eidolons worth it
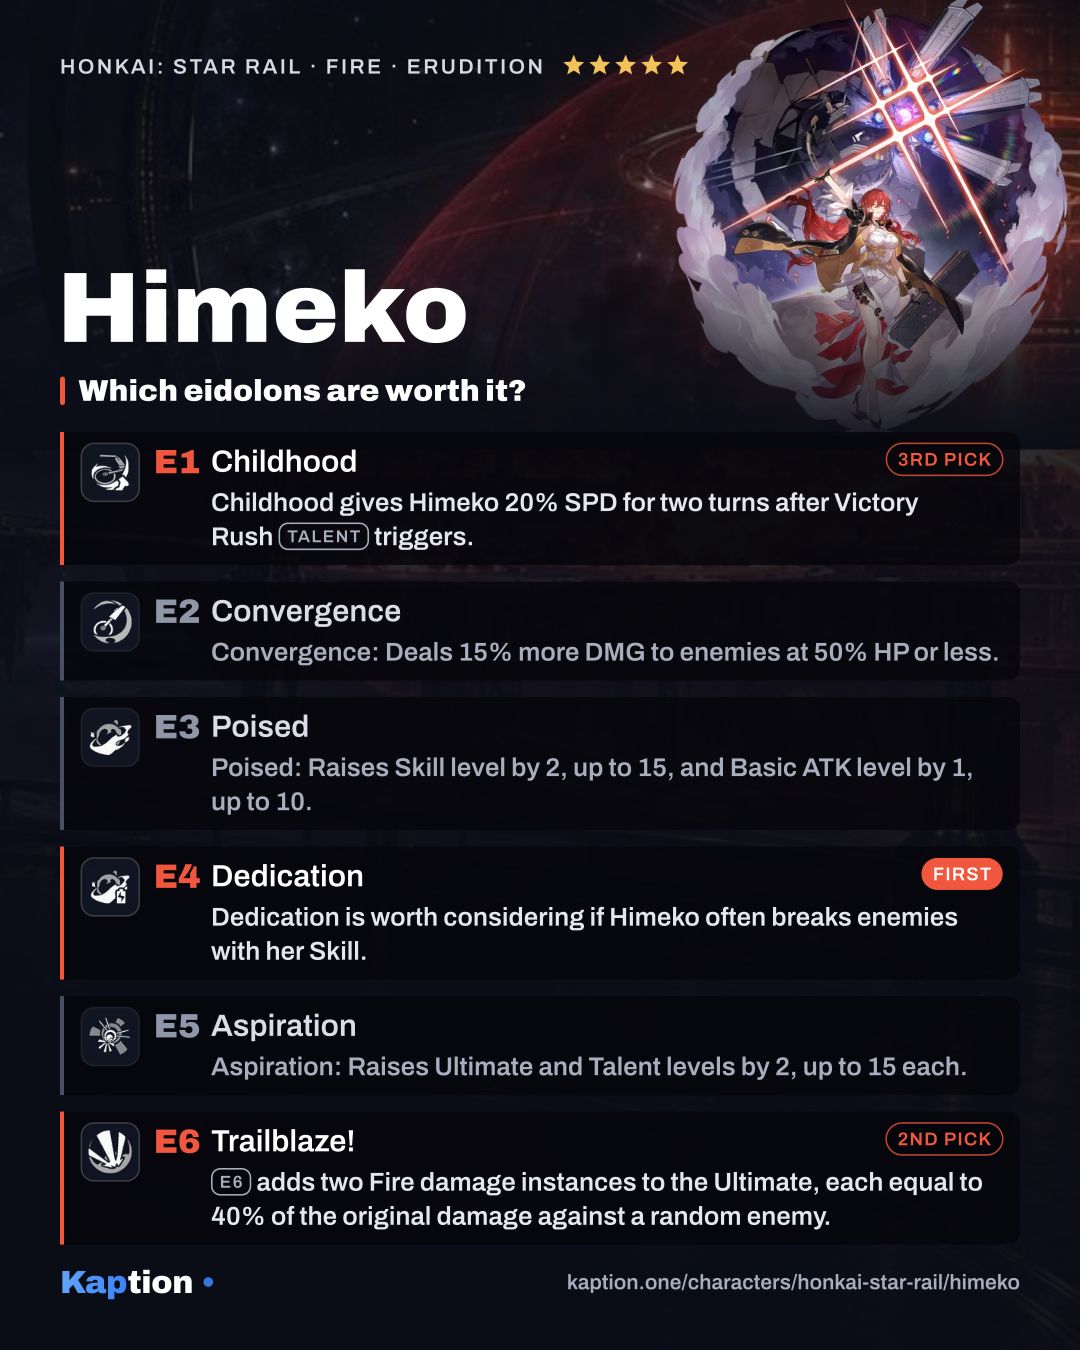
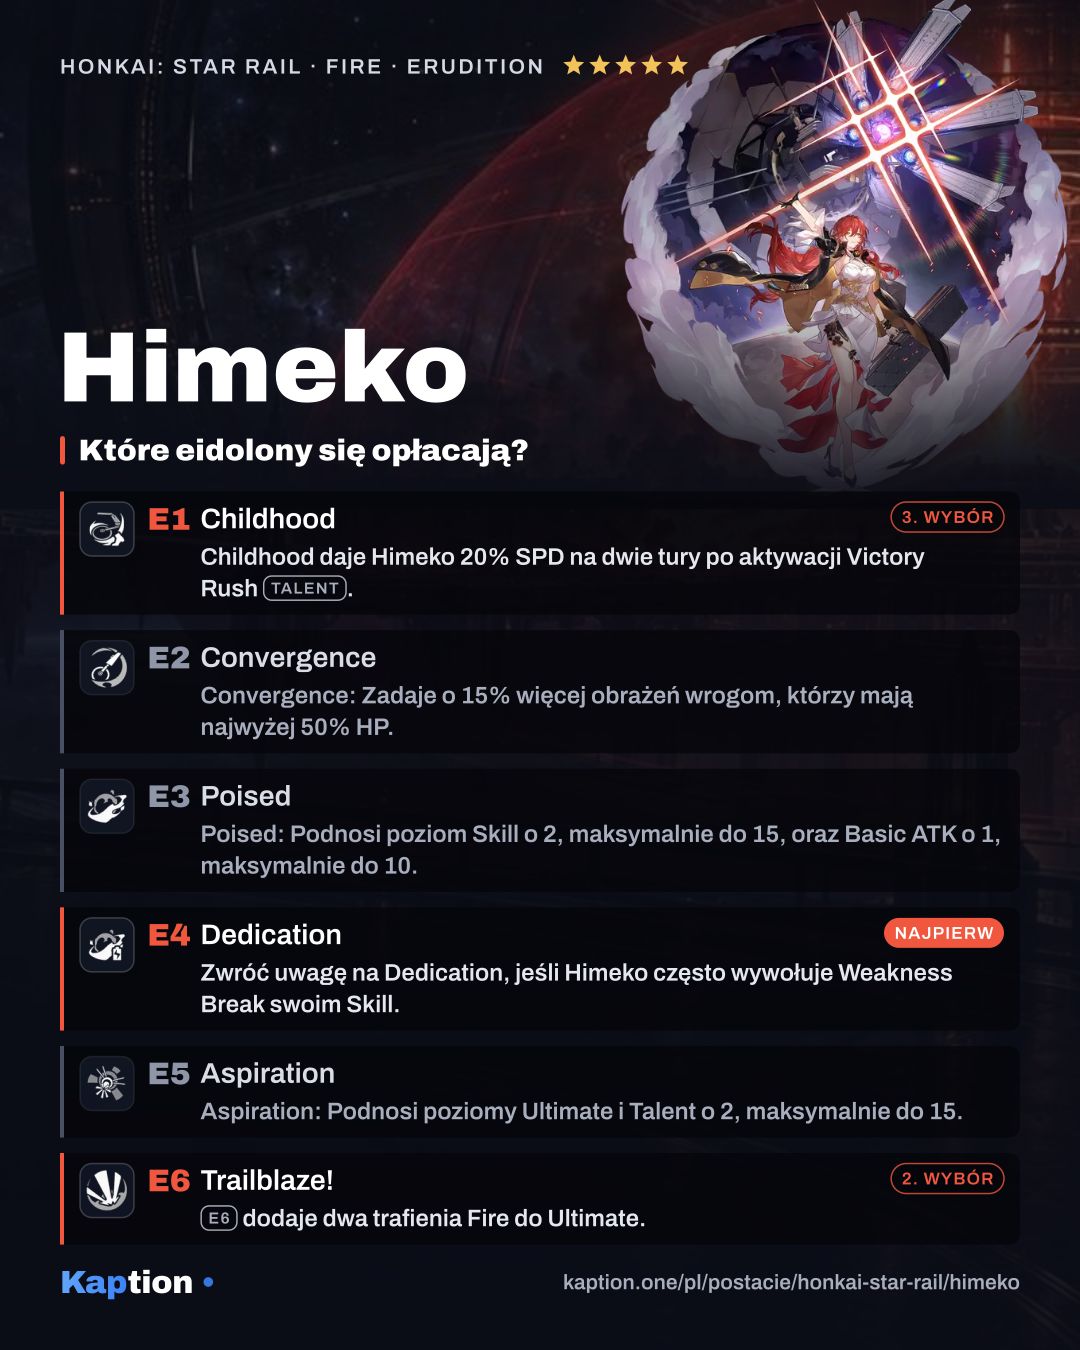
Dedication (E4) is worth considering if Himeko often breaks enemies with her Skill. It gives her one extra Charge when that Skill inflicts Weakness Break, helping her reach the Follow-Up ATK sooner.
Trailblaze! (E6) adds two Fire damage instances to the Ultimate, each equal to 40% of the original damage against a random enemy. Childhood (E1) gives Himeko 20% SPD for two turns after Victory Rush triggers.
These are suggested nodes to look at rather than a required stopping point. Convergence (E2) adds damage against enemies at 50% HP or less, while Poised and Aspiration raise skill levels. You can play without pursuing them, though earlier Eidolons are needed to reach later ones.
Teams
Start with the enemies' Weaknesses. Himeko wants allies who can help inflict Weakness Break, because each broken enemy builds Charge for Victory Rush. Fire allies are useful to consider against Fire-weak targets, while other elements can cover a different set of Weaknesses.
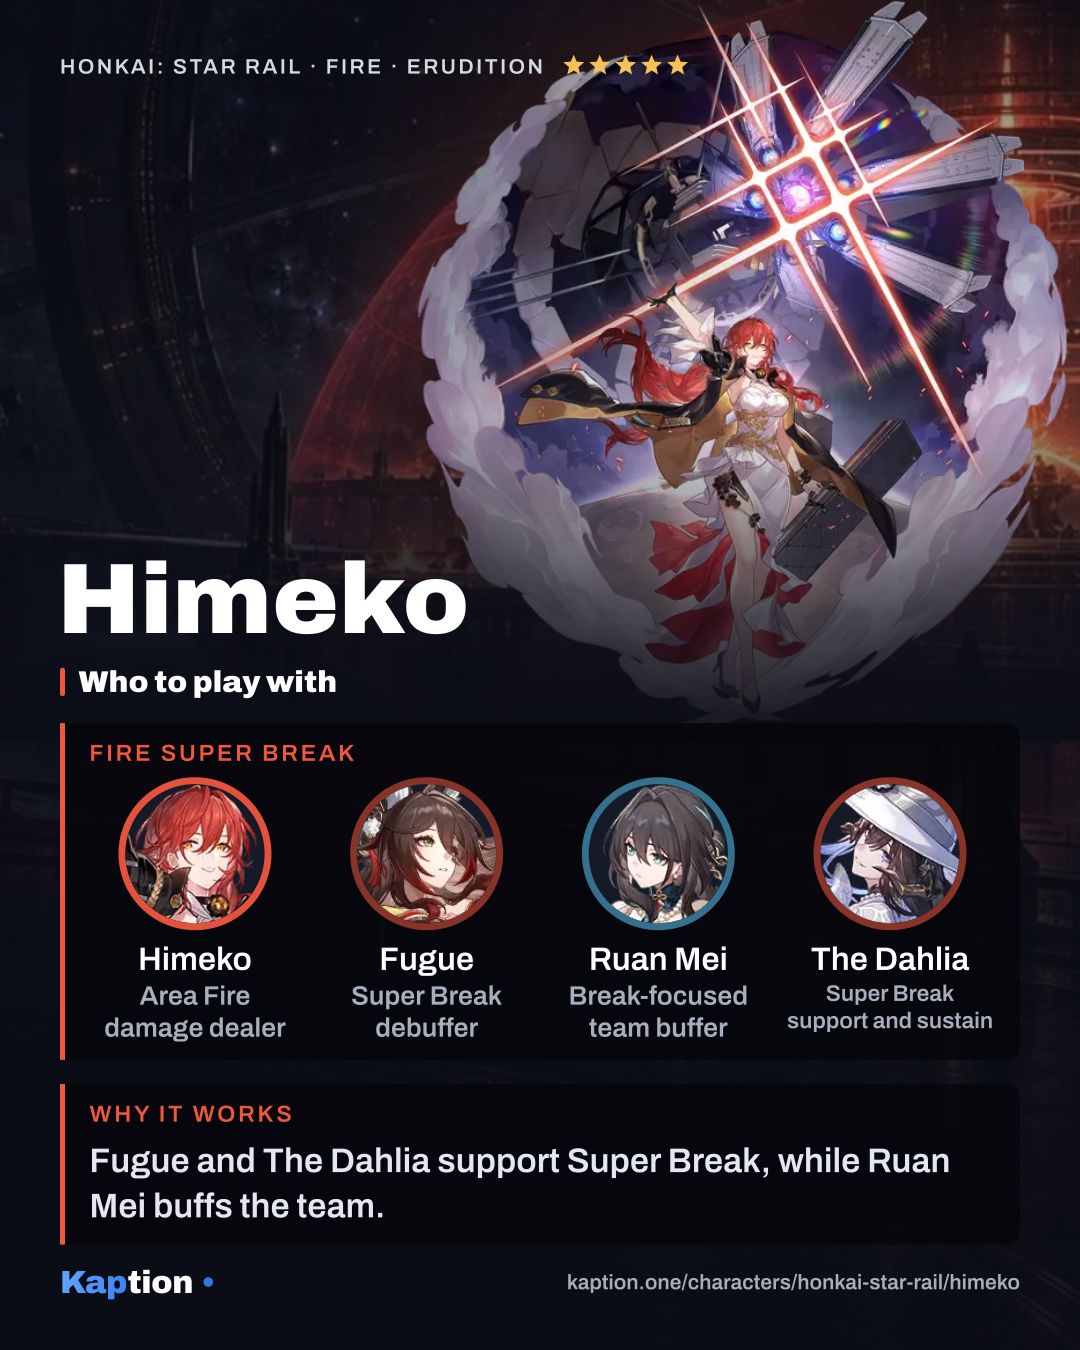
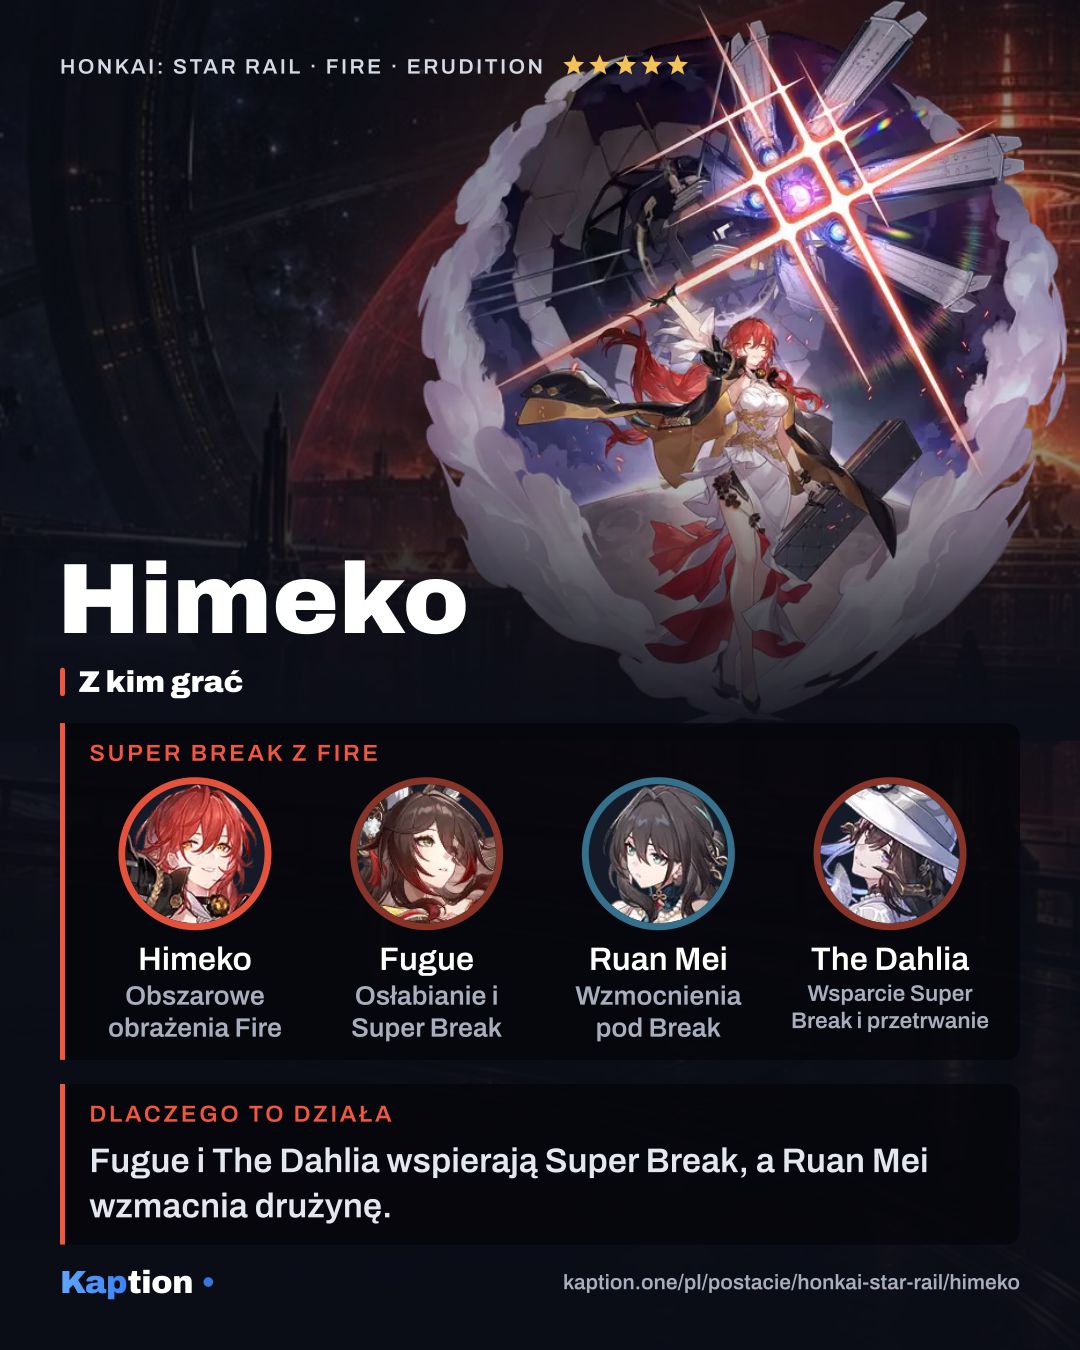
Ruan Mei is a Break-oriented buffer, and Fugue offers a Fire Break and Super Break role. Lingsha is a Fire sustain option with Break and Follow-Up roles. A team with those three is one combination to consider alongside Himeko.
Herta and Topaz & Numby are other Follow-Up teammates named for Himeko. Asta is a Fire buffer, while Luocha, Gepard and Fu Xuan are sustain choices. A sustain teammate can help Himeko keep the HP needed for her CRIT Rate passive.
Common mistakes
Do not assume the Technique always applies its effect: its 100% chance is a base chance. Also check for an allied Dimension Effect before placing Himeko's, since only one can exist at a time.
Do not expect a Follow-Up ATK whenever Himeko attacks. Watch her Charge and use the team's attacks to inflict Weakness Break. At full Charge, an ally's attack triggers Victory Rush.
Do not build around the 250% threshold on Iron Cavalry Against the Scourge without considering Super Break DMG. In a regular damage build, check CRIT Rate and HP as well: falling below 80% HP removes Himeko's passive CRIT Rate bonus.